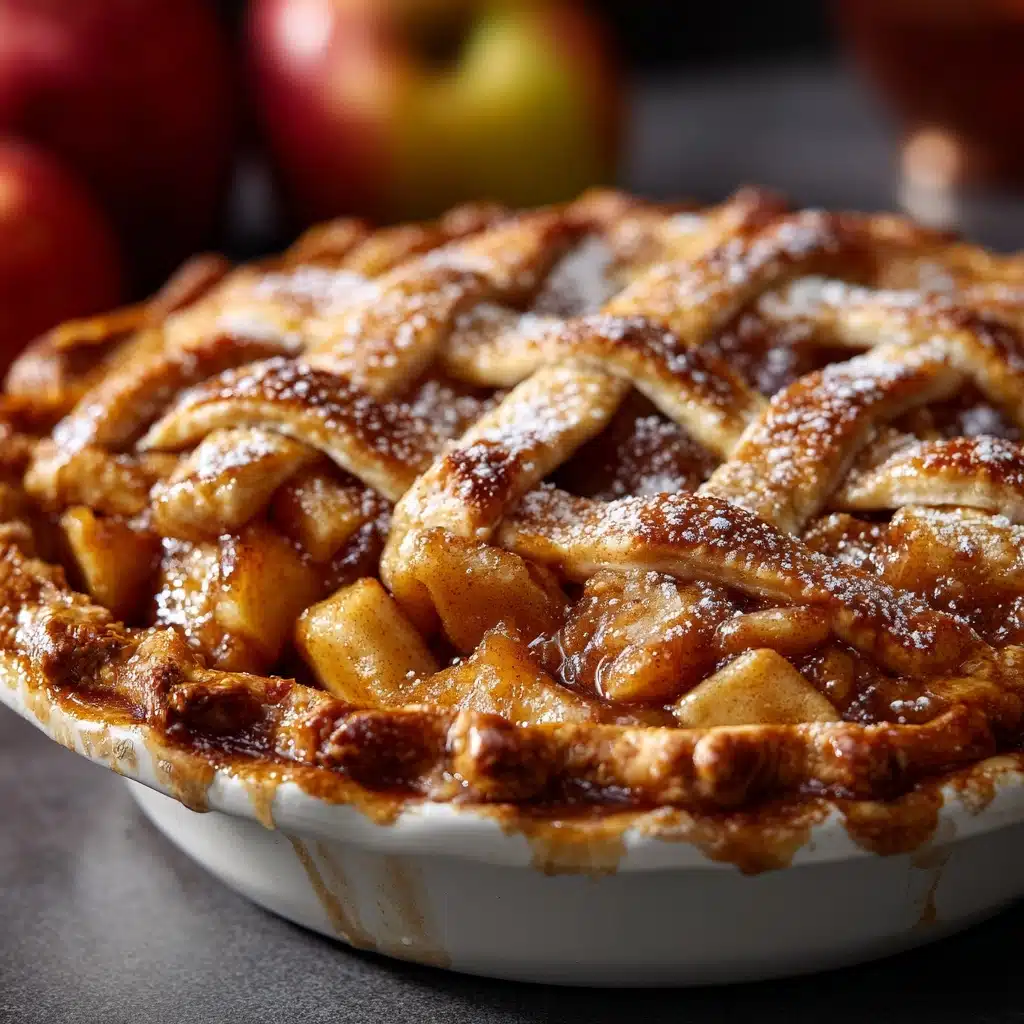
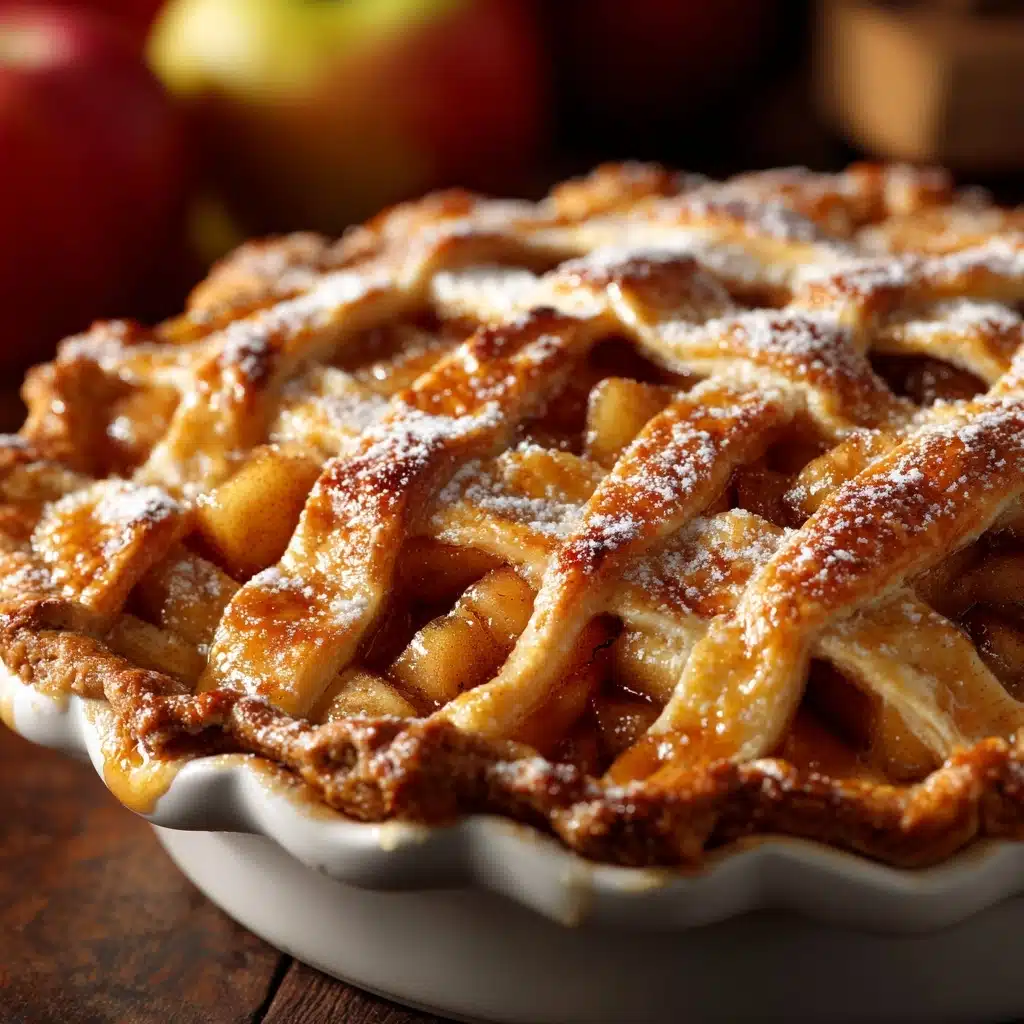
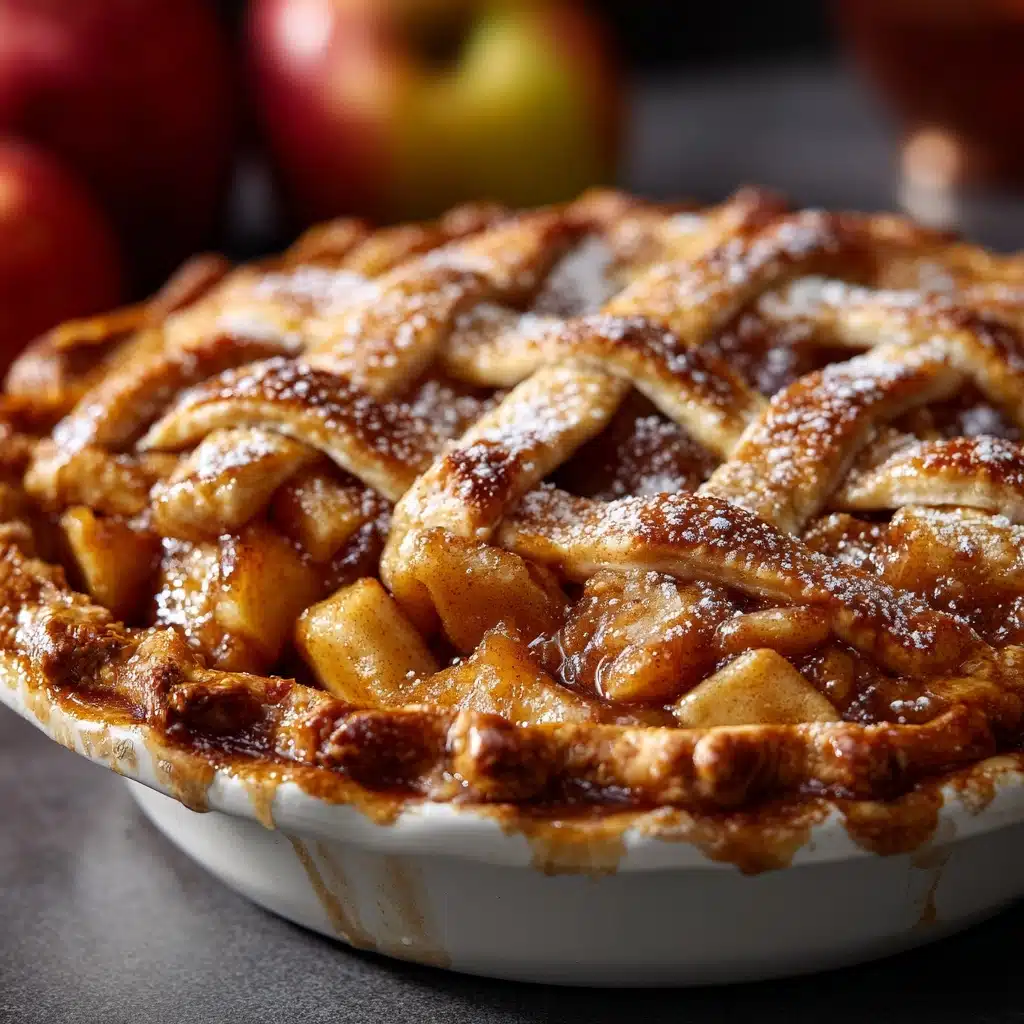
There’s something undeniably heartwarming about a classic Apple Pie fresh from the oven, its sweet, spiced aroma curling through your kitchen like a culinary hug. With crisp apples, a golden, flaky crust, and just the right balance of tart and sweet, this recipe brings nostalgic comfort to every slice. Whether you’re baking it for a holiday, a special gathering, or just because you deserve a treat, this Apple Pie is little effort for a lot of happiness—plus, it’s beginner-friendly and sure to become a staple in your dessert lineup!
Ingredients You’ll Need
Baking Apple Pie comes down to a handful of simple ingredients, but each one is key to achieving the perfect taste and texture. Every element—from the apples to the crust—plays a role in making every forkful flavorful and memorable.
- Apples (2 1/2 pounds, such as Granny Smith or Honeycrisp): Choose tart apples like Granny Smith for structure and tang, or mix varieties for a deeper, complex flavor.
- Granulated sugar (3/4 cup): Provides sweetness and helps draw out the apples’ juices to create a luscious filling.
- Packed light brown sugar (1/4 cup): Adds subtle caramel notes and a touch of depth to the pie.
- Lemon juice (1 tbsp): Brightens up the flavors and prevents the apples from browning.
- All-purpose flour (1/4 cup): Thickens the filling, so it stays sliceable instead of runny.
- Ground cinnamon (1 1/2 tsp): Adds warmth and that signature spiced touch everyone expects in Apple Pie.
- Ground nutmeg (1/4 tsp): A little goes a long way to round out the spice profile.
- Salt (1/4 tsp): Balances the sweetness and lifts all the other flavors.
- Unsalted butter (2 tbsp, cut into small pieces): Dots of butter melt into the apples, creating a silky, rich filling.
- Refrigerated pie crusts (1 package, 14 oz, 2 crusts): Save time without sacrificing flakiness—these ready-made crusts give great results.
- Egg (1, beaten, for egg wash): This gives your crust that shiny, golden finish worthy of a bakery window.
- Coarse sugar (1 tbsp, optional, for topping): A sparkly, crunchy finish if you want a little extra visual and textural pop.
How to Make Apple Pie
Step 1: Prep the Apples
Begin by peeling, coring, and thinly slicing your apples. This is a meditative moment—feel free to snack on a few slices as you work! Toss the apple slices in a large bowl with granulated sugar, brown sugar, lemon juice, flour, cinnamon, nutmeg, and salt. Make sure every slice is well coated; this ensures that each bite suspends those classic, cozy flavors within a perfectly thickened filling.
Step 2: Prepare the Crust
Take out one of your refrigerated pie crusts and gently roll it out, if needed, to fit your 9-inch pie dish. Press the crust snugly against the bottom and sides; this helps hold all the juicy, bubbling filling you’re about to add. There’s no need to stress about perfection—the homemade charm is part of what makes this Apple Pie special.
Step 3: Assemble the Pie
Stir your apple mixture once more, then heap it into the lined pie dish, piling a little higher in the center. Dot the apples with the small pieces of unsalted butter—these will melt as the pie bakes, enriching your filling. Place your second pie crust on top, either as a whole lid with a few artistic slits for steam, or cut it into strips for a classic lattice pattern. Trim any excess crust and crimp the edges together to seal.
Step 4: Add the Finishing Touches
Brush the top crust with the beaten egg, making sure to reach all the nooks and crannies; this helps your Apple Pie achieve that coveted glossy, golden color. For a little extra sparkle, sprinkle the top with coarse sugar if you like. Set the pie on a baking sheet to catch any delicious drips.
Step 5: Bake and Cool
Bake the pie in a preheated 425°F (220°C) oven for 45–50 minutes, watching for that deep golden brown crust and bubbly filling. If you notice the edges browning too fast, a quick wrap with foil will protect them. Once baked, let your Apple Pie cool for at least 2 hours on a rack—it’s tough to wait, but this step is what lets those luscious juices thicken so your slices hold together beautifully.
How to Serve Apple Pie
Garnishes
A classic Apple Pie is naturally gorgeous, but a scoop of vanilla ice cream or a generous dollop of fresh whipped cream takes it over the top. For a restaurant-worthy look, dust lightly with powdered sugar or add a drizzle of caramel sauce. A tiny sprinkle of flaky sea salt right before serving can also wake up the flavors!
Side Dishes
Apple Pie pairs wonderfully with light accompaniments: try serving with crisp apple or pear slices for contrast, or a handful of sharp cheddar cheese for that old-fashioned twist. A cup of spiced chai or a piping-hot latte makes every bite cozier.
Creative Ways to Present
You don’t have to stick with traditional wedges! Serve mini Apple Pie squares on a dessert tray, or layer slices in parfait glasses with crumbled crust and extra whipped cream for a playful trifle. If you’re feeling adventurous, cut the pie into small rounds with a biscuit cutter and serve as pie “cookies” at your next gathering.
Make Ahead and Storage
Storing Leftovers
If you’re lucky enough to have leftover Apple Pie, cover it loosely with foil or plastic wrap and store it at room temperature for up to 1 day. After that, keep it in the fridge, where it will stay tasty for 2 more days. The crust may soften slightly, but the flavors stay delightful.
Freezing
To freeze baked Apple Pie, let it cool completely, then wrap tightly in plastic wrap and a layer of foil. It can rest in your freezer for up to 2 months. When you’re ready to enjoy, thaw overnight in the refrigerator before reheating.
Reheating
Warm up slices of Apple Pie in the oven at 350°F (175°C) for 10–15 minutes; this keeps the crust from getting soggy and revives that just-baked scent. For a quick fix, you can microwave a slice on low power for 20–30 seconds, though the crust will be softer.
FAQs
What are the best apples to use for Apple Pie?
Tart, firm apples like Granny Smith, Honeycrisp, or a combination of varieties work wonderfully, as they hold their shape during baking and provide the ideal sweet-tart balance.
Can I make the pie crust from scratch instead of using store-bought?
Absolutely! If you prefer homemade crust, go for it—it adds a wonderful personal touch. The directions remain the same; just swap in your favorite double-crust pie dough recipe.
How do I prevent a soggy bottom crust?
Make sure your filling isn’t too liquidy, and bake the pie on a lower oven rack. Some bakers also recommend brushing the base crust with a little egg white before filling, to create a barrier.
Can I prepare Apple Pie ahead of time?
Yes! You can assemble the entire pie and keep it covered in the refrigerator for up to a day before baking. For even more convenience, bake it fully a day in advance and serve at room temperature or gently warmed.
What’s the best way to slice Apple Pie neatly?
Let the pie cool for at least two hours before cutting. Use a sharp, thin knife and wipe it clean between slices for picture-perfect pieces that don’t fall apart.
Final Thoughts
Apple Pie brings people together, filling kitchens with tempting aromas and taste buds with sweet, old-fashioned joy. Whether you’re a seasoned baker or just starting out, this recipe is simple enough to master yet special enough for any occasion. Go ahead—give this Apple Pie a try, and treat yourself and those you love to a slice of classic comfort!
Print
Apple Pie Recipe
- Prep Time: 25 minutes
- Cook Time: 50 minutes
- Total Time: 1 hour 15 minutes (plus cooling time)
- Yield: 8 servings
- Category: Dessert
- Method: Baking
- Cuisine: American
- Diet: Vegetarian
Description
A classic and comforting apple pie recipe that features a flaky crust filled with a sweet and spiced apple mixture. Perfect for any occasion, this homemade pie is sure to impress your family and friends.
Ingredients
Filling:
- 2 1/2 pounds apples (such as Granny Smith or Honeycrisp, peeled, cored, and thinly sliced)
- 3/4 cup granulated sugar
- 1/4 cup packed light brown sugar
- 1 tbsp lemon juice
- 1/4 cup all-purpose flour
- 1 1/2 tsp ground cinnamon
- 1/4 tsp ground nutmeg
- 1/4 tsp salt
- 2 tbsp unsalted butter (cut into small pieces)
Crust:
- 1 package (14 oz) refrigerated pie crusts (2 crusts)
- 1 egg (beaten, for egg wash)
- 1 tbsp coarse sugar (optional, for topping)
Instructions
- Preheat the oven: Preheat the oven to 425°F (220°C).
- Prepare the filling: In a large bowl, toss the sliced apples with granulated sugar, brown sugar, lemon juice, flour, cinnamon, nutmeg, and salt until well coated.
- Assemble the pie: Roll out one pie crust and fit it into a 9-inch pie dish. Fill the crust with the apple mixture and dot with the butter pieces. Top with the second pie crust, either whole with slits or as a lattice. Trim and crimp the edges to seal.
- Finish the pie: Brush the top crust with the beaten egg and sprinkle with coarse sugar if desired. Place the pie on a baking sheet to catch any drips and bake for 45–50 minutes, or until the crust is golden and the filling is bubbling. If the edges brown too quickly, cover them with foil.
- Cool and serve: Let the pie cool for at least 2 hours before slicing to allow the filling to set.
Notes
- For a richer flavor, mix different types of apples.
- Serve warm with vanilla ice cream or whipped cream.
- Pie can be made a day in advance and stored at room temperature.

