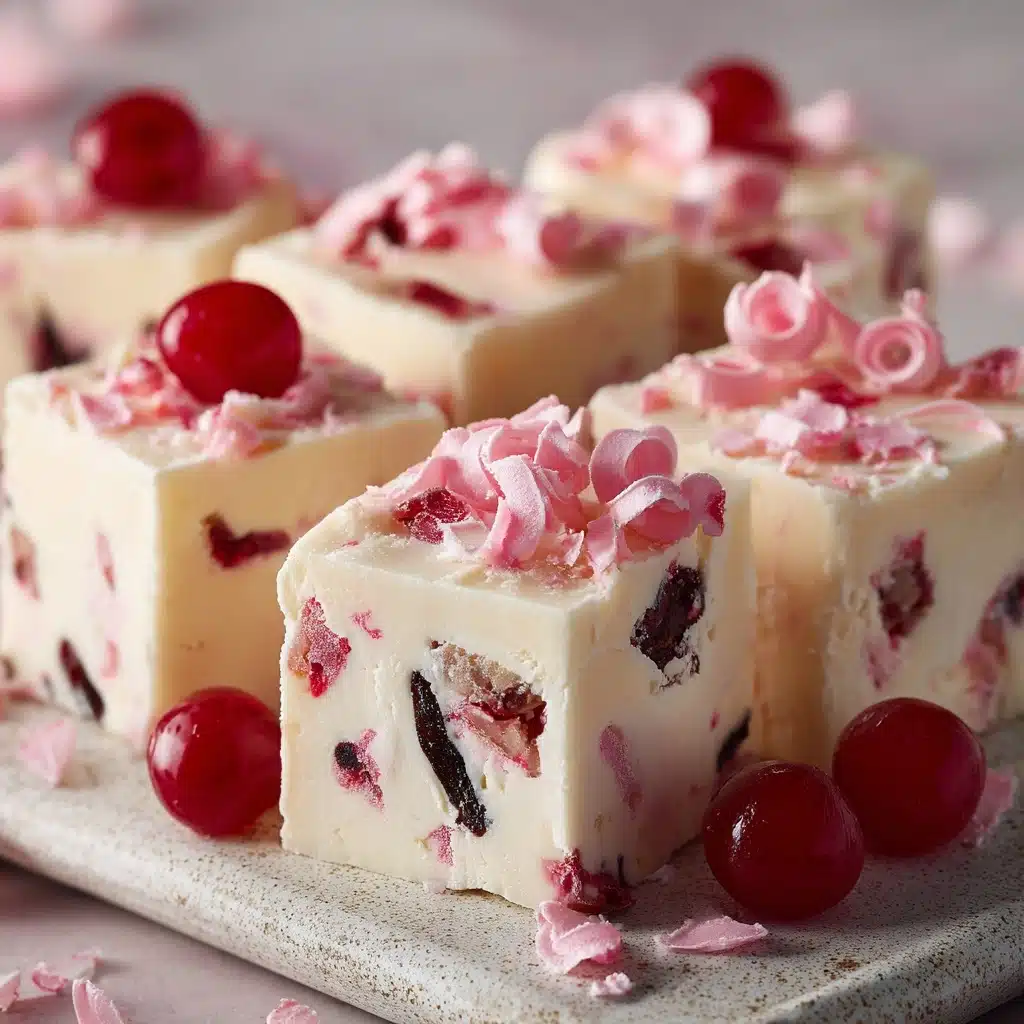
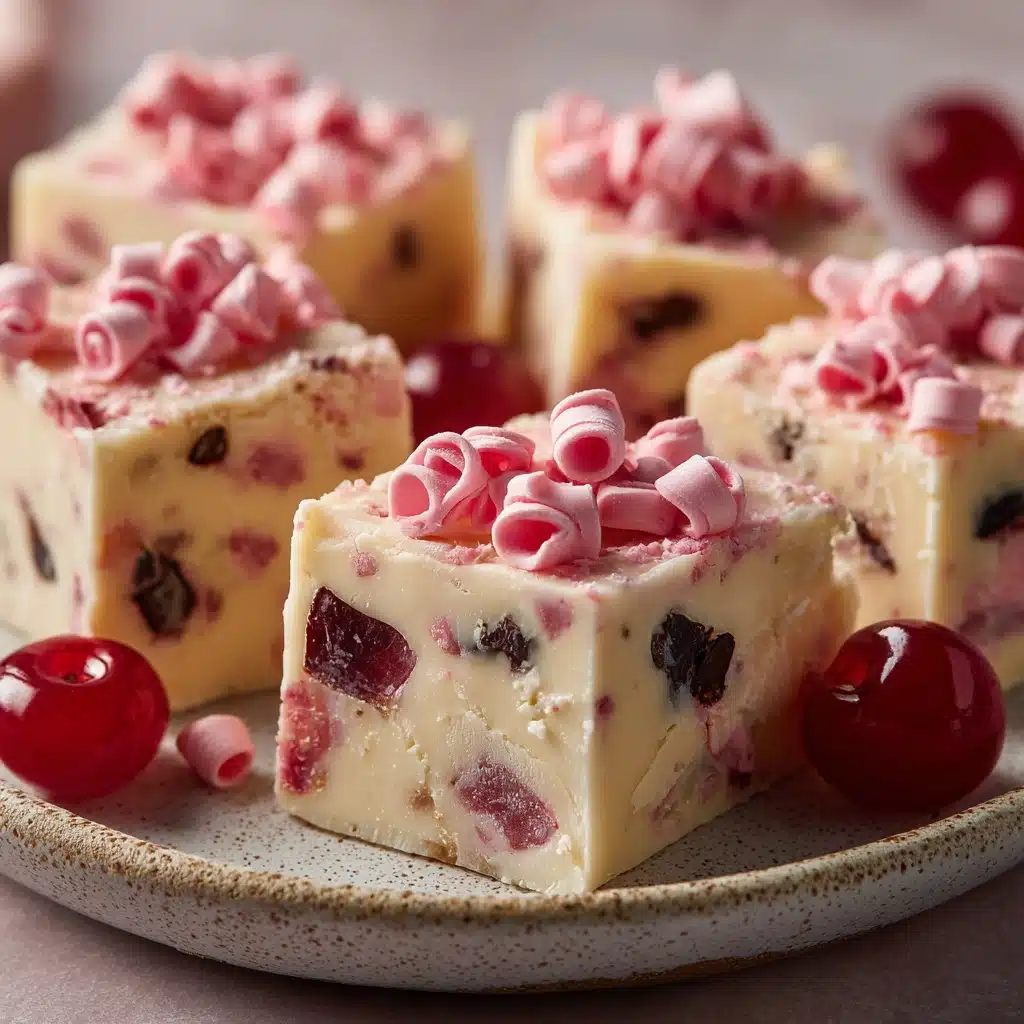
There’s something absolutely irresistible about White Chocolate Cherry Fudge—the buttery richness of white chocolate meets the vibrant, sweet-tart bursts of maraschino cherries in each melt-in-your-mouth bite. This festive treat is a showstopper at any gathering, whether you’re making it for the holidays or simply brightening up a Tuesday evening. Even with its stunning good looks and luxurious flavor, this fudge is wonderfully easy to make. If you’re looking for a foolproof, no-bake dessert that’s as impressive as it is delicious, you’re in for a sweet adventure!
Ingredients You’ll Need
Part of the magic of this White Chocolate Cherry Fudge is just how simple the ingredient list is. Each item pulls its weight to create a fudge that’s creamy, sweet, and perfectly balanced in flavor and texture. Here’s what you’ll need—and why each one matters.
- White chocolate chips: These are the creamy base of the fudge, giving it a smooth, rich texture and pale canvas for those cherry pops of color.
- Sweetened condensed milk: This wonder ingredient adds thickness, sweetness, and gives the fudge its signature melt-in-your-mouth consistency.
- Almond extract: Just a dash infuses a lovely, nutty aroma that beautifully compliments the cherries and chocolate.
- Salt: A tiny pinch helps balance all the sweetness and lets the other flavors really shine.
- Chopped maraschino cherries: The juicy, ruby-red gems are the stars of the show; just make sure they’re well-drained for perfect fudge texture.
- Chopped almonds or pecans (optional): Add a delightful crunch and toasty flavor contrast if you’re feeling nutty.
- Red food coloring (optional): A couple drops delivers a playful pink hue that makes the fudge even more eye-catching (especially for Valentine’s, baby showers, or Christmas trays!).
How to Make White Chocolate Cherry Fudge
Step 1: Prepare the Pan
Let’s start with the foundation—an 8×8-inch baking dish lined with parchment paper, with a light coating of grease. This step might seem small, but it guarantees your White Chocolate Cherry Fudge comes out of the pan smooth as silk and without sticking, making cutting and serving a snap.
Step 2: Melt the Chocolate and Milk
In a medium saucepan over low heat, combine your white chocolate chips and sweetened condensed milk. Stir gently and constantly; patience pays off here! As the chocolate slowly melts into the milk, you’ll see the mixture turn glossy and utterly inviting. This smooth foundation is the heart and soul of your fudge.
Step 3: Add Flavorings
Once your chocolate-milk mixture is perfectly silky, take it off the heat and quickly stir in the almond extract and salt. This is when the aroma becomes downright mouthwatering—the almond brings everything to life, while salt quietly turns up the flavor dial.
Step 4: Fold in Cherries and Nuts
Now for the fun part: fold in those well-dried, chopped maraschino cherries (and nuts, if you like a bit of crunch). Be gentle, so the cherries don’t bleed too much color right away. The sight of vibrant red jewels in the white base is so satisfying, and every chunk means fruity flavor in every bite!
Step 5: Tint and Finish
If you’d love a hint of pink, add a few drops of red food coloring now, gently swirling until it’s just the right blush. Pour this gorgeous mixture into your prepared pan and use a spatula to smooth the top—try not to swoon over how pretty it already looks!
Step 6: Chill and Cut
Patience is a virtue in fudge-making! Slide your pan into the fridge and let it chill for at least 3 hours. Once your White Chocolate Cherry Fudge is firm, lift it out using the parchment, set it on a cutting board, and slice into neat squares. Each little block is a bite of bliss!
How to Serve White Chocolate Cherry Fudge
Garnishes
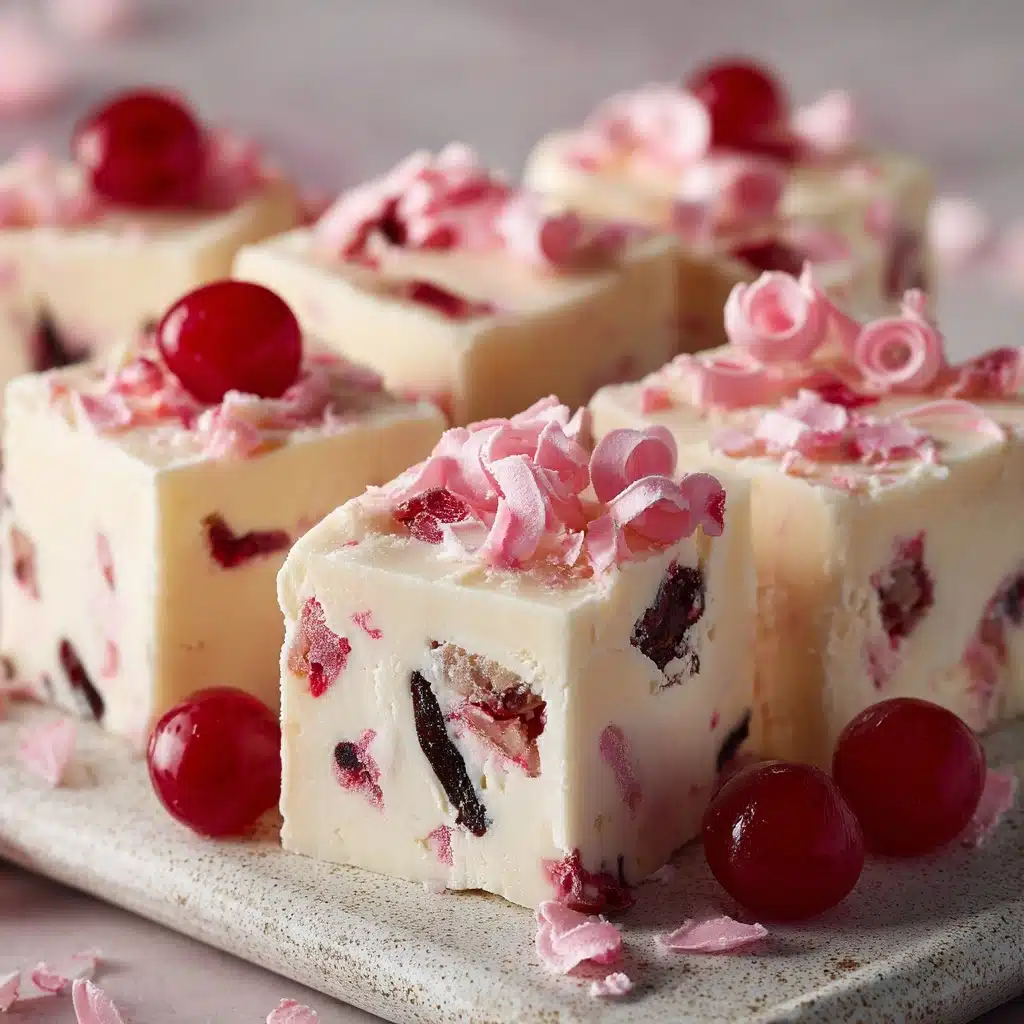
For a festive finish, consider topping your squares with a sprinkle of extra chopped nuts, a drizzle of melted white chocolate, or even a tiny cherry halve. These little touches bring a touch of elegance and hint at the flavors inside, making every piece even more tempting.
Side Dishes
White Chocolate Cherry Fudge plays wonderfully with both coffee and tea; the creamy sweetness balances robust or herbal notes. Try serving these fudge squares alongside a simple citrus fruit salad or with some fresh berries to keep the palate refreshed.
Creative Ways to Present
Pack your fudge into festive tins or gift boxes for holiday treats, stack them high on a party platter with raspberries and pistachios for color, or skewer cubes onto cocktail sticks for a playful dessert kebab. If you’re hosting, use doilies or cupcake liners for a charming touch!
Make Ahead and Storage
Storing Leftovers
Tuck your extra White Chocolate Cherry Fudge into an airtight container and store it in the fridge. Kept chilled, it stays wonderfully firm and fresh for up to a week, making it perfect for snacking, gifting, or sneaking an extra square after dinner.
Freezing
Want to save some for later? Simply wrap each piece individually in plastic wrap, then pop them all into a freezer-safe container. Your fudge will keep for up to two months—just thaw in the fridge overnight before enjoying.
Reheating
Good news: fudge actually tastes best straight from the fridge! If you prefer it slightly softer, just set your portion out for 15 minutes at room temperature before serving. No microwaving needed, and certainly no risk of melting your masterpiece.
FAQs
Can I use fresh cherries instead of maraschino cherries?
Fresh cherries can be used, but make sure to pit, chop, and dry them extremely well before adding to the mix—they’re much juicier and could make the fudge too soft if you’re not careful.
Do I have to add the nuts?
Not at all! The nuts are entirely optional. They add a nice crunch, but the fudge is just as dreamy and delicious without them, especially if you’re looking for a nut-free treat.
What if I don’t have almond extract?
No worries! Vanilla extract works nicely as a substitute. It gives the fudge a classic flavor, but if you can get almond extract, it really makes the White Chocolate Cherry Fudge sing.
How do I keep the fudge from sticking to the knife when cutting?
Run your knife under hot water and wipe it dry between cuts—this makes slicing through the fudge so much easier and gives you clean, bakery-worthy squares every time.
Can I double the recipe for a crowd?
Absolutely! Just use a 9×13-inch baking dish instead of the 8×8. There’s no shame in making a double batch—White Chocolate Cherry Fudge disappears quickly wherever it goes.
Final Thoughts
Making and sharing White Chocolate Cherry Fudge is a true joy—there’s a little bit of magic in every batch. Whether you’re gifting, entertaining, or just treating yourself, don’t miss the chance to whip up a pan of this creamy, fruity, cheerful fudge. You’ll be amazed by how easy it is, and even more delighted when you taste that first blissful bite!
Print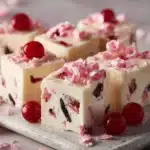
White Chocolate Cherry Fudge Recipe
- Prep Time: 15 minutes
- Cook Time: 5 minutes
- Total Time: 3 hours 20 minutes (including chilling)
- Yield: 36 small squares
- Category: Dessert
- Method: No-Bake
- Cuisine: American
- Diet: Vegetarian
Description
Indulge in the creamy sweetness of White Chocolate Cherry Fudge, a delightful treat perfect for holiday gatherings or a special dessert. This easy, no-bake recipe combines the richness of white chocolate with the fruity tang of maraschino cherries, creating a decadent fudge that melts in your mouth.
Ingredients
White Chocolate Cherry Fudge:
- 3 cups white chocolate chips
- 1 can (14 oz) sweetened condensed milk
- 1/4 teaspoon almond extract
- 1/8 teaspoon salt
- 3/4 cup chopped maraschino cherries (well-drained and patted dry)
- 1/2 cup chopped almonds or pecans (optional)
- Red food coloring (optional for a pink tint)
Instructions
- Prepare the Fudge Mixture: Line an 8×8-inch baking dish with parchment paper and lightly grease it. In a medium saucepan over low heat, combine white chocolate chips and sweetened condensed milk. Stir constantly until the mixture is melted and smooth.
- Add Flavors: Remove from heat and stir in almond extract and salt. Gently fold in the chopped cherries and nuts, if using. For a pink color, add a few drops of red food coloring and stir until evenly tinted.
- Chill and Serve: Pour the mixture into the prepared pan and smooth the top. Chill in the refrigerator for at least 3 hours or until firm. Once set, lift the fudge out of the pan and cut into squares.
Notes
- Make sure the cherries are thoroughly dried to prevent the fudge from becoming too soft.
- Store in an airtight container in the refrigerator for up to 1 week.

