
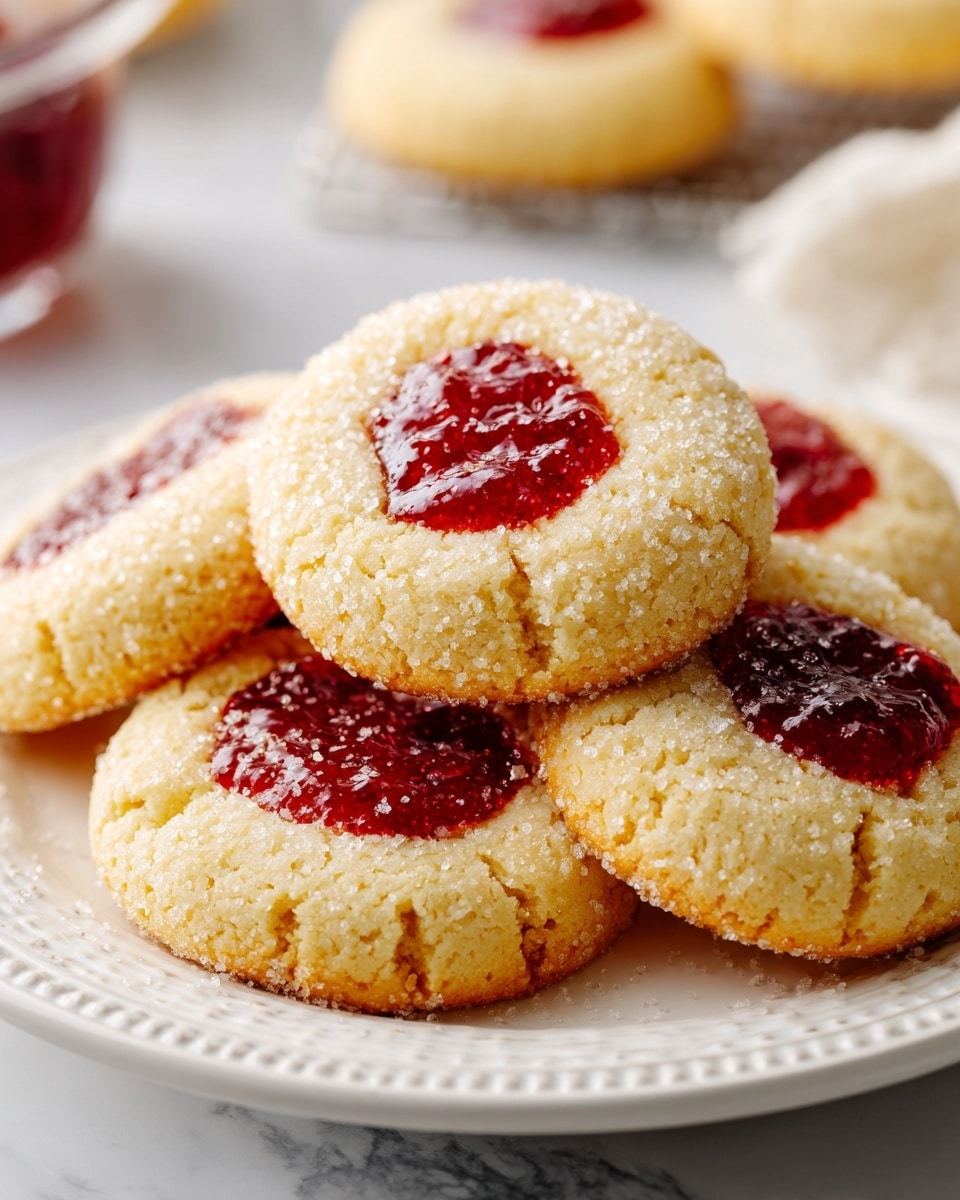
If you have a sweet tooth and love a cookie that’s both charming and delicious, this Thumbprint Cookies Recipe is an absolute must-try. These buttery, tender cookies with their signature little jam-filled centers combine simplicity with a burst of flavor that’s just perfect for any occasion. With a crisp edge, soft middle, and just the right touch of fruity sweetness, these cookies are a delightful treat that are as fun to make as they are to eat.

Ingredients You’ll Need
Gathering these ingredients is super easy, and each one plays a vital role in crafting the perfect thumbprint cookie. From the buttery base that gives the cookie its tender crumb, to the sugar that adds a gentle sweetness and crunch, every element is essential for that satisfying bite.
- 1 cup unsalted butter, room temperature: Softened butter ensures a smooth dough and moist texture in the finished cookie.
- ⅔ cup granulated sugar: Adds sweetness and helps create that slightly crisp exterior.
- 1 teaspoon vanilla extract or almond extract: A touch of flavor that elevates the cookie without overpowering the jam center.
- ½ teaspoon kosher salt: Balances the sweetness and enhances all other flavors.
- 2 cups all-purpose flour: The base of the dough, providing structure and the perfect crumb.
- ¼ cup jam (apricot and seedless raspberry recommended): The star of the cookies’ centers, adding vibrant color and fruity goodness.
- ⅓ cup granulated sugar (for coating): Gives the outside a crunchy, sweet shell that contrasts beautifully with the soft inside.
How to Make Thumbprint Cookies Recipe
Step 1: Cream the Butter and Sugar
Start by beating the room temperature butter and granulated sugar in a stand mixer fitted with a paddle attachment. This step is key for creating a light, creamy texture that will make your cookies tender and flavorful. Beat for about 2 to 3 minutes on medium speed until the mixture looks fluffy and pale.
Step 2: Add Extract and Salt
Next, bring in your chosen extract—vanilla or almond—and a pinch of kosher salt. These ingredients add depth to the cookie’s flavor profile, balancing the sweetness and giving the dough a pleasant aroma. Mix until fully combined.
Step 3: Incorporate the Flour
Scrape down the sides of your bowl to keep everything even, then reduce the mixer speed to low. Gradually add the all-purpose flour, mixing just until the dough comes together. You may want to finish combining the dough gently by hand to make sure everything is fully integrated without overworking it.
Step 4: Chill the Dough
At this point, gather your dough into a ball and wrap it tightly in plastic wrap. Refrigerate it for at least one hour; chilling firms up the dough, making it easier to handle and helping the cookies hold their shape during baking.
Step 5: Prepare for Baking
While your dough chills, preheat your oven to 350°F (175°C). Line your baking sheets with parchment paper to prevent sticking and make cleanup a breeze.
Step 6: Roll, Coat, and Create Indentations
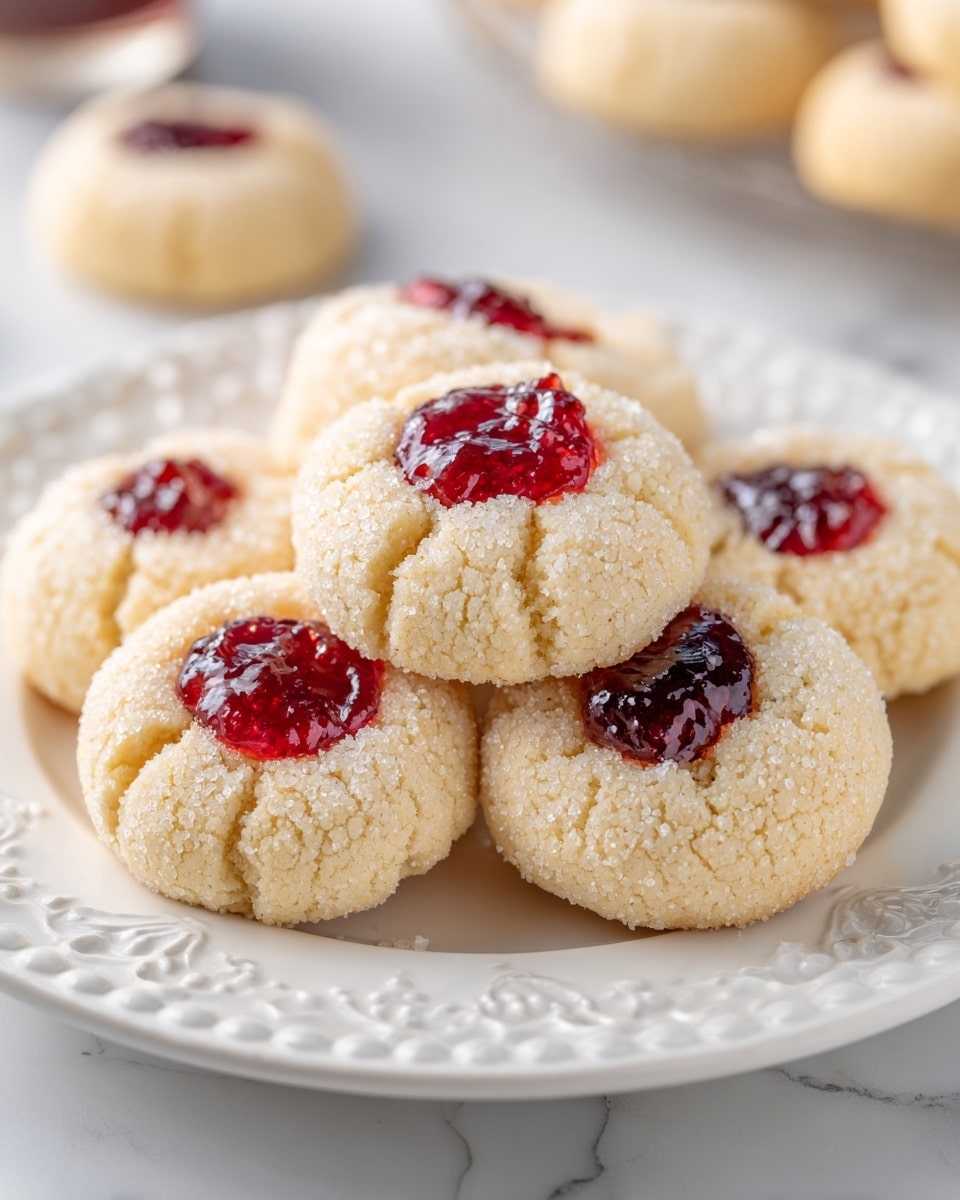
Place the ⅓ cup sugar for coating in a shallow bowl. Scoop out 1 tablespoon of dough at a time and roll into balls. Then, roll each ball in the sugar, ensuring a nice coating all around. Arrange the sugared dough balls on your prepared baking sheets, leaving room for spreading. Gently press your thumb into the center of each ball to create that classic indentation, ready to be filled with jam.
Step 7: Fill and Bake
Fill each thumbprint with about ½ teaspoon of your chosen jam—apricot and seedless raspberry jams are especially delightful. Bake for 14 to 15 minutes, just until the edges get a beautiful golden brown. After baking, let the cookies cool for a minute on the baking sheet before transferring them to a wire rack to cool completely.
How to Serve Thumbprint Cookies Recipe
Garnishes
Playing with garnishes can elevate your Thumbprint Cookies Recipe even more. Try sprinkling a tiny pinch of powdered sugar over the cooled cookies for a snowy effect. A small fresh mint leaf or a zest of lemon peel on the jam gives an aromatic pop that lovely surprises your guests.
Side Dishes
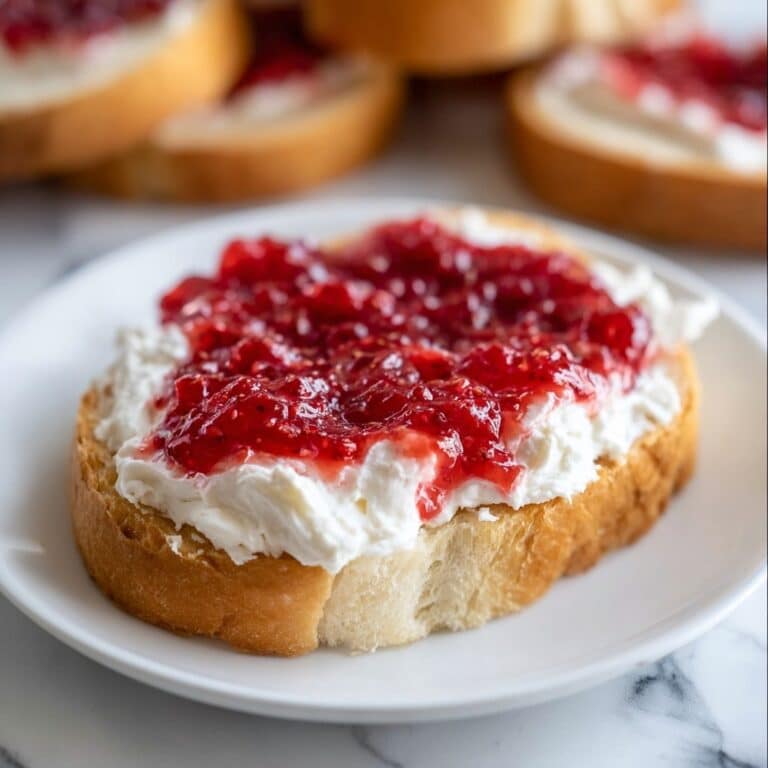
These cookies make a fantastic companion to a warm cup of tea, a rich hot chocolate, or even a chilled glass of milk. They complement fresh fruit bowls or light cheeses for a charming dessert spread that feels both cozy and elegant.
Creative Ways to Present
If you want to impress at parties, arrange your thumbprint cookies on a tiered dessert stand or a rustic wooden board with colorful jams in mini bowls alongside. Using assorted jam flavors in each cookie creates a vibrant and inviting display that’s sure to spark conversation.
Make Ahead and Storage
Storing Leftovers
You can keep leftover thumbprint cookies fresh by storing them in an airtight container at room temperature. They’ll stay soft and flavorful for up to a week, making them perfect for nibbling throughout your busy week.
Freezing
If you want to extend their life, these cookies freeze wonderfully. Arrange them in a single layer on a baking sheet to freeze initially, then transfer them to a freezer-safe container or zip-top bag. They’ll keep well for up to three months, ready for a quick indulgence anytime.
Reheating
Rewarm frozen or stored cookies briefly in a low oven (around 300°F / 150°C) for about 5 minutes to freshen them up. This brings back that freshly baked warmth without drying them out.
FAQs
Can I use other types of jam in the Thumbprint Cookies Recipe?
Absolutely! While apricot and seedless raspberry are classics, you can experiment with any jam you love—from strawberry to blueberry or even unique flavors like fig or pineapple. Just make sure the jam isn’t too watery to avoid soggy cookies.
What if I don’t have a stand mixer?
No worries! You can easily make these cookies by hand using a sturdy spoon or wooden spatula. Cream the butter and sugar in a large bowl until fluffy, then carefully mix in the remaining ingredients.
Can I make the dough ahead of time?
Yes, the dough can be prepared and refrigerated overnight. This actually enhances the flavors and makes forming the cookies even easier when you’re ready to bake.
Why do the cookies spread too much in the oven?
This usually happens if the butter is too soft or the dough has been overworked. Make sure your butter is just softened to room temperature and that you chill the dough before baking to help the cookies hold their shape.
How can I make these cookies gluten-free?
Swap the all-purpose flour for a gluten-free baking blend that’s designed for cookies. Keep the rest of the recipe the same, and you’ll have delicious gluten-free thumbprint cookies that everyone can enjoy.
Final Thoughts
Making this Thumbprint Cookies Recipe is a joyful experience that rewards you with gorgeous, tasty treats perfect for sharing or savoring on your own. The blend of buttery dough and luscious jam brings smiles every time, so go ahead and give these cookies a try—you’ll quickly see why they’re a beloved classic in any baker’s repertoire.
Print
Thumbprint Cookies Recipe
- Prep Time: 20 minutes
- Cook Time: 15 minutes
- Total Time: 1 hour 35 minutes
- Yield: 24 cookies
- Category: Dessert
- Method: Baking
- Cuisine: American
- Diet: Vegetarian
Description
These classic Thumbprint Cookies are tender, buttery, and perfectly sweetened with a delightful center of apricot or raspberry jam. Rolled in sugar for a little extra crunch, they make a charming and delicious treat ideal for holidays, tea time, or anytime you crave a flavorful homemade cookie.
Ingredients
Cookie Dough
- 1 cup unsalted butter, room temperature
- ⅔ cup granulated sugar
- 1 teaspoon vanilla extract or almond extract
- ½ teaspoon kosher salt
- 2 cups all-purpose flour
Filling and Coating
- ¼ cup jam (apricot and seedless raspberry recommended)
- ⅓ cup granulated sugar (for coating)
Instructions
- Beat Butter and Sugar: In a stand mixer bowl fitted with the paddle attachment, beat the unsalted butter and ⅔ cup granulated sugar on medium speed for 2-3 minutes until the mixture is light, fluffy, and creamy.
- Add Flavor and Salt: Mix in the vanilla or almond extract along with ½ teaspoon kosher salt until fully combined.
- Incorporate Flour: Scrape down the sides of the bowl, reduce mixer speed to low, and gradually add the 2 cups of all-purpose flour. Mix just until the dough forms, finishing any remaining mixing by hand to avoid overworking the dough.
- Chill Dough: Shape the dough into a ball, wrap it tightly in plastic wrap, and refrigerate for 1 hour to firm up, which helps in shaping the cookies later.
- Prepare Oven and Baking Sheets: Preheat your oven to 350°F (175°C) and line baking sheets with parchment paper to prevent sticking and ensure even baking.
- Shape and Coat Cookies: Pour ⅓ cup of granulated sugar into a shallow bowl. Scoop about 1 tablespoon of chilled dough and roll it into a smooth ball. Roll each dough ball thoroughly in the sugar until coated, then place on the prepared baking sheet, spacing them apart.
- Create Thumbprints and Fill: Use your thumb to press an indentation in the center of each sugar-coated dough ball. Fill the resulting indentation with about ½ teaspoon of your preferred jam, such as apricot or seedless raspberry.
- Bake Cookies: Bake the cookies in the preheated oven for 14-15 minutes or until the edges just begin to turn golden brown, indicating they are perfectly baked.
- Cool: Let the cookies cool on the baking sheet for 1 minute after removing from the oven, then transfer to a wire rack to cool completely before serving or storing.
Notes
- Ensure the butter is at room temperature before creaming to achieve a light and creamy texture.
- For the filling, choose seedless jams to keep the cookies smooth and easier to eat.
- Do not overmix once the flour is added to keep the cookies tender.
- Press the thumb indentation firmly but not too deeply to avoid breaking the cookie base.
- Store cooled cookies in an airtight container to maintain freshness for up to a week.
- These cookies freeze well — freeze unbaked dough balls or baked cookies, then thaw before serving.


