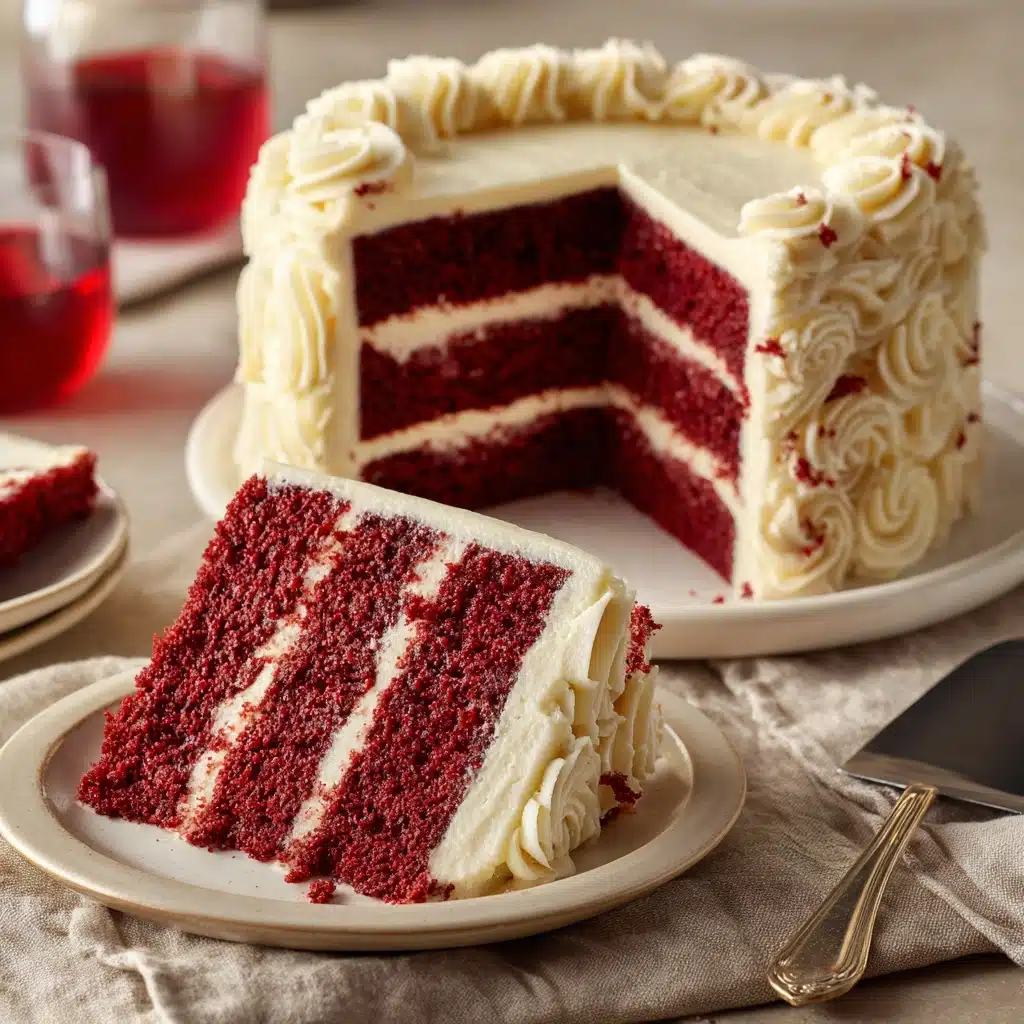
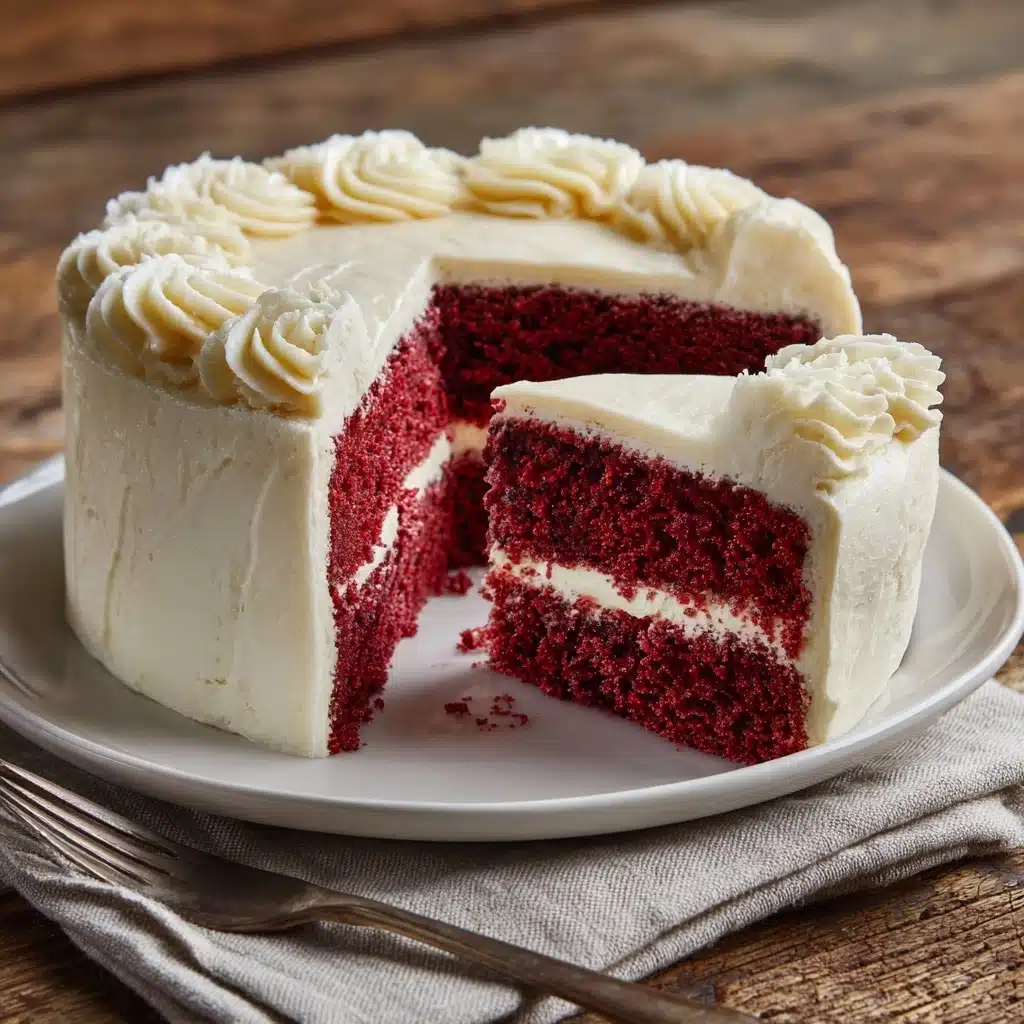
If you’ve been dreaming of a lush, velvety cake that tastes just as stunning as it looks, The BEST Red Velvet Cake is about to become your dessert obsession. This classic American treat balances a subtle cocoa richness and signature tang with an impossibly tender crumb. It’s all wrapped up in a glorious swirl of luscious cream cheese frosting. Every slice is a reason to celebrate, making it perfect for birthdays, holidays, or simply whenever your sweet tooth strikes. With the perfect touch of color and flavor, this is a recipe you’ll come back to again and again.
Ingredients You’ll Need
Every element in The BEST Red Velvet Cake recipe has a special role, from building structure to giving that signature taste and iconic plush red color. These simple ingredients are the secret to making a truly unforgettable homemade cake.
- All-purpose flour: Provides the cake’s light yet sturdy structure, helping each layer hold up to all that glorious frosting.
- Unsweetened cocoa powder: Adds a hint of chocolate flavor that sets red velvet apart from ordinary vanilla cakes.
- Baking soda: Gives the cake its beautiful rise, making sure each bite is fluffy.
- Salt: Enhances every flavor in the cake and keeps it from tasting flat.
- Unsalted butter (softened): Creates richness and moisture, and makes the crumb melt-in-your-mouth soft.
- Granulated sugar: Sweetens the cake with just the right balance for red velvet’s signature subtlety.
- Large eggs: Bind everything together and add tenderness.
- Buttermilk: Lends a tangy flavor and reacts with vinegar and baking soda for that perfect, fluffy texture.
- Sour cream: Makes the cake extra moist and amps up the tangy notes.
- Red food coloring: Provides that iconic deep red hue—don’t be shy, this is that wow factor!
- Vanilla extract: Adds warmth and rounds out the cocoa notes.
- White vinegar: Boosts the tang and helps with the cake’s leavening magic.
- Cream cheese (softened): For the frosting, this brings a creamy tangy base that pairs perfectly with the cake.
- Unsalted butter (softened): Whipped into the frosting, this makes it extra rich and luscious.
- Powdered sugar: Gives the cream cheese frosting its cloudlike texture and sweet taste.
- Vanilla extract: Enhances the flavor of the cream cheese frosting, making it utterly addictive.
How to Make The BEST Red Velvet Cake
Step 1: Prep the Pans and Preheat the Oven
Kick off your baking adventure by preheating your oven to 350°F (175°C)—giving it time to warm up ensures perfect, even baking. Prepare two 9-inch round cake pans by greasing and flouring them, then line the bottoms with parchment paper. This little extra step guarantees your cake layers will slip right out when cooled, no stressful crumbling or sticking.
Step 2: Sift the Dry Ingredients
Grab a medium bowl and sift together the all-purpose flour, unsweetened cocoa powder, baking soda, and salt. Sifting not only removes any pesky lumps but also helps these essentials blend together evenly. This is key for a seamless, delicate crumb in The BEST Red Velvet Cake.
Step 3: Cream Butter and Sugar
In a large bowl, beat the softened butter and granulated sugar together until the mixture is light, pale, and wonderfully fluffy. This part is all about incorporating air—remember, patience pays off. The fluffier this mixture, the more tender your cake will be in the end.
Step 4: Add Eggs and Wet Ingredients
Now, beat in the eggs one at a time, making sure each is fully mixed in before you add the next. Stir in the buttermilk, sour cream, red food coloring, vanilla, and vinegar. At first, the batter will look vibrant and dramatic—just as it should. The combination of buttermilk and vinegar is a classic red velvet must for that tangy depth.
Step 5: Combine Wet and Dry
Gradually add the sifted dry ingredients into the wet mixture, mixing gently until just combined. Resist the urge to over-mix! The batter should be smooth and glossy. This step ensures the cake keeps its pillow-soft texture and doesn’t get tough.
Step 6: Bake the Cake
Divide the batter evenly between your two prepared pans and smooth the tops. Slide them into your preheated oven and bake for 30 to 35 minutes. You’ll know the cakes are ready when a toothpick inserted in the center comes out with just a few moist crumbs. Let the cakes cool in the pans for 10 minutes before gently turning them out onto wire racks to finish cooling completely—this prevents sticking and keeps the layers super tender.
Step 7: Make the Cream Cheese Frosting
While the cakes cool, beat together the softened cream cheese and butter until creamy and smooth. Slowly add the powdered sugar and vanilla extract, whipping everything together until the frosting is gorgeously fluffy and easy to spread. It should hold its shape but still feel light and airy—if it’s too runny, pop it in the fridge for a few minutes.
Step 8: Assemble and Frost
Once your cakes are completely cool, place one layer on a serving plate and spread a generous amount of frosting over the top. Stack the second layer and cover both the top and sides with more cream cheese frosting using an offset spatula for a beautifully smooth finish. For the ultimate slice, chill the cake before serving for about 30 minutes—this helps achieve clean, picture-perfect cuts every single time.
How to Serve The BEST Red Velvet Cake
Garnishes
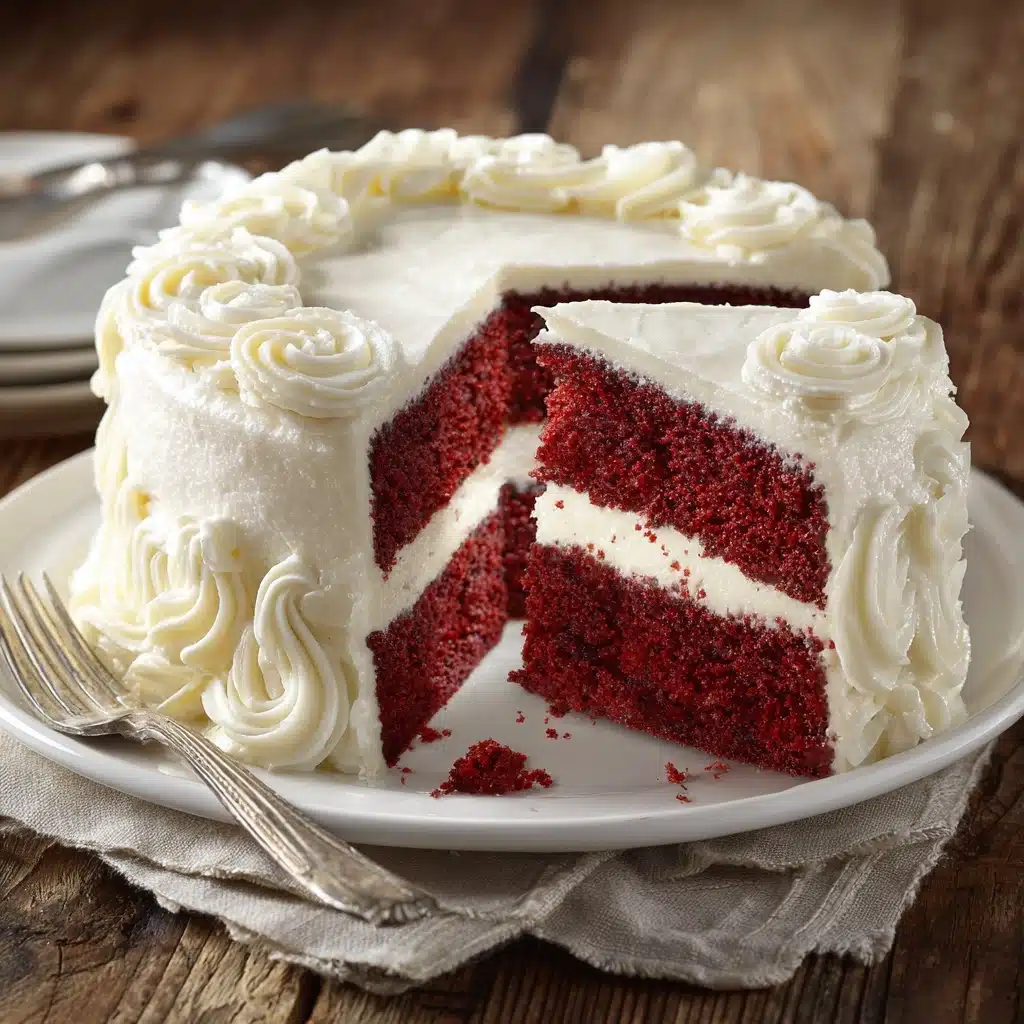
Dressing up The BEST Red Velvet Cake is half the fun! Try sprinkling red velvet cake crumbs over the top for a playful, classic look, or go for a sophisticated finish with chocolate shavings or white chocolate curls. If you’re feeling festive, a scatter of fresh berries or edible flowers can take your layer cake from gorgeous to absolutely stunning.
Side Dishes
This showstopper cake pairs beautifully with a scoop of vanilla ice cream, which adds extra creaminess to every bite. For a refreshing contrast, serve with fresh raspberries or sliced strawberries. A hot cup of coffee or a glass of cold milk can balance the richness and make dessert feel even more indulgent.
Creative Ways to Present
Get creative with your presentation! Bake the batter as cupcakes for a playful party treat, or use a heart-shaped pan for special occasions. Want a rustic touch? Try a “naked cake” look by leaving the sides semi-exposed for a modern, bakery-style finish. Tiny individual trifles layered in glass jars are adorable for picnics or favors, too.
Make Ahead and Storage
Storing Leftovers
To keep The BEST Red Velvet Cake fresh, cover it tightly with plastic wrap or store it in an airtight cake container in the refrigerator. The cream cheese frosting helps seal in moisture, allowing your cake to stay delicious for up to five days. Just let it come to room temperature before serving for the perfect texture.
Freezing
If you want to plan ahead, both the unfrosted cake layers and the frosted cake freeze beautifully. Wrap each cooled unfrosted layer tightly in plastic and foil, then freeze for up to 2 months. For a fully assembled (frosted) cake, pop the whole thing in the freezer until the frosting is firm, then wrap carefully. Thaw in the refrigerator overnight for best results.
Reheating
Cake is best enjoyed at room temperature, so simply let slices sit out for 30 minutes before serving. If you prefer a slightly warmer cake, microwave individual slices for 5 to 10 seconds—just long enough to lose the chill, but not so much that the frosting melts away.
FAQs
What makes The BEST Red Velvet Cake different from a chocolate cake?
Red velvet cake contains a small amount of cocoa for a hint of chocolate, but its unique tangy flavor comes from the combination of buttermilk, vinegar, and cream cheese frosting. Plus, its vibrant color and extra-moist texture really set it apart from traditional chocolate cake.
Can I use natural food coloring instead of artificial red dye?
Absolutely! Beet juice or natural food colorings can be used for a lovely red hue. Just know the color may be a bit more subdued than with classic food coloring, but the flavor will remain just as delicious.
Can I make this cake as cupcakes?
Yes, The BEST Red Velvet Cake transforms beautifully into cupcakes. Simply divide the batter among lined muffin tins and bake for 18 to 20 minutes, or until a toothpick comes out clean. Cool fully before frosting for the best results.
Why do I need vinegar in the recipe?
Vinegar reacts with the baking soda and buttermilk, enhancing the cake’s rise and creating that classic tender crumb in red velvet cake. Don’t worry—the taste is subtle and just adds to the cake’s signature tang.
Can I make The BEST Red Velvet Cake ahead of time?
Definitely! You can bake the cake layers a day in advance, wrap them tightly, and frost the next day. The flavors meld and improve, and it’s actually easier to frost chilled cakes.
The BEST Red Velvet Cake: Final Thoughts
Baking The BEST Red Velvet Cake is a true labor of love—and oh, is it worth every moment! Each bite is a wonderful mix of color, texture, and rich flavor. Treat yourself and your loved ones to a cake that will quickly become your signature celebration recipe. Go ahead and give it a try—you might just fall in love with red velvet all over again.
Print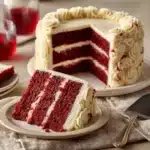
The BEST Red Velvet Cake Recipe
- Prep Time: 25 minutes
- Cook Time: 35 minutes
- Total Time: 1 hour 30 minutes (includes cooling)
- Yield: 12 servings
- Category: Dessert
- Method: Baking
- Cuisine: American
- Diet: Vegetarian
Description
Indulge in the rich, decadent flavors of the BEST Red Velvet Cake. This classic cake features moist layers of vibrant red cake paired with a luscious cream cheese frosting. Perfect for special occasions or any time you crave a slice of deliciousness.
Ingredients
Dry Ingredients:
- 2 1/2 cups all-purpose flour
- 2 tablespoons unsweetened cocoa powder
- 1 teaspoon baking soda
- 1/2 teaspoon salt
Wet Ingredients:
- 1 cup unsalted butter, softened
- 1 3/4 cups granulated sugar
- 2 large eggs
- 1 cup buttermilk
- 1/2 cup sour cream
- 2 tablespoons red food coloring
- 1 teaspoon vanilla extract
- 1 teaspoon white vinegar
Cream Cheese Frosting:
- 16 oz cream cheese, softened
- 1/2 cup unsalted butter, softened
- 4 cups powdered sugar
- 1 teaspoon vanilla extract
Instructions
- Preheat oven and prepare pans: Preheat oven to 350°F. Grease and flour two 9-inch round cake pans and line with parchment paper.
- Mix dry ingredients: In a medium bowl, sift together flour, cocoa powder, baking soda, and salt.
- Combine wet ingredients: In a large bowl, beat butter and sugar, then add eggs one at a time. Mix in buttermilk, sour cream, food coloring, vanilla, and vinegar.
- Add dry ingredients: Gradually mix in dry ingredients until just combined.
- Bake: Divide batter between pans and bake for 30–35 minutes, or until a toothpick comes out clean.
- Make frosting: Beat cream cheese and butter, then add powdered sugar and vanilla until smooth.
- Assemble: Frost cooled cakes and stack, then frost the entire cake.
Notes
- Chilling the cake before slicing ensures clean cuts.
- Top with red velvet crumbs or chocolate shavings for extra decoration.
- This recipe can also be made into cupcakes with adjusted baking time.

