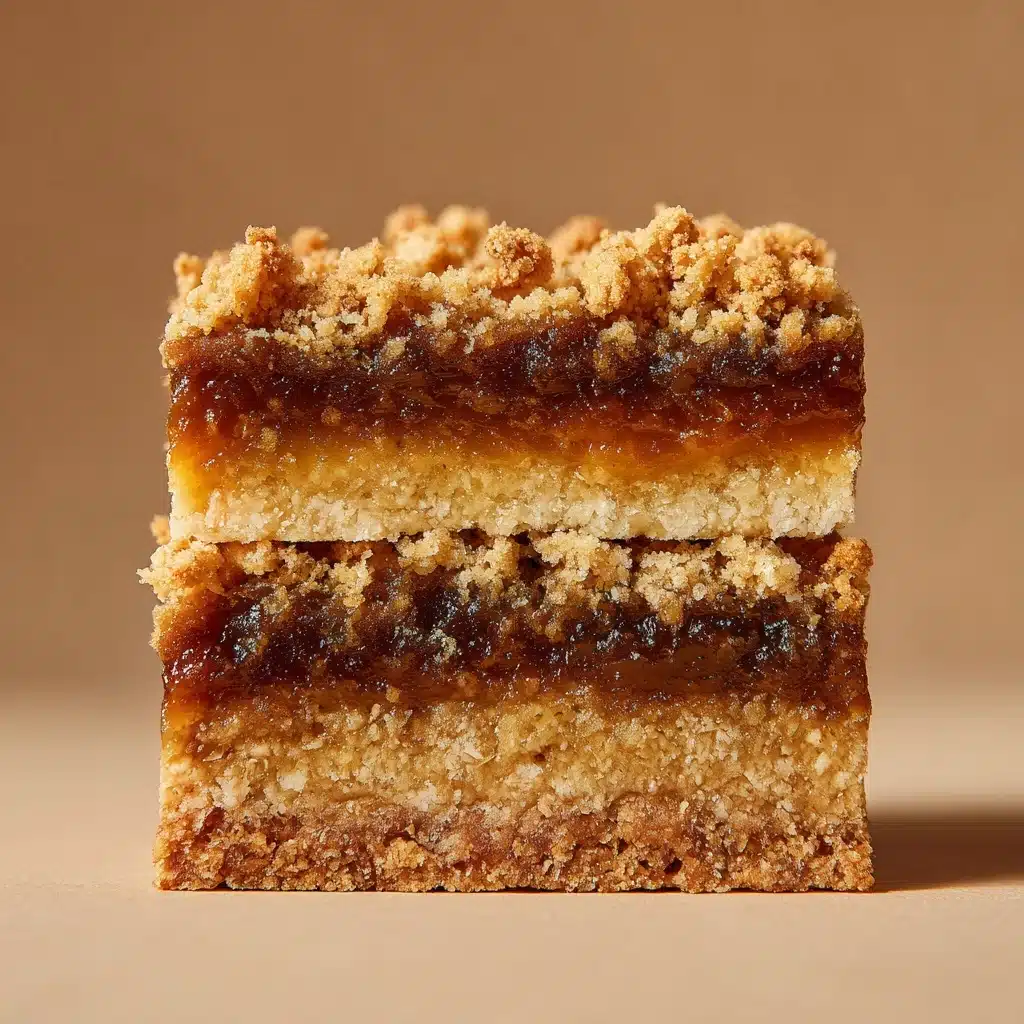
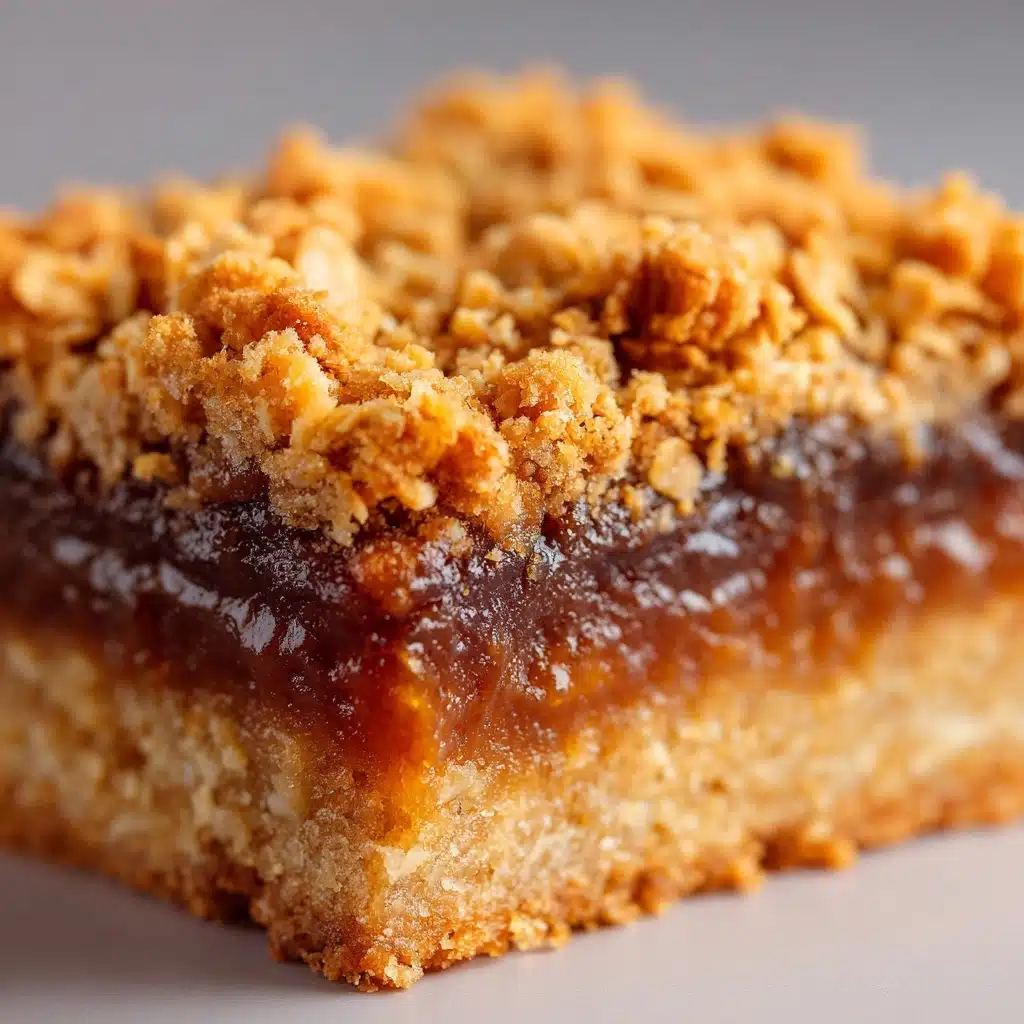
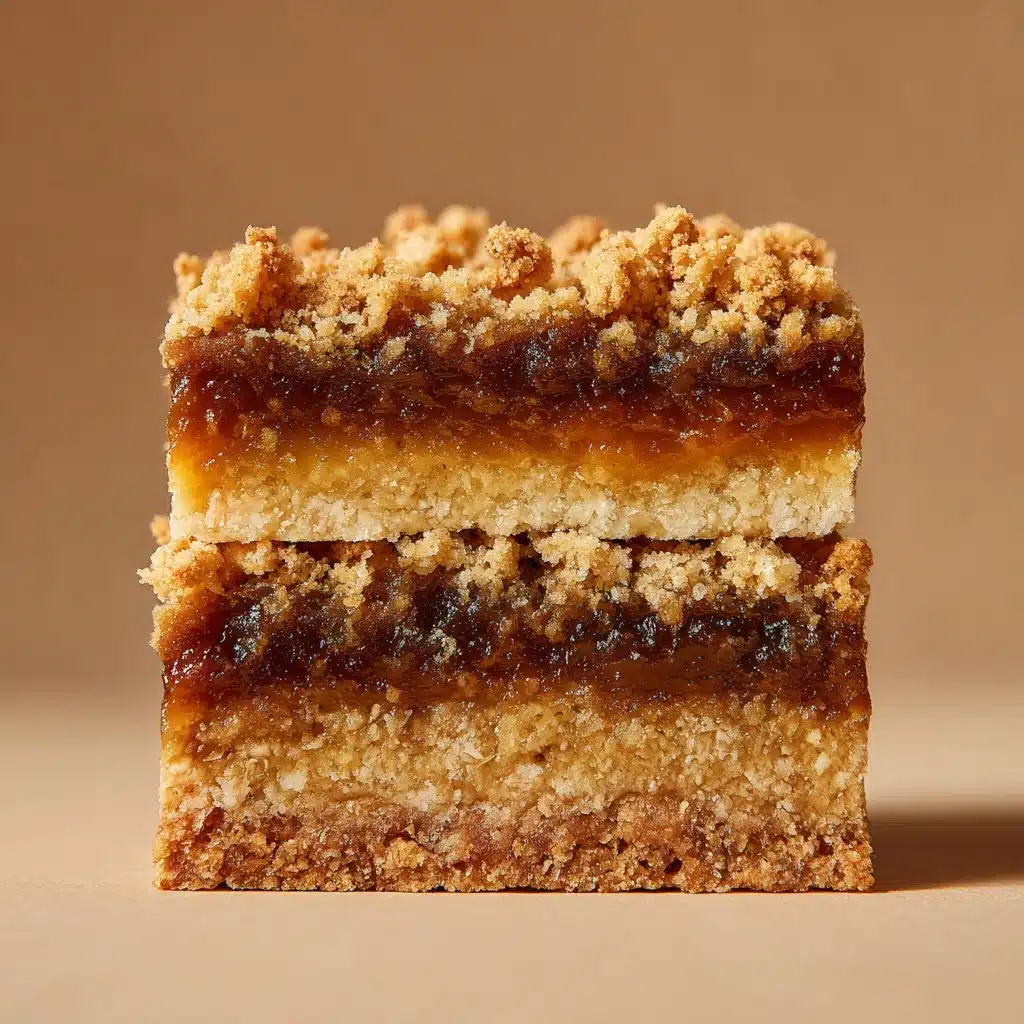
If you’ve never sunk your teeth into a chewy, gooey bar layered with buttery oats, rich chocolate, and a river of melty caramel, allow me to introduce you to The Best Carmelitas. This swoon-worthy treat is all about bold flavor and irresistible texture: think oozing caramel sandwiched between nutty, golden crumble and studded with chocolate chips. Whether for a cozy night in, a bake sale, or just because you deserve a little joy, these are the bars everyone will be begging you to bake again. Get ready for your new favorite dessert bar!
Ingredients You’ll Need
Every element in The Best Carmelitas is carefully chosen for a perfect balance of chewiness, goo, and crunch. Even better, the ingredients are straightforward and found in most kitchens, making it so easy to whip up a batch whenever cravings strike.
- Unsalted Butter (1 cup, melted): Gives the bars their luscious, rich base and makes the crust ultra-tender.
- Packed Brown Sugar (1 cup): Deepens the flavor with caramel tones and keeps the bars moist.
- Vanilla Extract (1 teaspoon): Boosts the overall aroma and rounds out the sweetness beautifully.
- All-Purpose Flour (1½ cups): Provides structure and helps the bars hold their delightful shape.
- Old-Fashioned Oats (1 cup): For a nutty, hearty texture and that classic carmelita chew.
- Baking Soda (½ teaspoon): Adds a bit of lift to keep things just the right level of soft.
- Salt (¼ teaspoon): Heightens all the flavors and balances the sweetness.
- Semisweet Chocolate Chips (1 cup): Melty pockets of chocolate that deliver a little bit of heaven in every bite.
- Chopped Pecans or Walnuts (¾ cup, optional): Add crunch and a toasty, nutty finish—feel free to leave them out if you prefer.
- Caramel Bits or Soft Caramels (1 (11 oz) bag or 1½ cups): The starring gooey layer that ties everything together.
- Heavy Cream (¼ cup): Helps the caramel melt smoothly and become gloriously pourable.
How to Make The Best Carmelitas
Step 1: Prep Your Pan and Oven
Start by preheating your oven to 350°F (175°C) and lining an 8×8-inch or 9×9-inch baking pan with parchment paper. This step might seem small, but it ensures your bars lift out of the pan effortlessly—so important for those gorgeous, tidy slices!
Step 2: Mix Up the Oatmeal Crust
In a large bowl, stir together the melted butter, brown sugar, and vanilla extract until everything is nice and combined. Add the flour, oats, baking soda, and salt next. Mix until a crumbly dough forms; this is the magic ingredient for that signature chewy-meets-crunchy carmelita texture.
Step 3: Par-Bake the Crust
Press half of the oatmeal dough evenly into your prepared pan, using your hands or the back of a spoon. Pop it into the oven for 10 minutes to give the base a head start—so your bars won’t turn out too soft under all that caramel goodness.
Step 4: Prepare the Caramel
While the crust is baking, add the caramel bits (or unwrapped caramels) and heavy cream to a small saucepan set over low heat. Stir gently and constantly until the mixture melts together and is completely smooth. This rich caramel sauce will infuse every bite with melt-in-your-mouth decadence.
Step 5: Layer on the Goodness
When your crust comes out of the oven, sprinkle the semisweet chocolate chips evenly over the hot base. If you love a bit of crunch, now’s the time to scatter on those chopped nuts, too. Pour the melted caramel evenly over the top, letting it get into every nook and cranny.
Step 6: Top and Bake Again
Crumble the remaining dough over the caramel layer in rustic, uneven clumps—don’t worry about perfection! Bake the bars again for 15 to 18 minutes, or until the topping is just turning golden. The aroma will be absolutely irresistible.
Step 7: Cool and Slice
Let the bars cool completely in the pan—resist the urge to slice too soon, or they’ll be messy! For the neatest squares, chill them in the fridge for at least an hour before cutting. Patience pays off with every perfectly layered bite of The Best Carmelitas.
How to Serve The Best Carmelitas
Garnishes
Sprinkle a touch of flaky sea salt over the top for that trendy sweet-and-salty combo, or add an extra handful of mini chocolate chips for a little razzle-dazzle. A drizzle of melted chocolate zigzagged over fully cooled bars adds a touch of elegance too.
Side Dishes
While The Best Carmelitas are truly a showstopper solo, they pair dreamily with a cold glass of milk or a hot mug of coffee. If you’re feeling extra, offer up a scoop of vanilla ice cream on the side and prepare for dessert bliss!
Creative Ways to Present
For gatherings, slice the bars into smaller cubes and pile them on a tiered serving tray or tuck them in mini cupcake liners for a festive twist. If gifting, layer the bars in a parchment-lined tin and tie on a ribbon for a present everyone will treasure.
Make Ahead and Storage
Storing Leftovers
Keep leftover bars in an airtight container at room temperature for up to 3 days. The caramel will stay soft and the oatmeal base remains chewy, making The Best Carmelitas a treat you’ll want to nibble day after day.
Freezing
If you’d like to stash some away for later, these bars freeze wonderfully. Wrap individual squares in plastic wrap and place them in a freezer bag or airtight container; they’ll keep for up to 2 months and thaw beautifully at room temp.
Reheating
To recapture that fresh-from-the-oven magic, warm a square in the microwave for about 10–15 seconds. The caramel will get ooey-gooey all over again—just watch out, it might be too tempting to stop at one!
FAQs
Can I use quick oats instead of old-fashioned oats?
Quick oats can work in a pinch, but for the best chewy texture and heartiness, old-fashioned oats are definitely the way to go for The Best Carmelitas.
What can I use if I don’t have caramel bits?
If you don’t have caramel bits, just use soft, chewy caramels cut into smaller pieces. They’ll melt down just as deliciously with the heavy cream.
Can I make The Best Carmelitas gluten free?
Yes! Swap out the all-purpose flour for your favorite 1:1 gluten-free baking blend, and ensure your oats are certified gluten free for bars everyone can enjoy.
How do I prevent the bars from sticking to the pan?
Using parchment paper to line your baking pan is key—it makes removing and slicing the bars a breeze. Make sure the paper goes up and over the sides for easy lifting!
Are these bars very sweet?
The Best Carmelitas are decadent, but the balance of oats and optional nuts keeps them from being cloying. If you prefer a less sweet version, try using bittersweet chocolate chips or reducing the added chocolate slightly.
Final Thoughts
Trust me, once you bake The Best Carmelitas, you’ll see why they’re legendary in so many kitchens. These bars are pure comfort and celebration in every chewy, caramel-dripping bite. Bake a batch soon, share them with someone you love (or treat yourself!), and let the smiles roll in.
Print
The Best Carmelitas Recipe
- Prep Time: 15 minutes
- Cook Time: 28 minutes
- Total Time: 1 hour (including cooling)
- Yield: 16 bars
- Category: Dessert
- Method: Baking
- Cuisine: American
- Diet: Vegetarian
Description
Indulge in the gooey, decadent goodness of these irresistible Carmelitas. A buttery oat and chocolate chip cookie crust layered with rich caramel and topped with more crumbly oat mixture. Perfect for satisfying your sweet tooth cravings!
Ingredients
For the Crust:
- 1 cup unsalted butter, melted
- 1 cup packed brown sugar
- 1 teaspoon vanilla extract
- 1½ cups all-purpose flour
- 1 cup old-fashioned oats
- ½ teaspoon baking soda
- ¼ teaspoon salt
For the Filling:
- 1 cup semisweet chocolate chips
- ¾ cup chopped pecans or walnuts (optional)
- 1 (11 oz) bag caramel bits or 1½ cups soft caramels
- ¼ cup heavy cream
Instructions
- Preheat Oven: Preheat oven to 350°F (175°C) and line an 8×8-inch or 9×9-inch baking pan with parchment paper.
- Mix Crust: In a large bowl, mix melted butter, brown sugar, and vanilla. Stir in flour, oats, baking soda, and salt to form a crumbly dough.
- Bake Crust: Press half of the dough into the pan and bake for 10 minutes.
- Prepare Filling: While crust bakes, melt caramel bits with heavy cream in a saucepan until smooth.
- Layer and Bake: Remove crust from oven, sprinkle with chocolate chips and nuts. Pour melted caramel over the top, then crumble remaining dough on top. Bake for 15–18 minutes until golden.
- Cool and Slice: Cool at room temperature or chill before cutting into bars.
Notes
- Refrigerate bars before cutting for easier slicing.
- Nuts can be omitted or substituted with dark chocolate chips.

