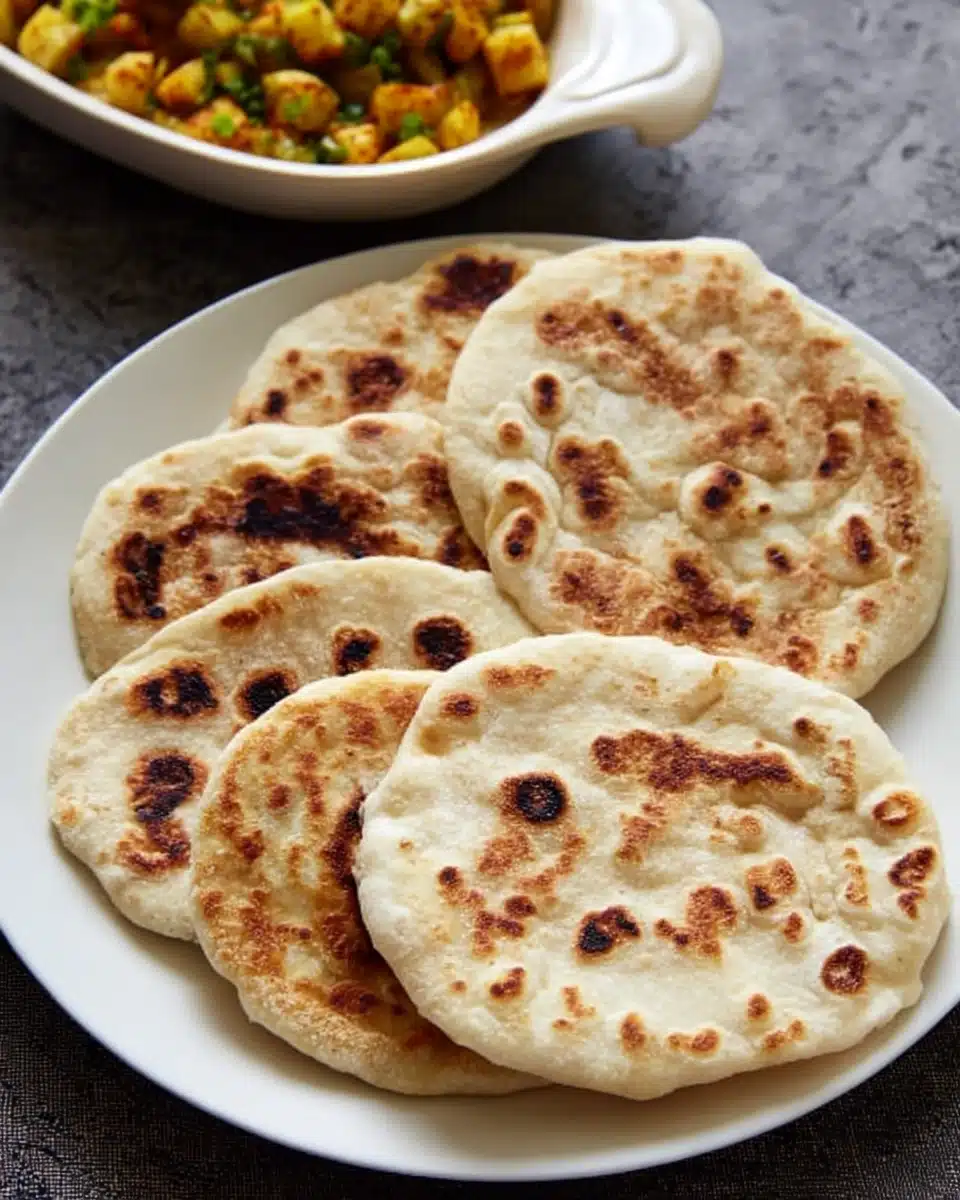
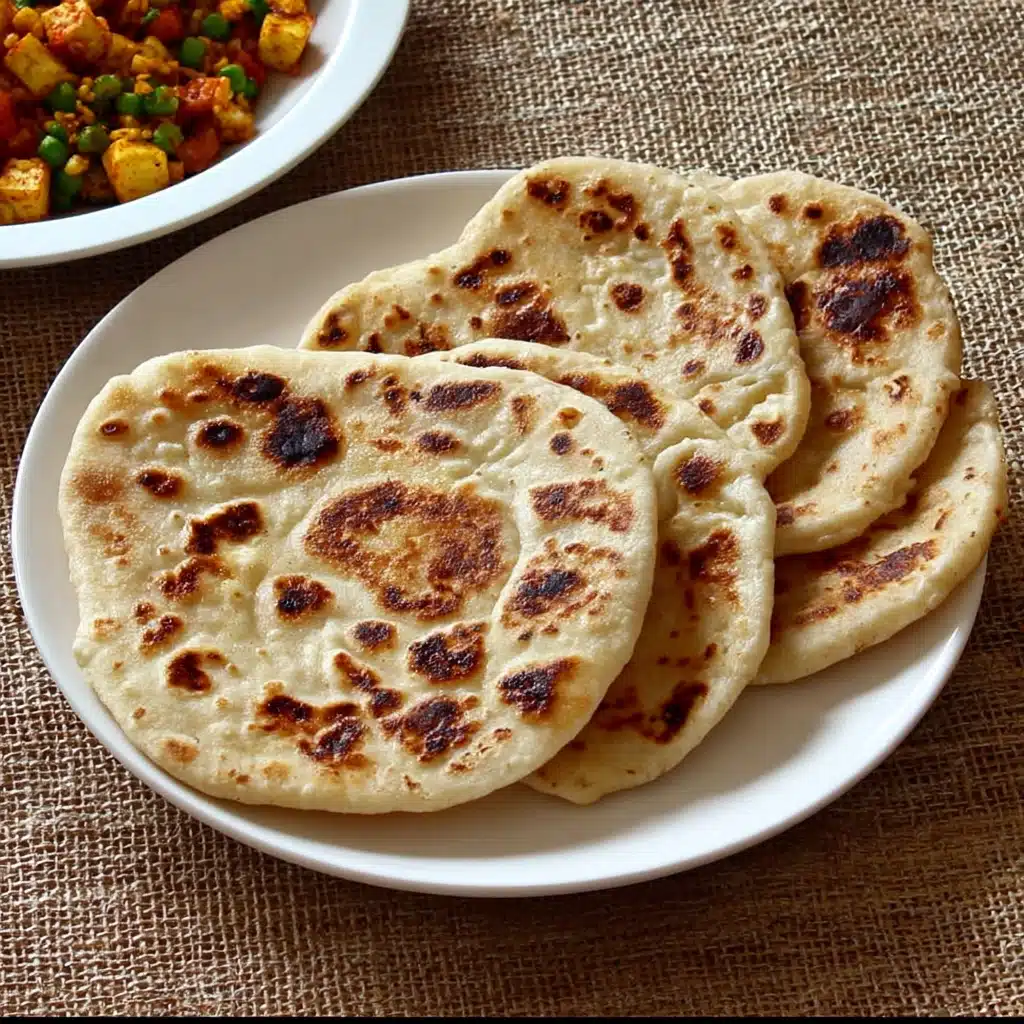
If you’ve ever wandered the bustling streets of Bangkok or visited a Thai night market, chances are you’ve caught sight of street vendors expertly flipping golden, crispy flatbreads on a sizzling griddle. That irresistibly flaky treat? It’s none other than THAI ROTI BREAD. Crispy on the outside, tender and chewy inside, and just sweet enough to keep you reaching for more, this bread is utterly addictive. Whether topped with rich condensed milk or stuffed with ripe bananas, it’s a soul-satisfying comfort food that’s wonderfully easy to make at home. Let’s dive in and bring a slice of Thai street food magic right into your own kitchen!
Ingredients You’ll Need
Gather just a handful of basic pantry staples, each playing a crucial role in ensuring your homemade THAI ROTI BREAD turns out just as soft, stretchy, and golden as the ones from Thailand. Simplicity is the secret here: every ingredient counts—there’s nowhere to hide!
- All-purpose flour: The main structure and backbone for your roti’s chewy bite.
- Sweetened condensed milk: Adds rich, subtle sweetness and that signature golden color.
- Egg: Gives the dough a lovely richness and helps create that soft, layered interior.
- Salt: Just a pinch makes the flavors pop and balances all the sweetness.
- Water: Helps bring the dough together; adjust for the perfect stretchiness and moisture.
- Unsalted butter or ghee: Essential for both inside the dough and frying, resulting in crispy layers.
- Vegetable oil: The secret to resting the dough, keeping it pliable and easy to stretch.
How to Make THAI ROTI BREAD
Step 1: Mix Up the Dough
Start by combining the all-purpose flour, salt, condensed milk, egg, and water in a large bowl. Mix everything gently until you have a shaggy dough, then knead it by hand for about 8 to 10 minutes—just until smooth and elastic. This process develops the gluten and guarantees your THAI ROTI BREAD gets those wonderful layers and that magical chewiness.
Step 2: Rest and Portion the Dough
Once your dough is smooth, portion it into small balls, roughly the size of golf balls. Coat each one lightly in oil and arrange them in a shallow dish. Cover with plastic wrap or a clean towel and let them rest at room temperature for at least 1 hour. This resting time relaxes the gluten, making the dough easy to stretch impossibly thin without tearing.
Step 3: Stretch It Out Super Thin
Rub your hands with a little oil, then gently flatten a dough ball on a greased work surface. Carefully pull and stretch the dough from the center outward, working it into a translucent circle. Don’t worry if it looks a bit rustic—the thinner, the better! This is what gives THAI ROTI BREAD its delicate, shatteringly crispy texture.
Step 4: Fold, Layer, and Fry
Dot the stretched dough with soft butter or ghee, then fold in the edges to form a rough square (or for a twist, tuck in banana slices or a sprinkle of sugar before folding). Gently transfer the folded dough to a hot, oiled pan or griddle. Fry over medium heat until golden and crisp on the bottom, then flip and cook the other side. Press lightly for extra crispness and a beautifully blistered finish.
Step 5: Serve it Hot and Fresh
Slide your THAI ROTI BREAD onto a cutting board and slice into bite-sized pieces while it’s still hot. For the traditional street food experience, drizzle with condensed milk and a scatter of sugar—or get playful with your favorite toppings. It’s truly at its best eaten moments after frying!
How to Serve THAI ROTI BREAD

Garnishes
Traditional THAI ROTI BREAD is a canvas for sweet and creamy toppings. Drizzle with sweetened condensed milk, dust with extra sugar, or sprinkle with toasted sesame seeds for a hint of crunch. You can even scatter shredded coconut or chopped nuts for an irresistible street food finish.
Side Dishes
If you’re making THAI ROTI BREAD part of a meal, pair it with a small bowl of curry for dipping—massaman or green curry is especially nice for a savory-sweet balance. Or enjoy alongside fresh tropical fruit for a refreshingly simple side.
Creative Ways to Present
Why not use THAI ROTI BREAD as a playful dessert? Fill it with caramelized bananas before folding, or serve a stack alongside scoops of coconut ice cream for a show-stopping treat. Rolled up and cut sushi-style, it becomes a fun finger food for parties or picnics.
Make Ahead and Storage
Storing Leftovers
If you have leftover THAI ROTI BREAD, let them cool completely before storing in an airtight container at room temperature for up to one day. They’ll lose some crispness, but a quick reheat can bring back a bit of that fresh-from-the-pan magic.
Freezing
For longer storage, freeze cooked roti pieces between layers of parchment paper in a sealed zip-top bag. They’ll keep beautifully for up to two months and make the perfect last-minute treat when cravings strike.
Reheating
Reheat THAI ROTI BREAD in a dry skillet over medium heat for a minute or two per side, or pop them in a warm oven. This helps crisp up the layers again—microwaving is handy but can make them a bit soft, so a quick pan-fry is best when possible.
FAQs
Can I make THAI ROTI BREAD without eggs?
Absolutely! Leave the egg out if you prefer an egg-free version; just add a touch more water to bring the dough together. The result will be slightly less rich, but still deliciously authentic.
Is it difficult to stretch the dough thinly?
It might seem tricky at first, but letting the dough rest really does the hard work for you. After resting, the dough becomes soft and elastic, making it surprisingly easy to stretch super thin—even if you’re new to roti-making!
Can I add chocolate or fruit fillings?
Yes, and that’s what makes THAI ROTI BREAD so much fun! Try tucking in sliced bananas, strawberries, or your favorite chocolate spread before folding and frying for a sweet twist that’s always a crowd-pleaser.
What oil should I use for frying?
Stick with a neutral, high-heat oil like vegetable or canola for frying—the mild flavor lets the buttery layers and sweet toppings shine through. A touch of butter or ghee in the pan adds extra richness and that signature street food aroma.
How long does it take from start to finish?
Including the essential resting time, you should set aside about two hours. Most of that time is hands-off while the dough relaxes, so you can prepare toppings or other dishes in the meantime!
Final Thoughts
There’s something truly special about tearing into warm, just-fried THAI ROTI BREAD, whether you’re reliving travel memories or discovering it for the first time. Give this recipe a try, play with toppings, and savor every flaky bite—you might just find it becomes a new favorite in your kitchen, too!


