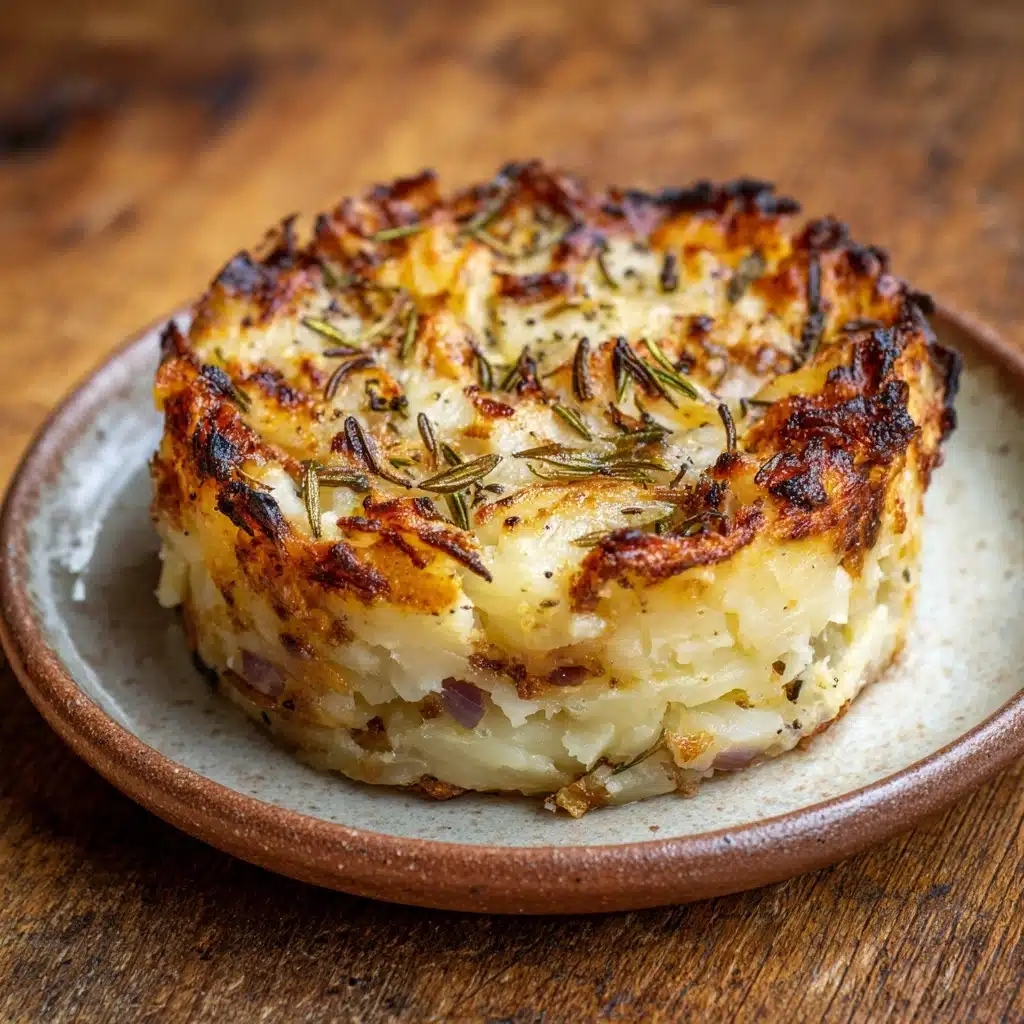
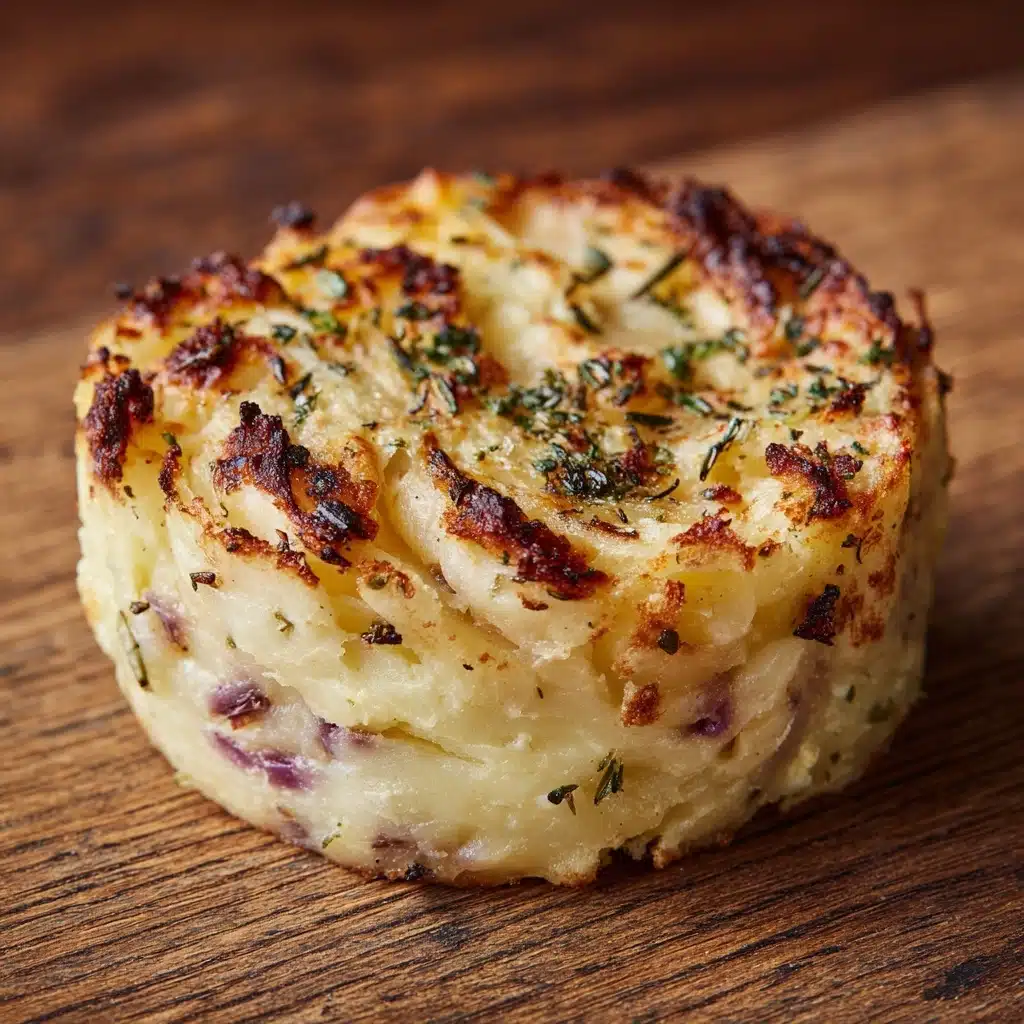
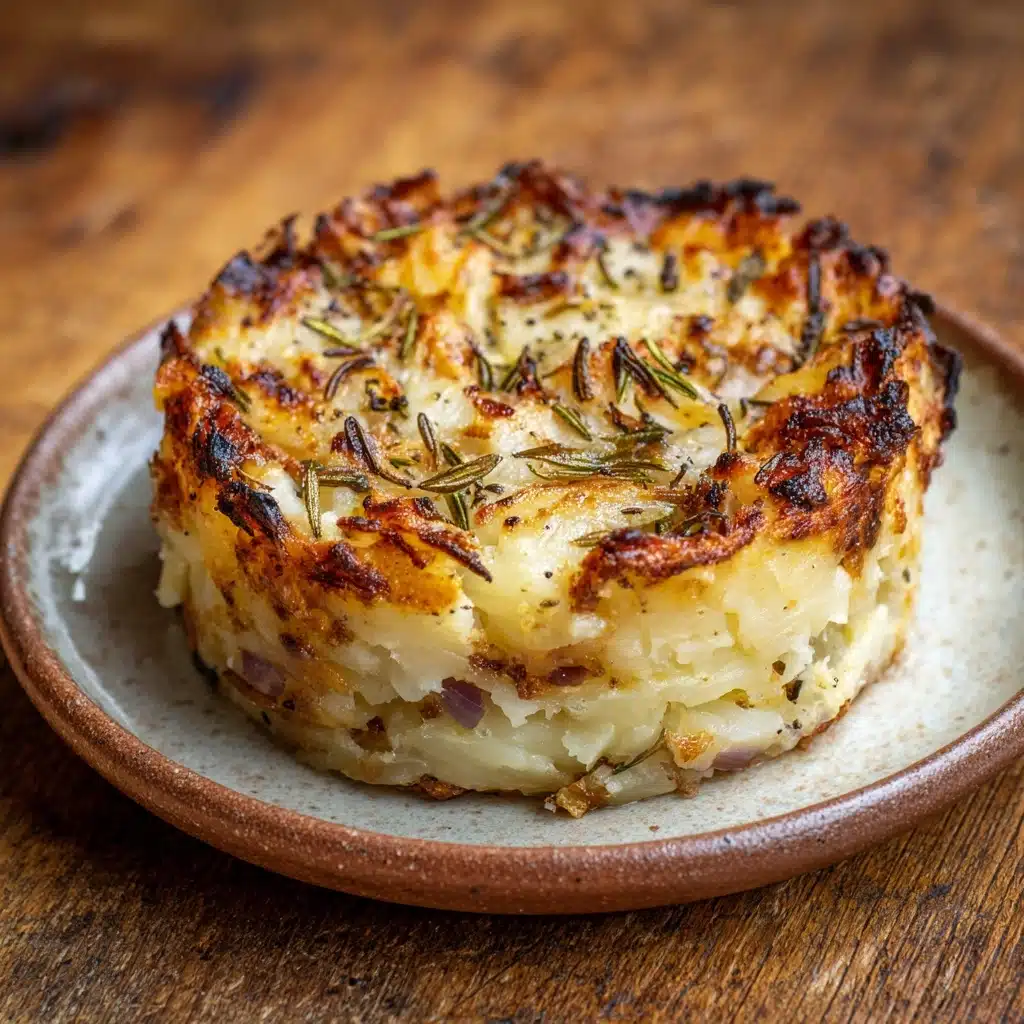
If you’re looking for a delightful way to turn simple ingredients into something magical, Stuffed Mashed Potato Nests are just the ticket! These adorable savory bites combine creamy mashed potatoes, cozy cheese, and pops of color from ham and veggies, all baked into individual nests that are as charming as they are delicious. Whether you’re aiming to impress at brunch, whip up a kid-friendly dinner, or use up leftover spuds in a showstopping way, these little nests are endlessly customizable and packed with flavor.
Ingredients You’ll Need
The beauty of Stuffed Mashed Potato Nests is how each ingredient, as humble as it may seem, weaves its own magic into the dish. From the fluffy potatoes to the gooey cheese and savory filling, every item is essential for achieving the ultimate comfort food experience with minimal fuss.
- Mashed potatoes (3 cups): Well seasoned and cooled, these form the creamy, sturdy base of your nests and are ideal for using up leftovers!
- Large egg (1): Holds the mixture together and helps the nests set beautifully in the oven.
- Shredded cheddar cheese (1/2 cup): Adds sharpness and a delicious melt to the potatoes.
- Garlic powder (1/4 teaspoon): Lends a gentle, savory undertone to the nests.
- Black pepper (1/4 teaspoon): A pinch wakes up all the flavors—freshly ground if possible.
- Salt (1/4 teaspoon): Enhances everything—be sure to taste your mash and adjust as needed.
- Frozen peas and carrots, thawed (1/2 cup): A burst of color and sweetness in every bite.
- Cooked diced ham or crumbled bacon (1/2 cup): Adds a meaty, savory punch to complement the mashed potatoes.
- Shredded mozzarella or more cheddar for topping (1/4 cup): A cheese crown for gooey, golden-topped nests.
- Nonstick spray or butter for greasing muffin tin: Essential for easy release and crisping up those edges.
How to Make Stuffed Mashed Potato Nests
Step 1: Prepare the Muffin Tin
Begin by preheating your oven to 400°F. Give a 12-cup muffin tin a good coating of nonstick spray or a swipe of softened butter. This ensures your Stuffed Mashed Potato Nests will pop out effortlessly, keeping those gorgeous golden edges perfectly intact.
Step 2: Mix the Potato Base
In a large bowl, combine the cooled, well-seasoned mashed potatoes with the egg, shredded cheddar cheese, garlic powder, black pepper, and salt. Stir everything together until you have a cohesive, cheesy mixture—this is the foundation that will hold its shape and crisp up in the oven.
Step 3: Shape the Potato Nests
Spoon the potato mixture evenly into each muffin cup. Use the back of your spoon to press down in the center and gently up the sides, forming a little “nest” shape. Don’t worry about making them perfect—rustic looks charming!
Step 4: Bake the Potato Shells
Slide the tin into your hot oven and bake for 15 minutes. This first bake helps set the structure of your Stuffed Mashed Potato Nests so they can hold their delicious fillings without collapsing.
Step 5: Add the Filling
While your nests are baking, toss the thawed peas and carrots with the diced ham or bacon in a small bowl. Once the potato shells are partially baked, remove the tin from the oven and spoon a generous amount of your veggie-meat mixture into each nest.
Step 6: Top with Cheese and Final Bake
Sprinkle each nest with a pinch of shredded mozzarella or extra cheddar cheese. Pop the tin back into the oven for another 10 to 12 minutes, or until the cheese is bubbling and the edges of your potato nests are a deep, appetizing gold.
Step 7: Cool and Serve
Let the nests cool in the tin for just a couple of minutes before carefully removing them (a thin spatula or butter knife works wonders here). Serve the Stuffed Mashed Potato Nests warm, and watch them disappear in record time!
How to Serve Stuffed Mashed Potato Nests
Garnishes
A little sprinkle goes a long way! Try topping your nests with sliced green onions, freshly chopped parsley, or a dusting of smoked paprika for extra flavor and eye-catching color. A dollop of sour cream or a drizzle of hot sauce can also take your Stuffed Mashed Potato Nests to the next level.
Side Dishes
These nests play well with others. Pair them with a fresh green salad, steamed asparagus, or a cup of tomato soup for a well-rounded brunch or light dinner. For a heartier meal, serve alongside roast chicken or grilled sausages.
Creative Ways to Present
If you really want to dazzle your guests, arrange the nests on a platter lined with leafy greens or serve them atop mini bed of arugula. For a festive brunch spread, nestle them into muffin wrappers or colorful ramekins, or even set out a toppings “bar” so everyone can customize their Stuffed Mashed Potato Nests with their favorite add-ons.
Make Ahead and Storage
Storing Leftovers
Leftover Stuffed Mashed Potato Nests keep beautifully in the refrigerator. Simply transfer any extras to an airtight container and store for up to three days. They make an excellent quick bite or lunchbox filler.
Freezing
Want to plan ahead? These nests freeze surprisingly well! Once fully cooled, lay them on a baking sheet to freeze individually, then transfer to a freezer-safe bag or container. They’ll hold up for about two months without losing their character.
Reheating
For best results, reheat straight from the fridge or freezer in a 350°F oven until warmed through and edges are crisp again—about 10 to 15 minutes. The microwave works in a pinch, but you may sacrifice a bit of that delightful crunch.
FAQs
Can I make Stuffed Mashed Potato Nests vegetarian?
Absolutely! Just swap the ham or bacon for more veggies—try sautéed spinach, mushrooms, caramelized onions, or even scrambled eggs for a protein boost. The recipe is endlessly flexible for vegetarian options.
Can I use instant mashed potatoes?
You can, provided they are thick and well seasoned. The texture might be slightly softer than homemade, but once baked, they’ll hold their nest shape nicely.
What else can I fill the nests with?
Think of these as a blank canvas! Try chopped cooked chicken, sun-dried tomatoes, roasted red peppers, or even a sprinkle of feta. Let your imagination (and fridge contents) guide you.
What’s the best way to prevent the nests from sticking?
Be generous with your nonstick spray or butter, making sure to coat not just the bottoms but also the sides of the muffin tin. Let the nests cool for a few minutes before attempting to remove them for easiest release.
Can Stuffed Mashed Potato Nests be served cold?
While they’re tastiest warm, they’re perfectly safe and still delicious at room temperature, making them great for picnics or lunchboxes. If serving cold, add fresh garnishes just before enjoying for best flavor and texture.
Final Thoughts
Don’t wait for leftovers to make Stuffed Mashed Potato Nests—these clever, cozy bites are worth planning for! Whether you try the classic recipe or put your own spin on the fillings, you’ll quickly see why they’ve become a favorite comfort food. Give them a go and let them brighten up your next gathering or weeknight dinner!
Print
Stuffed Mashed Potato Nests Recipe
- Prep Time: 15 minutes
- Cook Time: 25 minutes
- Total Time: 40 minutes
- Yield: 12 nests
- Category: Appetizer
- Method: Baking
- Cuisine: American
- Diet: Non-Vegetarian
Description
These Stuffed Mashed Potato Nests are a delightful appetizer or brunch option made by baking seasoned mashed potatoes with a cheesy filling of ham, peas, and carrots. Perfect for using up leftover mashed potatoes and easily customizable for vegetarians.
Ingredients
Mashed Potato Nests:
- 3 cups mashed potatoes (well seasoned and cooled)
- 1 large egg
- 1/2 cup shredded cheddar cheese
- 1/4 teaspoon garlic powder
- 1/4 teaspoon black pepper
- 1/4 teaspoon salt
- 1/2 cup frozen peas and carrots (thawed)
- 1/2 cup cooked diced ham or crumbled bacon
- 1/4 cup shredded mozzarella or more cheddar for topping
- Nonstick spray or butter for greasing muffin tin
Instructions
- Preheat the oven and prep the muffin tin: Preheat the oven to 400°F and lightly grease a 12-cup muffin tin.
- Mix the potato base: In a large bowl, combine mashed potatoes with egg, cheddar cheese, garlic powder, pepper, and salt. Spoon the mixture into muffin cups, pressing down to form nests.
- Bake the base: Bake for 15 minutes to set the base.
- Prepare the filling: Mix peas, carrots, and ham/bacon in a bowl.
- Fill the nests: Remove tin from the oven, fill each nest with veggie-meat mixture, top with cheese.
- Finish baking: Bake for 10–12 minutes until cheese melts and edges are golden brown. Cool slightly before serving.
Notes
- Great for brunch or as appetizers.
- Can customize fillings with sautéed mushrooms, spinach, or scrambled eggs for vegetarian options.

