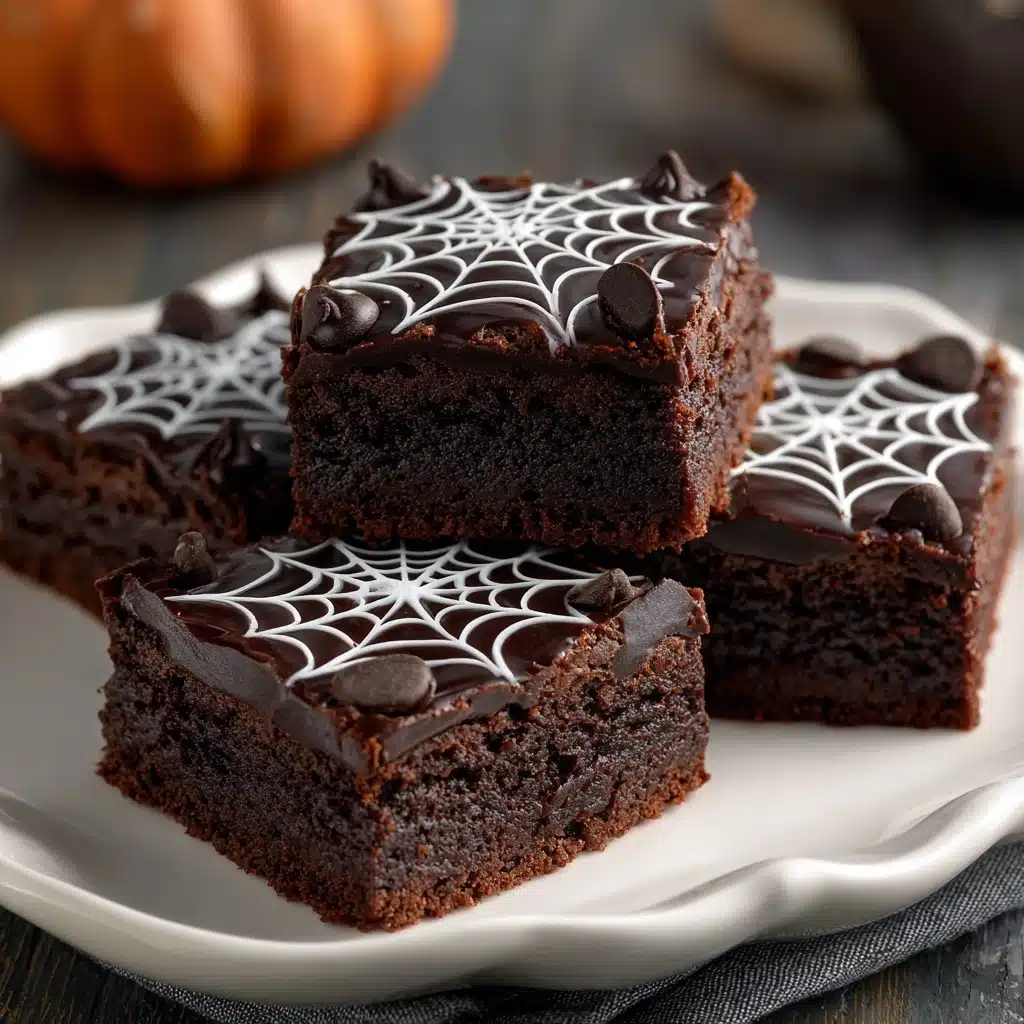
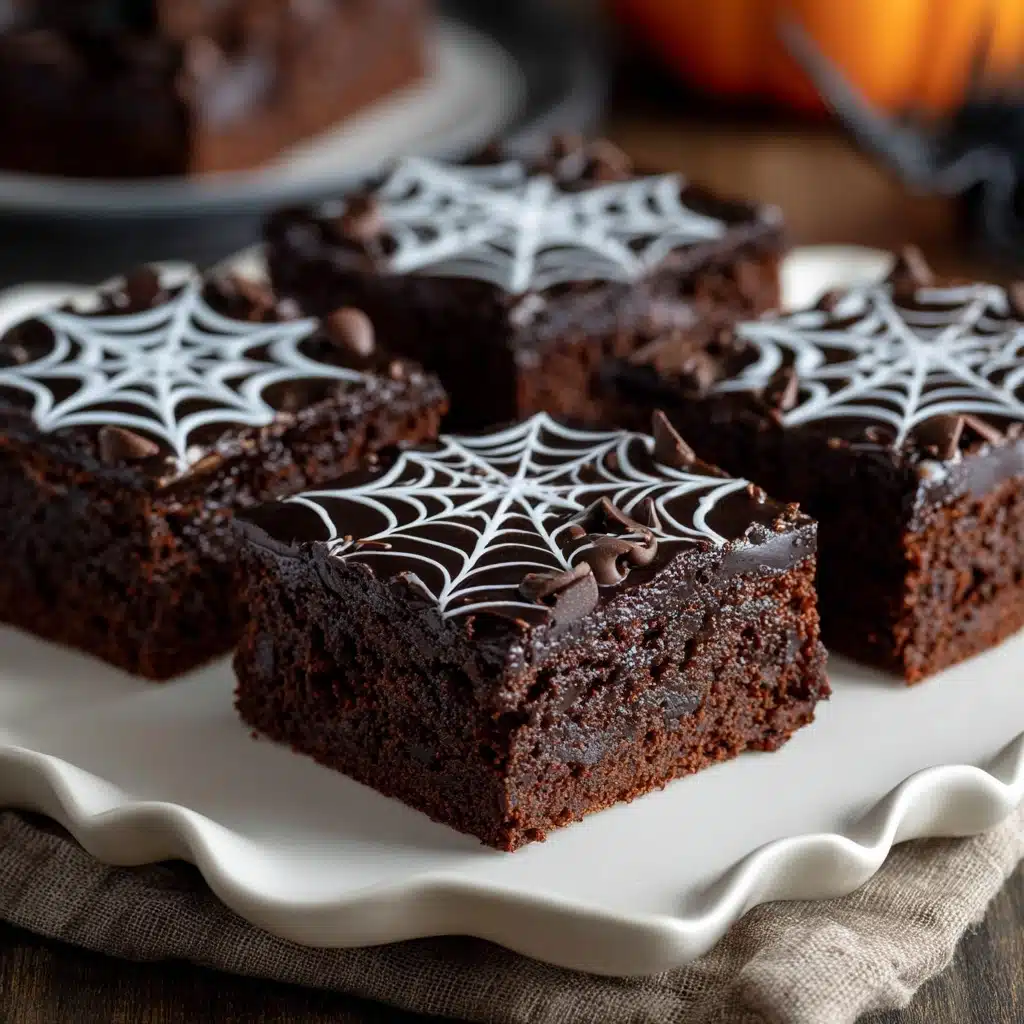
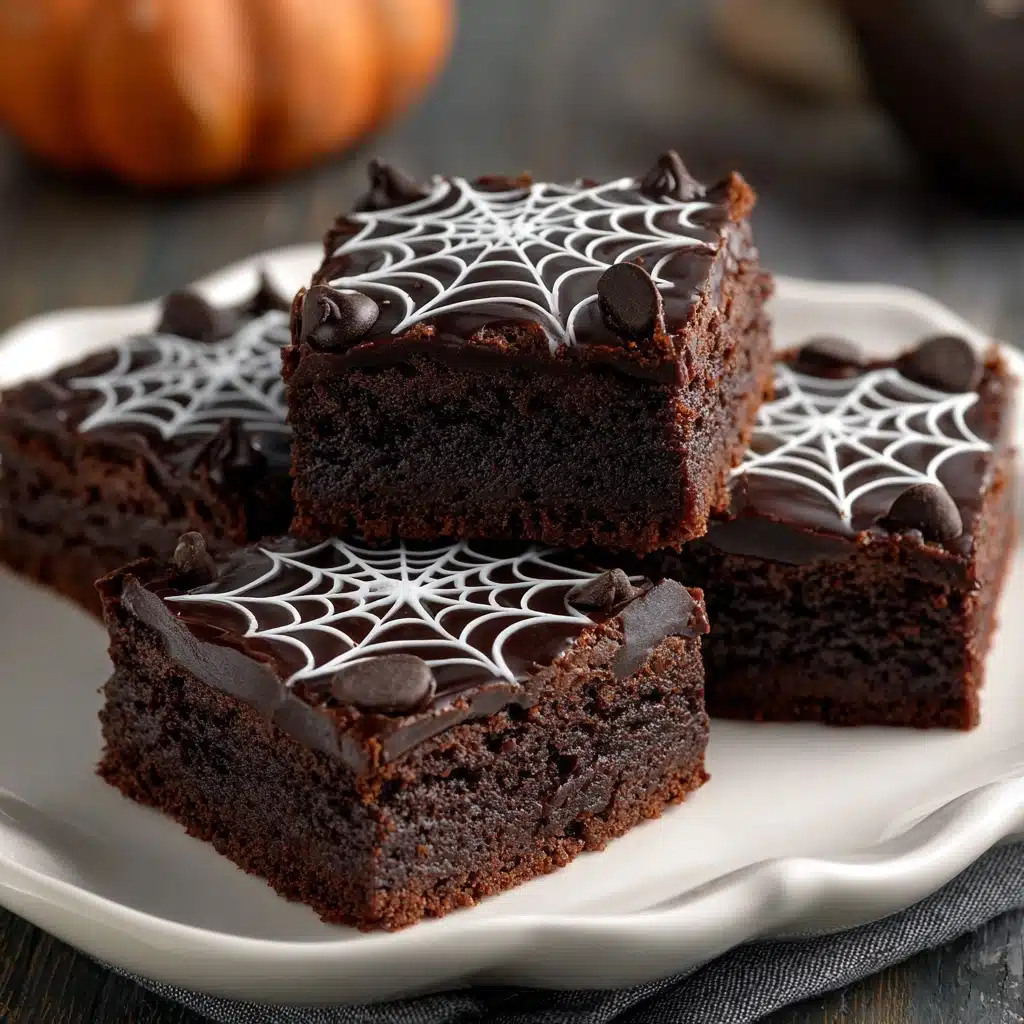
If you’re searching for a wickedly easy but delightfully spooky treat, these Spider Web Halloween Brownies are about to become your new seasonal favorite. Picture dense, fudgy brownies crowned with haunting white chocolate spider webs that look stunning but require no complicated skills. Whether you’re hosting a haunted house bash or just need something fun to bake with the kids, these brownies are equal parts impressive and approachable — guaranteed to bring both chills and cheers at your Halloween gathering. They’re so much fun to make, everyone will want to get in on the spooky decorating action!
Ingredients You’ll Need
This recipe keeps things simple yet satisfying, letting a handful of ingredients work serious magic. Each element plays an important part — from rich chocolatey goodness to the silky white web on top — and you can pick up everything in a single grocery trip.
- Brownie mix: Your shortcut to perfectly fudge-like brownies without the hassle; any 18–19 oz box will do.
- Eggs, oil, and water: These are the staples called for on most box brownie mixes to create the batter’s lush, chewy texture.
- Semi-sweet chocolate chips (optional): Stir these in for extra chocolatey pools inside every bite.
- White chocolate chips or white candy melts: The star of your spider web design — they look spectacular when piped over dark brownies.
- Coconut oil or shortening: This little bit ensures the white chocolate melts smoothly and pipes easily.
How to Make Spider Web Halloween Brownies
Step 1: Preheat and Prepare
Begin by preheating your oven to 350°F, or follow the specific temperature recommended on the back of your brownie mix box. It’s important to properly grease or line a 9×9-inch baking pan with parchment paper for ultra-easy brownie removal later on — nothing ruins the fun quicker than stuck brownies!
Step 2: Mix and Pour
Prepare your brownie batter just as the package instructs, using the eggs, oil, and water called for. If you’re a diehard chocolate fan, go ahead and fold in those semi-sweet chocolate chips for surprise bursts of gooeyness. Once everything is thoroughly mixed, pour the batter into your prepared pan and smooth it out to the corners — every bite should have that perfect fudgy thickness.
Step 3: Bake and Cool
Slide your brownie pan into the oven and bake according to the box instructions, usually between 25 to 30 minutes. You’ll know they’re ready when a toothpick poked near the center comes out with a few moist crumbs clinging on. Let the brownies cool completely inside the pan; this patience pays off when it’s time to decorate!
Step 4: Create the White Chocolate Spider Web
In a microwave-safe bowl, combine the white chocolate chips (or candy melts) with the coconut oil or shortening. Microwave in 20–30 second bursts, stirring in between, until the mixture melts into a glossy, pourable blend. Scoop the melted white chocolate into a small zip-top or piping bag, then snip a tiny corner off to create a thin piping end. Pipe 3–4 circles over the top of your cooled brownies, nesting each inside the last to create rings.
Step 5: Drag and Design the Web
Here comes the magic: grab a clean toothpick and gently drag the tip from the center out to the edges, repeating at intervals, to pull the white lines outward into a gorgeous spider web pattern. There’s no right or wrong here — every web looks unique! Once your design is set, let the chocolate harden before slicing your Spider Web Halloween Brownies into sweet, spooky squares.
How to Serve Spider Web Halloween Brownies
Garnishes
For extra va-va-voom, scatter candy spiders, edible glitter, or themed Halloween sprinkles atop each brownie. A small plastic spider perched on each square is an adorable touch — just remind guests to remove plastic before biting in! If you want a contrasting flavor, a drizzle of gooey caramel can make each bite even more decadent.
Side Dishes
While Spider Web Halloween Brownies are showstoppers solo, pairing them with vanilla ice cream is pure magic — the creaminess balances the rich chocolate. For a grown-up twist, serve with bold coffee or hot spiced cider to highlight those deep cocoa flavors. No matter what you pair, these brownies steal the scene.
Creative Ways to Present
Try arranging your Spider Web Halloween Brownies on a matte black platter or tiered cake stand for spooky elegance. You can also cut your brownies with a round cookie cutter and pipe individual webs for a web-on-each-bite look. Or, tuck each square into a festive cupcake liner and wrap them in cellophane bags for party favors all your goblins and ghouls will adore.
Make Ahead and Storage
Storing Leftovers
Keep your leftover Spider Web Halloween Brownies super fresh by covering them tightly with plastic wrap or storing them in an airtight container at room temperature. They’ll hold their chewy texture and stunning design for up to three days — if they last that long!
Freezing
If you need to plan far ahead, these brownies freeze beautifully. Once the chocolate web has set and the brownies are completely cool, wrap individual squares tightly in plastic, then store in a zip-top freezer bag for up to two months. Let brownies thaw at room temperature before serving so they keep their fantastic fudgy bite.
Reheating
For that just-baked feel, pop a brownie (unwrapped) in the microwave for about 8–10 seconds. This will melt the chocolate chips inside and bring back the brownies’ dreamy softness, while the spider web design stays intact. Just be careful not to overheat, as you want the web to remain beautiful and not melt away!
FAQs
How do I make the spider web look even and neat?
The key is to pipe rings that are concentric and evenly spaced, then drag each line from the center outward using a clean toothpick. If your hand slips, don’t stress — a few imperfections make your Spider Web Halloween Brownies look charmingly handmade!
Can I make these brownies from scratch instead of using a box mix?
Absolutely! Feel free to use your favorite homemade brownie batter. The decorating steps for the spider web work perfectly whether you’re using a box or from-scratch recipe — just focus on achieving that rich, fudgy base.
Any allergy-friendly swaps for these Spider Web Halloween Brownies?
Yes! Try a gluten-free brownie mix if needed, use dairy-free chocolate chips and a non-dairy butter substitute for the coconut oil. Many brands offer allergy-friendly white chocolate chips; just check ingredients to match your needs.
Do I need special tools to pipe the spider web?
No need for fancy equipment! A simple zip-top bag with a corner snipped off is perfect as a DIY piping bag. Of course, if you have a small round piping tip on hand, you can use that too for a more controlled drizzle.
How far in advance can I decorate the brownies?
You can add the spider web decoration as soon as the brownies have cooled completely. The web will stay looking sharp for days if stored properly — so feel free to bake and decorate these Spider Web Halloween Brownies a day or two before your event.
Final Thoughts
I can’t recommend these Spider Web Halloween Brownies enough for transforming any spooky celebration into a truly memorable treat fest. They’re playful, decadent, and far easier to make than they look. Embrace the fun of holiday baking and frighten up some smiles — your crowd will rave about these irresistible brownies long after the last crumb disappears!
Print
Spider Web Halloween Brownies Recipe
- Prep Time: 10 minutes
- Cook Time: 30 minutes
- Total Time: 40 minutes (plus cooling and decorating)
- Yield: 16 brownies
- Category: Dessert
- Method: Baking
- Cuisine: American
- Diet: Vegetarian
Description
These Spider Web Halloween Brownies are a spooky and fun treat perfect for Halloween parties or gatherings. Rich, fudgy brownies topped with a decorative white chocolate spider web make for a festive dessert that both kids and adults will enjoy.
Ingredients
Brownies:
- 1 box (18–19 oz) brownie mix (plus eggs, oil, and water as called for on the package)
- 1/2 cup semi-sweet chocolate chips (optional)
Spider Web Decoration:
- 1/2 cup white chocolate chips or white candy melts
- 1 teaspoon coconut oil or shortening (for melting)
Instructions
- Preheat and Prepare: Preheat the oven to 350°F. Grease or line a 9×9-inch baking pan with parchment paper.
- Mix and Bake: Prepare the brownie mix according to package instructions. Stir in the semi-sweet chocolate chips if using, then pour the batter into the prepared pan and bake for 25–30 minutes.
- Melt and Decorate: Melt the white chocolate with coconut oil, then pipe concentric circles on the cooled brownies. Use a toothpick to create a spider web pattern.
- Serve: Let the decoration set before slicing into squares.
Notes
- Add candy spiders or toppers for extra fun.
- You can use homemade brownie batter instead of boxed mix.
- Store covered at room temperature for up to 3 days.

