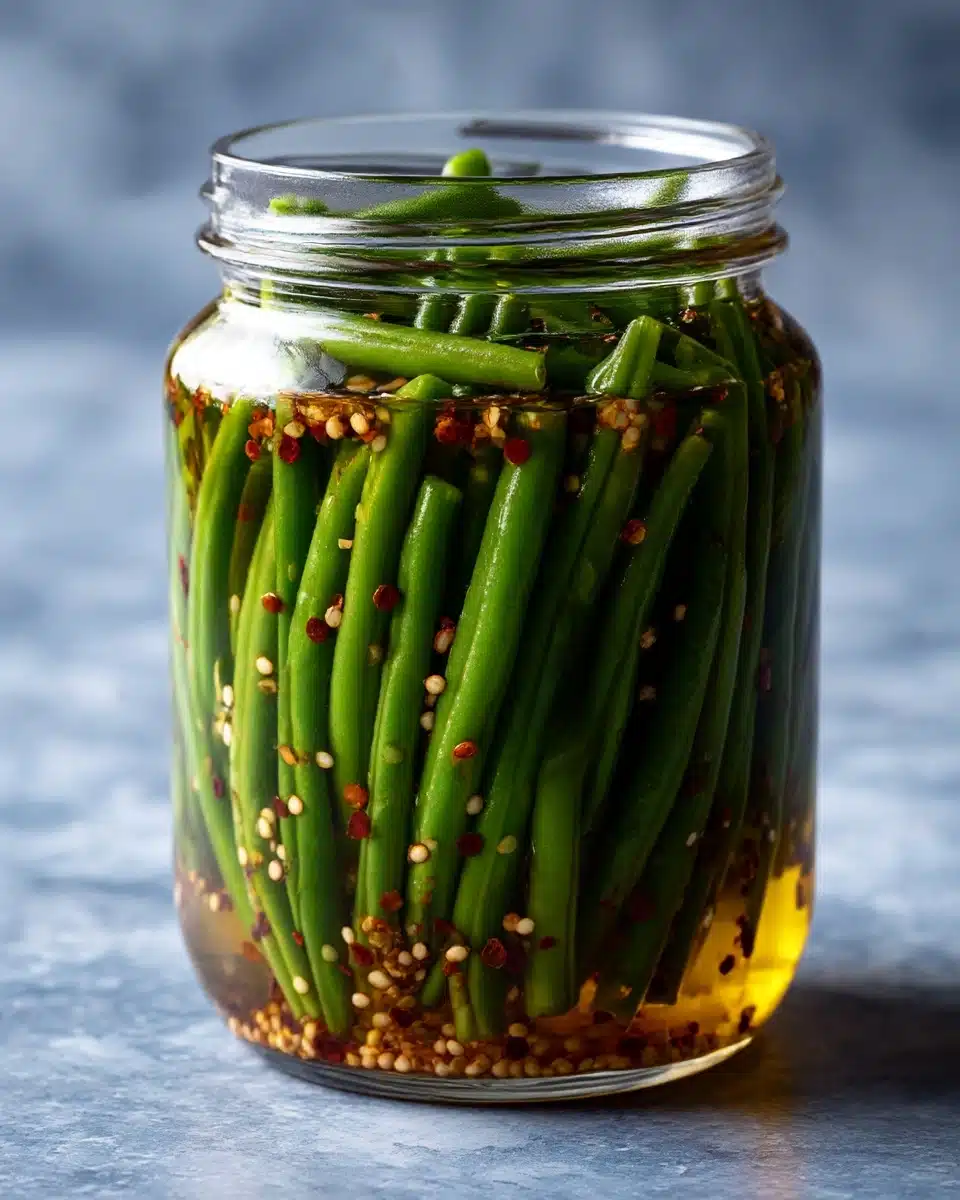
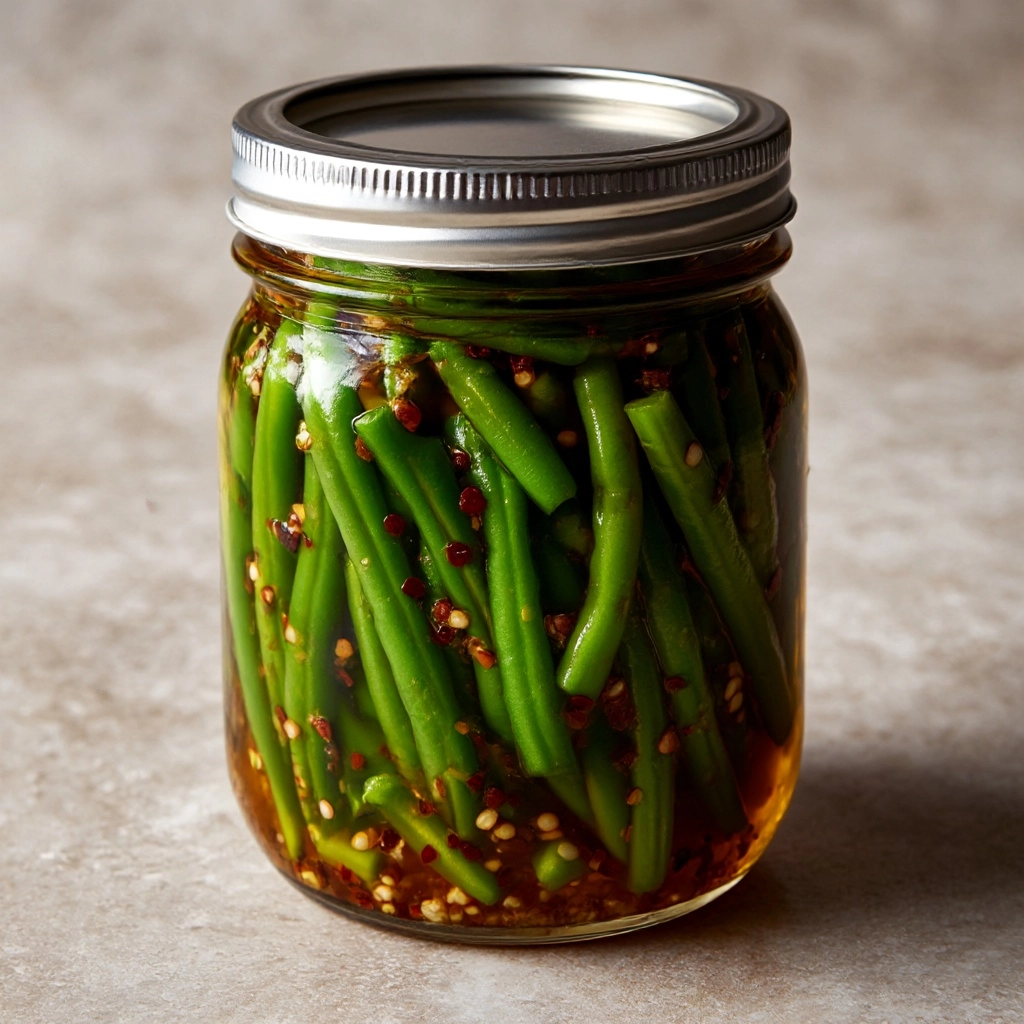
Get ready to fall in love with a jar full of crunchy, tangy, and just-the-right-amount-of-spicy flavor—the Spicy Dilly Beans are one of those pickled snacks you’ll crave long after the last bean is gone! Imagine tender green beans turned zesty by a bath of vinegar, garlic, dill, and chili flakes, all coming together in a vibrant, crave-worthy side, snack, or garnish. This fridge-pickle classic is easy enough for beginner canners and endlessly adaptable for your own heat and herb preferences. Spicy Dilly Beans always bring a pop of color and irresistible crunch to any table, making them a go-to in my kitchen year-round.
Ingredients You’ll Need
Ingredients You’ll Need
The beauty of Spicy Dilly Beans is how a handful of simple, fresh ingredients can work such delicious magic together. Each element pulls its weight—from delivering crunch to packing bright flavors and spicy heat. Here’s what you’ll need, with a quick tip or flavor note for every item:
- Fresh green beans: For the best snap, use beans that are firm and bright, removing any tough ends before pickling.
- Garlic cloves: Smash or slice to infuse the brine with robust, aromatic depth.
- Fresh dill sprigs: The namesake herb adds that classic deli pickle fragrance and a leafy, fresh taste.
- Crushed red pepper flakes: Sprinkle in for that signature kick—adjust more or less depending on your heat preference.
- Black peppercorns: They offer a subtle background warmth that balances out the tanginess.
- White vinegar: Use a good-quality vinegar for sharpness that makes the beans pop (don’t swap out for milder vinegars unless you want a very soft flavor).
- Water: Blends with vinegar to mellow the brine for just the right zing.
- Kosher salt: The essential seasoning that draws moisture from the beans and upgrades every flavor.
- Sugar: Not too much—a little smooths sharpness and brings harmony to the spicy, herbal notes.
How to Make Spicy Dilly Beans
Step 1: Prepare Your Jars and Beans
Start by giving your canning jars, lids, and rings a thorough wash in hot soapy water, then toss them in boiling water for a quick sterilizing dunk. Meanwhile, snap or trim the ends off your green beans so they fit snugly (vertically) inside your jars—this gives the finished Spicy Dilly Beans their pretty, packed look and keeps every bite perfectly crisp.
Step 2: Pack the Jars with Flavor
Next, arrange a few sprigs of fresh dill, smashed garlic cloves, red pepper flakes, and peppercorns at the bottom of each jar. Stand your trimmed beans upright in the jars, fitting them in tightly but gently so they don’t break. Layering the aromatics first lets their big flavors infuse every inch of your Spicy Dilly Beans from the very start.
Step 3: Make the Brine
In a medium saucepan, combine the vinegar, water, kosher salt, and sugar. Bring the blend just to a simmer, whisking to dissolve the salt and sugar completely. This easy brine is what transforms ordinary green beans into the tart, tingly signature of Spicy Dilly Beans.
Step 4: Pour, Seal, and Cool
Carefully ladle the hot brine into your prepared jars, covering the beans completely but leaving a tiny bit of headspace at the top. Use a clean knife or chopstick to wiggle out any air bubbles, then wipe rims, seal with lids, and let jars cool on the counter. The beans will start steeping in those beautiful flavors right away.
Step 5: Chill and Wait (the Hardest Part)
Once jars have cooled to room temperature, stash them in the fridge for at least 24 hours. If you can wait 2 or 3 days, the Spicy Dilly Beans will be even more flavorful. It’s worth it—the beans turn ultra-punchy and taste like they’ve been perfected by a deli pro.
How to Serve Spicy Dilly Beans
Garnishes
Add extra flair by garnishing your Spicy Dilly Beans with fresh dill tips or a scatter of chili flakes right before serving. A sliver of lemon zest on top transforms them into a bright, impressive cocktail garnish, especially for a Bloody Mary.
Side Dishes
Spicy Dilly Beans shine on a snack platter alongside sharp cheddar and cured meats. They’re also a fabulous sidekick to grilled burgers or simple roasted chicken, where their bold flavor cuts through rich mains with a pop of vinegary snap.
Creative Ways to Present
Pile Spicy Dilly Beans into a jar with a ribbon for a homemade gift, or tuck them into mason jars at a DIY pickle bar for parties. For a fun twist at brunch, serve them straight from the jar on a charcuterie board or as a bold stir-in for salads and grain bowls.
Make Ahead and Storage
Storing Leftovers
After making your Spicy Dilly Beans, keep leftover jars in the refrigerator, tightly sealed. They’ll stay fresh and crunchy for 2–3 weeks, and you might find they get even more delicious with a little extra time soaking up that briny goodness.
Freezing
Freezing isn’t recommended for Spicy Dilly Beans—while the flavor will still be there, the crisp texture is part of the magic, and freezing can turn them mushy. Stick to the fridge method for best results.
Reheating
Luckily, there’s no need to reheat Spicy Dilly Beans! They’re meant to be enjoyed cold or at room temperature, making them the perfect quick snack straight from the jar or a cheery addition to summer picnics.
FAQs
Can I use yellow wax beans instead of green?
Absolutely! Yellow wax beans are a colorful alternative and work beautifully in this recipe. They pick up the same briny, spicy character and look especially pretty mixed with their green cousins in the jar.
Are Spicy Dilly Beans hot enough for spice lovers?
These beans bring a pleasant, zippy heat thanks to the red pepper flakes, but they’re easy to amp up if you love things fiery! Add more pepper flakes, sliced fresh hot peppers, or even a dash of hot sauce to the brine for extra oomph.
How long should I let the beans pickle before eating?
Letting them sit at least 24 hours in the fridge gives you a tasty quick pickle, but waiting 2–3 days (if you can resist!) lets the flavors really settle in and deepen for a punchier, more complex bite.
Can I process these for shelf-stable storage?
Yes! You can water-bath can Spicy Dilly Beans for long-term shelf storage (6–12 months). Just follow proper canning guidelines and always use sterilized jars, but remember: the recipe here is for refrigerator pickles, so adjust steps as needed for canning.
What do I do with leftover brine?
Don’t toss it! Use leftover brine to marinate other veggies, add zip to vinaigrettes, or even shake into a spicy Bloody Mary. The briny magic shouldn’t go to waste after your Spicy Dilly Beans are gone.
Final Thoughts
If you’re looking for a zesty new snack or side, give Spicy Dilly Beans a try—there’s a reason this recipe is on repeat in my kitchen! Their snappy bite, bold flavor, and make-ahead ease make them a staple you’ll love sharing (or keeping all to yourself). Happy pickling!
Print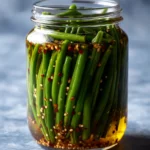
Spicy Dilly Beans Recipe
- Prep Time: 10 minutes (+ jar sterilization)
- Cook Time: 5 minutes (for brine)
- Total Time: about 1 hour active + chilling time
- Yield: 2 pint jars
- Category: Condiment / Snack
- Method: Refrigerator pickling
- Cuisine: American deli-style
- Diet: Vegetarian
Description
Spicy Dilly Beans are crunchy, tangy green beans pickled in a zesty blend of vinegar, garlic, dill, and chili flakes—a fridge-pickle classic that’s a spicy, flavorful snack, side, or garnish.
Ingredients
- 1 lb fresh green beans, trimmed
- 4–6 garlic cloves, smashed or sliced
- 4–6 fresh dill sprigs
- 1 tsp crushed red pepper flakes (adjust to taste)
- 1 tsp black peppercorns
- 1 cup white vinegar
- 1 cup water
- 1 tbsp kosher salt
- 1 tsp sugar (optional, to balance sharpness)
Instructions
- Wash jars, lids, and rings with hot soapy water and sterilize in boiling water.
- Pack each jar with dill sprigs, garlic, pepper flakes, and peppercorns, then stand green beans upright until jar is full.
- In a saucepan, heat vinegar, water, salt, and sugar until simmering and dissolved.
- Pour hot brine over beans, leaving ¼″ headspace. Remove air bubbles. Wipe rims and seal lids.
- Let jars cool to room temperature, then refrigerate for at least 24 hours (longer—2–3 days—for bolder flavor).
Notes
- Use yellow wax beans for a colorful twist or mix for visual interest.
- Adjust heat by adding fresh hot peppers or extra red pepper flakes.
- Process in a hot water bath if you want shelf-stable jars—follow canning safety guidelines.
- Save leftover brine to dress salads, marinate other veggies, or add to Bloody Mary cocktails.

