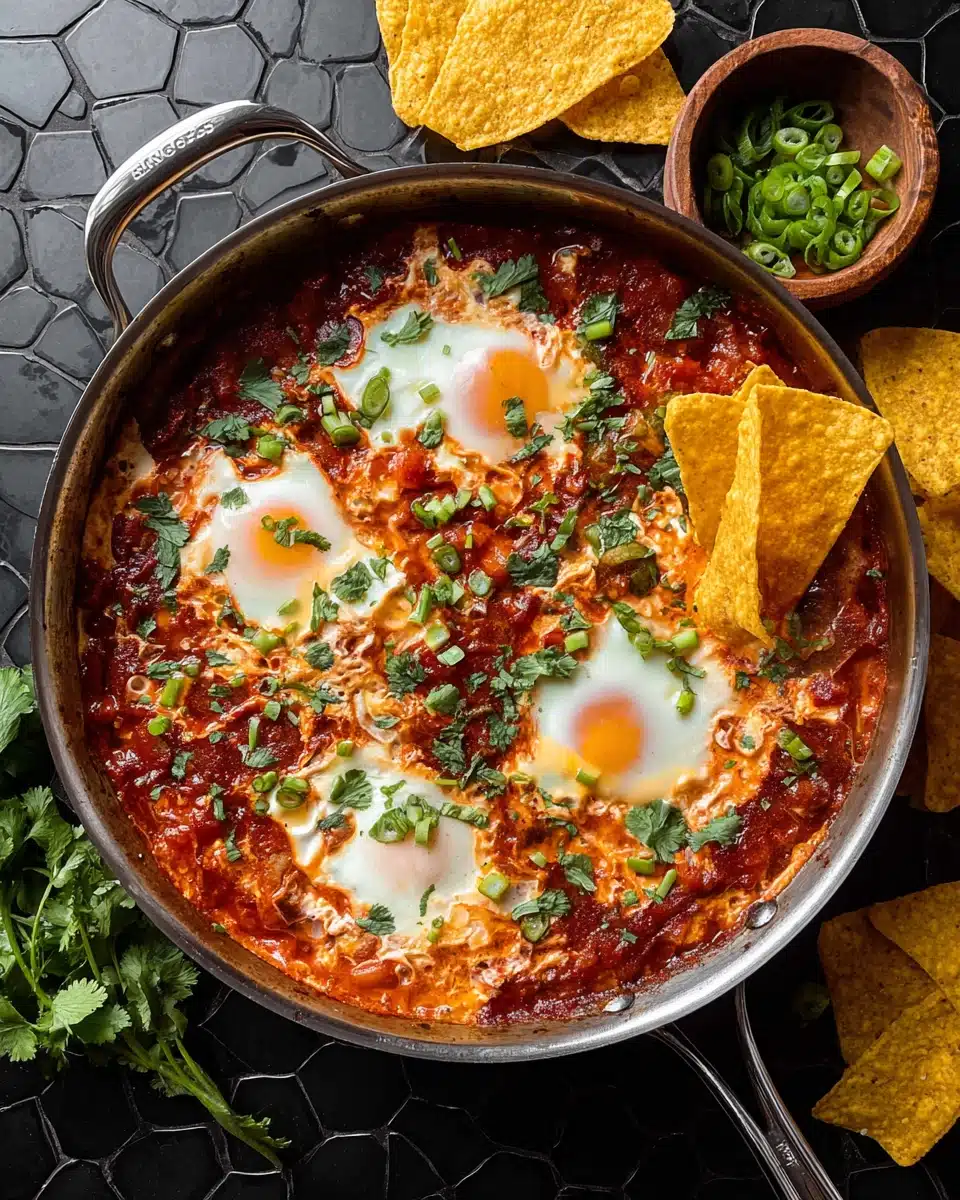
If you’re in the mood for a breakfast (or brunch!) that wows with little effort, Salsa Poached Eggs is your ticket to pure joy. In this twist on classic poached eggs, silky yolks are gently nestled in bubbling salsa, soaking up all those zesty flavors and turning something simple into something absolutely magical. Plus, you only need a handful of ingredients and about 15 minutes, making it the perfect dish for busy weekday mornings or a relaxed weekend at home. Get ready to meet your new favorite egg recipe!
Ingredients You’ll Need
You won’t believe how such a short ingredient list can bring so much flavor and comfort. Each item plays a starring role, with a big pop of color, spice, or creamy richness—don’t skip a thing if you want the true Salsa Poached Eggs experience!
- Eggs: Fresh and at room temperature is best for even cooking and perfectly set whites.
- Salsa: Choose your favorite jarred or homemade salsa—chunky or smooth, mild or spicy, it’s all up to you!
- Olive Oil: A touch of oil in the pan enhances flavor and keeps the salsa from sticking.
- Salt: Just a pinch brings out all the vibrant notes of the salsa and eggs.
- Pepper: Freshly ground black pepper adds just the right touch of warmth.
- Fresh Cilantro: While technically a garnish, the herbal freshness takes each bite to another level.
- Optional Extras: Try a sprinkle of crumbled feta, sliced avocado, or even a dollop of sour cream if you’re feeling extra.
How to Make Salsa Poached Eggs
Step 1: Warm the Salsa
Start by heating a medium nonstick skillet over medium heat and add a generous splash of olive oil. Pour in your salsa and let it sizzle, bubbling gently, until it’s hot and slightly thickened—about 2-3 minutes. This step intensifies the salsa’s tangy flavors, making them play beautifully with the eggs.
Step 2: Nestle in the Eggs
With your salsa nice and steamy, use the back of a spoon to make small wells. Carefully crack each egg into a well, so the whites rest in the salsa and the yolks are cozy in their little bubbles. Sprinkle with salt and pepper for a simple but essential seasoning boost.
Step 3: Poach to Perfection
Cover your skillet with a lid and reduce the heat to low. Let the eggs poach in the salsa gently, about 4-6 minutes, until the whites are set but the yolks are still rich and runny. If you like firmer yolks, just give it another minute or two—let your mood decide!
Step 4: Finishing Touches
Once the Salsa Poached Eggs are exactly how you love them, remove from heat and sprinkle with plenty of fresh cilantro. If you’re adding feta, avocado, or any other toppings, now’s the time for those creative flourishes. It’s as beautiful as it is delicious!
How to Serve Salsa Poached Eggs

Garnishes
Garnishing is half the fun! Bright green cilantro, creamy slices of avocado, or a crumbling of salty cheese all make these Salsa Poached Eggs extra luscious. For a touch of heat, scatter some sliced jalapeños, or drizzle with hot sauce to amp up the flavor even more. It’s all about choosing what makes your taste buds happy!
Side Dishes
Salsa Poached Eggs are delightful on their own but truly shine with the right sidekick. Serve them with warm, crusty bread to mop up every drop of sauce, or nestle the eggs over a bed of fluffy rice or crispy hash browns. Corn tortillas make the ultimate vehicle for scooping, and a crisp, tangy salad balances the richness perfectly.
Creative Ways to Present
If you love to entertain or simply want to wow yourself at breakfast, here’s where you can get creative! Serve Salsa Poached Eggs in individual mini skillets or shallow bowls, each with unique garnishes for a vibrant brunch spread. For extra flair, offer a toppings bar so everyone can adorn their eggs their own way. Even breakfast tacos with the eggs tucked inside are a major win.
Make Ahead and Storage
Storing Leftovers
If you find yourself with extra Salsa Poached Eggs, let them cool to room temperature, then carefully transfer them (with salsa) into an airtight container. They’ll keep in the fridge for up to 2 days. The yolks may firm up, but the flavors remain bold and satisfying, making leftovers totally worthwhile.
Freezing
While eggs don’t freeze particularly well after being poached, you can absolutely freeze extra salsa for quick breakfasts in the future—just thaw and reheat before adding fresh eggs. For best texture, enjoy Salsa Poached Eggs fresh, but know the salsa base is freezer friendly for meal planning.
Reheating
To rewarm Salsa Poached Eggs, place them gently in a skillet over low heat, covering with a lid to steam and reheat evenly. If the salsa looks too thick, add a splash of water to loosen things up. Avoid microwaving if possible, since it may toughen the eggs—gentle stovetop warming is your best bet for keeping yolks soft.
FAQs
Can I use homemade salsa?
Absolutely! Homemade salsa will only make your Salsa Poached Eggs more special. Adjust the spice level to your liking and use the freshest ingredients for a truly custom experience.
Is this recipe vegetarian and gluten-free?
Yes, Salsa Poached Eggs are naturally vegetarian and gluten-free. Just be sure your salsa and any additional garnishes or sides you choose are gluten-free if you need to avoid wheat.
What’s the best kind of salsa to use?
Any salsa you love will work—smooth for a saucy dish, or chunky for extra texture. Fire-roasted salsas add smokiness, while fruit-based varieties (like pineapple or mango) add a fun, sweet twist. Let your mood (and pantry) guide you!
How do I prevent the eggs from overcooking?
The key is to watch them closely after covering the skillet. Once the whites are set, remove from heat right away, since they continue to cook a bit while resting. If you’re making a big batch, consider poaching in batches for perfect results.
Can I add meat for a heartier meal?
Definitely! Salsa Poached Eggs pair beautifully with cooked chorizo, shredded chicken, or even smoky black beans stirred into the salsa before adding the eggs. It’s an easy way to build extra protein and stress-free flavor into the dish.
Final Thoughts
There’s something almost magical about the way Salsa Poached Eggs can transform a handful of pantry staples into a colorful, flavor-packed meal that’s just as fitting for a solo breakfast as it is for an impressive brunch with friends. I truly hope you try this recipe—it might just become your go-to, too!


