
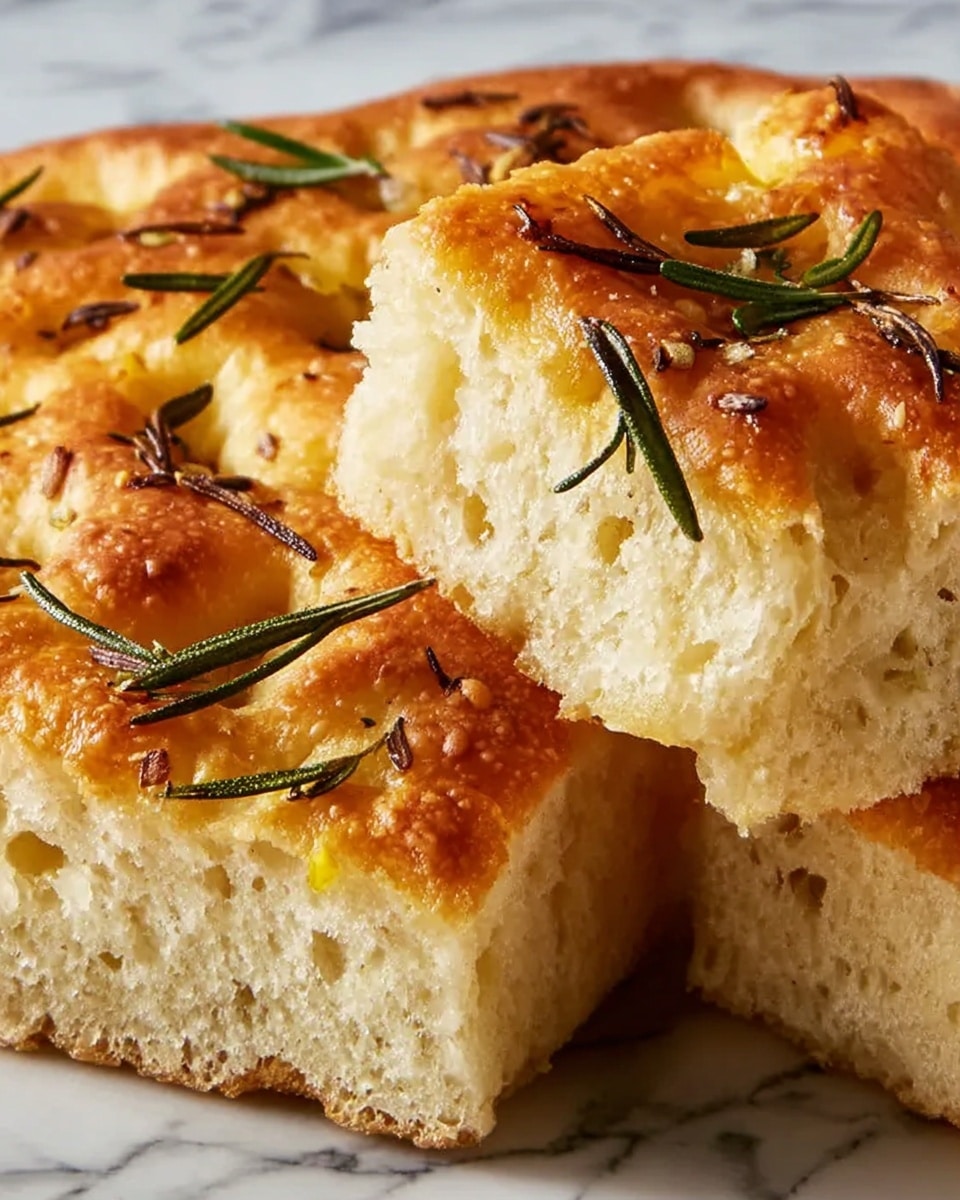
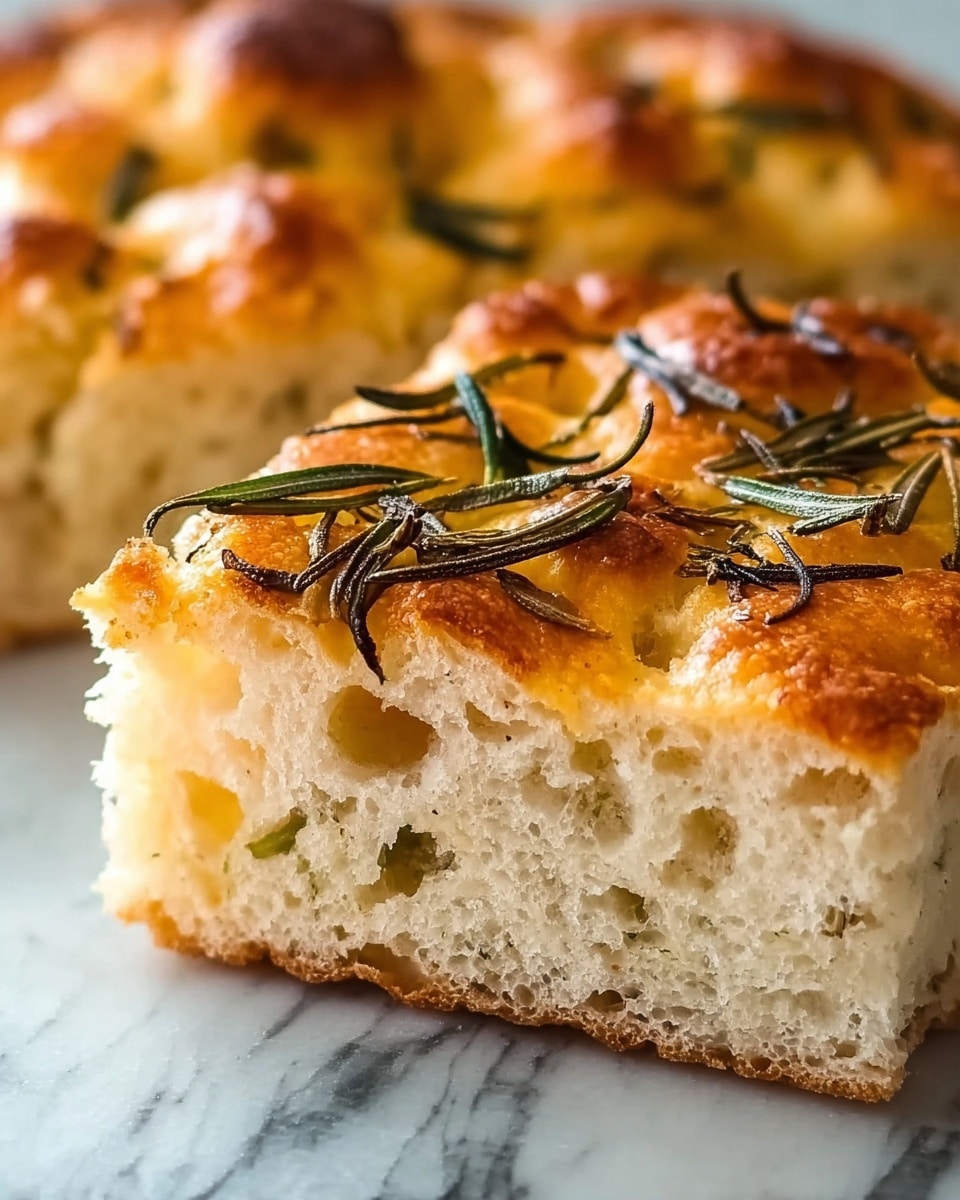
If you’ve ever wanted to bake bread that looks like it came straight from a rustic country bakery without too much fuss, then this Rustic No-Knead Rosemary Garlic Bread Recipe is going to be your new favorite. It’s all about simplicity and flavor coming together beautifully: fragrant rosemary and garlic infuse into a tender, airy loaf with a perfectly crisp crust. You don’t need any fancy equipment or kneading skills—just a little patience, some basic ingredients, and in return, you get a truly comforting bread that fills your kitchen with irresistible aromas. Whether it’s for an indulgent snack or the perfect companion to your meals, this recipe will have you hooked from the very first bite.

Ingredients You’ll Need
The magic of this Rustic No-Knead Rosemary Garlic Bread Recipe lies in the simplicity and quality of its ingredients. Each one plays a crucial role in creating the ideal texture, flavor, and aroma that make this bread so irresistible.
- 3 cups all-purpose flour: The foundation for your bread, providing structure and creating a soft crumb.
- 3 cloves garlic, minced: Adds a rich, savory punch that pairs perfectly with rosemary.
- 1 tablespoon finely chopped fresh rosemary: Bursting with piney, herbal notes that elevate the bread’s flavor.
- 1 ¼ teaspoons kosher salt: Enhances all the flavors and balances the dough.
- ¾ teaspoon freshly ground black pepper: Adds just a subtle warmth and a hint of spice.
- ½ teaspoon instant yeast: The gentle agent that helps your dough rise effortlessly without kneading.
- 1 ½ cups water, at room temperature: Keeps the dough moist and activates the yeast for a perfect rise.
- 2 tablespoons cornmeal: Sprinkled in the skillet to prevent sticking and add a lovely crunchy base to the bread.
How to Make Rustic No-Knead Rosemary Garlic Bread Recipe
Step 1: Mix the Dry Ingredients
Start by combining your flour, minced garlic, chopped rosemary, kosher salt, black pepper, and instant yeast in a large bowl. Mixing all your dry ingredients together first ensures the flavors distribute evenly throughout the dough, giving you a consistently delicious bread every time.
Step 2: Add Water and Form Dough
Next, pour in the room temperature water and stir everything together using a wooden spoon or your hand. You’ll want to mix until a wet, sticky dough forms—this should take about 30 seconds. Don’t be tempted to add more flour here; the dough will be quite tacky, which is exactly what creates that cozy, rustic texture.
Step 3: Let the Dough Rest and Rise
Cover your bowl tightly with plastic wrap and leave it to rest at room temperature. This resting time is where the magic happens, and the dough will slowly rise and develop bubbles on the surface over 18 to 24 hours. This long, slow ferment is key to achieving that wonderful complex flavor and soft crumb.
Step 4: Prepare Your Baking Vessel
Lightly oil a 10-inch cast-iron skillet or coat it with nonstick spray. Then, sprinkle a generous layer of cornmeal on the bottom to prevent sticking. The cornmeal also adds a delightful crunch to the crust’s base, complementing the tender inside perfectly.
Step 5: Shape the Dough
On a lightly floured surface, gently shape your dough into a round. Try to handle it carefully to keep the bubbles intact—these pockets are what give your bread that wonderful airy texture. Place the shaped dough into your prepared skillet, ready for the final rise.
Step 6: Final Rise
Cover the dough with a clean dishtowel and let it rise again at room temperature until it has doubled in size and no longer springs back when you poke it gently. This usually takes about 2 hours. This step is important to relax the dough and ensure a light, open crumb once baked.
Step 7: Bake to Golden Perfection
Preheat your oven to 450°F (230°C). Once hot, place the skillet inside and bake your bread for about 30 to 40 minutes, until the crust turns golden brown and beautiful. The high heat creates that iconic rustic crust—crispy on the outside, soft and flavorful on the inside.
How to Serve Rustic No-Knead Rosemary Garlic Bread Recipe
Garnishes
While this bread is delicious on its own, you can elevate your serving by brushing the crust with a little melted butter and sprinkling some flaky sea salt just after baking. Fresh rosemary sprigs can add a lovely aromatic touch, making each bite an experience.
Side Dishes
This Rustic No-Knead Rosemary Garlic Bread Recipe pairs wonderfully with hearty soups like tomato basil or butternut squash. It also shines alongside antipasto platters filled with olives, cheeses, and cured meats. And don’t forget how perfectly it soaks up a good quality extra virgin olive oil or your favorite dipping sauce.
Creative Ways to Present
Slice your bread thickly and serve it warm with an herb-infused olive oil for dipping. Alternatively, toast slices lightly and top with fresh burrata cheese, a drizzle of honey, and crushed red pepper flakes for a stunning appetizer. Rustic but refined, this bread can be the star of any table.
Make Ahead and Storage
Storing Leftovers
If you happen to have leftovers, store the bread wrapped tightly in a clean kitchen towel or in a paper bag to preserve the crust’s texture while keeping the crumb soft. Avoid plastic bags for long-term storage as they can make the crust soggy.
Freezing
This bread freezes beautifully. Wrap it well in plastic wrap and then in foil before popping it in the freezer. When you’re ready to enjoy, thaw it at room temperature and reheat to refresh the crust.
Reheating
To bring your Rustic No-Knead Rosemary Garlic Bread Recipe back to life, preheat your oven to 350°F (175°C) and warm the bread for 10 to 15 minutes. For an extra crisp crust, you can spritz the loaf with a bit of water before reheating.
FAQs
Can I use dried rosemary instead of fresh?
Absolutely! While fresh rosemary has a brighter, more vibrant flavor, dried rosemary works well too. Just reduce the amount to about one teaspoon since dried herbs are more concentrated.
What if I don’t have a cast iron skillet?
If you don’t have a cast iron skillet, you can bake the bread on a heavy baking sheet or in an oven-safe Dutch oven. Just be sure to sprinkle cornmeal to prevent sticking and keep an eye on the baking time.
Do I have to let the dough rise for 18-24 hours?
This long rise time is what develops amazing flavor and texture, but if you’re short on time, you can shorten it to about 12 hours. Just know the flavor may be less complex and the crumb density a bit different.
Can I add other herbs or flavors?
Definitely! This recipe is a fantastic base for experimentation. Try adding thyme, oregano, or even a handful of grated Parmesan cheese for a delicious twist.
Is this bread gluten-free?
This particular Rustic No-Knead Rosemary Garlic Bread Recipe uses all-purpose flour, which contains gluten. For gluten-free versions, you would need to adjust the flour and possibly other ingredients to suit gluten-free baking.
Final Thoughts
This Rustic No-Knead Rosemary Garlic Bread Recipe is one of those treasures that brings so much joy with minimal effort. Whether you’re a novice or a seasoned home baker, it’s an inviting recipe to make your kitchen smell amazing and your guests smile. Give it a try—you may just discover your next signature homemade bread.
Print
Rustic No-Knead Rosemary Garlic Bread Recipe
- Prep Time: 10 minutes
- Cook Time: 35 minutes
- Total Time: 20 hours 45 minutes
- Yield: 8 servings
- Category: Bread
- Method: Baking
- Cuisine: American
- Diet: Vegetarian
Description
This Rustic No Knead Rosemary Garlic Bread is a simple yet flavorful homemade bread recipe that requires minimal effort. With fragrant rosemary and garlic infused into a wet, sticky dough, this bread develops a crisp crust and tender crumb after a long room temperature fermentation and oven baking in a cast iron skillet. Perfect for serving alongside soups, salads, or as a savory snack.
Ingredients
Dry Ingredients
- 3 cups all-purpose flour
- 1 tablespoon finely chopped fresh rosemary (or more, to taste)
- 1 ¼ teaspoons kosher salt
- ¾ teaspoon freshly ground black pepper
- ½ teaspoon instant yeast
Wet Ingredients
- 3 cloves garlic, minced
- 1 ½ cups water, at room temperature
For Baking
- 2 tablespoons cornmeal
- Lightly oil or nonstick spray for skillet
Instructions
- Combine dry ingredients: In a large bowl, combine the flour, minced garlic, chopped rosemary, kosher salt, pepper, and instant yeast ensuring all are evenly distributed.
- Add water and mix: Add the water at room temperature to the dry mixture and stir with a wooden spoon or your hand until a wet, sticky dough forms, about 30 seconds of mixing.
- First rise: Cover the bowl tightly with plastic wrap and let it rest at room temperature for 18 to 24 hours until the surface is bubbly and the dough has risen significantly.
- Prepare skillet: Lightly oil a 10-inch cast iron skillet or spray it with nonstick cooking spray, then sprinkle the bottom evenly with cornmeal to prevent sticking and add texture.
- Shape dough: Turn the dough out onto a lightly floured surface and gently shape it into a round ball without deflating it too much. Place the shaped dough into the prepared skillet.
- Second rise: Cover the skillet with a clean kitchen towel and let the dough stand at room temperature until it doubles in size and feels slightly springy but does not fully spring back when poked, about 2 hours.
- Bake the bread: Preheat your oven to 450°F (230°C). Place the skillet with the dough in the oven and bake for 30 to 40 minutes until the top is a deep golden brown and the crust is crisp.
Notes
- Use room temperature water to ensure proper yeast activation.
- Allowing the dough to ferment overnight develops flavor and texture—don’t rush this step.
- A cast iron skillet helps create a crispy crust and even baking; if unavailable use a heavy oven-safe pan.
- Feel free to increase rosemary or garlic amounts to adjust flavor intensity.
- To test doneness, the bread should sound hollow when tapped on the bottom.


