

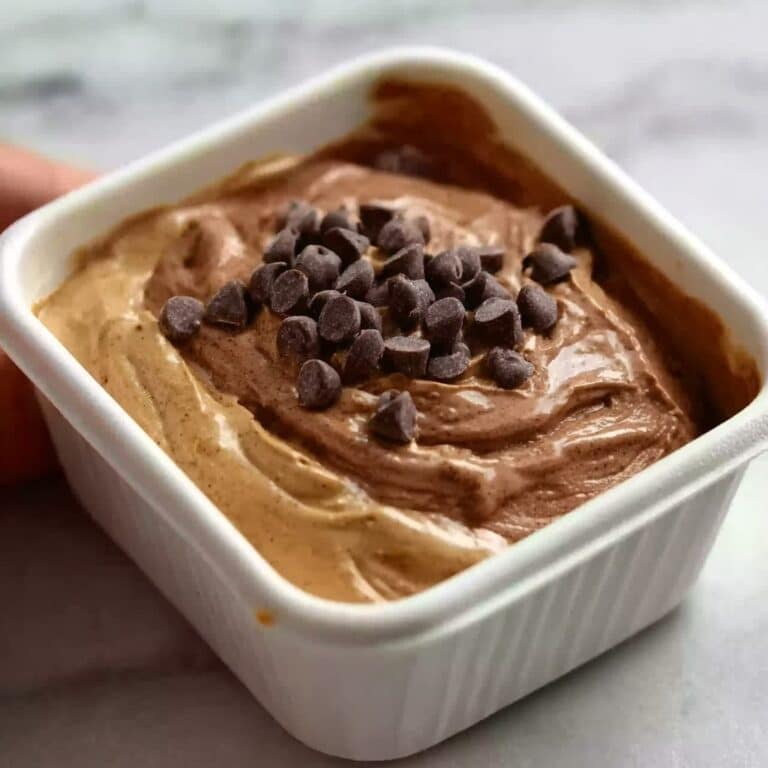
If you’ve ever craved a homemade treat that perfectly balances rich chocolate, fluffy marshmallows, and crunchy nuts, look no further than this Rocky Road Candy Recipe. It’s that nostalgic, chewy, and satisfying bite of joy you can whip up quickly without a fuss, guaranteed to brighten up any snack time or festive gathering. The harmony of textures and flavors makes this candy absolutely irresistible, and I can’t wait to share all the details so you can make it your own favorite go-to sweet treat.

Ingredients You’ll Need
This Rocky Road Candy Recipe features simple but essential ingredients, each chosen to contribute a perfect element of texture, flavor, or color. You’ll love how each component comes together effortlessly to create something truly special.
- 2 cups semi-sweet chocolate chips: Provides the rich, melty base that holds everything together with irresistible chocolate flavor.
- 1 tablespoon butter: Adds a smooth, creamy finish and keeps the chocolate silky during melting.
- 1 cup mini marshmallows: Brings that light, airy chewiness and classic Rocky Road texture.
- 1 cup chopped walnuts (or almonds, peanuts, or pecans): Adds delightful crunch and nuttiness, customizable to your preferred nut.
- ½ teaspoon vanilla extract: Infuses warmth and depth into the chocolate mixture for extra flavor.
- Pinch of salt: Enhances the overall taste, balancing the sweetness wonderfully.
How to Make Rocky Road Candy Recipe
Step 1: Prepare Your Pan
Start by lining an 8×8-inch baking pan with parchment paper or giving it a light grease with butter. This step ensures your chewy Rocky Road candy lifts out easily once it’s set, making cutting and serving a breeze.
Step 2: Melt the Chocolate and Butter
In a large microwave-safe bowl, combine your semi-sweet chocolate chips with the butter. Microwave in 30-second bursts, stirring between each session, until the mixture is melted and silky smooth. Taking it slow here prevents overheating and ensures that luscious texture we’re after.
Step 3: Add Flavor and Cool Slightly
Once melted, stir in the vanilla extract and a pinch of salt to infuse the mixture with extra flavor layers. Allow it to cool for about 2 to 3 minutes so that when you fold in the marshmallows, they keep their shape instead of melting completely.
Step 4: Fold in Marshmallows and Nuts
Gently fold the mini marshmallows and chopped walnuts into the chocolate mixture, making sure each piece gets a chocolatey hug. This step is where the magic happens: chewy meets crunchy meets chocolate in every bite.
Step 5: Chill and Set
Pour your Rocky Road mixture into the prepared pan and spread it evenly. Pop it in the refrigerator for at least an hour, or until it’s firm enough to cut into perfect squares. Patience here rewards you with candy that holds together beautifully.
How to Serve Rocky Road Candy Recipe

Garnishes
While Rocky Road candy is delicious on its own, topping your squares with a sprinkle of sea salt or some extra chopped nuts before chilling elevates the presentation and adds an exciting pop of flavor. You can also drizzle a little white chocolate on top for a pretty contrast that looks as good as it tastes.
Side Dishes
This delightful candy pairs wonderfully with a hot cup of coffee or a creamy glass of milk. If you’re serving at a party, offering fresh berries or a scoop of vanilla ice cream alongside can turn this simple treat into a truly indulgent dessert experience.
Creative Ways to Present
Pack these Rocky Road candy squares in pretty gift boxes or wrap individual pieces in colorful parchment for a wonderful homemade gift. You can also set them out on a dessert platter with other no-bake treats for a fun, interactive sweet table that guests will rave about.
Make Ahead and Storage
Storing Leftovers
If you manage to save some of this Rocky Road Candy Recipe (though it’s hard to resist!), store the pieces in an airtight container in the refrigerator. They’ll stay fresh and delicious for up to 2 weeks, making it perfect for prepping ahead or enjoying over time.
Freezing
You can freeze Rocky Road candy squares wrapped tightly in plastic wrap and stored in a freezer-safe container. When you’re ready to indulge again, thaw them in the refrigerator for a few hours to bring back that perfect chewy texture.
Reheating
Reheating Rocky Road candy isn’t usually necessary, but if you want softer chocolate, you can let the candy sit at room temperature or warm them gently in your hand. Avoid microwave reheating as it may melt the marshmallows too much and lose the classic Rocky Road texture.
FAQs
Can I use other nuts instead of walnuts?
Absolutely! Pecans, almonds, or peanuts all work wonderfully. Choose your favorite or what you have on hand to customize your Rocky Road Candy Recipe.
Is it possible to make this candy without a microwave?
Yes, you can melt the chocolate and butter together in a double boiler on the stove, stirring until smooth. Just be careful not to let the chocolate burn.
Can I add dried fruit or other extras?
Definitely! Adding dried cherries, cranberries, or crushed graham crackers adds a fun twist and extra texture to your Rocky Road candy.
What’s the best way to cut the candy without it sticking?
Use a sharp knife and wipe it clean between cuts. Chilling the candy thoroughly helps it to cut cleanly into neat squares without crumbling.
Is this Rocky Road Candy Recipe suitable for vegetarians?
Yes, as long as your marshmallows are vegetarian-friendly, this recipe is perfect for vegetarians. The other ingredients are naturally meat-free.
Final Thoughts
This Rocky Road Candy Recipe is truly a timeless classic that brings comfort, joy, and a little bit of fun to your kitchen. Whether you’re making it for family, friends, or just because you deserve a sweet treat, the blend of chocolate, marshmallows, and nuts never fails to delight. Give this recipe a try soon—you’ll be amazed at how such simple ingredients can come together to create a candy that’s pure happiness in every bite.
Print
Rocky Road Candy Recipe
- Prep Time: 10 minutes
- Cook Time: 2 minutes
- Total Time: 1 hour 15 minutes
- Yield: 16 pieces
- Category: Dessert, Candy
- Method: No-Cook
- Cuisine: American
- Diet: Vegetarian
Description
Indulge in this classic Rocky Road Candy recipe that combines rich semi-sweet chocolate, buttery goodness, fluffy mini marshmallows, and crunchy nuts for a delightful no-bake treat. Perfect for holidays or anytime you crave a sweet and nutty dessert, this easy-to-make candy sets quickly in the fridge and offers a wonderful balance of textures and flavors.
Ingredients
Chocolate Mixture
- 2 cups semi-sweet chocolate chips
- 1 tablespoon butter
- ½ teaspoon vanilla extract
- Pinch of salt
Mix-ins
- 1 cup mini marshmallows
- 1 cup chopped walnuts (or almonds, peanuts, or pecans)
Instructions
- Prepare the Pan: Line an 8×8-inch baking pan with parchment paper or lightly grease it to prevent sticking and facilitate easy removal of the candy later.
- Melt the Chocolate: In a large microwave-safe bowl, combine the semi-sweet chocolate chips and butter. Microwave in 30-second intervals, stirring thoroughly after each, until the mixture is melted and smooth without any lumps.
- Add Flavorings: Stir in the vanilla extract and a pinch of salt into the melted chocolate to enhance the overall taste profile.
- Cool the Mixture: Allow the chocolate mixture to cool for 2 to 3 minutes. This slight cooling prevents the mini marshmallows from melting completely when folded in, preserving their texture.
- Combine Mix-ins: Gently fold the mini marshmallows and chopped nuts into the chocolate mixture until they are evenly coated.
- Set the Candy: Pour the mixture into the prepared pan and spread it out evenly using a spatula. Place the pan in the refrigerator and chill for at least 1 hour or until the candy is firm and set.
- Serve: Once set, cut the Rocky Road candy into 16 squares. Serve chilled or at room temperature as a delicious dessert or snack.
Notes
- For a festive twist, use colored mini marshmallows.
- Add crushed graham crackers or dried fruit such as cranberries or cherries to add different textures and flavors.
- Store the Rocky Road candy in an airtight container in the refrigerator for up to 2 weeks to maintain freshness.


