
If you are craving something delightfully unique and delicious, the RAV-ear-IOLI (Meat Ravioli Ears) Recipe is a must-try. This playful take on classic ravioli presents the pasta shaped like ears, filled with a rich combination of ground beef and cheese that bursts with flavor in every bite. The dough is silky and tender, the filling perfectly seasoned, and the whole experience feels like sharing a secret Italian family treat with your closest friends. Whether you’re cooking for a special occasion or simply want to impress at dinner, this recipe blends creativity with comforting taste in the most joyful way.

Ingredients You’ll Need
This recipe shines with simple yet essential ingredients that balance each other beautifully in taste, texture, and color. Each component plays a vital role, from the dough’s delicate elasticity to the filling’s savory richness.
- 1 cup all-purpose flour: Provides the perfect structure to create tender, smooth pasta dough.
- 1 whole egg: Adds richness and helps bind the dough for that silky feel.
- 3 egg yolks: Boosts the dough’s color and luxurious texture.
- 1 tablespoon olive oil: Contributes moisture and a subtle fruity note to the dough.
- ¼ teaspoon salt: Enhances all the flavors throughout the dough and filling.
- Egg whites for egg wash: Ensures a shiny, golden seal on each ravioli ear.
- ¼ pound ground beef: The hearty base of the savory filling, giving richness and depth.
- ¼ cup finely grated parmesan, romano, or asiago cheese (or Italian blend): Adds a sharp, nutty complexity to the filling.
- 2 tablespoons ricotta cheese: Brings creaminess and balances the meatiness perfectly.
- 1 egg: Binds the filling components so they hold together inside the pasta.
- 1 tablespoon finely chopped parsley: Offers a fresh, herbal brightness.
- 1 clove garlic, minced: Injects a punch of aromatic depth to the filling.
- Egg-shaped cookie cutter (about 2-¾” x 2”): Essential to craft those adorable ear shapes with precision.
- Rolling pin: For rolling the dough thin enough to achieve delicate yet sturdy ravioli skins.
- Piping bag: Helps you neatly fill each ravioli with the flavorful meat mixture.
- Spider strainer: Makes retrieving the cooked ravioli from the pot a breeze without damage.
- Large cutting board: Provides ample space for shaping and assembling these delightful pasta ears.
How to Make RAV-ear-IOLI (Meat Ravioli Ears) Recipe
Step 1: Prepare the Dough
Begin by combining your all-purpose flour, whole egg, egg yolks, olive oil, and salt in a food processor. This is where the magic starts—mix everything until it comes together into a dough. This process ensures that the dough has the perfect balance of elasticity and softness.
Step 2: Knead Until Smooth
Transfer the dough onto a large, unfloured surface and knead gently but thoroughly for 10 minutes. This might feel like a workout, but it’s worth it because kneading develops the gluten, making your pasta tender and strong enough to hold the filling.
Step 3: Let the Dough Rest
Wrap your dough ball tightly in plastic wrap and let it rest for at least one hour. Resting allows the gluten to relax, resulting in dough that rolls out easily and doesn’t snap back as you shape it into those signature ravioli ears.
Step 4: Make the Meat Filling
While the dough rests, mix together the ground beef, finely grated cheese, ricotta, egg, chopped parsley, and minced garlic. This filling is the heart of your RAV-ear-IOLI (Meat Ravioli Ears) Recipe—rich, flavorful, and creamy all at once.
Step 5: Prepare to Fill
Load your meat mixture into a piping bag. This handy tool lets you place the filling neatly and precisely, which is especially important when shaping the ravioli ears, so each bite has the right amount of deliciousness.
Step 6: Roll Out the Dough
On a lightly floured surface, roll out the rested dough until it is about 1 mm thick. The goal is a paper-thin sheet that is delicate yet sturdy enough to hold the filling without tearing.
Step 7: Cut the Ear Shapes
Use your egg-shaped cookie cutter to cut out the pasta shapes. Do this carefully to maintain smooth edges, which will make sealing easier and more attractive.
Step 8: Brush with Egg Wash
Brush each cut dough piece lightly with egg whites. This simple step acts like glue, ensuring your ravioli seal tight and bake into a beautiful golden sheen after cooking.
Step 9: Pipe the Filling in a Curved “J” Shape
Pipe the meat filling onto one dough piece in a curved “J” shape. This unique placement is the secret to getting the ear-like form once the ravioli is folded and pinched.
Step 10: Seal Each Ravioli Ear
Place another dough piece over the filling and press firmly around the edges to seal. Taking care here prevents any leaks during cooking and preserves the delicate ear shape.
Step 11: Shape the Ears
Pinch and fold the dough to create features like the tragus and helix, turning simple ravioli into charming “ears.” This creative step adds character and fun to the dish, making it a conversation starter at any table.
Step 12: Simmer the Ravioli Ears
Carefully drop the shaped ravioli into salted simmering water. Let them cook gently for 8 to 10 minutes until the dough is tender and the filling is fully cooked through.
Step 13: Remove with a Spider Strainer
Use your spider strainer to lift the ravioli ears out without breaking them. This tool helps retain their beautiful shape and prevents any sticking or tearing.
Step 14: Serve with Tomato Sauce
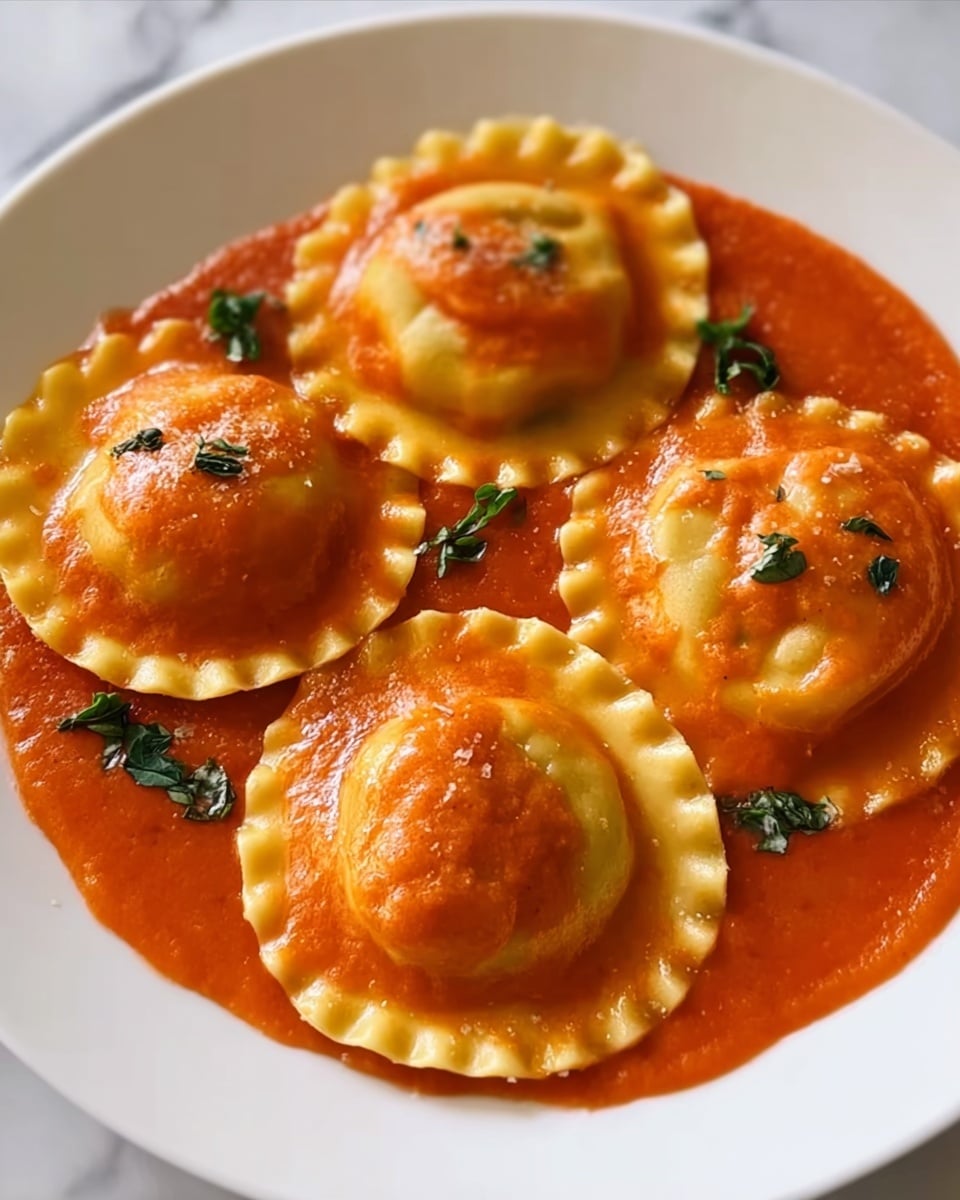
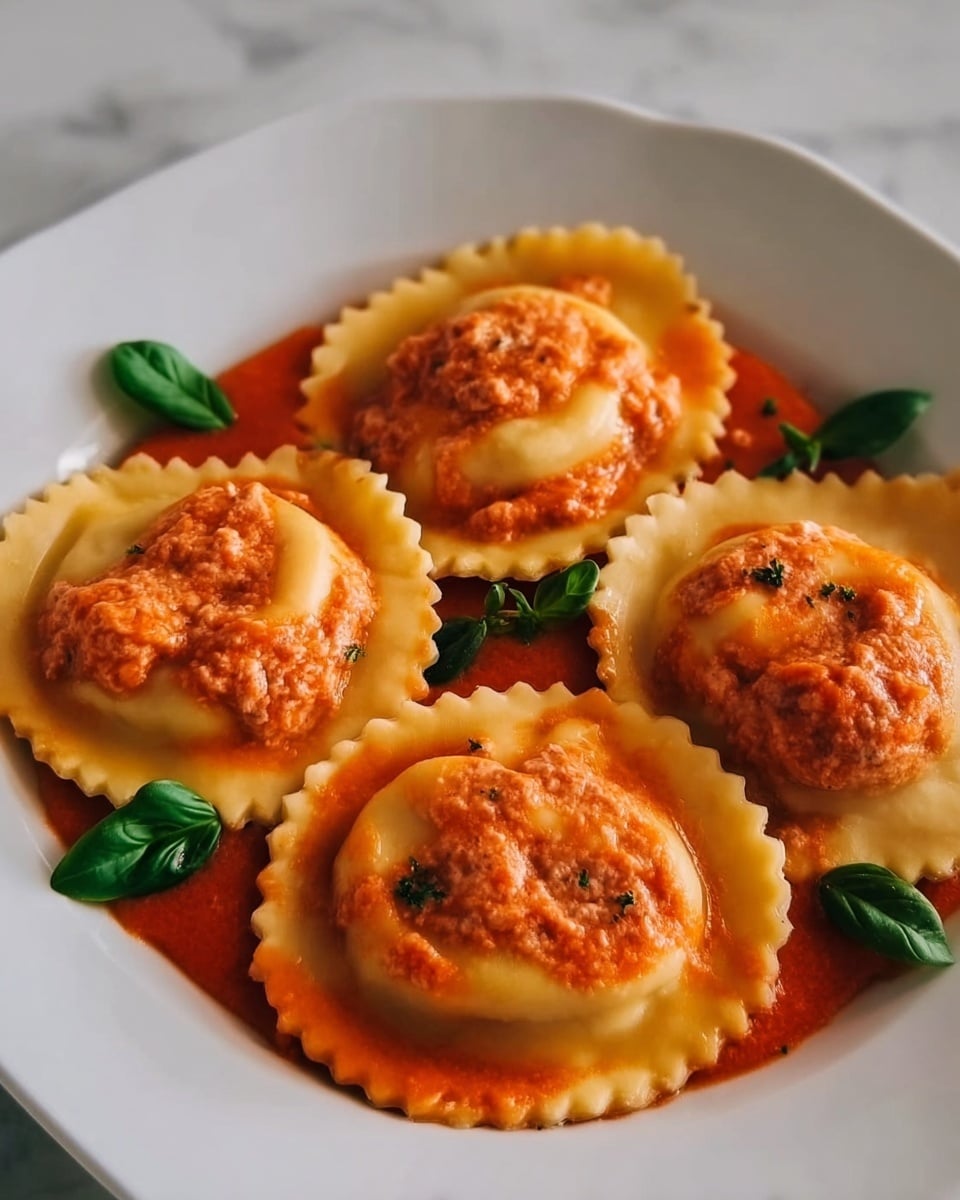
Arrange the ravioli on a plate and spoon over a vibrant tomato sauce to create a playful “bloody” effect. This finishing touch adds acidity and color, balancing the rich filling perfectly.
How to Serve RAV-ear-IOLI (Meat Ravioli Ears) Recipe
Garnishes
Elevate your ravioli ears by garnishing with fresh basil leaves or a sprinkle of crunchy toasted pine nuts. These add contrast in texture and fresh aromas that brighten each bite beautifully.
Side Dishes
Pair these savory ears with a crisp green salad dressed in lemon vinaigrette or roasted seasonal vegetables. Both will provide a refreshing counterpoint to the richness of the ravioli, rounding out your meal.
Creative Ways to Present
For a playful presentation, serve the ravioli in shallow bowls with a swirl of the tomato sauce around them so it pools like a dramatic red carpet. You might also top them with a shaving of aged Parmesan to add a bit of sophistication and sparkle.
Make Ahead and Storage
Storing Leftovers
If you have leftovers, store cooked ravioli in an airtight container in the refrigerator for up to two days. Make sure they are cooled to room temperature before refrigerating to preserve their texture and flavor.
Freezing
You can freeze uncooked ravioli ears by placing them on a baking sheet to freeze individually, then transferring them to a freezer-safe bag or container. This keeps them from sticking together and maintains their special shapes.
Reheating
Gently reheat refrigerated ravioli by simmering them in boiling water for a couple of minutes or warming them in a pan with sauce over low heat. Avoid microwaving to keep the pasta tender and the filling juicy.
FAQs
Can I use different meats for the filling?
Absolutely! Ground pork, veal, or a mixture can be delightful alternatives or additions to the beef, allowing you to tailor the filling to your preferred flavors.
Is it necessary to use a piping bag for the filling?
While not mandatory, a piping bag makes applying the filling neat and precise, especially for this recipe’s unique ear shapes. If you don’t have one, a small spoon can work carefully.
How thin should I roll the dough?
The dough should be rolled to about 1 mm thickness. Too thick and the pasta may feel heavy; too thin and it risks tearing during filling and cooking.
What sauce works best with these ravioli ears?
A simple tomato sauce is traditional and balances the richness beautifully. However, browned butter with sage or a light cream sauce would also complement the meat filling wonderfully.
Can I make the dough by hand instead of a food processor?
Yes! Simply mix the flour and salt in a bowl, create a well and add the eggs and olive oil, then gradually combine with your hands before kneading. It might take a bit more elbow grease but yields just as tasty results.
Final Thoughts
Trust me, once you try the RAV-ear-IOLI (Meat Ravioli Ears) Recipe, it will quickly become one of your go-to dishes for impressing guests or treating yourself. The hands-on process is enjoyable, the shapes bring smiles, and the flavors deliver that warm, comforting satisfaction you crave in homemade pasta. So grab your rolling pin and cookie cutter, and start creating these charming little edible ears today!
Print
RAV-ear-IOLI (Meat Ravioli Ears) Recipe
- Prep Time: 30 minutes
- Cook Time: 10 minutes
- Total Time: 40 minutes plus 1 hour dough rest
- Yield: 4 to 4.4 servings
- Category: Pasta
- Method: Stovetop
- Cuisine: Italian
Description
The RAV-ear-IOLI is a creative and fun twist on traditional ravioli, shaped like human ears and filled with a savory meat mixture. This recipe combines tender homemade pasta dough with a flavorful blend of ground beef, cheeses, and herbs, simmered to perfection and served with a vibrant tomato sauce that adds a rich, ‘bloody’ visual effect, making it perfect for themed dinners or a unique culinary adventure.
Ingredients
Dough
- 1 cup all-purpose flour
- 1 whole egg
- 3 egg yolks
- 1 tablespoon olive oil
- ¼ teaspoon salt
- Egg whites (for egg wash)
Filling
- ¼ pound ground beef
- ¼ cup finely grated parmesan, romano, or asiago cheese (or an Italian blend)
- 2 tablespoons ricotta cheese
- 1 egg
- 1 tablespoon finely chopped parsley
- 1 clove garlic, minced
Tools
- Egg-shaped cookie cutter (about 2-¾” x 2”)
- Rolling pin
- Piping bag
- Spider strainer
- Large cutting board
Instructions
- Prepare the Dough: Combine the flour, whole egg, egg yolks, olive oil, and salt in a food processor. Mix until the dough is combined and starts to come together.
- Knead the Dough: Turn the dough out onto a large, unfloured surface and knead it thoroughly for about 10 minutes until smooth and elastic.
- Rest the Dough: Form the dough into a ball, wrap it tightly in plastic wrap, and let it rest at room temperature for at least 1 hour to relax the gluten.
- Prepare the Meat Filling: In a bowl, mix together the ground beef, finely grated cheese, ricotta cheese, egg, chopped parsley, and minced garlic until well combined.
- Fill the Piping Bag: Transfer the meat filling into a piping bag for easy and precise filling application.
- Roll Out the Dough: On a lightly floured surface, roll the rested dough as thin as possible, aiming for about 1 mm thickness to achieve delicate ravioli.
- Cut Dough Shapes: Using an egg-shaped cookie cutter roughly 2-¾” by 2”, cut out shapes from the rolled dough for the ravioli.
- Apply Egg Wash: Lightly brush the dough pieces with egg whites to help seal the ravioli.
- Pipe the Filling: Pipe the meat filling onto one dough piece in a curved “J” shape, mimicking the ear’s inner folds.
- Seal the Ravioli: Place another dough piece over the filling, pressing firmly around the edges to seal the ravioli completely.
- Shape the Ears: Pinch and fold the dough to create ear-like features such as the tragus and helix, giving the ravioli a realistic ear shape.
- Simmer the Ravioli: Gently simmer the shaped ravioli in salted boiling water for 8 to 10 minutes, until the pasta is tender and the filling is fully cooked through.
- Drain the Ravioli: Use a spider strainer to carefully remove the ravioli from the water and drain well.
- Serve: Plate the ear-shaped ravioli and serve with tomato sauce to create a striking “bloody” effect, enhancing the visual appeal and flavor.
Notes
- Resting the dough is essential for easier rolling and better texture.
- Rolling the dough extremely thin ensures delicate, authentic ravioli without being tough.
- Be gentle when shaping to avoid tearing the dough.
- The tomato sauce not only adds flavor but also enhances the thematic presentation of the dish.
- You can prepare the ravioli ahead and freeze them uncooked; cook from frozen by adding additional simmering time.


