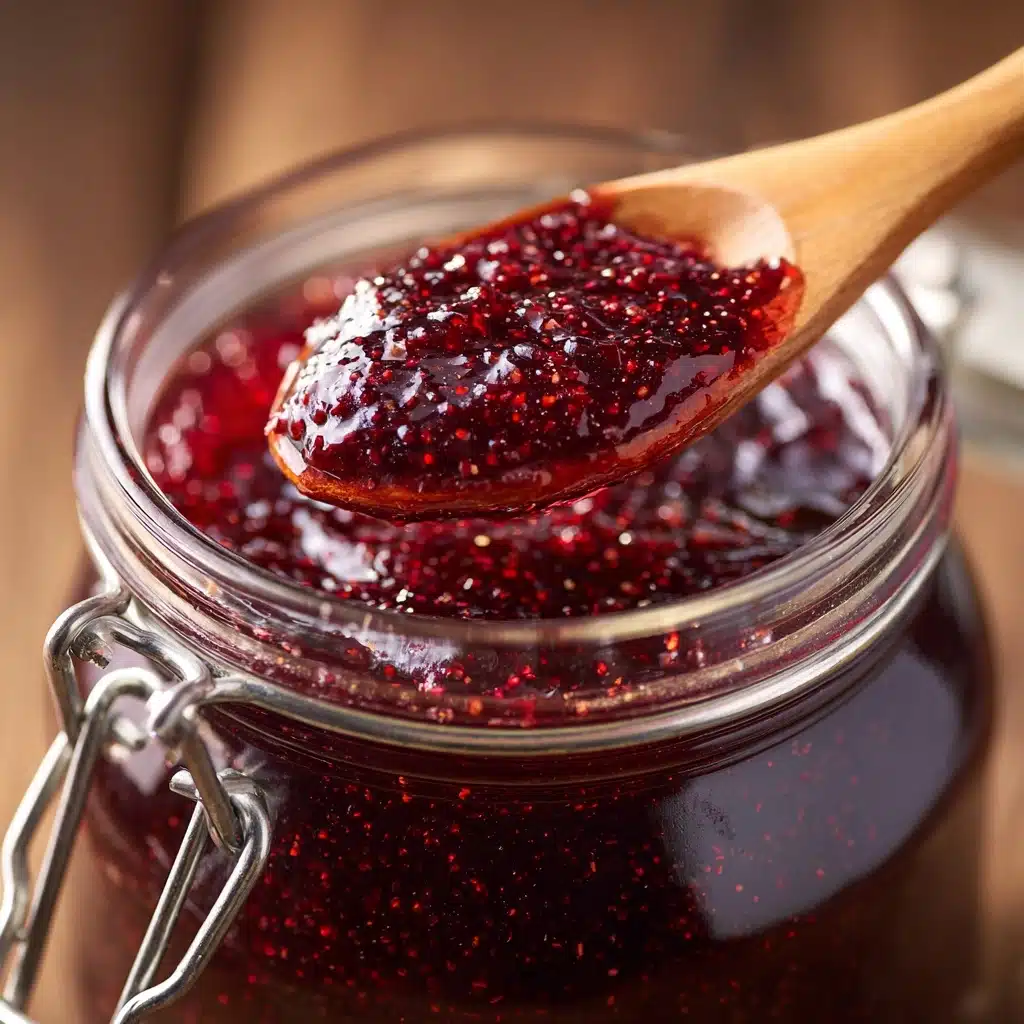
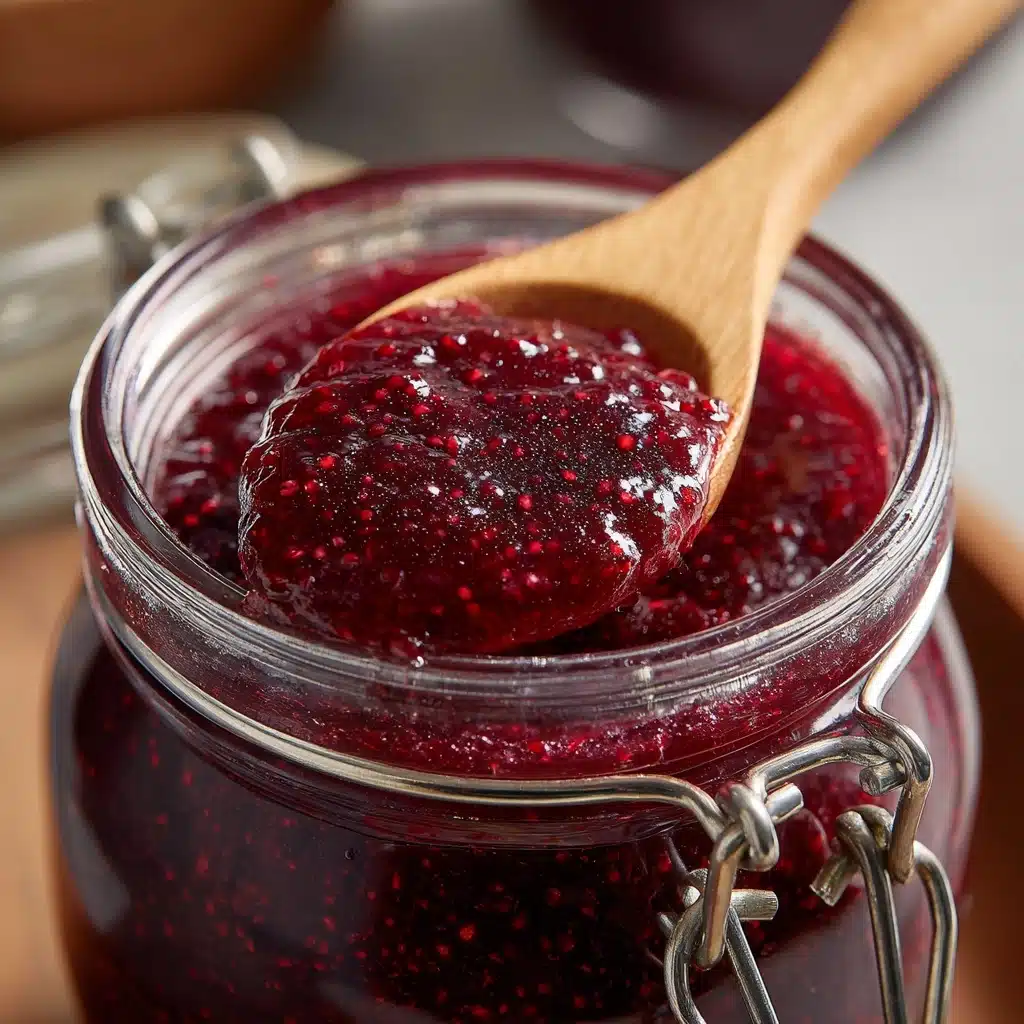
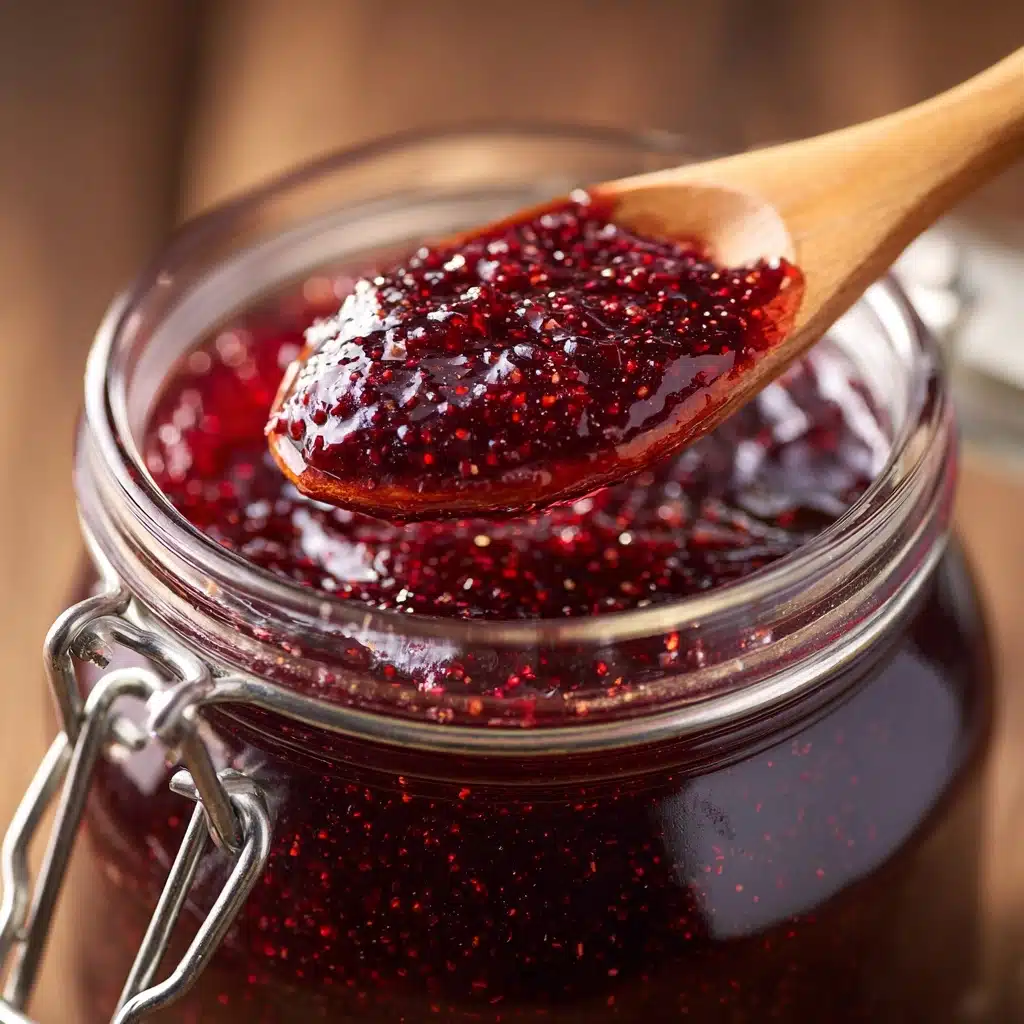
If you’ve ever wondered how to capture summer sunshine and sweetness in a jar, let me introduce you to my all-time favorite Quick Homemade Strawberry Jam. This simple recipe bursts with the bright, classic flavor of ripe strawberries and is ready in around half an hour. With no special equipment or tricky steps required, it’s honestly so approachable that anyone can whip it up, even on a busy morning. Whether you’re a jam-lover or trying homemade spreads for the first time, this is a quick treat that never fails to impress!
Ingredients You’ll Need
-
Fresh Strawberries
- 2 cups fresh strawberries, hulled and chopped
Granulated Sugar
- 3/4 cup granulated sugar
Lemon
- 1 tablespoon lemon juice
- 1 teaspoon lemon zest (optional)
How to Make Quick Homemade Strawberry Jam
Step 1: Prep Your Strawberries
Start by hulling and chopping two cups of fresh strawberries. If you’re using strawberries from the farmers’ market or your own garden, give them a gentle rinse and dry them well, so no extra water sneaks into your mix. The fresher your berries, the brighter and more natural your Quick Homemade Strawberry Jam will taste.
Step 2: Start Mashing and Heating
Place the chopped strawberries in a medium saucepan over medium heat. Grab a potato masher or a sturdy fork and begin mashing them right in the pan. This step helps the strawberries release their juices and start breaking down, which means more bold berry flavor in every bite.
Step 3: Add Sugar and Lemon
Sprinkle in the granulated sugar, pour in the lemon juice, and (if you choose) stir in that optional lemon zest. Mix everything well, so all those lovely ingredients have a chance to come together. As the mixture heats, the sugar dissolves and the strawberries soften further, initiating the perfect jammy consistency.
Step 4: Simmer Until Thickened
Bring your strawberry mixture to a gentle boil, then lower the heat to a slow simmer. Stir it frequently so nothing sticks, and keep an eye on the magic as your Quick Homemade Strawberry Jam thickens across 15 to 20 minutes. For those who love a smoother texture rather than rustic chunky bits, now’s the time to use an immersion blender to carefully puree the jam in the pan.
Step 5: Cool and Store
Once your jam has thickened and coats the back of a spoon, remove the pan from the heat. Let it cool slightly—this helps it set up even more. Spoon your warm, bright jam into a clean jar or airtight container, seal it, and let it chill in the fridge. You’ll end up with about a cup of lusciously spreadable jam ready for anything!
How to Serve Quick Homemade Strawberry Jam
Garnishes
Nothing makes your homemade jam pop quite like a little fresh garnish. I absolutely love adding a few sliced strawberries or a sprinkling of extra lemon zest right on top of each serving. For brunch or afternoon tea, a sprig of fresh mint or a dollop of whipped cream pairs delightfully with the sweet fruitiness.
Side Dishes
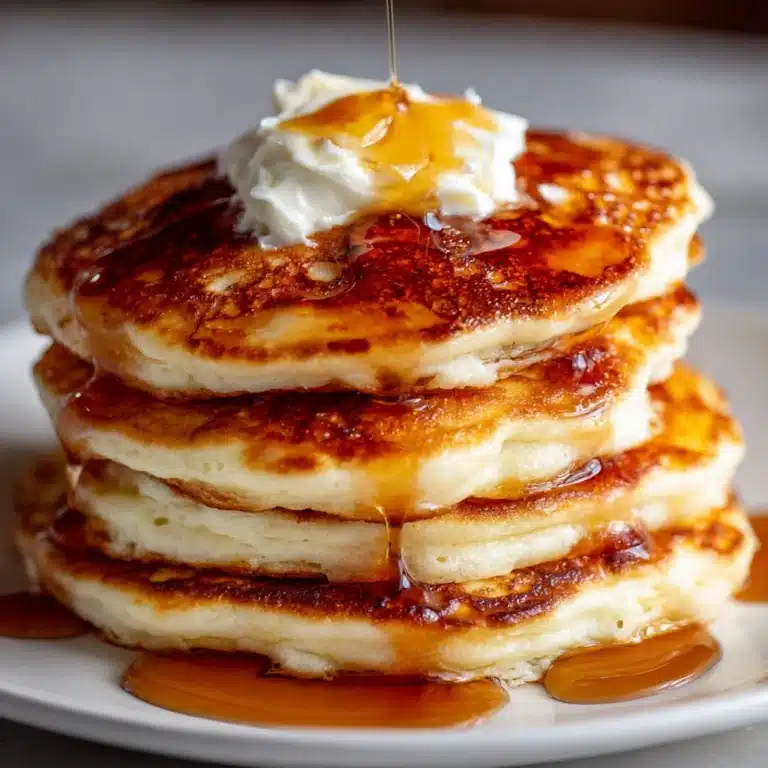
Your Quick Homemade Strawberry Jam transforms humble toast, scones, and biscuits into something special. Try swirling a spoonful into oatmeal or Greek yogurt for a breakfast upgrade, or layer it in between pancakes when you want a weekend treat. It also enhances baked brie or pairs beautifully with sharp cheeses on a grazing board.
Creative Ways to Present
Think beyond the jar! Spoon this jam into mini ramekins for individual portions at brunch, or swirl it through a vanilla cream cheese frosting and slather over cupcakes. For a rustic party vibe, serve the Quick Homemade Strawberry Jam in small mason jars tied with twine as an adorable favor or rustic centerpiece.
Make Ahead and Storage
Storing Leftovers
Once made, let your jam cool, then store it in a clean, airtight jar in the refrigerator. It’ll stay fresh and delicious for two to three weeks, although it probably won’t last that long if your family is anything like mine!
Freezing
This recipe makes a small batch, but if you double up and have extra, you can absolutely freeze Quick Homemade Strawberry Jam. Just transfer cooled jam into freezer-safe containers, leaving a little room at the top for expansion, and freeze for up to three months. Thaw overnight in the refrigerator before using.
Reheating
If your jam firms up a bit too much in the fridge, simply spoon out what you need and warm it gently in the microwave (in ten second bursts, stirring in between) or in a small saucepan on low heat. It’ll loosen up and taste just as fresh as the day you made it.
FAQs
Can I use frozen strawberries instead of fresh?
Absolutely! Thaw the berries first, drain off excess liquid, and then proceed as directed. The flavor remains vibrant, and it’s a great way to enjoy this jam year-round.
Do I need to use pectin in this recipe?
No pectin needed! Strawberries and lemon juice naturally contain enough to set the jam with just sugar and gentle simmering, making this Quick Homemade Strawberry Jam simple, approachable, and deliciously spreadable.
How do I know when my jam is thick enough?
A good test is to dip a chilled spoon into the jam—if it coats the back and runs off slowly, it’s ready. It will continue to thicken as it cools, so don’t overcook or it could become too stiff.
Can I use less sugar for a lighter jam?
You can experiment with reducing the sugar, but keep in mind that both the taste and the shelf life of your Quick Homemade Strawberry Jam may change. Less sugar means a looser set and slightly shorter storage time, but it can still be delicious if you prefer a more tart flavor.
Is this recipe suitable for canning?
This particular recipe is a refrigerator (or freezer) jam, intended for quick use rather than long-term pantry storage. For shelf-stable canning, you’d need a different method and proportions to ensure safety and proper preservation.
Final Thoughts
There’s something so joyful about making a fresh batch of Quick Homemade Strawberry Jam, even more so when you see those vibrant spoonfuls on a slice of warm toast. I hope you’ll try this recipe for yourself and maybe share a jar or two with someone who needs a little sweet pick-me-up. Happy jamming!
Print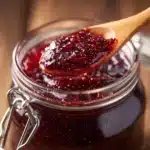
Quick Homemade Strawberry Jam Recipe
- Prep Time: 10 minutes
- Cook Time: 20 minutes
- Total Time: 30 minutes
- Yield: About 1 cup
- Category: Condiment
- Method: Stovetop
- Cuisine: American
- Diet: Vegetarian
Description
Learn how to make a quick and easy homemade strawberry jam that’s bursting with fresh fruit flavor. This small-batch recipe requires no pectin and is perfect for spreading on toast, biscuits, or using in your favorite desserts.
Ingredients
Fresh Strawberries
- 2 cups fresh strawberries, hulled and chopped
Granulated Sugar
- 3/4 cup granulated sugar
Lemon
- 1 tablespoon lemon juice
- 1 teaspoon lemon zest (optional)
Instructions
- Prepare the Strawberries: Place the strawberries in a medium saucepan over medium heat. Mash the strawberries until they start to break down.
- Cook the Jam: Add sugar and lemon juice to the saucepan. Bring to a gentle boil, then simmer for 15-20 minutes, stirring frequently, until thickened.
- Blend (Optional): For a smoother texture, puree the jam with an immersion blender.
- Finish and Store: Remove from heat, let cool slightly, then transfer to a jar. Refrigerate and enjoy!
Notes
- For added zing, include lemon zest when making the jam.
- This jam is best consumed within 2-3 weeks or frozen for longer storage.

