

If you’re looking for a treat that perfectly captures the cozy flavors of fall with minimal fuss, Pumpkin Hand Pies are about to become your new favorite. These golden little pocket pies have a flaky, buttery crust, packed with velvety, warmly spiced pumpkin filling—each bite bringing Thanksgiving comfort in convenient, grab-and-go form. Whether you share them at a dinner party, pop them into lunchboxes, or enjoy as a late-night snack with tea, these hand pies are a guaranteed crowd-pleaser that taste as charming as they look.

Ingredients You’ll Need
You’ll be amazed by how such simple ingredients work together to create Pumpkin Hand Pies with classic flavor and tender texture. Each one has a specific role, ensuring the pies are perfectly balanced and beautifully browned.
- Pumpkin Purée: For genuine pumpkin flavor and creamy filling, use pure canned pumpkin (not pumpkin pie mix).
- Brown Sugar: Adds just the right amount of sweetness and a hint of molasses richness.
- Pumpkin Pie Spice: Brings the essential warmth from cinnamon, nutmeg, and cloves.
- Salt: A pinch brightens all the flavors and balances the sweetness.
- Vanilla Extract: Deepens the complexity of the filling and makes the aroma irresistible.
- Egg (for filling): Binds everything together into a creamy, luscious mixture.
- Refrigerated Pie Crusts: A handy shortcut for a flaky, golden crust that lets you spend more time enjoying.
- Egg (for wash): Brushed over the top, it promises a glossy, golden finish after baking.
- Milk: Blends with the egg wash to maximize browning and sheen.
- Granulated Sugar (for topping): Just a sprinkle gives the crust the perfect sparkly crunch.
- Cinnamon (for topping): Infuses the pies with an extra layer of sweet, fragrant spice right on top.
How to Make Pumpkin Hand Pies
Step 1: Prepare the Pumpkin Filling
Start by combining your pumpkin purée, brown sugar, pumpkin pie spice, salt, vanilla extract, and one egg in a medium bowl. Stir until the mixture is smooth, rich, and evenly blended. This filling is the heart of your Pumpkin Hand Pies—don’t be shy about tasting with a clean spoon to check your spice and sweetness!
Step 2: Roll and Cut the Pie Crusts
Unroll your refrigerated pie crusts onto a lightly floured surface. Using a 3 to 4-inch cookie cutter or an upturned glass, cut circles from the dough. Gather and re-roll the scraps if you need a few extra rounds—waste not, want not! These little discs will form the cozy pockets around your pumpkin filling.
Step 3: Fill and Seal the Hand Pies
Place half of the pie crust rounds onto your parchment-lined baking sheet. Spoon about one tablespoon of pumpkin filling onto the center of each. Gently top with the remaining crust rounds, then press the edges firmly together with a fork to seal. This step ensures the filling stays put and gives that adorable, classic crimped border.
Step 4: Add the Egg Wash and Cinnamon Sugar Topping
In a small bowl, whisk together your second egg with a splash of milk. Brush this mixture over the tops of each hand pie for that irresistible sheen. In a separate bowl, stir together granulated sugar and cinnamon, then sprinkle liberally over the pies for a sweet-spiced crunch.
Step 5: Vent and Bake
Use the tip of a sharp knife to carefully cut a small slit or X in the top of each pie. This will let steam escape as they bake, keeping the crust from getting soggy. Slide the tray into your preheated 375°F oven and bake for 18 to 22 minutes, or until the pies are beautifully golden. Let them cool slightly, just enough so you don’t burn your fingers—though they’re wonderful when still a little warm.
How to Serve Pumpkin Hand Pies

Garnishes
Your Pumpkin Hand Pies are delightful on their own, but a flourish of whipped cream, a dusting of powdered sugar, or a drizzle of maple glaze makes them even more special. If you want to channel autumn bakery vibes, a pinch of extra pumpkin pie spice or cinnamon right before serving is always a hit.
Side Dishes
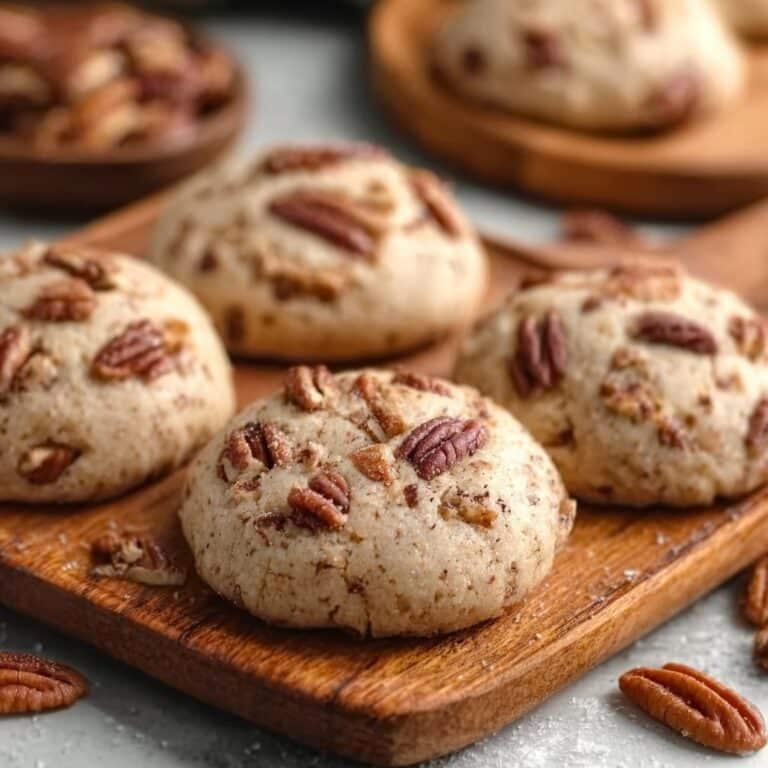
While these pies are the star of any dessert plate, they pair wonderfully with vanilla ice cream, a mug of hot coffee, or even a cold glass of apple cider. Serve alongside fresh fruit or a handful of candied pecans for a complete fall dessert board.
Creative Ways to Present
Try serving Pumpkin Hand Pies in rustic baskets, nestled in a linen napkin for a cozy look. For parties, pop them into individual parchment sleeves or stack them on a tiered stand. If you’re gifting, tie them up in clear treat bags with a twine bow and a pretty handwritten tag.
Make Ahead and Storage
Storing Leftovers
If you somehow don’t devour the whole batch immediately, store your Pumpkin Hand Pies in an airtight container at room temperature for up to two days. For longer storage, keep them in the fridge for up to five days—they’ll still taste fresh, especially if lightly rewarmed before eating.
Freezing
These hand pies freeze beautifully! Once cooled completely, arrange them in a single layer on a baking sheet to freeze until solid, then transfer to a zip-top freezer bag. They’ll stay delicious for up to two months. Just remember to label your bag—future you will thank you.
Reheating
Whether you’re thawing from the fridge or straight from the freezer, reheat your Pumpkin Hand Pies in a toaster oven or regular oven at 350°F for about 5 to 10 minutes. This way, the crust crisps up again and the filling gets warm and fragrant, just like fresh-baked.
FAQs
Can I use homemade pie dough instead of store-bought?
Absolutely! If you have a beloved pie dough recipe, go ahead and use it for Pumpkin Hand Pies. Just be sure to roll it out evenly and chill it before cutting and filling for best results.
Do I have to use canned pumpkin or can I use fresh?
Fresh roasted pumpkin purée is fantastic for Pumpkin Hand Pies and will give a slightly different flavor. Just make sure your homemade pumpkin is blended to a smooth, thick consistency and isn’t watery.
Is it possible to make these vegan?
You can easily swap in plant-based pie crusts and use a flax egg instead of regular egg for the filling and wash. Use your favorite non-dairy milk, and you’ll have vegan-friendly Pumpkin Hand Pies everyone can enjoy.
How can I prevent the pies from leaking while baking?
Be sure not to overfill the pies and always seal the edges tightly with a fork. The egg wash acts like glue, so don’t skip it! And remember to cut a little vent in each pie—it really helps keep everything tidy inside during baking.
Can I make Pumpkin Hand Pies in advance for a party?
Definitely! You can fill and assemble the pies a day ahead, then store them in the fridge on a parchment-lined tray. Just brush on the egg wash and sprinkle with cinnamon sugar right before baking for the freshest taste and flakiest crust.
Final Thoughts
Baking a batch of Pumpkin Hand Pies is like giving your kitchen a big autumnal hug. There’s something magical about holding a warm, flaky pie in your hand that’s filled with spiced pumpkin goodness. I hope you’ll try this recipe soon and experience the cozy delight for yourself—these little pies just might become a new family favorite!
Print
Pumpkin Hand Pies Recipe
- Prep Time: 20 minutes
- Cook Time: 20 minutes
- Total Time: 40 minutes
- Yield: 12 hand pies
- Category: Dessert
- Method: Baking
- Cuisine: American
- Diet: Vegetarian
Description
Delicious and easy-to-make Pumpkin Hand Pies that are perfect for fall and Thanksgiving treats. These mini pies are filled with a flavorful pumpkin mixture and topped with a sweet cinnamon sugar blend.
Ingredients
Filling:
- 1 cup canned pumpkin purée
- 1/4 cup brown sugar
- 1 tsp pumpkin pie spice
- 1/4 tsp salt
- 1 tsp vanilla extract
- 1 large egg (for filling)
Crust and Topping:
- 2 refrigerated pie crusts
- 1 egg (for egg wash)
- 1 tbsp milk
- 2 tbsp granulated sugar (for topping)
- 1/2 tsp cinnamon (for topping)
Instructions
- Preheat the oven: Preheat the oven to 375°F and line a baking sheet with parchment paper.
- Mix the filling: In a medium bowl, mix the pumpkin purée, brown sugar, pumpkin pie spice, salt, vanilla, and 1 egg until smooth.
- Prepare the crust: Unroll the pie crusts on a lightly floured surface and cut into rounds. Place half of the rounds on the baking sheet.
- Add filling: Spoon pumpkin filling onto each round. Top with another round and seal edges with a fork.
- Brush with egg wash: Whisk the second egg with milk and brush over the pies.
- Add topping: Mix sugar and cinnamon, then sprinkle over each pie.
- Bake: Bake for 18–22 minutes until golden brown. Cool slightly before serving.
Notes
- Serve with whipped cream or maple glaze.
- Pies freeze well after baking; reheat before serving.


