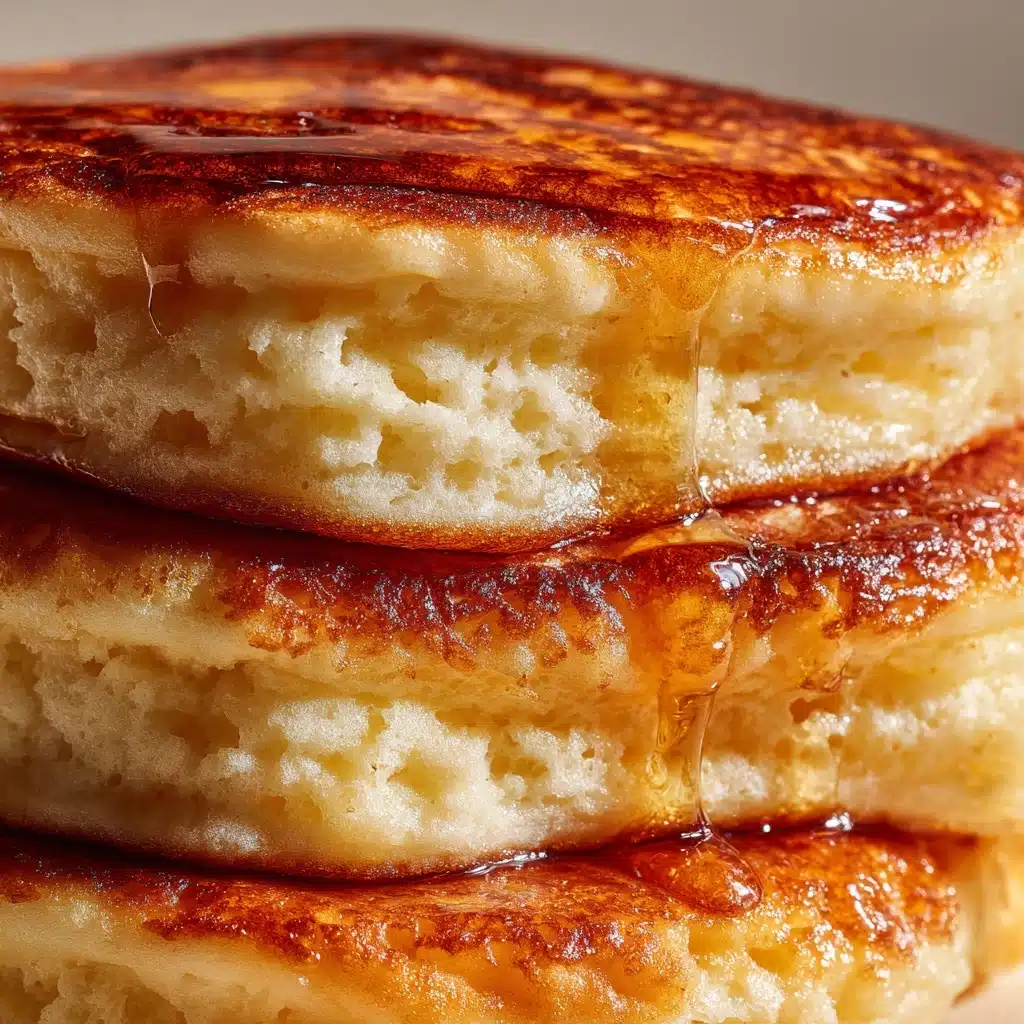
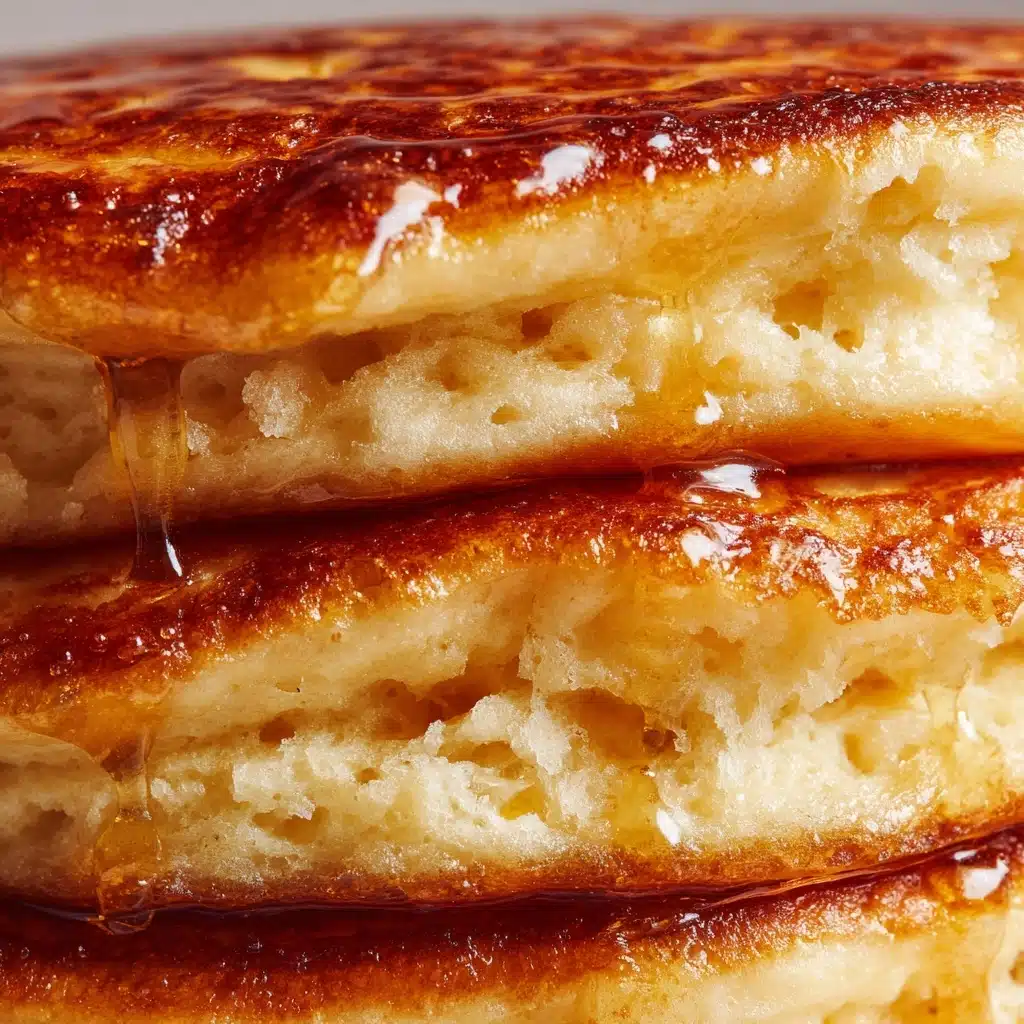
Fluffy, golden, and utterly charming, Pikelets are a beloved breakfast and teatime treat from Australia and New Zealand that deserve a place in every kitchen. These dainty, pillow-soft mini pancakes are ridiculously easy to whip up with pantry staples, making them perfect for spontaneous cravings or cozy brunches with friends. Whether dressed up with jam and whipped cream or enjoyed simply with butter and honey, Pikelets always bring a little extra joy to the table.
Ingredients You’ll Need
You only need a handful of baking essentials to make Pikelets, but each ingredient pulls its weight when it comes to taste and texture. From that essential hit of vanilla to the lightness that baking powder brings, this list is short but oh-so-sweet.
- All-purpose flour: The backbone of your Pikelets, creating a soft and tender crumb.
- Baking powder: Adds lovely lift, making each Pikelet airy and fluffy.
- Baking soda: Helps with browning and works alongside the baking powder for just the right texture.
- Granulated sugar: Adds a gentle sweetness, perfect for balancing your favorite toppings.
- Salt: Just a pinch awakens all the flavors and keeps things interesting.
- Egg: Binds everything together for a light, moist result.
- Milk: Brings the batter to just the right consistency, ensuring tender Pikelets every time.
- Vanilla extract: A whisper of warmth and aroma in each bite—don’t skip it!
- Butter or oil (for cooking): A little on the pan ensures that golden, crispy edge and makes the whole batch irresistible.
How to Make Pikelets
Step 1: Mix the Dry Ingredients
Start by grabbing a large mixing bowl and whisking together your flour, baking powder, baking soda, sugar, and salt. This step ensures everything is evenly distributed, so you don’t end up with any uneven pockets of baking powder or salty bites. Taking a minute here means perfectly even Pikelets later!
Step 2: Combine the Wet Ingredients
In a separate bowl, lightly beat the egg, then add the milk and vanilla extract. Whisk until everything is well combined and smooth, creating a liquid base that brings just the right amount of richness and vanilla-infused warmth to your Pikelets.
Step 3: Bring It All Together
Pour the wet ingredients over the dry ingredients and use a spatula or wooden spoon to stir them together. Mix just until combined—lumps are totally fine! Overmixing will make the Pikelets tough, and the magic is all about keeping them airy and tender.
Step 4: Cook the Pikelets
Heat a non-stick skillet or griddle over medium heat, then brush or swirl a little butter or oil to cover the surface. Drop tablespoonfuls of batter onto the hot pan, allowing plenty of room for gentle spreading. Cook each Pikelet for about 1 to 2 minutes until bubbles appear on the surface, then flip and cook for another half a minute to a minute, until both sides are irresistibly golden and the center is cooked through.
Step 5: Serve While Warm
Transfer your cooked Pikelets to a plate and cover loosely with a clean tea towel to keep them warm while you cook the remaining batter. Serve as soon as possible for the ultimate soft and fluffy experience—though honestly, they’re delicious at room temperature, too!
How to Serve Pikelets
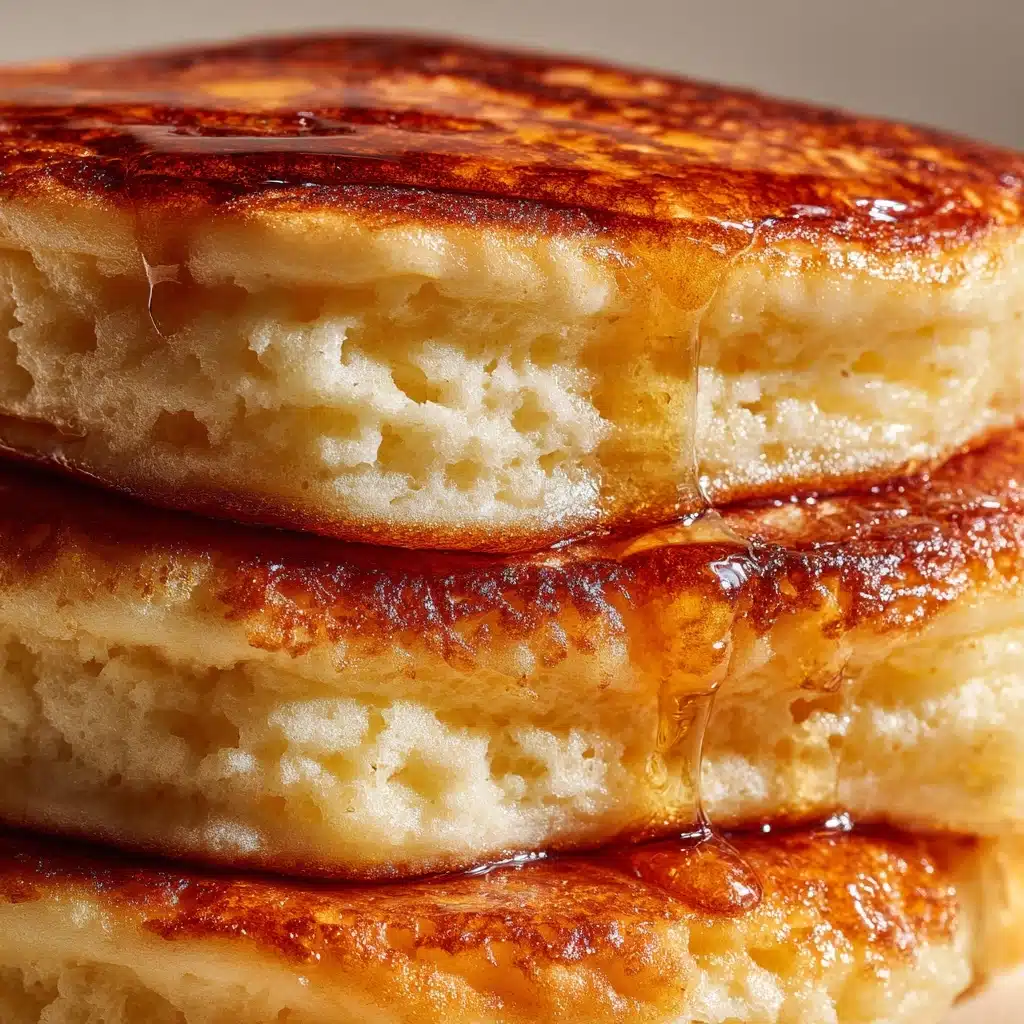
Pikelets: Garnishes
For the finishing touch, pile your Pikelets high with a pat of soft butter, a drizzle of golden syrup, or a dollop of your favorite jam. If you’re feeling a little extra, top with whipped cream and a scatter of fresh berries for a truly inviting display.
Side Dishes
Pikelets are wonderfully adaptable—pair them with crispy bacon, fruit salad, or a handful of nuts for a more filling breakfast. They’re also the perfect companion for your morning cup of tea or coffee, or even a chilled glass of milk.
Creative Ways to Present
Impress your guests (or just yourself!) by stacking Pikelets with alternating layers of fruit preserves and cream, or arrange them in a pretty fan shape on a platter with small bowls of different toppings. For a party or brunch, set up a “Pikelet bar” so everyone can build their own sweet or savory masterpiece.
Make Ahead and Storage
Storing Leftovers
If you happen to have any Pikelets left over, let them cool completely, then store them in an airtight container at room temperature for up to two days. All that’s left to do is reheat and enjoy!
Freezing
Got leftovers or want to get ahead? Once cooled, layer Pikelets between sheets of baking paper, stack them in a resealable bag or airtight container, and freeze for up to two months. This makes snack time a breeze whenever the craving strikes.
Reheating
To bring Pikelets back to life, simply warm them in the microwave for about 10 to 20 seconds, or pop them in a toaster for a minute. They’ll be soft, fluffy, and ready for your favorite toppings—almost as good as fresh!
FAQs
Can I make Pikelets gluten-free?
Absolutely! Just swap the all-purpose flour for your favorite gluten-free blend (make sure it’s one that’s suitable for baking). You might need to add an extra tablespoon or two of milk if your batter seems thick.
Do Pikelets need to be served warm?
While Pikelets are at their fluffiest and yummiest when served warm, they’re just as good at room temperature. Pack them for lunchboxes, picnics, or even as a grab-and-go breakfast.
What’s the difference between Pikelets and pancakes?
Pikelets are similar to pancakes but are usually smaller, thicker, and often enjoyed as a snack or with tea in Australia and New Zealand. Their slightly denser texture makes them perfect for holding plenty of jam or cream!
Can I make Pikelets ahead of time for a party?
Yes, you can! Make your Pikelets the day before, store them in an airtight container, and gently reheat before serving. They hold up beautifully and are perfect for platter-style entertaining.
What are some savory topping ideas?
For a savory spin, top Pikelets with cream cheese and smoked salmon, herbed ricotta, or even a smear of avocado and a sprinkle of sea salt. The possibilities go way beyond sweet!
Final Thoughts
Whether you’re new to Pikelets or already a lifelong fan, this recipe is guaranteed to brighten any morning or afternoon tea. Give them a try—you just might discover your new favorite comfort food, ready to soak up every delicious topping you can dream of!
Print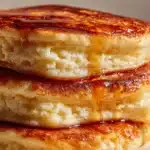
Pikelets Recipe
- Prep Time: 10 minutes
- Cook Time: 15 minutes
- Total Time: 25 minutes
- Yield: 12 pikelets
- Category: Breakfast
- Method: Stovetop
- Cuisine: Australian
- Diet: Vegetarian
Description
Delight in these fluffy, golden pikelets that make the perfect breakfast or teatime treat. Quick and easy to whip up, they are a beloved Australian classic.
Ingredients
Dry Ingredients:
- 1 cup all-purpose flour
- 1 teaspoon baking powder
- 1/4 teaspoon baking soda
- 2 tablespoons granulated sugar
- 1/4 teaspoon salt
Wet Ingredients:
- 1 large egg
- 3/4 cup milk
- 1 teaspoon vanilla extract
For Cooking:
- butter or oil
Instructions
- In a mixing bowl, combine dry ingredients: Whisk together the flour, baking powder, baking soda, sugar, and salt.
- Prepare wet ingredients: In a separate bowl, whisk the egg, milk, and vanilla extract until well combined.
- Mix the batter: Pour the wet ingredients into the dry mixture and stir until just combined.
- Cook the pikelets: Heat a skillet, drop batter, cook for 1–2 minutes per side until golden.
- Serve: Enjoy warm with butter, jam, or syrup.
Notes
- Pikelets are a popular snack in Australia and New Zealand.
- Store in an airtight container for up to 2 days, or freeze for longer shelf life.

