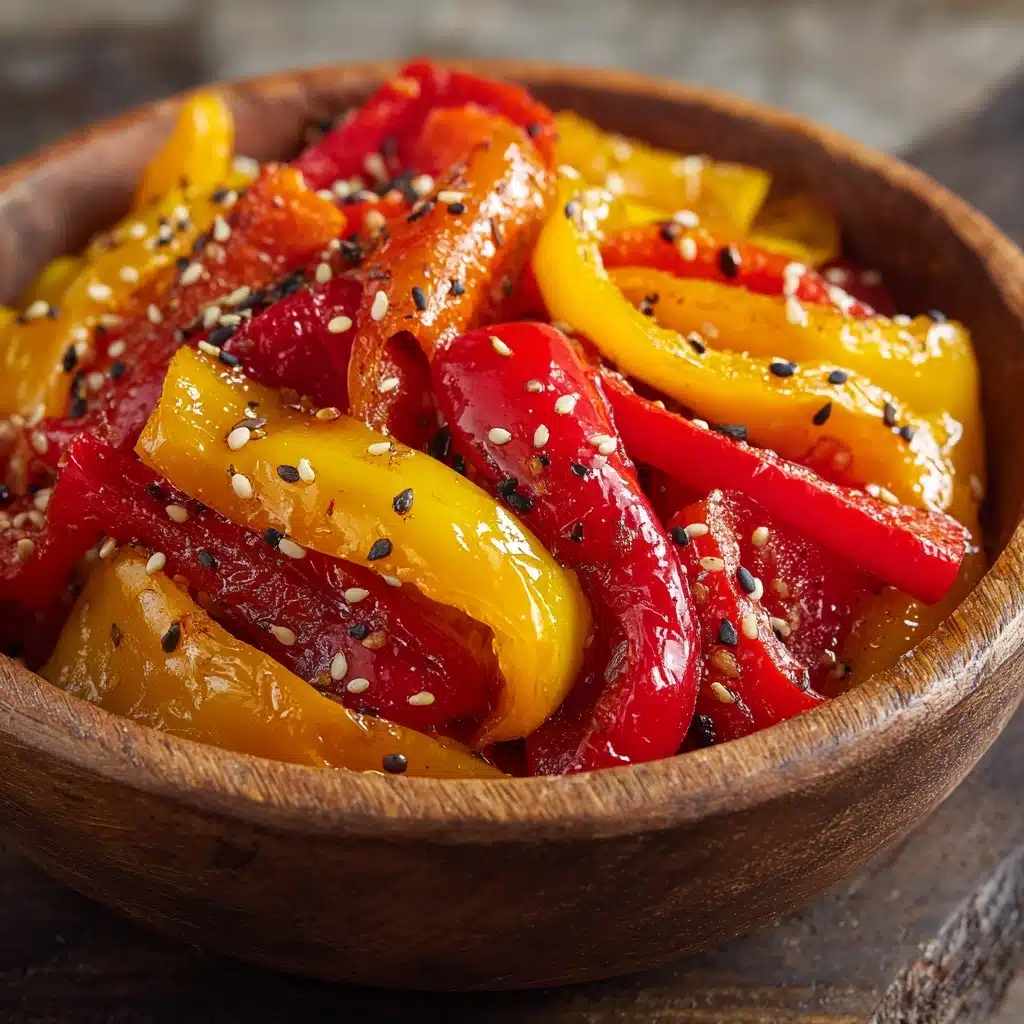
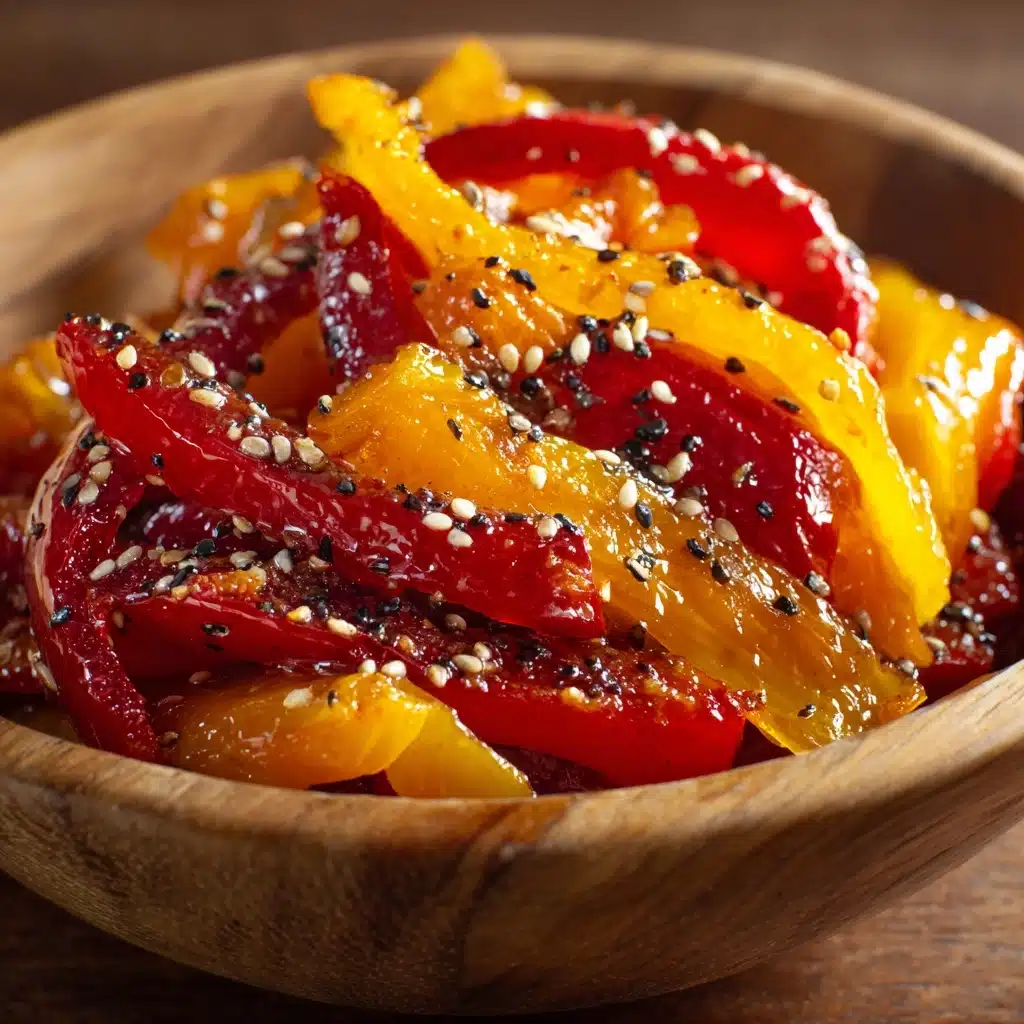
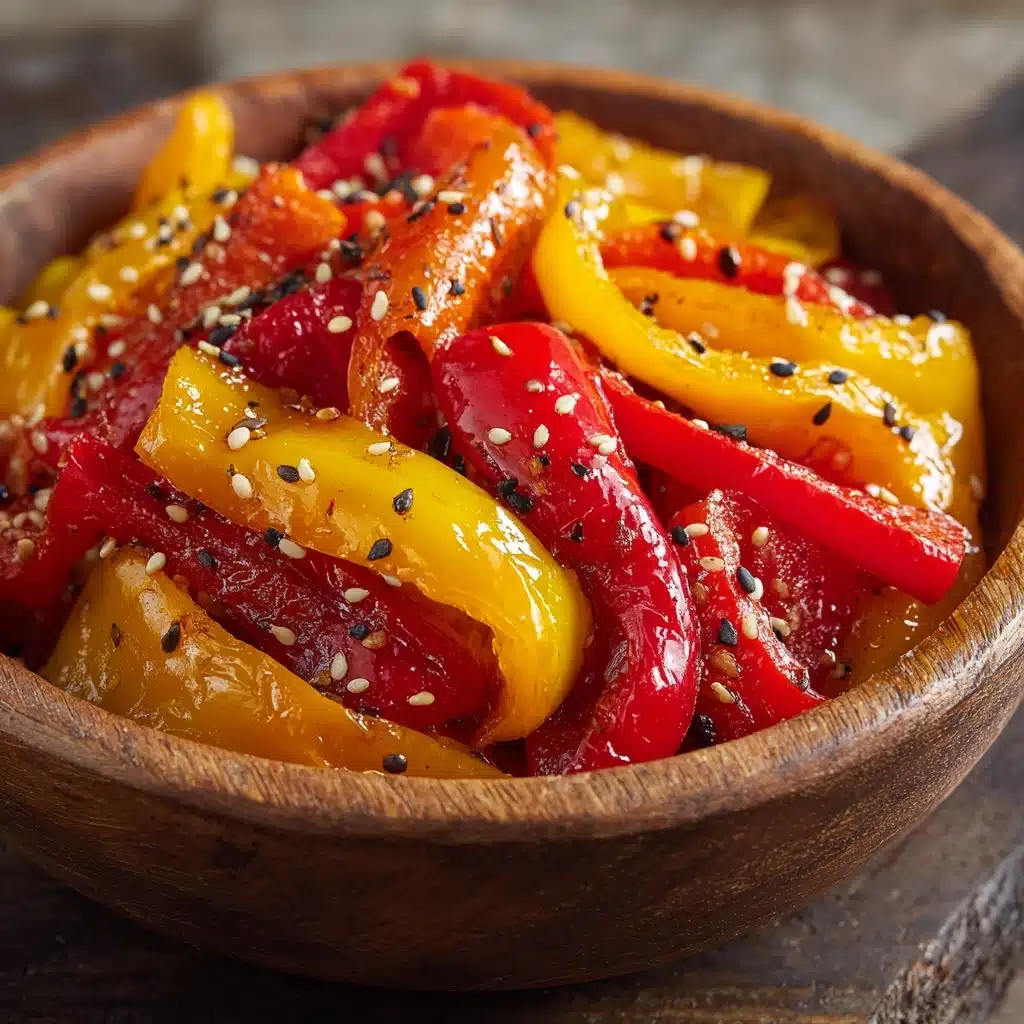
Pickled Peppers are a true flavor bomb in a jar: tangy, slightly sweet, and satisfyingly spicy, these vibrant peppers add a zippy bite to everything you love, from tacos to grain bowls. With just a handful of simple ingredients and a super-fast stovetop brine, you’ll find yourself reaching for these pickled beauties again and again. This recipe is as easy as it is customizable, making homemade Pickled Peppers a must-have in your fridge all year round.
Ingredients You’ll Need
This recipe proves that even the simplest ingredients, when combined thoughtfully, can create something truly craveable. Each item plays a starring role, whether it’s bringing beautiful color, essential acidity, or a bit of aromatic spice to the mix.
- Peppers (1 pound): Jalapeños, banana peppers, or your favorite mix – choose the heat level you love, and remember, fresh and firm peppers yield the best crunch.
- White vinegar (1 cup): Brings brightness and the signature tang that defines every batch of Pickled Peppers.
- Water (1 cup): Dilutes the vinegar for a balanced brine that allows pepper flavor to shine.
- Granulated sugar (2 tablespoons): Adds a kiss of sweetness to offset the sharpness; bump it up for a sweeter profile if you prefer.
- Kosher salt (1 tablespoon): Essential for seasoning the peppers and preserving that snappy texture.
- Garlic cloves, sliced (3): Introduces aromatic warmth and depth – a must for any good pickle.
- Whole black peppercorns (1 teaspoon): Lend spicy notes and complexity to the brine.
- Mustard seeds (1 teaspoon): Offer gentle heat and a unique, earthy layer that complements the peppers.
- Red pepper flakes (1/2 teaspoon, optional): For those who like extra fire – adjust or omit for your ideal heat.
- Bay leaves (2): Bring subtle herbal flavor that rounds out the entire pickling blend.
How to Make Pickled Peppers
Step 1: Prep Your Peppers
Begin by giving your peppers a thorough wash. You can slice them into rings for quick, snappy bites, or keep them whole if you’re after a dramatic look (just be sure to pierce whole peppers with a fork so that brine can do its magic inside). Either way, pack those gorgeous peppers as tightly as possible into a clean quart jar—think of this as a fun little Tetris challenge!
Step 2: Make the Brine
In a medium saucepan, add the white vinegar, water, granulated sugar, kosher salt, sliced garlic, black peppercorns, mustard seeds, red pepper flakes, and bay leaves. Place the pan over medium heat and bring everything to a boil, stirring just until the sugar and salt are completely dissolved. This fragrant brine is the backbone of amazing Pickled Peppers.
Step 3: Pour and Submerge
Carefully pour the hot, aromatic brine over your peppers in the jar, making sure they’re fully covered. Take your time with this step—you want every pepper to enjoy an even, flavorful soak. If needed, use a spoon to gently push the peppers down or tap the jar to release any air bubbles hiding inside.
Step 4: Cool, Seal, and Chill
Seal the jar with its lid and let it cool at room temperature. This helps everything settle and draws the flavors into the peppers. Once the jar feels cool, pop it in the refrigerator and let the flavors steep for at least 24 hours. Trust me: waiting is the hardest part, but it’s worth every tangy, crunchy bite when you finally dig in.
How to Serve Pickled Peppers
Garnishes
A handful of Pickled Peppers makes an instant upgrade to all sorts of dishes! Scatter rings across pizza, tuck them into sandwiches, or mound them atop salads for a pop of color and irresistible flavor. Try adding a pinch of chopped fresh herbs or a squeeze of lemon if you love a little extra freshness alongside their tang.
Side Dishes
Serve Pickled Peppers as a bold, palate-awakening side with roasted meats, barbecue, or any hearty main. They pair beautifully with rich cheese boards, antipasto platters, and grain bowls. Their acidity cuts through creamy or fatty foods, making every bite brighter.
Creative Ways to Present
Don’t be shy—get playful! Stack Pickled Peppers in tiny jars or ramekins for snack spreads, or chop them finely to stir into dips and vinaigrettes. They also make a memorable topping for nachos or even breakfast tacos. Arrange them in colorful layers for a centerpiece-worthy effect if you’re hosting.
Make Ahead and Storage
Storing Leftovers
These Pickled Peppers keep like a dream in the refrigerator for up to two months. Store them in a glass or non-reactive container with a tight-fitting lid, making sure the peppers stay submerged in their brine for the freshest results.
Freezing
While freezing isn’t recommended for Pickled Peppers, since it can make them mushy, you likely won’t have leftovers long enough for this to be an issue! Their flavor and texture are best enjoyed straight from the fridge.
Reheating
Pickled Peppers are designed to be enjoyed cold or at room temperature, so you don’t need to reheat them. If adding to cooked dishes, simply stir them in at the end for maximum crunch and zing.
FAQs
What types of peppers work best for Pickled Peppers?
Just about any fresh, firm pepper works! Jalapeños and banana peppers are classic, but you can mix in poblano, cherry, or even sweet bell peppers to suit your heat tolerance and color inspiration.
Can I adjust the sweetness or make them spicier?
Absolutely! Like your pickles sweeter? Add up to another tablespoon of sugar. For more heat, amp up the red pepper flakes or use an extra-hot pepper variety.
How long do Pickled Peppers need to sit before eating?
Letting them rest for at least 24 hours gives the best flavor; however, after a few hours in the fridge they’re already pretty tasty if you just can’t wait!
Are Pickled Peppers suitable for canning?
This recipe is designed for refrigerator pickling only, not shelf-stable canning. For long-term pantry storage, look for a water-bath canning recipe and follow proper safety guidelines.
How do I keep my Pickled Peppers crunchy?
The trick is to use super-fresh peppers and to make sure they’re fully covered by the hot brine. Always keep them refrigerated, and don’t boil them directly—just pour the hot brine over.
Final Thoughts
Once you taste your own homemade Pickled Peppers, you might never buy the store version again! They’re the ultimate secret ingredient for bringing bold, zesty flavor to your meals. I can’t wait for you to make a batch and see just how many ways they brighten your table.
Print
Pickled Peppers Recipe
- Prep Time: 10 minutes
- Cook Time: 5 minutes
- Total Time: 15 minutes (plus chilling)
- Yield: 1 quart jar (about 16 servings)
- Category: Condiment, Side
- Method: Pickling, No-Cook Storage
- Cuisine: American, Mediterranean-Inspired
- Diet: Vegan, Gluten-Free, Low-Carb
Description
Learn how to make delicious pickled peppers at home with this easy recipe. These tangy and spicy pickles are perfect for adding a zing to sandwiches, salads, and more!
Ingredients
Fresh Peppers:
- 1 pound fresh peppers (jalapeños, banana peppers, or mixed varieties)
Brine:
- 1 cup white vinegar
- 1 cup water
- 2 tablespoons granulated sugar
- 1 tablespoon kosher salt
- 3 garlic cloves, sliced
- 1 teaspoon whole black peppercorns
- 1 teaspoon mustard seeds
- 1/2 teaspoon red pepper flakes (optional)
- 2 bay leaves
Instructions
- Prep Peppers: Wash and slice the peppers into rings, or leave whole if preferred. Pack into a clean quart-size jar.
- Prepare Brine: In a saucepan, combine vinegar, water, sugar, salt, garlic, peppercorns, mustard seeds, red pepper flakes, and bay leaves. Bring to a boil.
- Pour Brine: Pour hot brine over peppers, ensuring they are fully submerged. Seal the jar and let cool to room temperature.
- Chill: Refrigerate for at least 24 hours before serving for best flavor.
Notes
- These pickled peppers will keep in the refrigerator for up to 2 months.
- For a sweeter flavor, increase the sugar to 3 tablespoons.
- Adjust the type of peppers based on your spice preference.

