
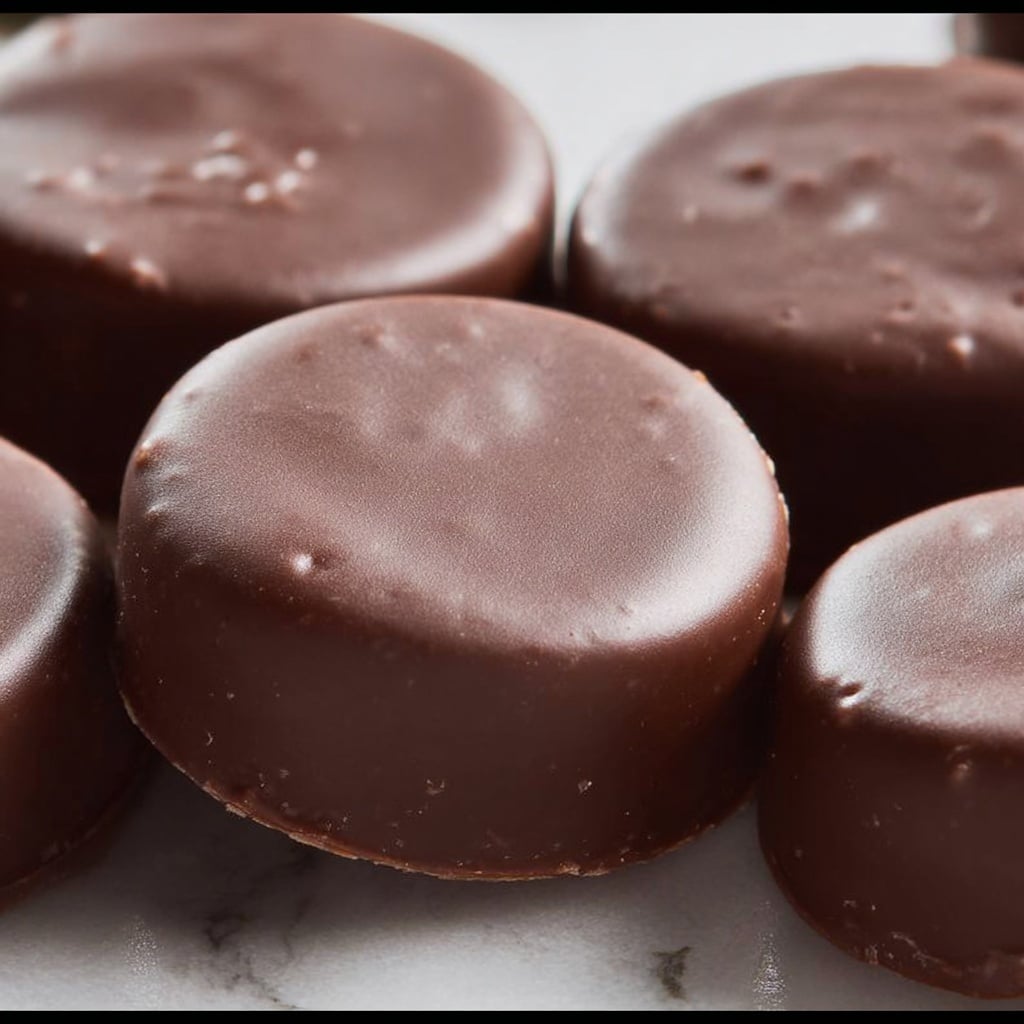
If you have ever longed for that perfectly crisp, minty, and chocolaty cookie that seems to melt in your mouth just right, then you are in for a treat with this Perfect Homemade Thin Mint Cookies Recipe. This recipe captures the very essence of the beloved Girl Scout classic, bringing a burst of refreshing peppermint combined with rich cocoa into an easy-to-make cookie that you can proudly call your own. From the buttery, tender base to the glossy chocolate coating infused with a hint of peppermint, every bite is a delightful dance of flavors and textures you won’t soon forget.

Ingredients You’ll Need
These ingredients are straightforward yet essential, each playing a crucial role in creating that signature taste and texture of perfect Thin Mint cookies. They balance sweetness, moisture, and that unmistakable chocolate-mint flavor.
- 1 cup unsalted butter (softened): Provides richness and a tender crumb to the cookies.
- 1 cup granulated sugar: Sweetens the dough and helps create a slight crispness upon baking.
- 1 large egg: Binds the ingredients while adding moisture and structure.
- 1 teaspoon vanilla extract: Enhances the overall flavor with a warm, aromatic note.
- ½ teaspoon peppermint extract: Adds the refreshing minty punch essential for Thin Mints.
- 1 ½ cups all-purpose flour: Forms the base structure of the cookies.
- ¾ cup unsweetened cocoa powder: Delivers deep, rich chocolate flavor without added sweetness.
- ½ teaspoon baking powder: Helps the cookies rise slightly, keeping them light and crisp.
- ¼ teaspoon salt: Balances the sweetness and enhances chocolate intensity.
- 10 ounces semi-sweet or dark chocolate (chopped or chips): Creates the luscious coating that envelops each cookie.
- ½ teaspoon peppermint extract (for coating): Infuses the chocolate coating with a subtle minty kick.
How to Make Perfect Homemade Thin Mint Cookies Recipe
Step 1: Cream Butter and Sugar
Start by combining the softened butter and granulated sugar in a large mixing bowl. Beat them together until the mixture is light, fluffy, and creamy — this will ensure your cookies have a tender texture and a lovely crumb. The fluffiness indicates good aeration which helps with texture.
Step 2: Add Egg and Extracts
Next, beat in the egg along with vanilla and peppermint extracts. The egg adds moisture and structure, while the peppermint extract is where your cookies start to develop their iconic refreshing flavor. Make sure everything is thoroughly combined for uniform flavor.
Step 3: Mix Dry Ingredients
In a separate bowl, whisk together the flour, cocoa powder, baking powder, and salt. This step is important to evenly distribute the cocoa and leavening agent so that every cookie bakes evenly with that perfect chocolate color and a subtle lift.
Step 4: Combine Wet and Dry Ingredients
Gradually add the dry mixture into the wet ingredients, mixing gently until a cohesive dough forms. You want to avoid overmixing here to keep the cookies from becoming tough. Once combined, divide the dough into two discs, wrap them tightly, and refrigerate for at least one hour—this resting time enhances flavor and firmness for easy rolling.
Step 5: Roll and Cut Dough
Preheat your oven to 350°F (175°C) and line baking sheets with parchment paper. On a lightly floured surface, roll out the chilled dough to about ¼-inch thickness. Use a 2-inch round cookie cutter to cut out perfect circles. The uniform size ensures they bake evenly and look just right.
Step 6: Bake and Cool
Place your cut-outs on the prepared baking sheets with some space in between and bake for 10 to 12 minutes. When the cookies come out, they should be firm to the touch but tender inside. Let them cool completely on wire racks before moving on to the coating process.
Step 7: Prepare the Chocolate Coating
Melt your semi-sweet or dark chocolate using a microwave-safe bowl or a double boiler method until smooth and glossy. Stir in ½ teaspoon of peppermint extract to intensify the mint flavor in the coating, making sure it’s well combined.
Step 8: Dip and Chill
Dip each cooled cookie individually into the chocolate, allowing the excess to drip off before setting them on a parchment-lined tray. Once all cookies are coated, chill them in the refrigerator for 15–20 minutes or until the chocolate hardens completely. This chilling step will give your cookies that clean, crisp finish.
How to Serve Perfect Homemade Thin Mint Cookies Recipe

Garnishes
Elevate these mint chocolate gems with a delicate sprinkle of crushed peppermint candy or a few tiny mint leaves alongside your presentation. Adding a light dusting of cocoa powder on the plate also enhances the chocolate aroma and makes for a beautiful serving touch.
Side Dishes
Perfect Homemade Thin Mint Cookies Recipe pairs wonderfully with a cold glass of milk or a steaming cup of your favorite coffee or hot chocolate. The creamy beverages balance the minty-chocolate richness and transform your treat into a cozy indulgence worth savoring.
Creative Ways to Present
For gatherings or gifting, stack these cookies in small glass jars tied with a festive ribbon. You can also serve them alongside other classic holiday cookies or cheese platters to surprise your guests with unexpected color and flavor. They’re a guaranteed conversation starter!
Make Ahead and Storage
Storing Leftovers
Store your leftover cookies in an airtight container in the refrigerator to keep them crisp and fresh. They actually taste better the next day as the flavors deepen, but make sure the container is sealed well to avoid moisture softening the chocolate coating.
Freezing
If you want to keep these treats for longer, freezing is a great option. Place the cookies in a single layer on a baking sheet to freeze first, then transfer them into freezer-safe bags or containers. When properly sealed, they maintain their flavor and texture for up to three months.
Reheating
To enjoy your cookies after storage or freezing, simply let them come to room temperature for about 15–20 minutes before serving. Avoid microwaving as this can melt the chocolate prematurely and soften the cookie’s crispness.
FAQs
Can I make these cookies gluten-free?
Absolutely! Simply substitute the all-purpose flour with a 1:1 gluten-free flour blend, and the texture and flavor will remain wonderfully close to the original.
Why do I need to refrigerate the dough before baking?
Chilling the dough firms it up, which makes it easier to roll and cut without sticking or tearing. It also allows the flavors to meld and prevents excessive spreading during baking.
Can I use milk chocolate instead of dark or semi-sweet?
While you can, milk chocolate tends to be sweeter and less intense, which might alter the classic thin mint profile. Dark or semi-sweet chocolates provide the perfect balance with the mint.
Is peppermint extract necessary in the chocolate coating?
Yes, adding peppermint extract to the chocolate coating boosts that signature mint aroma, ensuring each bite exudes that refreshing, cooling taste critical to the cookie’s identity.
How do I prevent the chocolate from seizing when melting?
Use gentle heat and stir frequently. Melting chocolate over a double boiler or in short bursts in the microwave helps keep moisture out, which is the main cause of seizing.
Final Thoughts
There is truly nothing like biting into a homemade cookie that brings back memories of childhood favorites but with that extra homemade love and freshness. This Perfect Homemade Thin Mint Cookies Recipe is an absolute showstopper that’s simple enough for everyday baking yet special enough to wow your friends and family. So grab your ingredients, preheat your oven, and get ready to savor a classic reinvented with all the flavor and fun you deserve!
Print
Perfect Homemade Thin Mint Cookies Recipe
- Prep Time: 30 minutes (plus 1 hour chilling)
- Cook Time: 12 minutes
- Total Time: 1 hour 45 minutes
- Yield: 36 cookies
- Category: Dessert
- Method: Baking
- Cuisine: American
- Diet: Vegetarian
Description
These Perfect Homemade Thin Mint Cookies are a delightful replica of the classic Girl Scout treat, combining rich chocolate and refreshing peppermint in a crisp, thin cookie. With a smooth chocolate-peppermint coating and a tender, cocoa-infused dough, these cookies are perfect for any occasion and sure to impress with their authentic flavor and texture.
Ingredients
Cookie Dough
- 1 cup unsalted butter (softened)
- 1 cup granulated sugar
- 1 large egg
- 1 teaspoon vanilla extract
- ½ teaspoon peppermint extract
- 1 ½ cups all-purpose flour
- ¾ cup unsweetened cocoa powder
- ½ teaspoon baking powder
- ¼ teaspoon salt
Chocolate Coating
- 10 ounces semi-sweet or dark chocolate (chopped or chips)
- ½ teaspoon peppermint extract
Instructions
- Cream Butter and Sugar: In a large mixing bowl, cream the softened butter and granulated sugar together until the mixture is light and fluffy, creating a smooth base for the cookie dough.
- Add Wet Ingredients: Beat in the egg, vanilla extract, and peppermint extract until the ingredients are fully combined into a cohesive wet mixture.
- Combine Dry Ingredients: In a separate bowl, whisk together the all-purpose flour, unsweetened cocoa powder, baking powder, and salt to ensure even distribution of leavening and flavor.
- Mix Dough: Gradually incorporate the dry ingredients into the wet mixture, mixing until a uniform dough forms without overworking it to keep cookies tender.
- Chill Dough: Divide the dough into two discs, wrap tightly in plastic wrap, and refrigerate for at least 1 hour to firm up the dough and develop flavors.
- Preheat Oven and Prepare Baking Sheets: Preheat the oven to 350°F (175°C) and line baking sheets with parchment paper to prevent sticking and promote even baking.
- Roll and Cut Cookies: On a lightly floured surface, roll out the chilled dough to about ¼-inch thickness. Use a 2-inch cookie cutter to cut out round cookies and place them spaced apart on the prepared baking sheets.
- Bake: Bake the cookies in the preheated oven for 10–12 minutes until set. They should be firm around the edges but still slightly soft in the center.
- Cool Cookies: Transfer the baked cookies to wire racks and allow them to cool completely before coating.
- Prepare Chocolate Coating: Melt the chopped chocolate in a microwave-safe bowl or over a double boiler until smooth. Stir in ½ teaspoon peppermint extract to infuse the coating with mint flavor.
- Dip Cookies: Dip each cooled cookie into the melted chocolate, allowing any excess to drip off. Place the coated cookies on a parchment-lined tray for setting.
- Chill to Set: Refrigerate the dipped cookies for 15–20 minutes or until the chocolate coating is firm and set, completing the classic thin mint finish.
Notes
- For a gluten-free adaptation, substitute the all-purpose flour with a 1:1 gluten-free flour blend.
- Store cookies in an airtight container in the refrigerator or freezer to maintain crispness and freshness.
- These cookies tend to develop deeper flavor and better texture when allowed to rest overnight.


