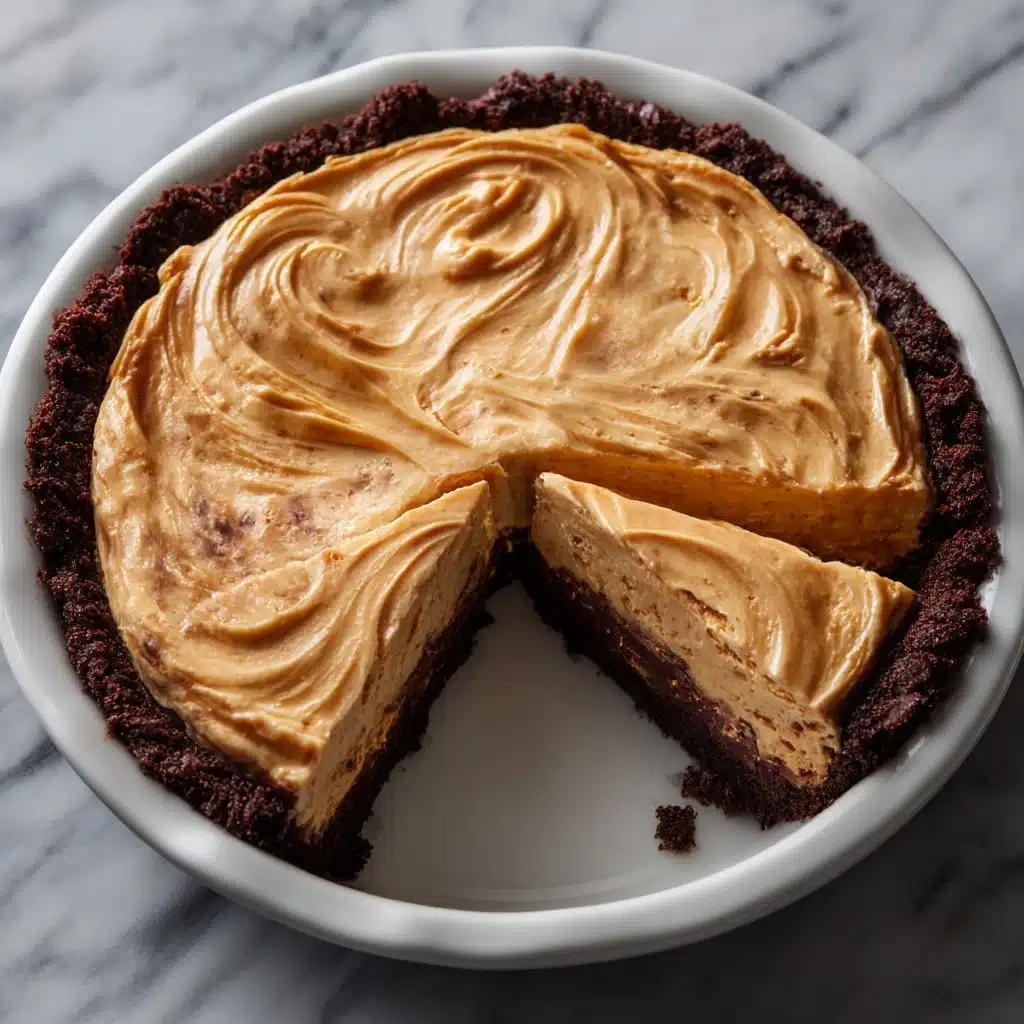
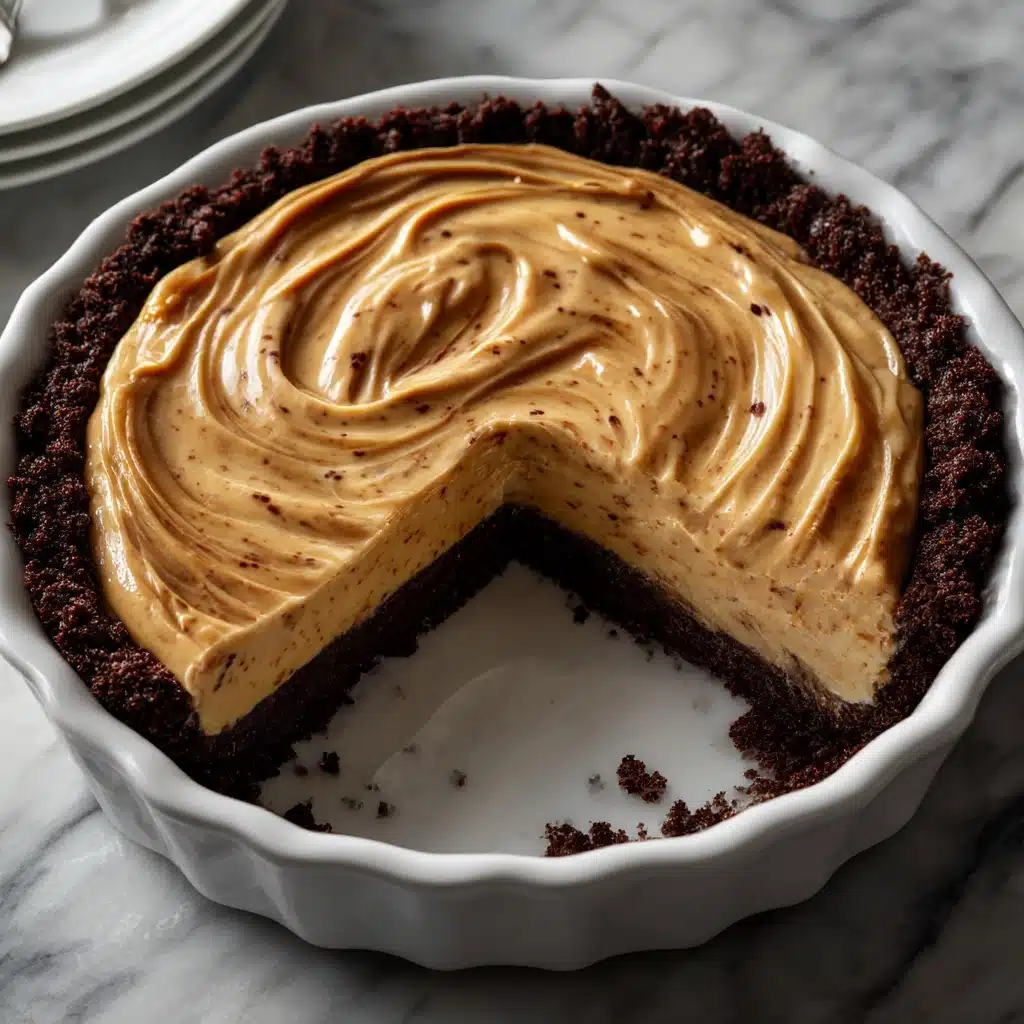
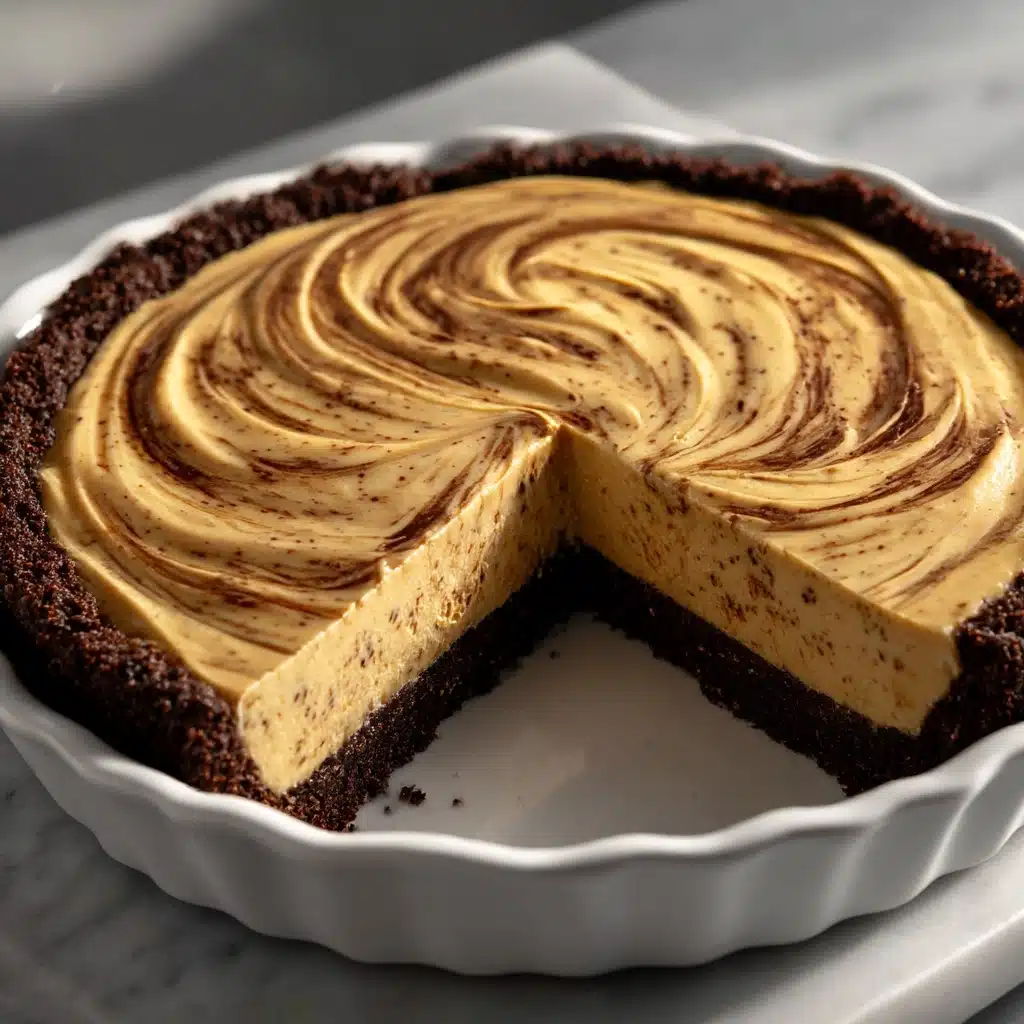
If you’re searching for the ultimate indulgent dessert that’s bound to win over everyone at your table, look no further than this Peanut Butter Pie. It’s a dreamy, creamy concoction of peanut butter, cream cheese, and whipped topping, all nestled inside a buttery graham cracker crust and finished with decadent toppings. The best part? It’s entirely no-bake, which means you can create this showstopping treat in hardly any time. Ready to dive into your new favorite dessert?
Ingredients You’ll Need
Just a handful of easy-to-find ingredients stand between you and this luscious Peanut Butter Pie. Each one is carefully chosen for its impact on flavor, texture, or that perfect finishing touch—so don’t skip a thing!
- Graham cracker crust: The classic base brings a sweet, slightly buttery crunch that beautifully balances the creamy filling. Store-bought keeps it effortless, but you can use homemade if you’d like.
- Creamy peanut butter: The star player, lending rich, nutty flavor and a silky texture to every single bite.
- Cream cheese (softened): Adds tanginess and stability, making the filling ultra-smooth and luscious.
- Powdered sugar: Sweetens the pie without graininess, dissolving seamlessly into the filling.
- Vanilla extract: A splash of warmth and depth that rounds out the other flavors perfectly.
- Whipped topping (thawed): Lightens the filling, giving it a dreamy, airy quality that melts in your mouth.
- Optional toppings (chopped peanuts, chocolate shavings, chocolate or caramel sauce): For that perfect finishing flourish—choose your favorites, or let guests pick their own.
How to Make Peanut Butter Pie
Step 1: Make the Creamy Filling
In a large mixing bowl, combine your creamy peanut butter and softened cream cheese. Using a hand mixer or stand mixer, beat them together until you have a perfectly smooth, even mixture with no lumps in sight. This is the foundation of your Peanut Butter Pie, so take a moment to admire that silky base!
Step 2: Sweeten and Flavor
Add the powdered sugar and vanilla extract right into your bowl. Beat again until everything is blended and you’re left with a creamy, sweetly fragrant filling. The vanilla and sugar help balance the peanut butter’s richness and give the pie irresistible depth.
Step 3: Fold in the Whipped Topping
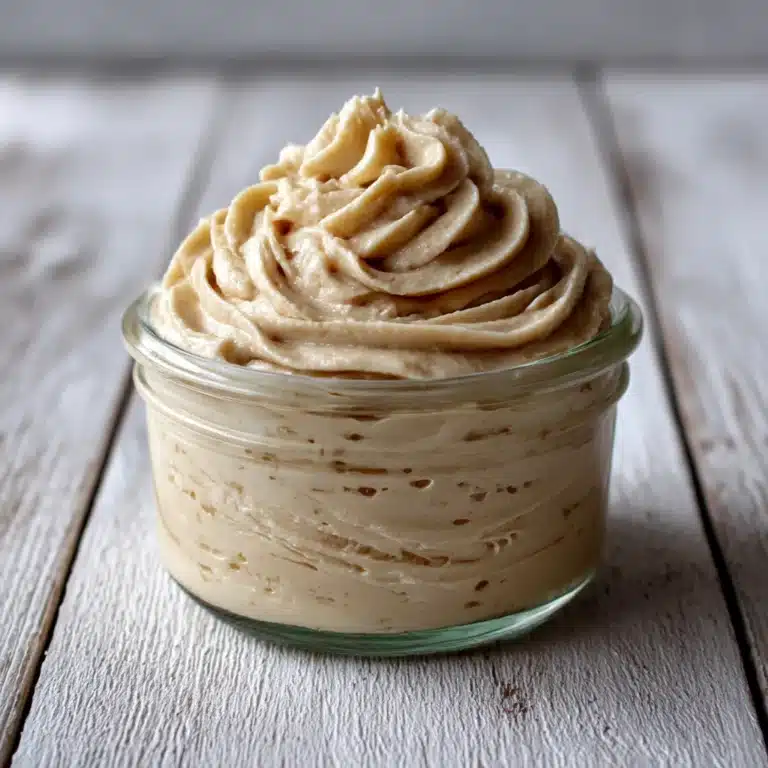
Next, gently fold the thawed whipped topping into your peanut butter mixture. Use a spatula for this step, working slowly to maintain that light, fluffy texture. Once fully combined, your filling should look cloud-like and feel spoon-licking good!
Step 4: Assemble
Spoon the finished filling into your graham cracker crust, using a spatula to spread it evenly and smooth the top. At this stage, your Peanut Butter Pie is nearly ready for its big reveal!
Step 5: Chill to Set
Refrigerate the pie for at least 4 hours (overnight is even better). This chill time allows everything to firm up, so your slices come out clean and dreamy.
Step 6: Add Toppings and Serve
Right before serving, sprinkle on chopped peanuts, chocolate shavings, or a drizzle of chocolate or caramel sauce. These little extras add both flavor and a touch of fancy to your Peanut Butter Pie presentation.
How to Serve Peanut Butter Pie
Garnishes
This pie absolutely loves a good garnish! Scatter a handful of chopped peanuts on top for a salty crunch, add a dusting of chocolate shavings for extra decadence, or zig-zag a ribbon of chocolate or caramel sauce for plenty of wow factor. Each option upgrades Peanut Butter Pie from simple to spectacular—let your cravings decide!
Side Dishes
While Peanut Butter Pie shines on its own, serving it with a scoop of vanilla ice cream or a cup of coffee on the side takes it to the next level. If you’re planning a dessert spread, try pairing with fresh strawberries or a tangy fruit salad to contrast the pie’s creamy richness.
Creative Ways to Present
For parties or gatherings, consider assembling the pie into individual jars or mini tart shells for a playful twist. You can even cut it into tiny squares and serve as bite-sized treats on a dessert platter—Peanut Butter Pie is just as charming when enjoyed in little bites!
Make Ahead and Storage
Storing Leftovers
If you happen to have any pie left (lucky you!), simply cover the dish tightly with plastic wrap or transfer slices to an airtight container. Store in the refrigerator for up to three days. The texture stays dreamy, and the flavors meld even more as it sits.
Freezing
Peanut Butter Pie freezes beautifully! Wrap the whole pie or individual slices with a layer of plastic wrap and then foil. Tuck into the freezer for up to two months. When you’re ready for a treat, just thaw overnight in the fridge and dig in.
Reheating
This is truly a no-bake dessert best enjoyed cold, so there’s no need to reheat. Simply slice and serve straight from the fridge or after a few minutes at room temperature if you like a softer texture.
FAQs
Can I use crunchy peanut butter instead of creamy?
Absolutely! Crunchy peanut butter adds a fun texture and a bit of extra peanutty crunch to your pie. If you prefer a super-smooth, mousse-like filling, stick with creamy—otherwise, feel free to swap in crunchy for a twist.
What’s the best way to soften cream cheese quickly?
To soften cream cheese fast, cut it into small cubes and let it sit at room temperature for 15 to 20 minutes. If you’re in a hurry, microwave the cubes on a plate in short 10-second bursts, checking frequently so they don’t melt.
Can I make Peanut Butter Pie ahead of time?
Yes, it’s actually the perfect make-ahead dessert! You can assemble the entire pie up to two days before serving. Just keep it chilled in the fridge and add your toppings right before bringing it to the table.
How can I make this dessert gluten-free?
Simply swap the standard graham cracker crust for a gluten-free version, which you can find at many grocery stores. Double check that your whipped topping and other ingredients are also gluten-free, and you’re set!
Can I use homemade whipped cream instead of whipped topping?
You bet! Whip 1 cup of heavy cream with 2 to 3 tablespoons powdered sugar and a splash of vanilla until stiff peaks form—use it in place of the store-bought whipped topping for a little extra freshness and flavor.
Final Thoughts
This Peanut Butter Pie is so simple, so decadent, and, honestly, so much fun to share—it’s a dessert you’ll find yourself making over and over again. Every slice is a little piece of peanut-buttery happiness. Give it a try and see why it’s an instant favorite!
Print
Peanut Butter Pie Recipe
- Prep Time: 10 minutes
- Cook Time: 0 minutes
- Total Time: 4 hours 10 minutes
- Yield: 8 servings
- Category: Dessert
- Method: No-Bake
- Cuisine: American
- Diet: Non-Vegetarian
Description
Indulge in the creamy, rich goodness of a Peanut Butter Pie. This no-bake dessert is a peanut butter lover’s dream, with a smooth and fluffy filling in a graham cracker crust. Customize with your favorite toppings for a delicious treat!
Ingredients
Graham Cracker Crust:
- 1 (9-inch) graham cracker crust
Peanut Butter Filling:
- 1 cup creamy peanut butter
- 8 oz cream cheese (softened)
- 3/4 cup powdered sugar
- 1 teaspoon vanilla extract
- 1 (8 oz) tub whipped topping (thawed)
Optional Toppings:
- Chopped peanuts
- Chocolate shavings
- Drizzle of chocolate or caramel sauce
Instructions
- In a large mixing bowl, beat the peanut butter and softened cream cheese until smooth and creamy.
- Gently fold in the whipped topping until smooth and fluffy.
- Spoon the filling into the graham cracker crust and smooth the top with a spatula.
- Refrigerate for at least 4 hours, or until fully set.
- Before serving, top with chopped peanuts, chocolate shavings, or a drizzle of chocolate or caramel sauce if desired.
- Serve chilled.
Add the powdered sugar and vanilla extract and beat until fully combined.
Notes
- For a chocolate twist, use an Oreo crust instead of graham cracker.
- This pie can be made up to 2 days ahead and stored in the fridge.

