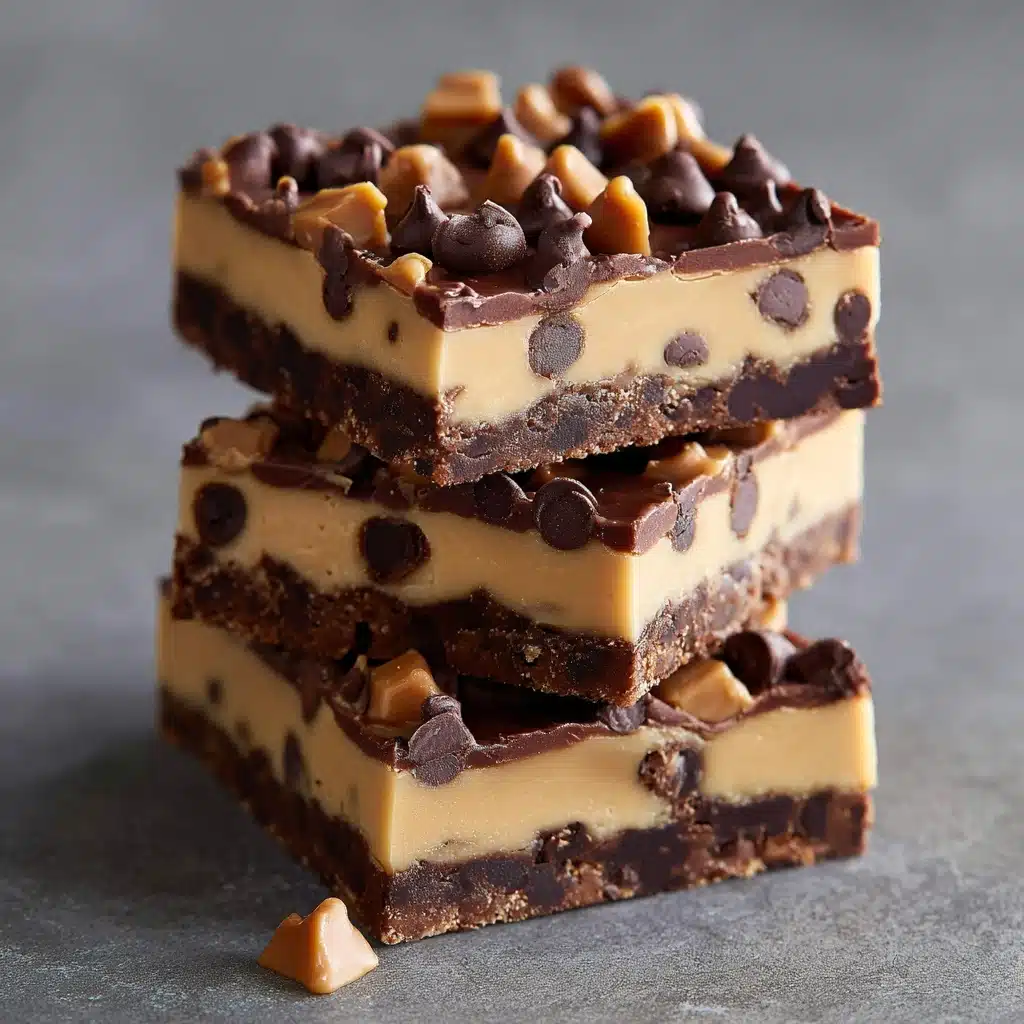
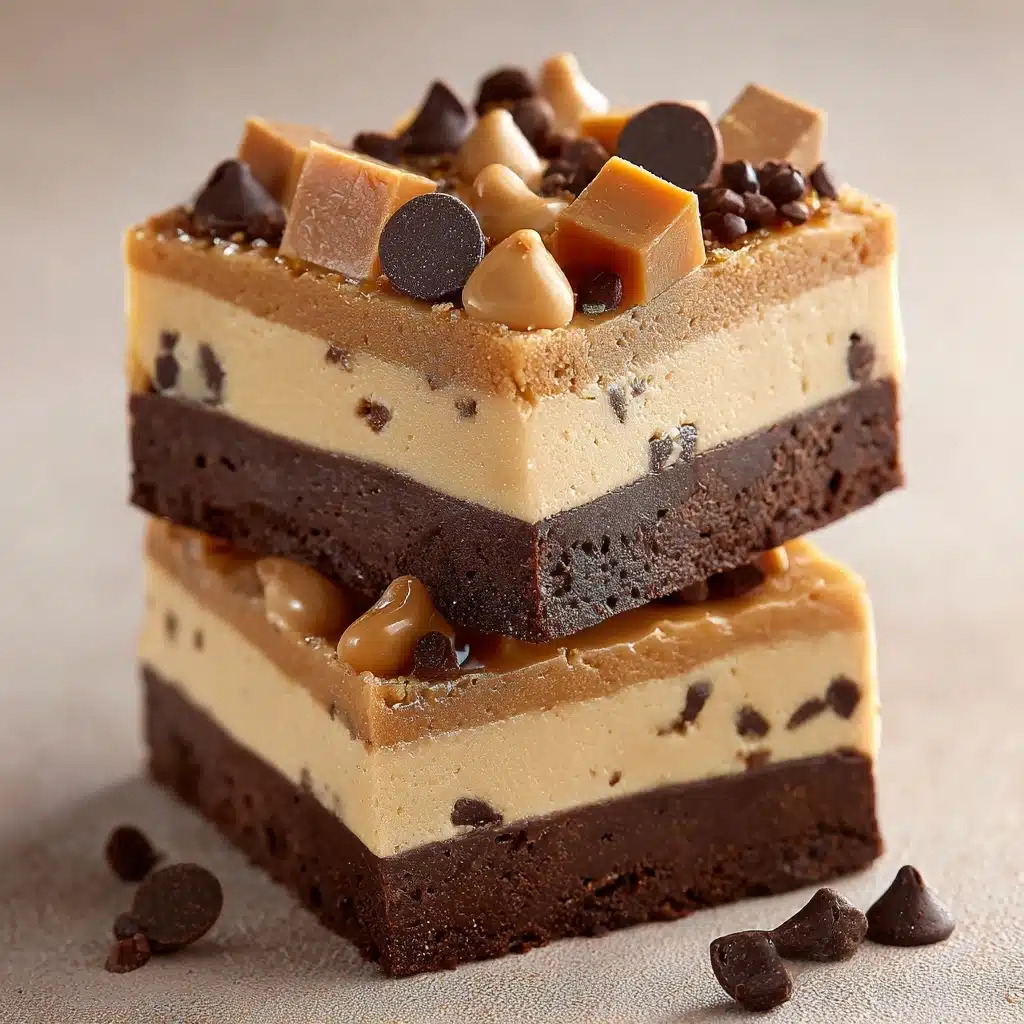
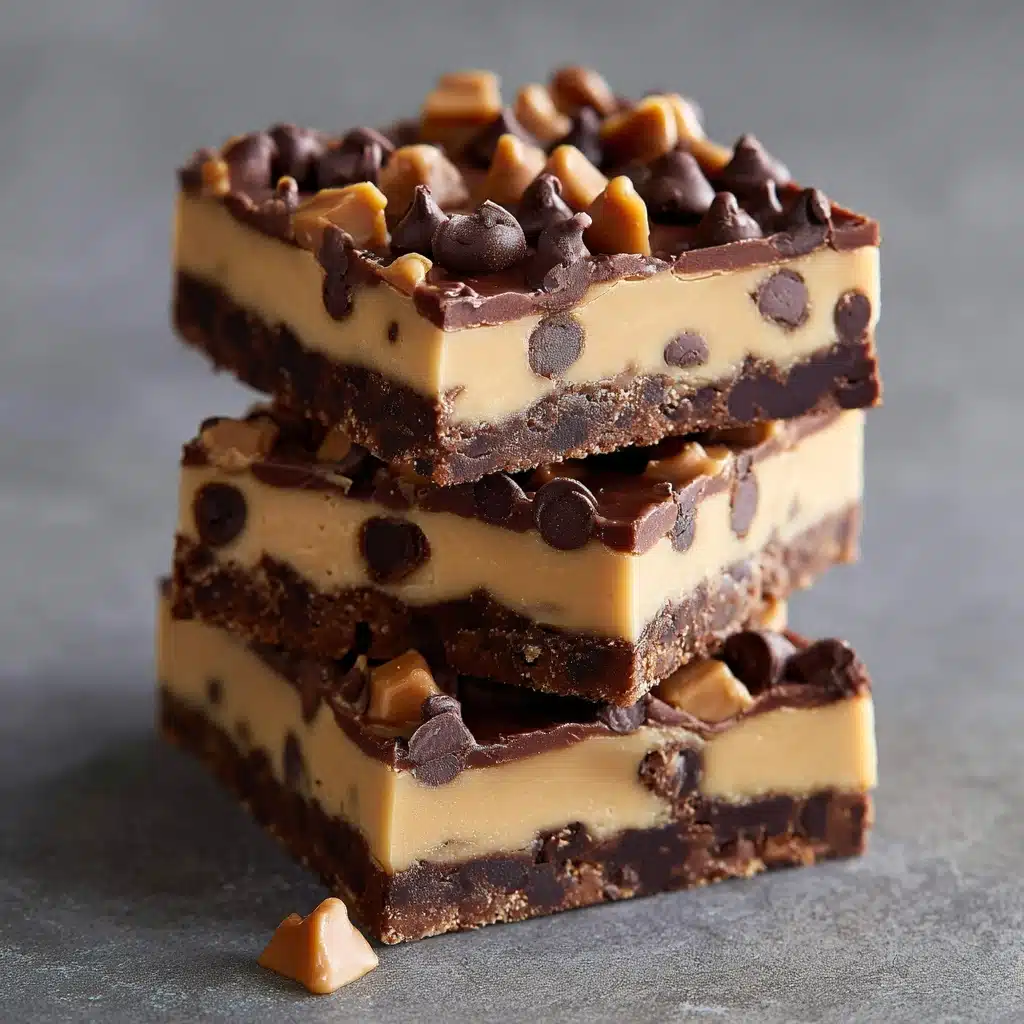
If you crave a treat that perfectly marries nutty richness and indulgent chocolate, Peanut Butter Chocolate Freezer Fudge will become your new dessert obsession. With chunks or creamy swirls, a glossy chocolate top, and a melt-in-your-mouth texture, every bite is like a tiny celebration. This delightful fudgy square is not only quick to whip up but also sneakily wholesome, made with simple, real-food ingredients you likely have on hand. Whether you prep it for a cozy night in or share it with friends, this no-bake freezer fudge is all about maximum flavor with minimum fuss.
Ingredients You’ll Need
The beauty of Peanut Butter Chocolate Freezer Fudge is its humble, everyday ingredient list. Each component is absolutely pivotal, lending luscious texture, a pop of flavor, or balanced sweetness, creating a decadent treat you can feel good about.
- Natural peanut butter: Delivers that classic nutty flavor and creamy base; use crunchy for extra texture if you like.
- Coconut oil (melted): Gives silky richness and helps the fudge firm up perfectly in the freezer.
- Maple syrup or honey: Naturally sweetens and adds an irresistible depth; use whichever you prefer for your desired flavor profile.
- Vanilla extract: Rounds out the flavors with a warm, aromatic note that makes the fudge taste like pure bliss.
- Salt: Just a pinch brightens and balances the sweetness, intensifying the peanut butter and chocolate flavors.
- Dark chocolate chips or chopped dark chocolate: Adds that luscious chocolate layer and swirled finish—choose your favorite for ultimate decadence.
How to Make Peanut Butter Chocolate Freezer Fudge
Step 1: Line Your Pan
Start by lining a loaf pan or small square dish with parchment paper, making sure to leave extra hanging over the sides. This step is key—it’ll let you lift your finished fudge out cleanly, with none of that sticky mess or heartbreaking crumbles. Plus, it makes cleanup a total breeze.
Step 2: Mix the Fudge Base
In a medium bowl, whisk together your peanut butter, melted coconut oil, maple syrup (or honey), vanilla extract, and salt until everything is silky smooth and well combined. This golden mixture should look glossy and irresistible; don’t hesitate to taste-test at this point! Pour it into your prepared pan and spread it out evenly, gently coaxing it into the corners for a smooth layer.
Step 3: Melt the Chocolate
Pop your dark chocolate into a microwave-safe bowl and heat it in 20-second bursts, stirring thoroughly between each interval. Once it’s perfectly smooth and luscious, it’s ready—don’t overdo it, as chocolate can burn quickly. Patience pays off with a beautifully glossy, pourable chocolate topping.
Step 4: Swirl and Finish
Drizzle or spread that melted chocolate right over the peanut butter layer. For an extra bit of artistry, drag a toothpick through the chocolate and peanut butter to make swirls or zigzags. This step is a little bit of kitchen therapy—enjoy creating a unique pattern and watch as the layers mingle!
Step 5: Freeze Until Firm
Slide your pan into the freezer and let the magic happen. Two hours is just about right—your Peanut Butter Chocolate Freezer Fudge needs to set completely so you can cut it into neat little squares. When it’s ready, tug up the parchment paper, pop your fudge onto a cutting board, and slice into however-big squares your heart desires.
How to Serve Peanut Butter Chocolate Freezer Fudge
Garnishes
Once cut, feel free to sprinkle a little flaky sea salt, a light dusting of cocoa powder, or chopped roasted peanuts on top for extra flavor and visual flair. If you want to bring out the fudge’s best, these little touches make your squares look and taste absolutely deluxe.
Side Dishes
This freezer fudge is rich on its own, but pairing it with some fresh berries, a scoop of vanilla frozen yogurt, or even a cup of hot coffee creates a dreamy contrast of flavors and temperatures. It turns a simple square into a sophisticated dessert plate with minimal effort.
Creative Ways to Present
Arrange your Peanut Butter Chocolate Freezer Fudge squares on a platter, staggered with fresh strawberries or raspberries for color. For special occasions, try cutting the fudge into fun shapes using small cookie cutters, or layer them between sheets of wax paper in a gift tin for a homemade present.
Make Ahead and Storage
Storing Leftovers
Keep any leftover fudge stored in an airtight container in the freezer. Thanks to the coconut oil and peanut butter combo, these treats stay delightfully firm at cold temperatures but won’t freeze rock solid. No need to thaw, just nibble straight from the freezer for the ideal fudge texture!
Freezing
This recipe was simply made for the freezer! After cutting your fudge, pop the squares in a resealable freezer bag or airtight container, layering with parchment if stacking. They’ll keep beautifully for up to two months—just grab one whenever your sweet tooth calls.
Reheating
While you don’t need to actually “reheat” freezer fudge, if you prefer a softer bite, let a square rest at room temperature for about 5 minutes before eating. It’ll lose a little chill but keep all its glorious creaminess and chocolatey snap.
FAQs
Can I use another nut butter instead of peanut butter?
Absolutely! Almond, cashew, or even sunflower seed butter work beautifully in this recipe if you’d like to switch up the flavor profile or need a peanut-free option. Just be sure your nut or seed butter is natural and creamy for best results.
Is the coconut flavor noticeable?
If you use refined coconut oil, the flavor is very mild and almost undetectable, letting the peanut butter and chocolate shine. Unrefined coconut oil gives a lovely tropical note, so it all depends on your preference—either way, it’s delicious!
Can I make Peanut Butter Chocolate Freezer Fudge vegan?
Yes, just use maple syrup instead of honey and ensure your chocolate is certified vegan (some dark chocolates contain milk products). The rest of the ingredients are already plant-based, so your fudge will be entirely vegan-friendly.
How long does freezer fudge last?
Stored properly in the freezer, your fudge squares will stay fresh for up to two months. But let’s be honest—they’re so addictive they may not last that long!
What add-ins work well in this recipe?
Feel free to toss in chopped nuts, pumpkin seeds, or shredded coconut into the peanut butter mixture for extra crunch. Mini chocolate chips or a sprinkle of cinnamon also take things up a notch, making your freezer fudge even more irresistible.
Final Thoughts
Once you try Peanut Butter Chocolate Freezer Fudge, you’ll always want some tucked away in your freezer for snack attacks or sweet cravings. It’s the easiest, happiest treat and absolutely perfect for sharing (or hoarding, no judgment!). I can’t wait to hear how you make this recipe your own—happy snacking!
Print
Peanut Butter Chocolate Freezer Fudge Recipe
- Prep Time: 10 minutes
- Cook Time: 0 minutes
- Total Time: 2 hours 10 minutes (including freezing)
- Yield: 16 small squares
- Category: Dessert
- Method: Freezer
- Cuisine: American
- Diet: Gluten-Free, Vegetarian
Description
Indulge in the perfect balance of sweet and salty with this Peanut Butter Chocolate Freezer Fudge. Creamy peanut butter, rich dark chocolate, and a hint of coconut oil come together in a simple no-bake treat that’s sure to satisfy your cravings.
Ingredients
Peanut Butter Layer:
- 1 cup natural peanut butter (creamy or crunchy)
- ¼ cup coconut oil, melted
- 2 tbsp maple syrup or honey
- 1 tsp vanilla extract
- ¼ tsp salt
Chocolate Layer:
- ½ cup dark chocolate chips or chopped dark chocolate
Instructions
- Prepare the Peanut Butter Layer: Line a loaf pan or small square dish with parchment paper. In a medium bowl, whisk together the peanut butter, melted coconut oil, maple syrup, vanilla extract, and salt until smooth and well combined. Pour the mixture into the prepared pan and spread evenly.
- Add the Chocolate Layer: Melt the chocolate in a microwave-safe bowl in 20-second intervals, stirring between each, until smooth. Drizzle or spread the melted chocolate over the peanut butter layer. Use a toothpick to swirl if desired.
- Freeze and Serve: Freeze for at least 2 hours or until completely firm. Once set, lift from the pan using the parchment paper and cut into squares. Store in the freezer and enjoy straight from frozen for the best texture.
Notes
- You can add chopped nuts, seeds, or shredded coconut for texture.
- Use refined coconut oil for a more neutral flavor, or unrefined for a slight coconut taste.

