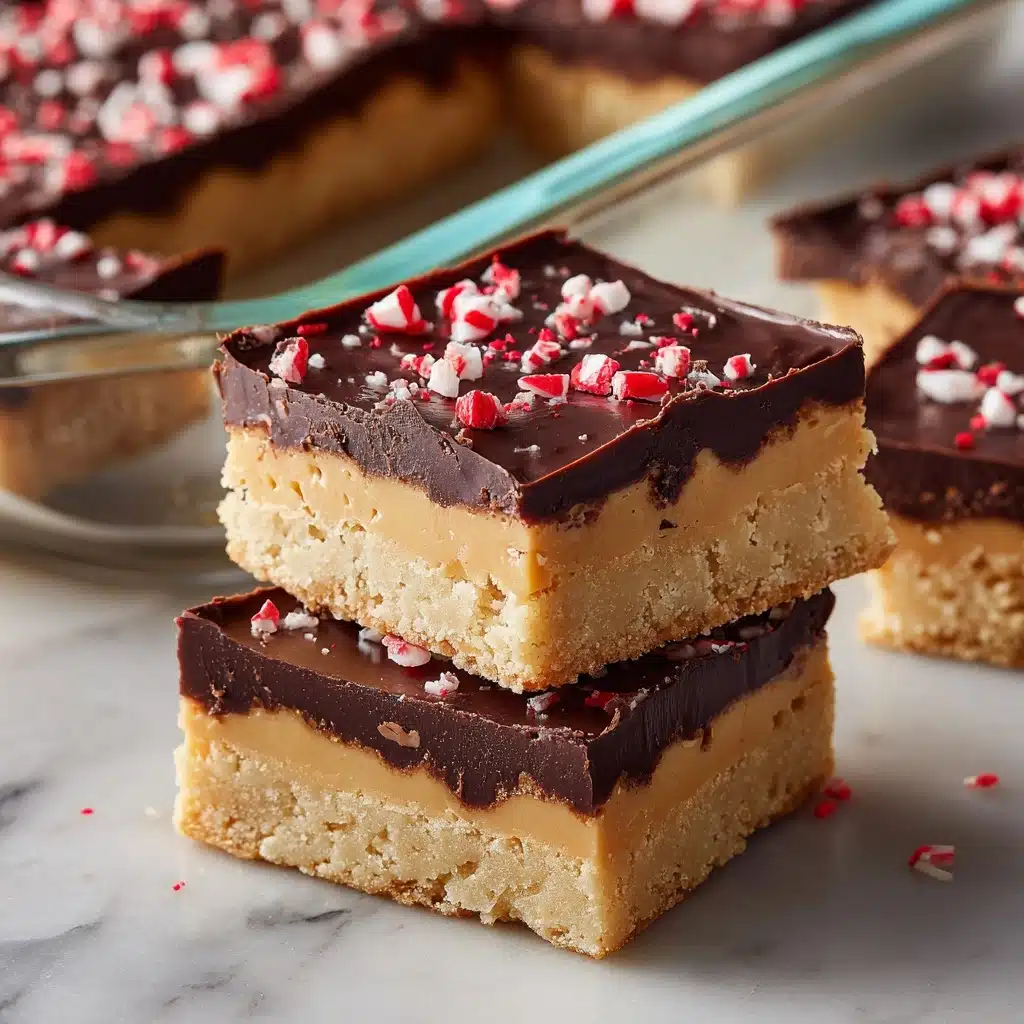
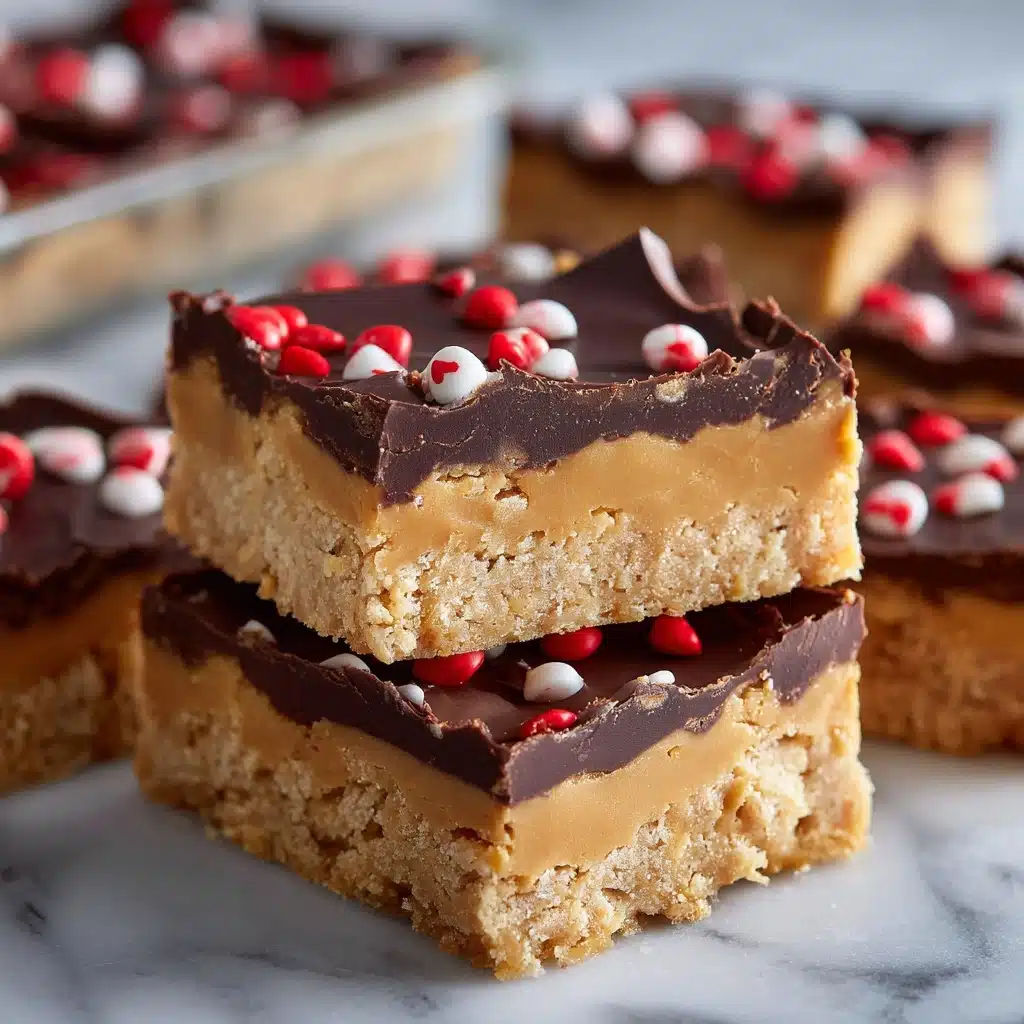
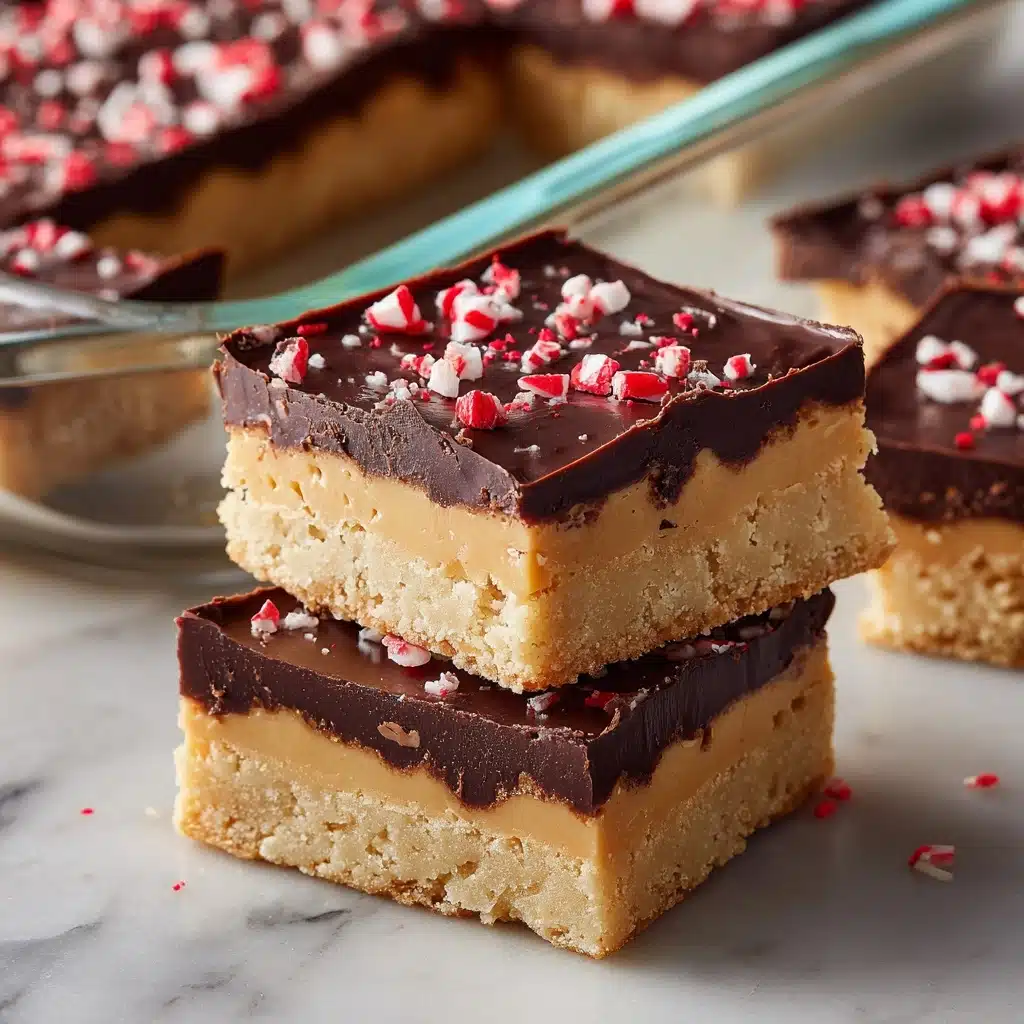
Rich, chewy, and loaded with that unbeatable combination of peanut butter and chocolate, Peanut Butter Bars are the dessert you make when you want to impress with minimal effort. These classic American no-bake treats are perfect for potlucks, lunchboxes, or anytime you need a sweet homemade pick-me-up. Every bite delivers sweet nostalgia and pure joy, with a soft, buttery peanut butter base and a smooth chocolate topping that sets up perfectly in the fridge.
Ingredients You’ll Need
The beauty of these Peanut Butter Bars lies in their simplicity—just a handful of grocery staples come together to create something truly memorable. Each ingredient plays a key role in building the luscious layers and irresistible flavors you’ll crave again and again.
- Unsalted butter (1 cup, melted): Brings rich flavor and helps everything hold together in perfect harmony.
- Graham cracker crumbs (2 cups): Add structure and a subtle toasty crunch, making the bars deliciously sliceable.
- Powdered sugar (2 cups): Dissolves smoothly into the base for just the right amount of sweetness and a melt-in-your-mouth texture.
- Creamy peanut butter (1 cup for base, 1/4 cup for topping): The star of the show, delivering that creamy, nutty depth and binding the layers together.
- Semi-sweet chocolate chips (1 ½ cups): Create a glossy, luscious chocolate layer to crown the bars and bring balance to the sweet and salty dance.
How to Make Peanut Butter Bars
Step 1: Mix the Base Layer
Start by grabbing a large mixing bowl—a wooden spoon or sturdy spatula will do the trick. Combine the melted butter, graham cracker crumbs, powdered sugar, and 1 cup of creamy peanut butter. Stir vigorously until everything’s smooth and evenly mixed. The mixture will take on a luscious, uniform texture, and it should stick together easily when pressed with your spoon.
Step 2: Press and Prepare
Take the peanut butter mixture and press it firmly and evenly into the bottom of a greased or parchment-lined 9×13-inch baking dish. This step is key: use the back of a spatula or your hands to really compact the layer so the bars hold their shape when cut. Aim for a nice, even surface so the chocolate topping will glide on effortlessly.
Step 3: Make the Chocolate Peanut Butter Topping
In a microwave-safe bowl, combine the semi-sweet chocolate chips and 1/4 cup of creamy peanut butter. Microwave in 30-second intervals, stirring after each burst, until the mixture is fully melted and glossy-smooth. You want to avoid scorching the chocolate, so take your time and stir well between each interval.
Step 4: Spread and Chill
Pour the warm chocolate topping over the base and use an offset spatula or the back of a spoon to spread it from edge to edge. Work quickly for an even layer, then pop the pan into the refrigerator. Let it chill for at least 2 hours so the bars can firm up and the chocolate layer sets beautifully—no rushing here, it’s totally worth the wait.
Step 5: Slice and Serve
Once the Peanut Butter Bars are chilled and set, use a sharp knife to cut them into squares or rectangles. Wipe your knife between cuts for neat edges. Now, stand back and admire your handiwork before popping one in your mouth—you’ve earned it!
How to Serve Peanut Butter Bars
Garnishes
The beauty of Peanut Butter Bars is how easily you can dress them up. Sprinkle a little flaky sea salt over the chocolate before it sets, or drizzle with melted white chocolate for a pretty finish. If you’re feeling extra fancy, crushed peanuts or a few colorful sprinkles add the perfect personal touch.
Side Dishes
These bars are delightfully rich, so pairing them with something refreshing is a win. Serve with a cold glass of milk, hot coffee, or a fresh berry salad on the side. They’re also wonderful nestled alongside other no-bake desserts for a party platter that everyone will love.
Creative Ways to Present
Try serving Peanut Butter Bars in mini cupcake liners for grab-and-go treats at parties or bake sales. Or, layer the cut bars on a tiered dessert stand for an eye-catching centerpiece. They travel well, so pack them into a decorative tin as a homemade gift that’s bound to earn you rave reviews.
Make Ahead and Storage
Storing Leftovers
Peanut Butter Bars are fabulous for making ahead. Store leftovers in an airtight container in the refrigerator for up to a week so they stay fresh and the chocolate stays nice and firm. Place parchment paper between layers if you’re stacking them to keep the squares pristine.
Freezing
If you want to save some for later (or practice a little self-control!), these bars freeze beautifully. Wrap individual bars or layer them between sheets of parchment in a freezer-safe container. They’ll keep fresh-tasting for up to 2 months—just thaw in the fridge before enjoying.
Reheating
Peanut Butter Bars are at their best when served chilled or at room temperature. If you prefer a slightly softer texture, let them sit out for 10–15 minutes before serving. No actual reheating necessary—just a little patience and they’re ready to eat!
FAQs
Can I use crunchy peanut butter instead of creamy?
Absolutely! Crunchy peanut butter adds extra texture and nutty goodness to the base layer. You can even toss a handful of chopped peanuts in for even more crunch.
Are these Peanut Butter Bars gluten free?
Traditional graham cracker crumbs contain wheat, but you can easily swap them out for gluten-free graham-style crumbs. The rest of the ingredients are naturally gluten free, so making this treat allergy-friendly is a snap.
Can I double the recipe for a crowd?
Yes! This recipe is super easy to double for parties or gatherings. Just use a larger pan or two 9×13-inch pans to keep the layers the right thickness and follow the same steps.
How can I cut cleaner squares without the chocolate cracking?
For bakery-style bars, use a sharp knife warmed under hot water, wiping it off between cuts. You can also let the bars sit at room temperature for a few minutes before slicing for a softer chocolate top.
What’s the best way to transport Peanut Butter Bars?
After cutting, place the bars in a single layer in a tight-lidded container or on a tray covered with plastic wrap. To prevent sticking, separate layers with parchment paper. They’re sturdy and travel-friendly for picnics, bake sales, or parties.
Final Thoughts
I have a feeling these Peanut Butter Bars will quickly become your go-to dessert whenever you need a little chocolate-peanut butter magic. They’re easy to whip up, store well, and always deliver smiles. So grab your mixing bowl and treat yourself to a batch—your sweet tooth will thank you!
Print
Peanut Butter Bars Recipe
- Prep Time: 15 minutes
- Cook Time: 0 minutes
- Total Time: 2 hours 15 minutes
- Yield: 24 bars
- Category: Dessert
- Method: No-Bake
- Cuisine: American
- Diet: Non-Vegetarian
Description
Indulge in these no-bake Peanut Butter Bars that offer a perfect blend of creamy peanut butter and rich chocolate. A simple yet irresistible treat for any occasion!
Ingredients
Base Layer:
- 1 cup unsalted butter (melted)
- 2 cups graham cracker crumbs
- 2 cups powdered sugar
- 1 cup creamy peanut butter
Chocolate Layer:
- 1 ½ cups semi-sweet chocolate chips
- ¼ cup creamy peanut butter (for topping layer)
Instructions
- Prepare Base Layer: In a large mixing bowl, combine melted butter, graham cracker crumbs, powdered sugar, and 1 cup of peanut butter. Stir until smooth. Press mixture into a greased 9×13-inch dish.
- Create Chocolate Layer: Microwave chocolate chips and ¼ cup peanut butter in 30-second intervals until smooth. Pour over the base layer.
- Chill: Refrigerate for at least 2 hours until firm. Cut into squares and serve.
Notes
- For crunchier bars, use chunky peanut butter or add chopped peanuts.
- Bars can be frozen for up to 2 months.

