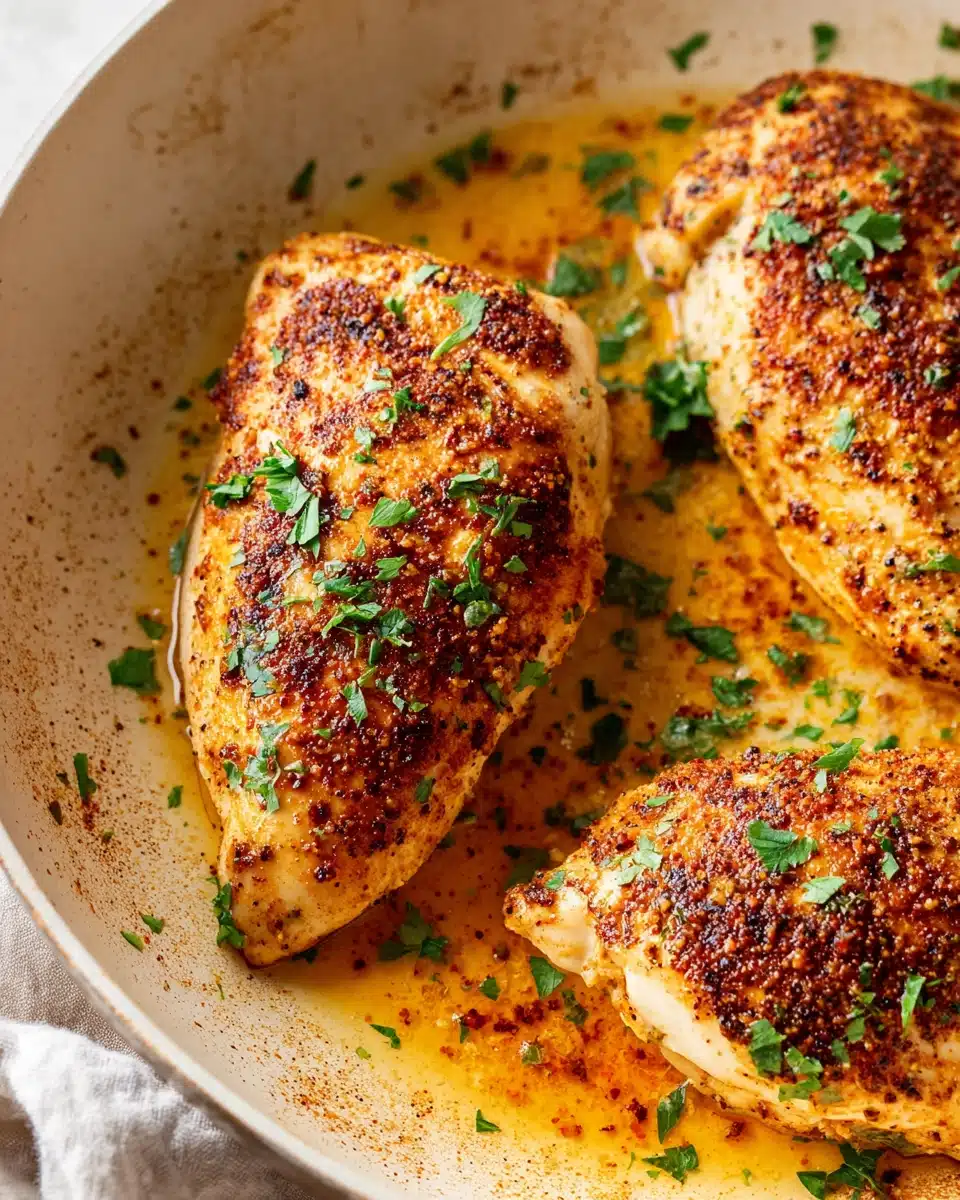
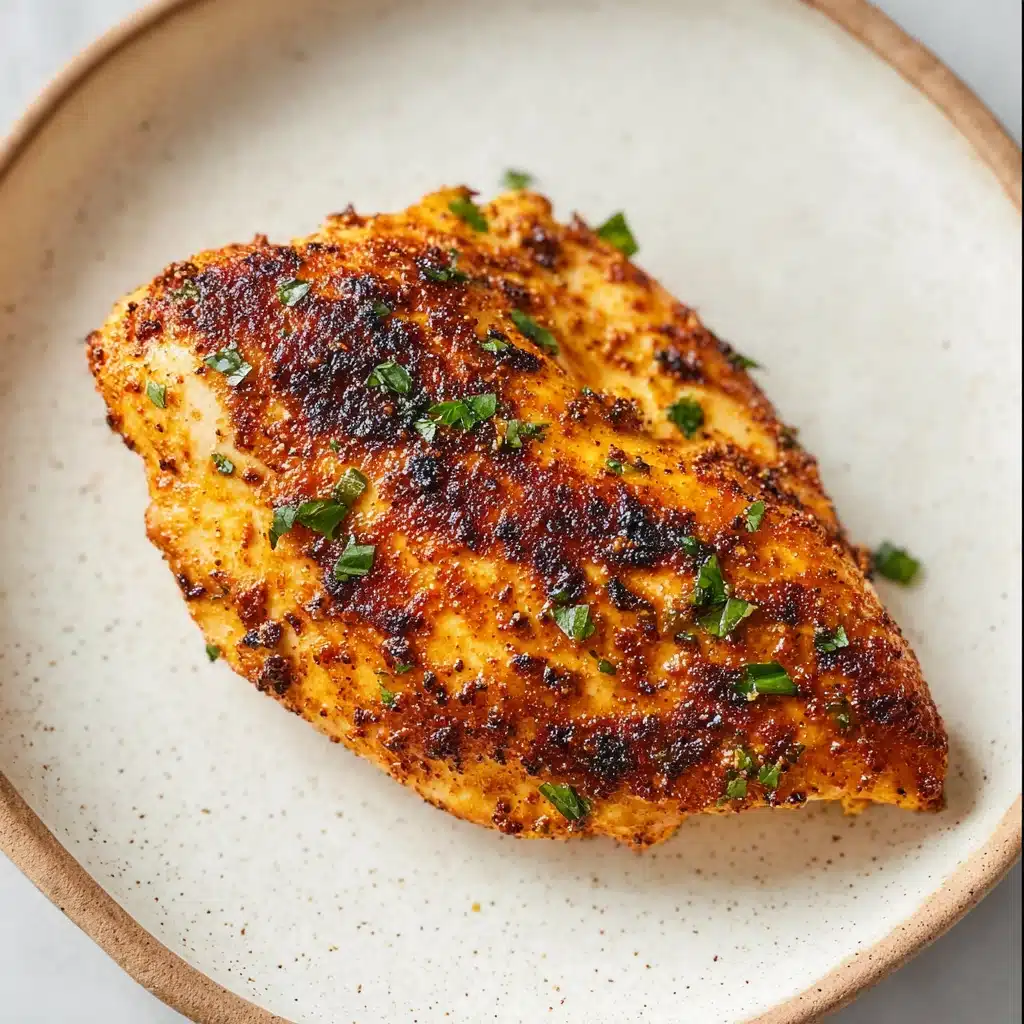
If you’re on the hunt for a trusty weeknight dinner that manages to taste restaurant-worthy every single time, you absolutely need to make Pan-Seared Chicken Breast. It’s the kind of dish that promises juicy, golden perfection with just a few staple ingredients and a skillet, giving you maximum flavor for minimal fuss. Whether it’s your first time at the stove or you’re just craving something satisfying and foolproof, Pan-Seared Chicken Breast delivers every time, making it a go-to classic you’ll crave often.
Ingredients You’ll Need
The beauty of this dish is in its glorious simplicity—each ingredient matters, so don’t skimp! These kitchen staples come together for the juiciest, most flavorful Pan-Seared Chicken Breast. Let’s take a closer look at what you’ll need and what each element brings to the pan.
- Chicken breasts: Choose boneless, skinless breasts for faster, even cooking—try to select pieces of similar thickness for the best sear.
- Salt and pepper: Good seasoning is the key to drawing out the chicken’s natural flavor; don’t be shy!
- Olive oil: This helps you get that beautiful golden crust while adding a subtle richness.
- Butter: Adds creaminess and helps the chicken brown more evenly in the pan.
- Garlic cloves: A couple of smashed cloves infuse the oil and butter with a warm, aromatic boost.
- Fresh herbs (such as thyme or rosemary): Tossing in a sprig while the chicken cooks gives the finished dish that irresistible, herbaceous aroma.
How to Make Pan-Seared Chicken Breast
Step 1: Prepare the Chicken
Start by patting your chicken breasts dry with paper towels—don’t skip this step! Removing moisture helps the chicken sear beautifully instead of steaming. If the chicken breasts are especially thick, consider slicing them in half horizontally or pounding them to even thickness so they cook more evenly. Season generously with salt and pepper on both sides.
Step 2: Heat the Pan
Place your favorite heavy-bottomed skillet (cast iron is fantastic!) over medium-high heat. Add the olive oil and let it get shimmering hot. This is critical for achieving a deep, golden crust on your Pan-Seared Chicken Breast.
Step 3: Sear the Chicken
Carefully lay the chicken breasts in the pan without crowding them. Let them cook undisturbed for about 5–7 minutes, until a golden crust forms. Flip the chicken only once you see the edges turning opaque and the underside is nicely browned.
Step 4: Add Butter, Garlic, and Herbs
Lower the heat to medium. Add the butter, smashed garlic, and fresh herbs to the pan. Tilt the skillet and spoon the melted, herb-infused butter over the chicken repeatedly—this helps lock in flavor and juiciness. Cook for another 4–6 minutes or until the internal temperature reaches 165°F (74°C).
Step 5: Rest and Slice
Once cooked, transfer the chicken breasts to a plate and let them rest for five minutes. Resting allows the juices to redistribute, so every bite of Pan-Seared Chicken Breast stays tender and moist. Slice against the grain and get ready to serve!
How to Serve Pan-Seared Chicken Breast
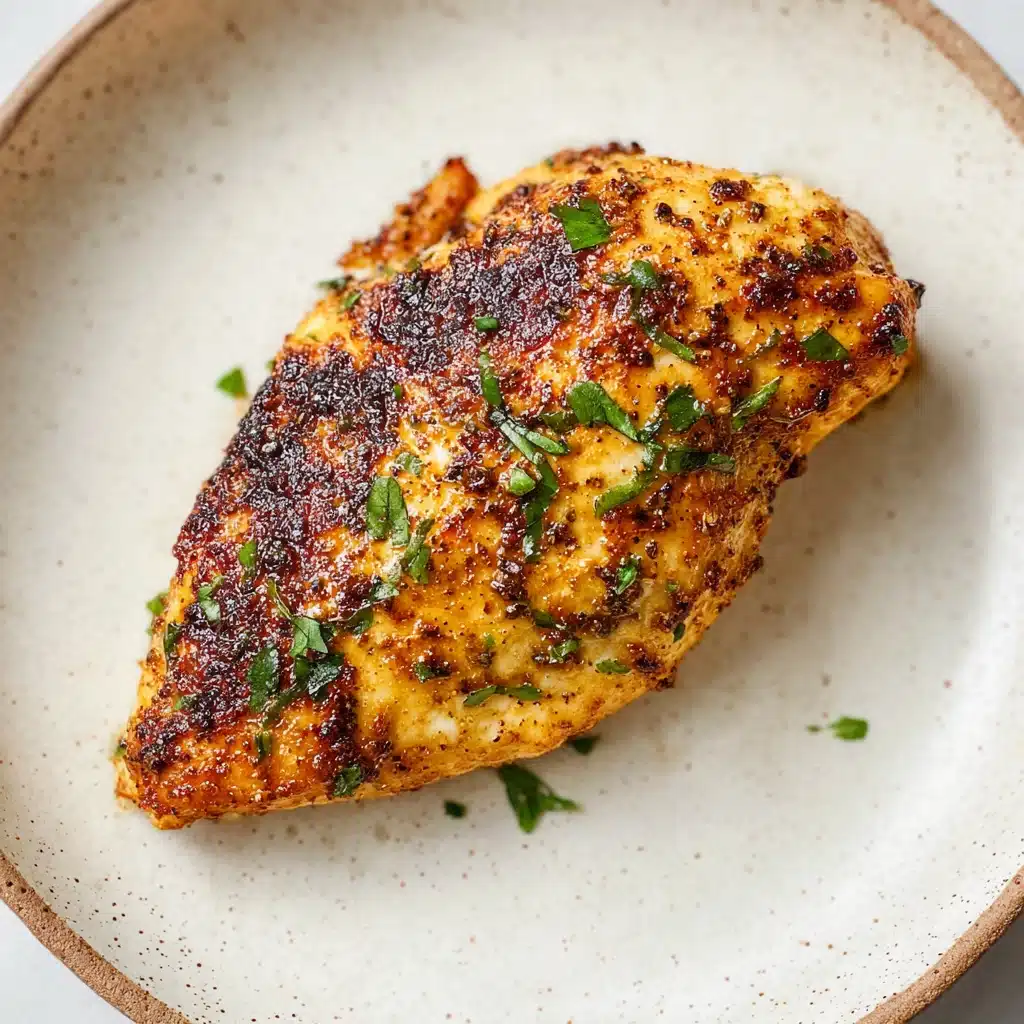
Garnishes
Add a sprinkle of freshly chopped parsley or thyme, and don’t discard those caramelized garlic cloves—they’re delicious on top. A pinch of flaky sea salt or a squeeze of lemon brightens and finishes the whole dish.
Side Dishes
This chicken pairs famously with just about anything. Try it with buttery mashed potatoes, roasted vegetables, a crisp green salad, or even a pile of fluffy rice—Pan-Seared Chicken Breast is endlessly versatile and always the star of the plate.
Creative Ways to Present
Slice the chicken breast and fan it over a vibrant salad for lunch, or top creamy pasta with medallions for an elevated weeknight feast. Turn leftovers into sandwiches, wraps, or grain bowls for a fresh, quick meal that never feels like repeats.
Make Ahead and Storage
Storing Leftovers
Let any leftover Pan-Seared Chicken Breast cool completely before storing it in an airtight container in the fridge. It will stay fresh and tasty for up to 3–4 days, making lunch and meal-prep a breeze.
Freezing
If you’d like to freeze the chicken, wrap individual pieces tightly in plastic wrap and place them in a freezer-safe bag or container. Label and date them—they’ll be good for up to three months. Thaw overnight in the refrigerator before reheating.
Reheating
For best results, reheat leftover Pan-Seared Chicken Breast gently in a covered skillet over low heat or in the microwave with a splash of broth to maintain moisture. Avoid overcooking, or the chicken may dry out.
FAQs
How do I make sure my chicken stays juicy?
Pounding the chicken to an even thickness and not overcooking it are the best steps for juicy results. Also, don’t forget to rest the chicken before slicing; this helps lock in all the flavorful juices.
Can I use chicken thighs instead?
Absolutely! While this recipe is tailored for Pan-Seared Chicken Breast, boneless, skinless thighs will work well—just adjust the cooking time slightly, as thighs generally take a bit longer to cook through.
What’s the best pan to use for a perfect sear?
A heavy-bottomed skillet, like cast iron or stainless steel, gives the most reliable golden crust. Nonstick pans work in a pinch, but they won’t develop quite the same caramelization.
How can I tell when the chicken is done?
The most reliable method is checking with an instant-read thermometer—the thickest part should reach 165°F (74°C). If you don’t have a thermometer, slice in and make sure the juices run clear.
Can I add other seasonings?
Definitely! While classic salt and pepper let the chicken shine, you can experiment with paprika, Italian herbs, or a dash of cayenne for a spicier take on Pan-Seared Chicken Breast.
Final Thoughts
I can’t recommend this easy, flavor-packed Pan-Seared Chicken Breast enough—it’s one of those trusty recipes you’ll turn to whenever you need something delicious, quick, and truly satisfying. Give it a try and see just how simple gourmet can be in your own kitchen!

