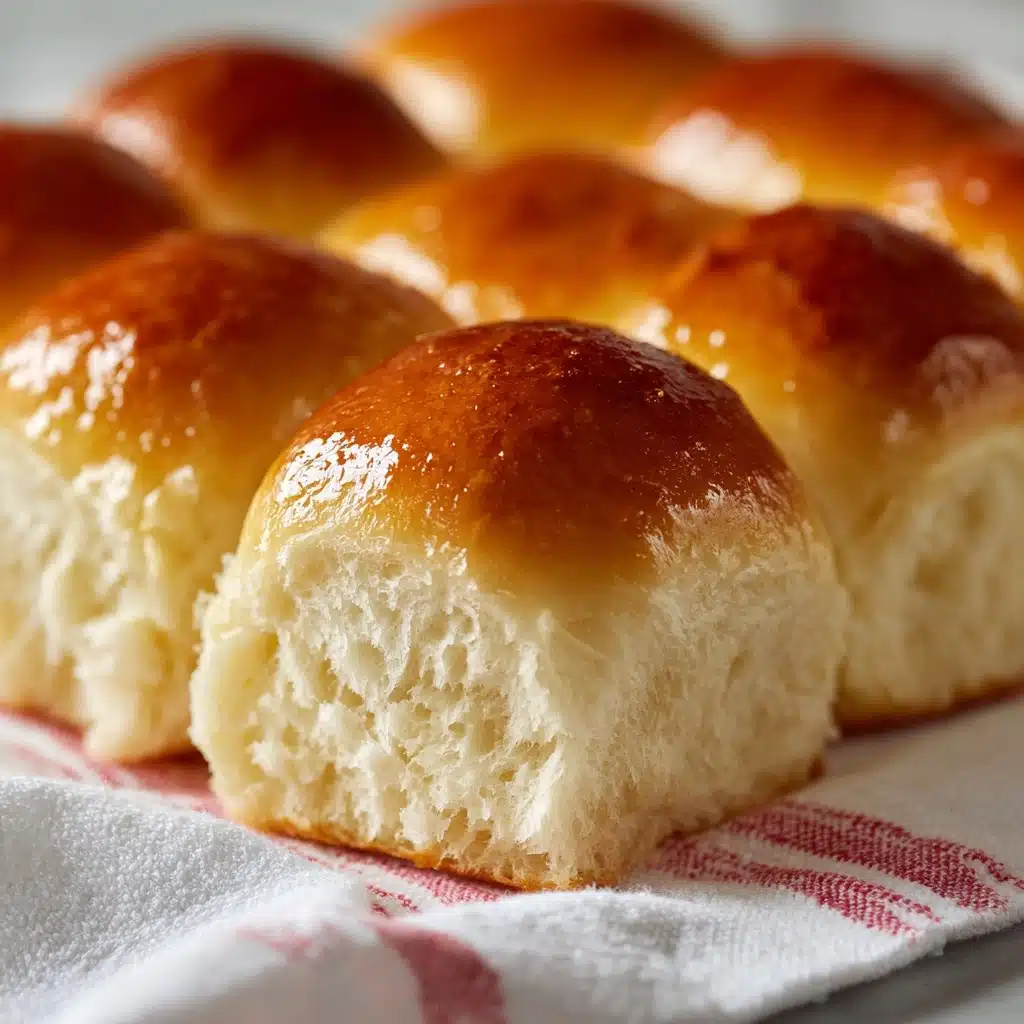
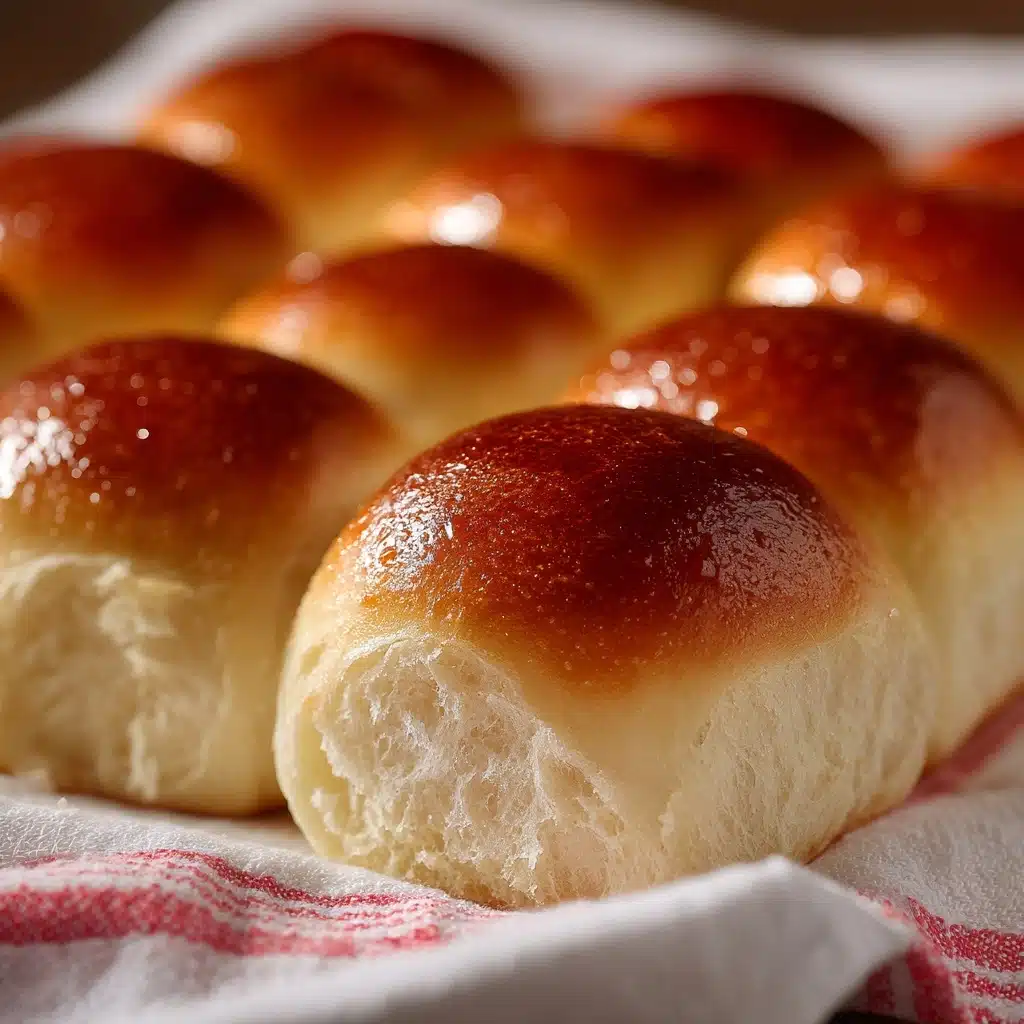
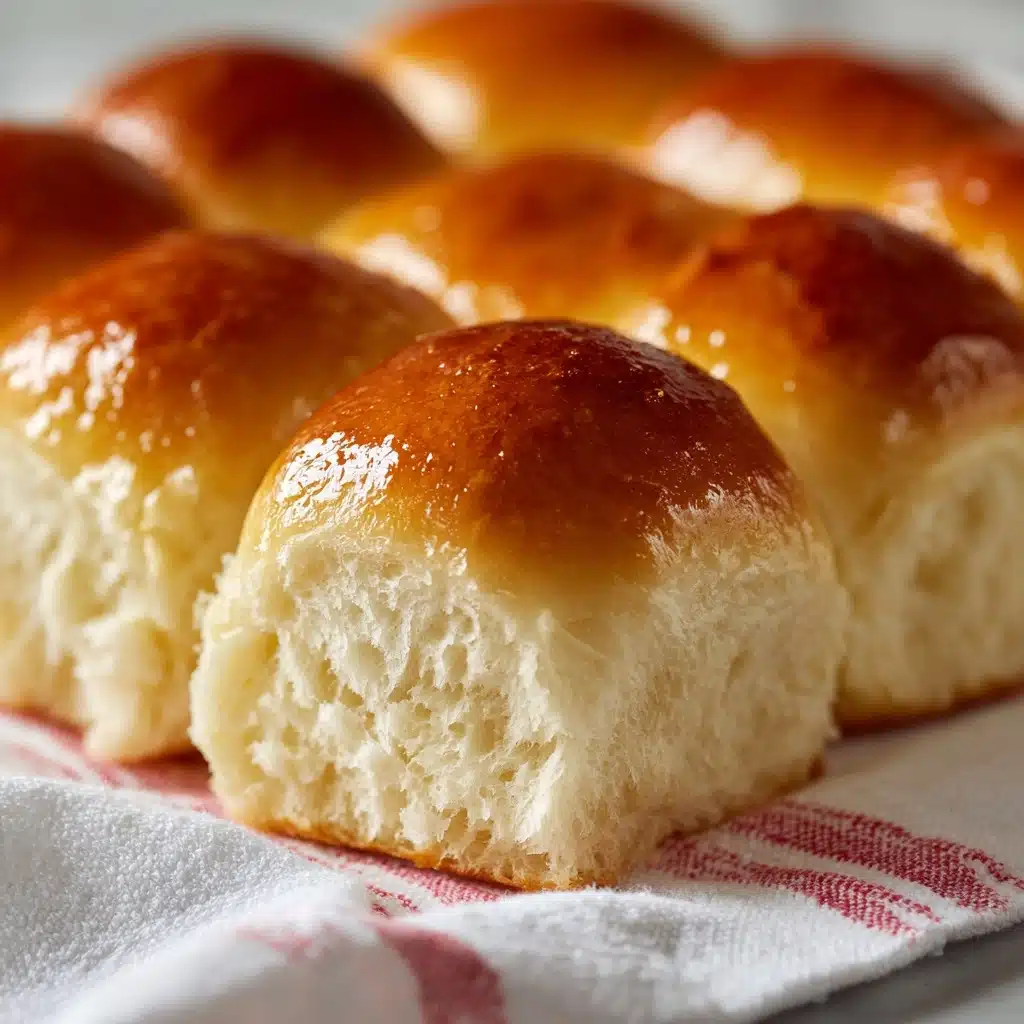
If you’ve ever longed for that irresistible warmth and fluffy texture that only a pan of Old Fashioned Yeast Rolls can offer, you’re in the right place. Picture pulling apart a hot, golden roll with billowy steam swirling up, a buttery aroma filling your kitchen. These classic rolls are the ultimate comfort food, perfect for any meal but destined to steal the show at holiday tables or Sunday dinners. Once you make these, you’ll understand why Old Fashioned Yeast Rolls hold such a special place in every home baker’s heart.
Ingredients You’ll Need
Every great batch of Old Fashioned Yeast Rolls starts with the basics, but each ingredient is carefully chosen to shape the perfect flavor, structure, and tenderness. Here’s what you’ll need, and a quick note on why each one is indispensable:
- Whole Milk: Adds richness and creates an ultra-tender crumb; ensure it’s warm, not hot, for the best yeast activation.
- Active Dry Yeast: The classic leavening agent that brings those beautiful, fluffy layers to life.
- Granulated Sugar: Feeds the yeast and brings a subtle sweetness; bump it up a bit if you like sweeter rolls!
- Unsalted Butter (melted): Creates a soft texture and adds luscious flavor throughout the dough.
- Large Egg: Binds everything together and gives the rolls their airy, light texture.
- Salt: Balances the sweetness and deepens all the flavors—don’t skip it.
- All-Purpose Flour: The foundation of the rolls; add it gradually to avoid a dense dough.
- Melted Butter (for brushing): Finishes the rolls with a glossy, golden touch and a tempting aroma.
How to Make Old Fashioned Yeast Rolls
Step 1: Activate the Yeast
Pour the warm milk into a large mixing bowl and stir in the sugar until dissolved. Sprinkle the active dry yeast evenly over the surface, then let it rest for 5 to 10 minutes. You’ll know it’s ready when the mixture goes from still to frothy and bubbly—proof that your yeast is alive and kicking, setting the stage for big, fluffy Old Fashioned Yeast Rolls.
Step 2: Blend in the Wet Ingredients
Add the melted unsalted butter, egg, and salt directly into the bowl with the activated yeast mixture. Stir with enthusiasm! These ingredients enrich the dough and ensure every bite has that classic softness and sheen that makes Old Fashioned Yeast Rolls so memorable.
Step 3: Add Flour and Mix the Dough
Start adding the flour one cup at a time, mixing gently after each addition. You’re looking for a soft, cohesive dough that pulls away from the sides of the bowl but is still touchable—not too sticky, not dry. This gradual approach guarantees tender rolls and helps you avoid overloading the dough with flour.
Step 4: Knead Until Smooth
Transfer the dough to a lightly floured surface and knead it for about 8 minutes. You want it smooth, elastic, and springy; this step develops the gluten structure, giving your Old Fashioned Yeast Rolls that desirable pull-apart quality. If the dough sticks, dust the surface and your hands lightly with more flour.
Step 5: First Rise
Place your kneaded dough into a greased bowl, turning it so all sides get a light coating. Cover with a clean kitchen towel or plastic wrap, then let it rise in a warm, draft-free spot for about an hour. When it has doubled in size, you’ll feel the anticipation growing along with that beautiful dough.
Step 6: Shape the Rolls
Punch down the dough gently to release air bubbles. Divide it into 12 equal pieces—don’t worry if they’re not perfect, homemade charm is part of the magic. Shape each piece into a ball and nestle them snugly in a greased 9×13-inch baking dish. The close quarters will give your Old Fashioned Yeast Rolls those lovely, soft pull-apart edges.
Step 7: Second Rise and Bake
Cover the dish and allow the rolls to rise once more for 30–40 minutes, until puffy and almost doubled again. While they rise, preheat your oven to 375°F (190°C). Once ready, bake the rolls for 15–18 minutes, until golden brown on top and perfectly baked through. The anticipation is almost unbearable!
Step 8: Butter and Serve
As soon as the rolls emerge from the oven, brush them generously with the reserved melted butter. This finishing touch gives them a gorgeous sheen and an extra scent of buttery goodness that makes everyone want to grab one right away. Let them cool just barely before serving warm.
How to Serve Old Fashioned Yeast Rolls
Garnishes
The simplest garnish is sometimes the best: a lavish brush of melted butter right after baking. For an extra pop, sprinkle a touch of flaky sea salt or a few minced fresh herbs like rosemary or chives while the rolls are still warm. If you’re in the mood, a little honey butter or cinnamon sugar offers a sweet twist that keeps everyone smiling.
Side Dishes
Old Fashioned Yeast Rolls are the perfect sidekick for almost any meal. Serve them with roasted turkey, classic pot roast, or a steaming bowl of soup. They effortlessly soak up savory gravies, creamy sauces, or even the juices from slow-cooked vegetables. These rolls practically beg to be at the center of a family feast or holiday spread!
Creative Ways to Present
For parties or special occasions, arrange the rolls artfully in a basket lined with a cheerful napkin. Consider shaping some of the dough into knots or twists for visual flair. You can even split them and use them as subtly sweet mini sandwich buns—fill with meats, cheeses, or leftovers to surprise your guests with something extra special.
Make Ahead and Storage
Storing Leftovers
Leftover Old Fashioned Yeast Rolls keep wonderfully for a few days. Cool completely, then store in an airtight container or zip-top bag at room temperature for up to three days. They’ll stay beautifully soft and fresh for any last-minute snack attacks or lunchbox additions.
Freezing
Want to savor these rolls weeks later? Freeze fully baked and cooled rolls in a freezer-safe bag or container for up to two months. If you want to freeze the dough instead, shape into rolls after the first rise, then freeze. Just thaw and finish the second rise before baking.
Reheating
To revive day-old or frozen Old Fashioned Yeast Rolls, preheat your oven to 300°F. Wrap the rolls in foil and bake for about 10 minutes until warmed through. A quick brush with fresh melted butter will help them regain their just-baked taste and aroma—no one will guess they weren’t made today!
FAQs
Can I use instant yeast instead of active dry yeast?
Yes! If using instant yeast, skip the proofing step and simply add the yeast with the dry ingredients. Keep an eye on the dough, as rising times may be a bit shorter.
Why didn’t my dough rise?
This usually happens if the yeast is expired or the milk was too hot or too cold. Make sure your yeast foams before proceeding, and always use milk that feels pleasantly warm to the touch (around 110°F).
Can I make Old Fashioned Yeast Rolls dairy-free?
Absolutely. Use a dairy-free milk (like almond or oat) and swap in plant-based butter for both the dough and brushing. The texture may be a touch different, but the rolls will still be delicious!
How should I store Old Fashioned Yeast Rolls overnight?
Once cooled, store them in an airtight container or wrap well in plastic. They’ll stay soft at room temperature for a couple of days or pop them in the fridge if your kitchen is especially warm.
How do I get extra golden rolls on top?
For an extra-golden look, brush the shaped rolls lightly with milk or an egg wash before baking, then finish with melted butter when they’re hot out of the oven. It’s a simple bakery secret for a beautiful finish!
Final Thoughts
There’s just something magical about pulling a tray of Old Fashioned Yeast Rolls straight from the oven and sharing them around the table. I hope this recipe brings you as much joy and comfort as it has for me—give them a try soon, and watch them disappear in no time!
Print
Old Fashioned Yeast Rolls Recipe
- Prep Time: 20 minutes
- Cook Time: 18 minutes
- Total Time: 2 hours
- Yield: 12 rolls
- Category: Side Dish
- Method: Baking
- Cuisine: American
- Diet: Vegetarian
Description
These Old Fashioned Yeast Rolls are a classic favorite, perfect for any meal. Soft, fluffy, and slightly sweet, these homemade rolls are sure to impress your family and friends.
Ingredients
Dough:
- 1 cup warm whole milk (about 110°F)
- 2 ¼ tsp active dry yeast (1 packet)
- ¼ cup granulated sugar
- 4 tbsp unsalted butter, melted
- 1 large egg
- 1 tsp salt
- 3 ½ cups all-purpose flour, plus more for kneading
For Brushing:
- 1 tbsp melted butter
Instructions
- Prepare the Dough: Combine warm milk and sugar in a bowl, sprinkle yeast on top, let sit until foamy. Add butter, egg, salt, mix. Gradually add flour, knead until smooth.
- Rising: Let dough rise for 1 hour until doubled. Divide into 12 pieces, shape into balls, place in baking dish.
- Second Rise: Cover and let rise for 30-40 minutes. Preheat oven to 375°F.
- Baking: Bake the rolls for 15-18 minutes until golden. Brush with melted butter.
Notes
- For extra richness, replace half the milk with half-and-half.
- These rolls freeze well—reheat in a 300°F oven for 10 minutes.
- If you prefer sweeter rolls, increase sugar to ⅓ cup.

