

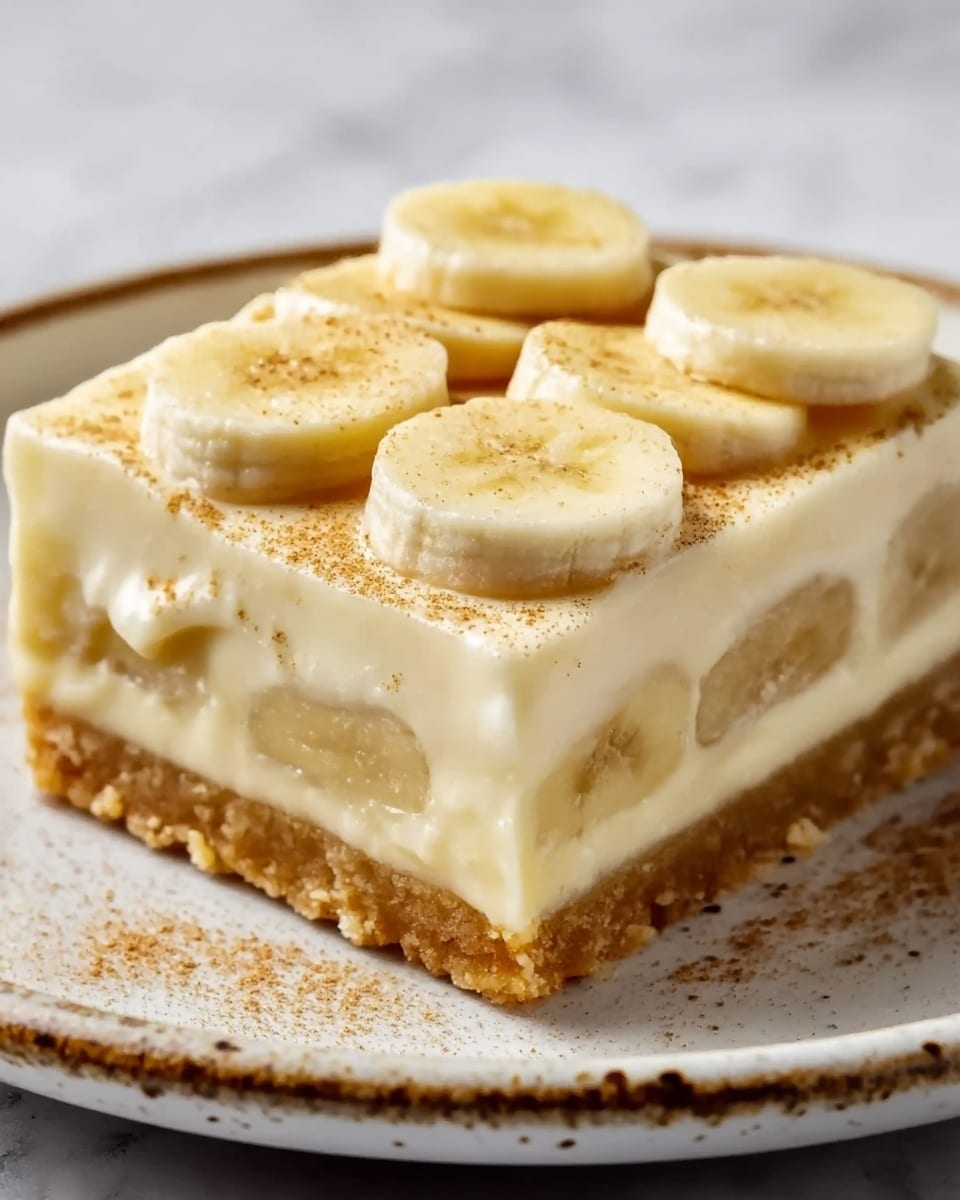
If you’ve ever craved a treat that feels like a warm hug from your grandma, you’re going to adore this Old-Fashioned Homemade Banana Pudding Recipe. It’s a perfect blend of creamy, dreamy pudding layered lovingly with sweet bananas and crisp vanilla wafers. Every spoonful is pure nostalgia and comfort, crafted with simple ingredients that come together to create a timeless Southern classic. Whether you’re serving it for a family gathering or treating yourself to a cozy night in, this recipe will quickly become your go-to dessert for moments when you want something both indulgent and heartfelt.

Ingredients You’ll Need
The magic of this Old-Fashioned Homemade Banana Pudding Recipe lies in its straightforward ingredients that shine on their own. Each component adds a special touch: the sugar sweetens perfectly, the flour thickens just right, eggs give creaminess, and vanilla bring warmth and aroma to every bite.
- ¾ cup granulated sugar: This balances the natural tartness of the bananas and adds that essential sweetness.
- ¼ cup all-purpose flour: Used to thicken the pudding to the perfect consistency without any graininess.
- ¼ teaspoon salt: Just a pinch to enhance all the flavors without overpowering the dessert.
- 3 cups milk: The creamy foundation that gives the pudding its silky texture.
- 3 large eggs: These create richness and help the pudding set beautifully.
- 2 teaspoons pure vanilla extract: Adds depth and that unmistakable warm vanilla aroma.
- 1 box (approximately 8 ounces) vanilla wafers: Crisp and sweet, they provide a delightful crunch in between layers.
- 3–4 ripe bananas, sliced: Fresh bananas bring natural sweetness and softness that melts into the pudding.
How to Make Old-Fashioned Homemade Banana Pudding Recipe
Step 1: Prepare the Pudding Base
Start by whisking together the sugar, flour, and salt in a medium saucepan. Slowly add the milk while whisking until the mixture is smooth and lump-free. This steady whisking is key to preventing clumps and ensuring a silky pudding.
Step 2: Thicken the Mixture
Place the saucepan over medium heat and stir constantly. As the mixture heats, it will gradually thicken and start bubbling – your cue that it’s transforming into that creamy base. Once bubbling, reduce to low and continue stirring for 2 more minutes so the texture becomes luscious and smooth.
Step 3: Temper the Eggs
In a small bowl, beat the eggs lightly. To avoid scrambled eggs in your pudding, pour about ½ cup of the hot milk mixture slowly into the eggs while whisking non-stop. This step warms the eggs gently so they incorporate smoothly back into the pudding.
Step 4: Combine and Finish Cooking
Pour the tempered eggs back into the saucepan, whisking continuously. Return the pot to medium heat and cook until the pudding gently boils again, stirring constantly. Keep cooking for an additional 2 minutes to fully cook the eggs and develop that perfect thickness.
Step 5: Add Vanilla and Cool
Take the pudding off the heat and stir in the pure vanilla extract. Let it cool for about 15 minutes, stirring occasionally to release steam and keep its velvety texture. This step also helps the pudding flavor deepen beautifully.
Step 6: Layer Your Pudding
In an 8-inch square baking dish, start by layering about 25 vanilla wafers on the bottom. Follow with an even layer of sliced bananas. Pour half of the pudding over the fruit, spreading it gently but thoroughly. Repeat with the remaining wafers, bananas, and pudding to create that signature layered effect.
Step 7: Chill and Serve
Cover the dish with plastic wrap pressed directly onto the pudding’s surface to prevent a skin from forming. Refrigerate for at least 4 hours or overnight for the flavors to meld and the wafers to soften slightly while still keeping a hint of texture.
How to Serve Old-Fashioned Homemade Banana Pudding Recipe
Garnishes
Before serving, sprinkle crushed vanilla wafers on top for an irresistible crunch that contrasts beautifully with the creamy pudding. You can also add a dollop of freshly whipped cream to elevate this dessert to true indulgence.
Side Dishes
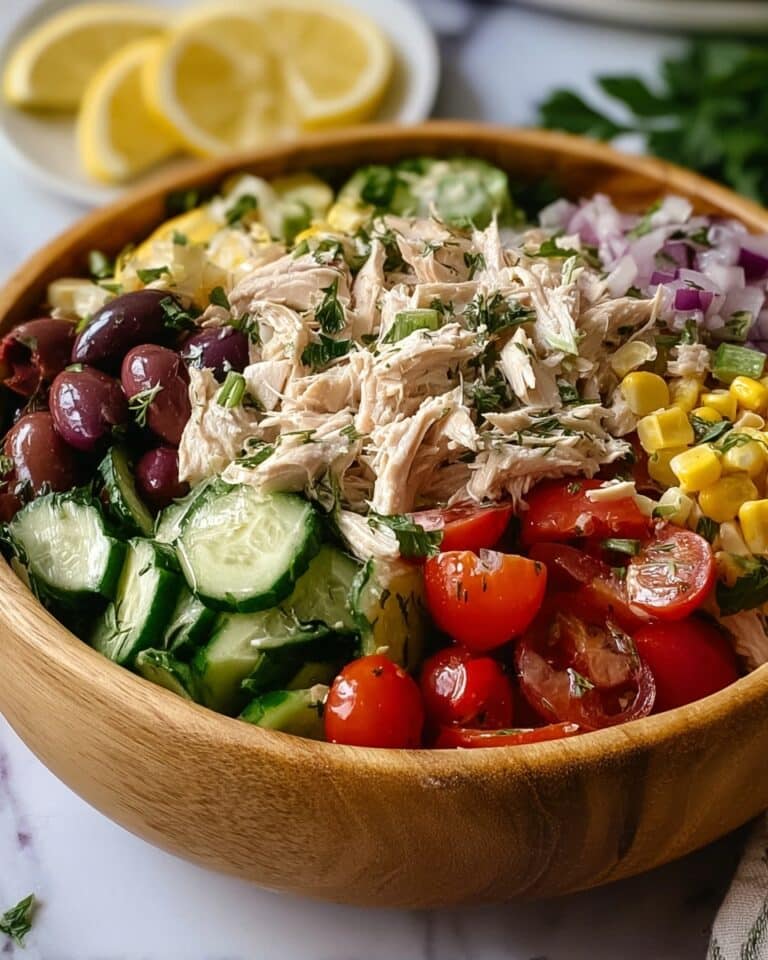
This banana pudding pairs wonderfully with light, fresh fruit salads or a scoop of vanilla bean ice cream. If you’re looking for a balance to the richness, a tangy lemon sorbet on the side adds a refreshing bite.
Creative Ways to Present
For a charming twist, layer the pudding in individual mason jars or clear glasses. This not only looks stunning but makes for easy portion control at parties. Another fun idea is to top each serving with a sprinkle of toasted coconut flakes or a few mini chocolate chips for an unexpected flavor boost.
Make Ahead and Storage
Storing Leftovers
Old-Fashioned Homemade Banana Pudding Recipe keeps well in the refrigerator covered tightly with plastic wrap or in an airtight container. It’s best enjoyed within 2-3 days to savor the freshness of the bananas and the creamy texture.
Freezing
Freezing this pudding is not recommended because the bananas tend to lose their texture and the pudding can separate upon thawing. Stick to making just enough to enjoy fresh or store leftovers in the fridge.
Reheating
This pudding is meant to be enjoyed chilled, so reheating is not necessary or advised. Instead, take it out of the fridge about 10 minutes before serving if it feels too cold for your liking.
FAQs
Can I use instant pudding mix instead of making the pudding from scratch?
While instant pudding mixes are convenient, making this Old-Fashioned Homemade Banana Pudding Recipe from scratch offers richer flavor and creamier texture that truly honors the traditional taste.
What type of bananas work best?
Ripe but firm bananas are ideal. Overripe bananas can make the pudding mushy and overly sweet, while underripe ones won’t provide the natural sweetness the recipe calls for.
Can I substitute the flour for cornstarch?
Yes, cornstarch can be used as a thickener in place of flour. Use about half the amount (around 2 tablespoons) and whisk it with a little cold milk before adding to avoid lumps.
How do I prevent the banana slices from browning?
Layer bananas just before assembling the pudding, and cover the pudding tightly with plastic wrap pressed to the surface to reduce exposure to air. For extra protection, lightly brush the banana slices with lemon juice.
Can I make this pudding vegan or dairy-free?
You can try using plant-based milk such as almond or oat milk and substitute eggs with a combination of cornstarch and turmeric or a vegan egg replacer. Keep in mind texture and flavor might slightly differ from the classic version.
Final Thoughts
This Old-Fashioned Homemade Banana Pudding Recipe is truly a treasure that brings generations of dessert love right to your table. Simple ingredients combine to form something spectacular, warm, and comforting. I can’t wait for you to try it out, share it with those you love, and make it your own cherished classic. Get ready for a bowl of pure joy!
Print
Old-Fashioned Homemade Banana Pudding Recipe
- Prep Time: 10 minutes
- Cook Time: 20 minutes
- Total Time: 40 minutes plus at least 4 hours chilling
- Yield: 8 servings
- Category: Dessert
- Method: Stovetop
- Cuisine: Southern American
Description
This classic Old-Fashioned Homemade Banana Pudding is a creamy, comforting dessert featuring layers of smooth vanilla pudding, ripe bananas, and crispy vanilla wafers. Made entirely from scratch with simple ingredients, this nostalgic favorite is perfect for family gatherings or anytime you crave a sweet, Southern-style treat.
Ingredients
Pudding
- ¾ cup granulated sugar
- ¼ cup all-purpose flour
- ¼ teaspoon salt
- 3 cups milk
- 3 large eggs
- 2 teaspoons pure vanilla extract
Layers
- 1 box (approximately 8 ounces) vanilla wafers
- 3–4 ripe bananas, sliced
Instructions
- Mix dry ingredients: In a medium saucepan, whisk together the sugar, flour, and salt until evenly combined to ensure a smooth pudding base.
- Add milk gradually: Slowly whisk in the milk to the dry mixture to create a smooth batter without lumps.
- Cook pudding base: Place the saucepan over medium heat and stir constantly until the mixture thickens and begins to bubble, which indicates the starch is activating.
- Simmer gently: Lower the heat and continue cooking for 2 minutes while stirring constantly to fully develop the pudding’s creamy texture.
- Temper the eggs: In a small bowl, lightly beat the eggs, then very slowly add about ½ cup of the hot pudding mixture to the eggs while whisking to prevent curdling.
- Combine eggs and pudding: Pour the tempered egg mixture back into the saucepan, whisking continuously to integrate smoothly.
- Finish cooking pudding: Return the pan to medium heat and cook until the mixture gently boils, stirring constantly. Continue for 2 more minutes to ensure the pudding is fully cooked and thickened.
- Flavor and cool: Remove from heat and stir in the vanilla extract. Let the pudding cool for 15 minutes, stirring occasionally to prevent a skin from forming.
- Layer wafers: In an 8-inch square baking dish, arrange about 25 vanilla wafers evenly on the bottom as the first layer.
- Add banana slices: Spread a layer of sliced ripe bananas over the wafers.
- Pour pudding: Pour half of the cooled pudding over the bananas and spread evenly.
- Repeat layering: Add another layer of vanilla wafers, bananas, and pour the remaining pudding on top.
- Cover and chill: Press plastic wrap directly onto the surface of the pudding to prevent skin formation, then refrigerate for at least 4 hours or overnight to set completely.
- Add topping and serve: Before serving, sprinkle crushed vanilla wafers on top for added crunch and texture.
Notes
- Use ripe but firm bananas to avoid mushiness in the layers.
- Press the plastic wrap directly onto the pudding to prevent a skin from forming during chilling.
- For a twist, add a layer of whipped cream on top before serving.
- This pudding tastes even better the next day as the flavors meld.
- You can substitute whole milk with 2% milk for a lighter version.


