

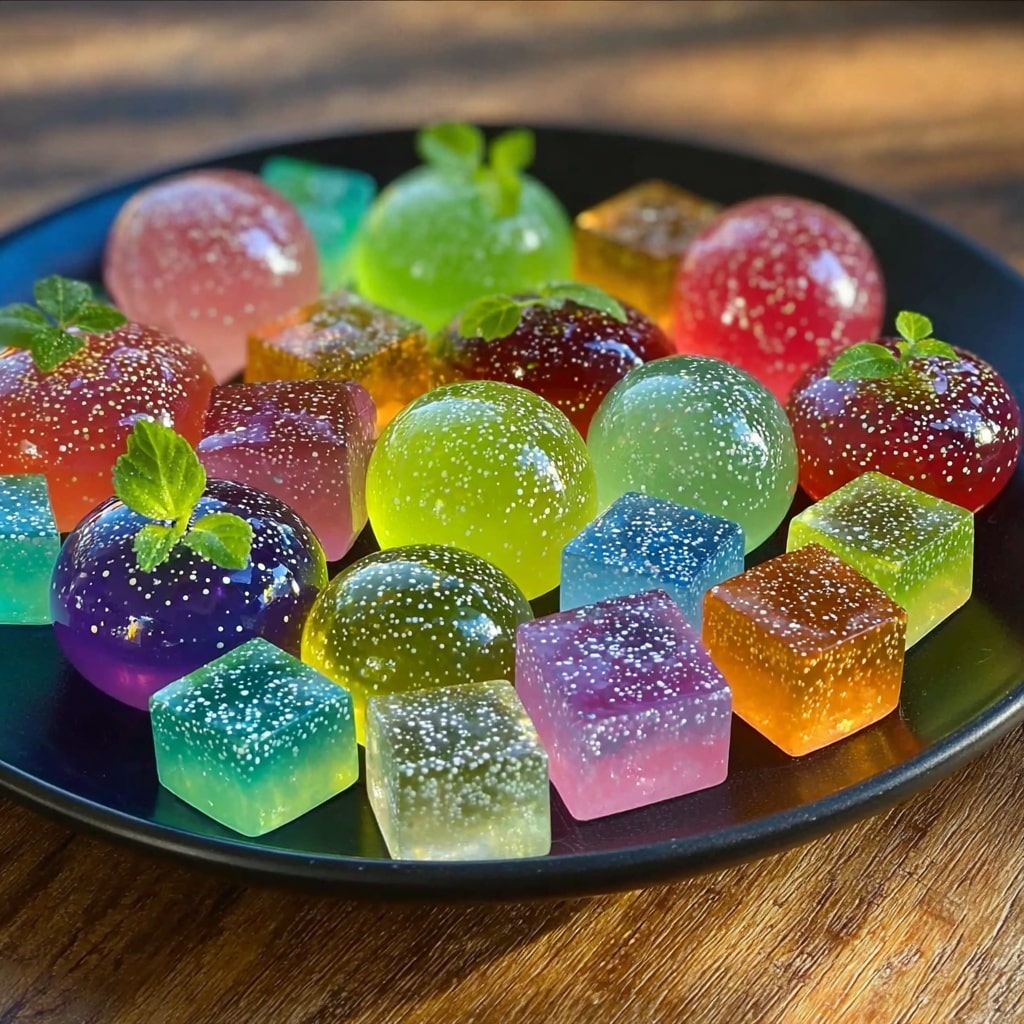
If you are looking for a candy that literally lights up your taste buds and your imagination, the Northern Lights Candy Glow Recipe is your ticket to a dazzling treat. This vibrant confection combines the mesmerizing colors of the Aurora Borealis with a magical glow from tonic water, making it a fun and unforgettable experience. Each bite is bursting with sweet, tangy layers and an electrifying glow that makes it a showstopper for parties, special occasions, or just a joyful kitchen experiment.

Ingredients You’ll Need
Whipping up Northern Lights Candy Glow Recipe is a surprisingly simple task, especially when you have the right ingredients that each play a crucial role. From the sweetness and texture to the glow and zesty notes, these components come together beautifully to create both flavor and that magical effect.
- 1 cup sugar: Provides the essential sweetness and the base for the candy’s classic hard-crack texture.
- 1/4 cup corn syrup: Prevents crystallization and gives your candy that smooth, glossy finish.
- 1/4 cup water: Helps dissolve the sugar and bind ingredients together.
- 1/2 teaspoon baking soda: Adds air bubbles to lighten the candy’s texture slightly when mixed.
- 1/2 teaspoon citric acid: Brings a tangy punch, balancing the sweetness while enhancing the glow effect.
- 1/2 teaspoon lemon extract: Lifts the flavor with a burst of fresh citrus brightness.
- 1/4 teaspoon each of blue, green, yellow, and red food coloring: Paints your candy in vivid Northern Lights hues.
- 1/4 teaspoon tonic water: The secret ingredient for that incredible glow under UV light.
How to Make Northern Lights Candy Glow Recipe
Step 1: Prep Your Workspace
Start by lining a baking sheet with parchment paper or a silicone baking mat. This prep step ensures your glowing candy won’t stick and will come off easily once hardened, saving you time and frustration later.
Step 2: Cook the Sugar Mixture
Combine sugar, corn syrup, and water in a medium saucepan and stir over medium heat until the sugar fully dissolves. Then crank up the heat and let it boil without stirring for 5 to 7 minutes until it hits the hard crack stage, about 300°F. Using a candy thermometer here is a game-changer for perfect results every time.
Step 3: Add the Bubbling Magic
Once your syrup reaches the perfect temperature, pull it off the heat and mix in baking soda and citric acid carefully. You’ll notice the mixture puff up and bubble — this is how you create the airy texture and a little fizz that makes each piece unique.
Step 4: Create Your Colorful Glow
Divide the hot syrup evenly into separate bowls. Add a few drops of one food coloring per bowl, plus a teaspoon of tonic water to each for that glowing magic. Stir gently but swiftly to combine without losing heat.
Step 5: Pour and Cool
Immediately pour each colored mixture side by side onto your prepared baking sheet, creating distinct vibrant sections. Let the candy sit at room temperature for 20 to 30 minutes until completely hardened, allowing the colors to shine and the glow to settle in.
Step 6: Break and Store
After solidification, break your candy into bite-sized pieces. Store them in an airtight container to maintain freshness and ensure those glow-inducing properties last when exposed to UV light or tonic water contact later on.
How to Serve Northern Lights Candy Glow Recipe
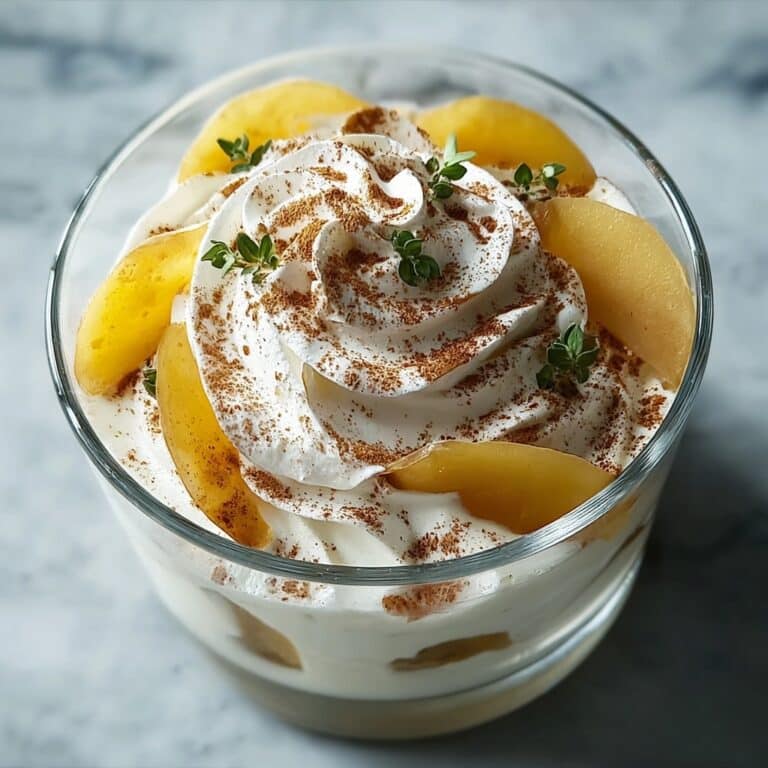
Garnishes
Sprinkle edible glitter or finely crushed popping candy over the top to escalate the celestial effect. Pairing these with some candied lemon zest adds little bursts of flavor and color that accentuate the candy’s zesty notes.
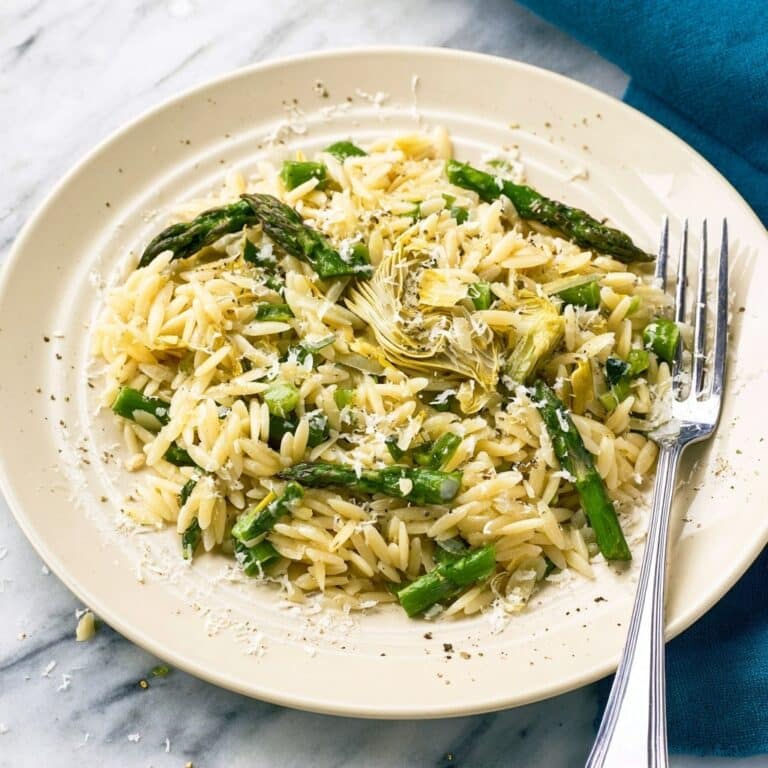
Side Dishes
This Northern Lights Candy Glow Recipe shines on its own but also pairs wonderfully with a light, creamy dip like vanilla yogurt or lemon curd. These cool accompaniments complement the candy’s tang and sweetness while balancing the intensity of its glow.
Creative Ways to Present
For an unforgettable display, serve your candy pieces on a black or dark-colored platter under UV light to really showcase their radiant glow. Alternatively, arrange them in layered glass jars or clear bowls to mimic the shifting colors of the northern sky — your guests will be enchanted!
Make Ahead and Storage
Storing Leftovers
Keep your leftover Northern Lights Candy Glow Recipe pieces in an airtight container at room temperature. This keeps them crisp and prevents moisture from dulling their sparkle. Stored properly, the candy stays fresh for up to two weeks — perfect for savoring the magic slowly.
Freezing
Freezing is not recommended, as it can cause the candy to absorb moisture and lose its crisp texture. The glowing effect may also fade if frozen, so it’s best enjoyed fresh or properly stored at room temperature.
Reheating
Since this is a hard candy, reheating isn’t necessary and can damage the texture and glow. Instead, enjoy the candy as-is for that satisfying snap and radiant glow that make the Northern Lights Candy Glow Recipe a treat unlike any other.
FAQs
What causes the candy to glow?
The glowing magic comes from the tonic water, which contains quinine — a compound that fluoresces under UV light, making your candy come alive with a spectacular glow.
Can I use different flavors with this recipe?
Absolutely! While lemon extract is traditional here for its fresh tang, you can experiment with other extracts like orange, lime, or even peppermint, just keep the flavor balance in mind.
Is it safe to eat candy that glows?
Yes, the glow comes from food-safe ingredients like tonic water and food coloring, which are commonly used in beverages and confections. Always use food-grade ingredients to ensure safety.
How do I know when the candy syrup reaches the hard crack stage?
Using a candy thermometer is the easiest way. The hard crack stage is around 300°F or 150°C. Without one, drop a small bit of syrup into cold water and see if it hardens into brittle threads.
What if I don’t have a candy thermometer?
You can still make this candy by the cold water test mentioned above, but be extra cautious to avoid burning the sugar. A thermometer just makes the process more precise and worry-free.
Final Thoughts
Making the Northern Lights Candy Glow Recipe is like capturing a piece of magic to enjoy with your loved ones. It’s a spectacular blend of flavor, fun, and light that brightens any gathering or sweet tooth moment. So grab your ingredients, get ready to stir up some colorful glow, and treat yourself to this dazzling delight that’s as beautiful as it is delicious.
Print
Northern Lights Candy Glow Recipe
- Prep Time: 10 minutes
- Cook Time: 15 minutes
- Total Time: 25 minutes
- Yield: 10 servings
- Category: Candy
- Method: Stovetop
- Cuisine: American
Description
Northern Lights Candy Glow is a vibrant, glowing hard candy made with colorful food dyes and tonic water for a fun luminescent effect. This easy-to-make candy combines classic sugar syrup cooked to the hard crack stage with a sparkle of glow created by tonic water, perfect for parties and special occasions.
Ingredients
Basic Candy Ingredients
- 1 cup sugar
- 1/4 cup corn syrup
- 1/4 cup water
- 1/2 teaspoon baking soda
- 1/2 teaspoon citric acid
- 1/2 teaspoon lemon extract
Coloring and Glow
- 1/4 teaspoon blue food coloring
- 1/4 teaspoon green food coloring
- 1/4 teaspoon yellow food coloring
- 1/4 teaspoon red food coloring
- 1/4 teaspoon tonic water (for glowing effect)
Instructions
- Prepare the baking sheet: Line a baking sheet with parchment paper or a silicone baking mat and set it aside to ensure the candy does not stick once poured.
- Cook the sugar syrup: In a medium saucepan, combine sugar, corn syrup, and water. Stir over medium heat until sugar dissolves completely. Increase heat to bring mixture to a rolling boil. Without stirring, cook for 5-7 minutes until the syrup reaches the hard crack stage (about 300°F or 150°C), monitored with a candy thermometer.
- Add baking soda and citric acid: Remove the syrup from heat and carefully stir in baking soda and citric acid. The mixture will bubble up vigorously, so handle with caution.
- Divide and color the syrup: Immediately pour the hot syrup into separate bowls. Add a few drops of a different food coloring to each bowl along with a teaspoon of tonic water for that glowing effect. Stir well to combine each color.
- Shape the candy: Quickly pour each colored syrup onto the prepared baking sheet, creating distinct sections of colored candy. Work swiftly as the syrup hardens quickly.
- Cool and break: Allow the candy to cool and harden at room temperature for 20-30 minutes. Once set, break into pieces for serving or storage.
- Store properly: Store the candy pieces in an airtight container to maintain freshness. The candy will glow when exposed to UV light or when tonic water reacts in contact with it.
Notes
- Use a candy thermometer for precise temperature to ensure the hard crack stage is reached.
- Be very careful when handling hot sugar syrup to avoid burns; use heat-resistant utensils.
- Tonic water contains quinine which gives the glowing effect under UV light.
- Work quickly after coloring the syrup as it sets fast once off the heat.
- If you do not have citric acid, lemon juice can be a substitute but may slightly alter the texture.
- Store in airtight containers to prevent the candy from becoming sticky in humid conditions.


