
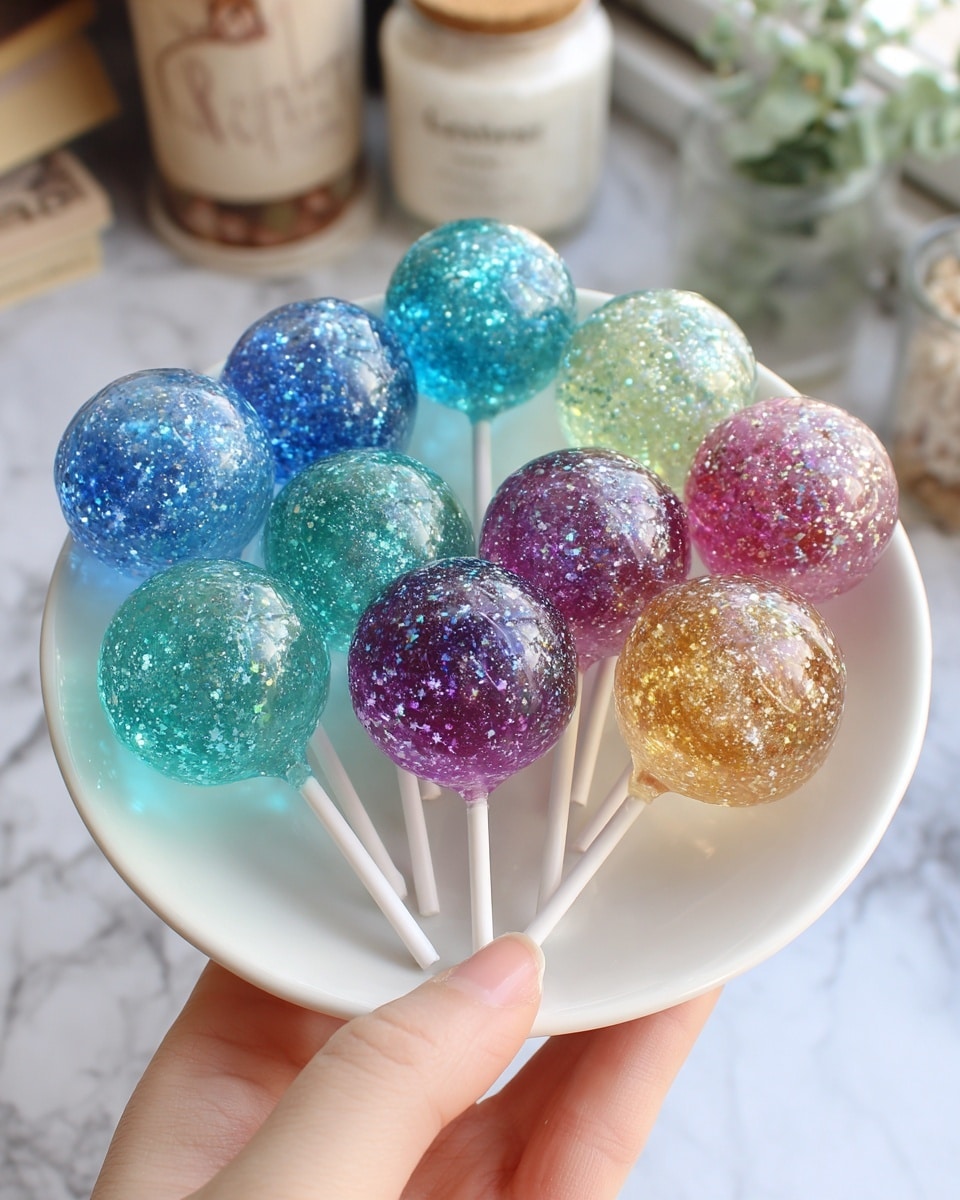
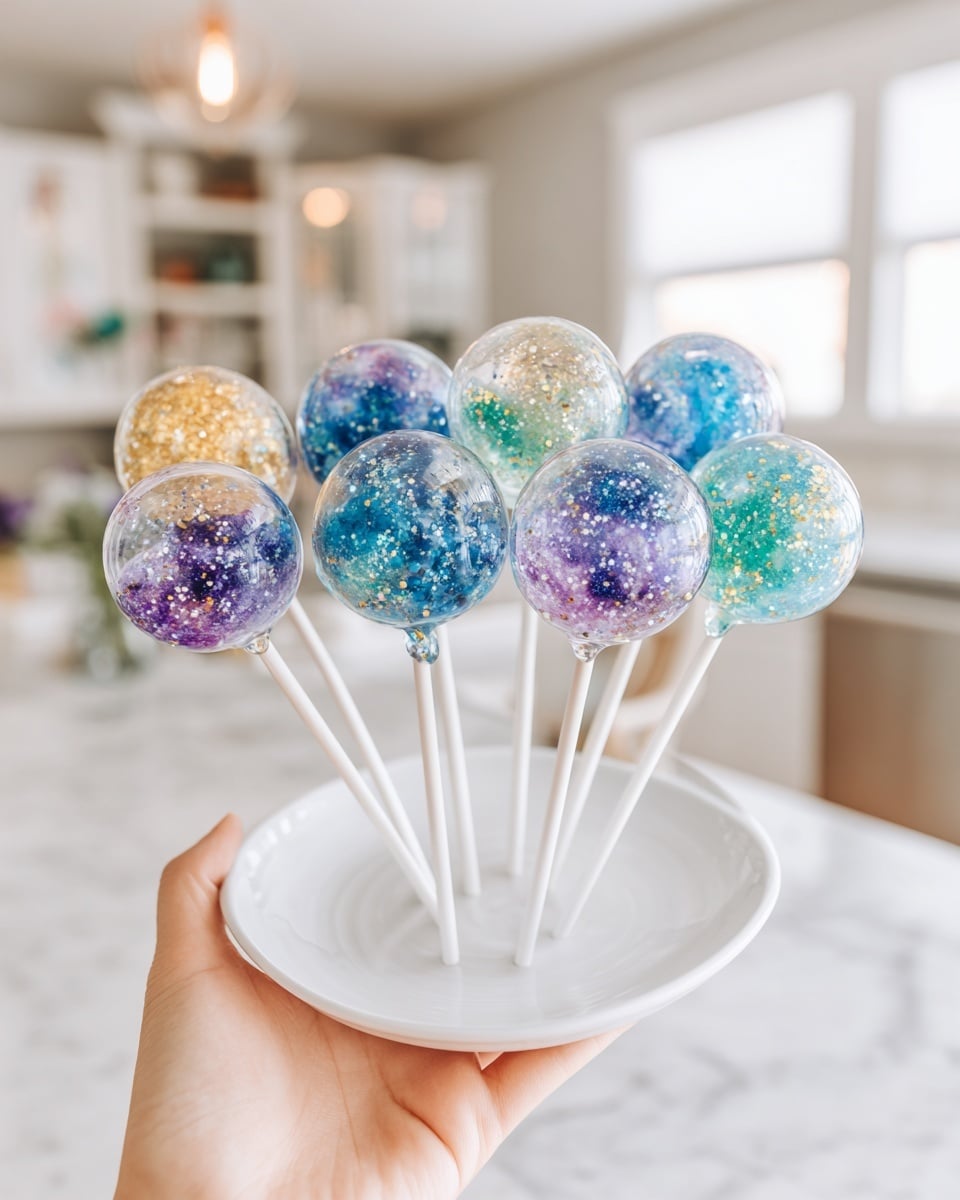
If you have ever wished to capture the enchanting beauty of the aurora borealis in a treat, the Northern Lights Candy Glow Recipe is your gateway to a dazzling galaxy of flavors and colors. This charming candy bark features smooth white chocolate lined with vivid swirls of purple, blue, green, and pink candy melts, sprinkled generously with edible glitter, shimmering rock candy, and glow-in-the-dark accents that transform your dessert into a radiant work of art. Whether you want to dazzle guests at your next party or create unforgettable edible gifts, this recipe promises a magical experience from start to finish.

Ingredients You’ll Need
Although the Northern Lights Candy Glow Recipe looks incredibly intricate, it relies on a handful of simple, easy-to-find ingredients that each add their own special touch, whether it’s the silky texture of white chocolate or the sparkling colors of the candy melts.
- 12 oz white chocolate or white candy melts: The creamy base that forms the perfect canvas for vibrant colors.
- ½ cup each of colored candy melts (purple, blue, green, pink): These provide the stunning hues simulating the natural aurora lights.
- 1 tablespoon coconut oil (optional): Helps achieve a smoother, glossier melt if you prefer.
- Edible glitter or shimmer dust: Adds magical sparkle that catches the light beautifully.
- Rock candy pieces or crushed hard candy: Provides a delightful sugary crunch and mimics twinkling stars.
- Edible stars or sprinkles: Boosts the celestial theme with tiny points of wonder.
- Glow-in-the-dark sugar or luster dust (optional): This extra touch makes the candy glow under blacklight, elevating the Northern Lights Candy Glow Recipe to the next level.
How to Make Northern Lights Candy Glow Recipe
Step 1: Prepare Your Workspace
Start by lining a baking sheet with parchment paper, which ensures your candy bark will lift off easily once set. Having everything measured and ready before melting keeps the process smooth and fun.
Step 2: Melt the White Chocolate
Gently melt the white chocolate or white candy melts in a heatproof bowl using a double boiler setup or short bursts in the microwave. Stir frequently until silky smooth. For an extra glossy finish, stir in the optional coconut oil.
Step 3: Melt Colored Candy Melts Separately
In small bowls, melt each color—purple, blue, green, and pink—using the same gentle melting method. This separation keeps the colors vivid and ready for swirling on your white chocolate base.
Step 4: Create the Candy Bark Base
Pour the melted white chocolate onto your prepared baking sheet, spreading it evenly into a rectangle roughly ¼ inch thick. This smooth foundation is crucial for your colorful design to shine.
Step 5: Drizzle and Swirl the Colors
While the white chocolate is still soft, drizzle the different colored candy melts over the surface in playful swirls or stripes. Use a toothpick or skewer to gently swirl the colors together, mimicking the fluid, glowing ribbons of the northern lights.
Step 6: Add Sparkling Toppings
Sprinkle edible glitter, rock candy pieces, and edible stars evenly over the surface. If you want that extra wow-factor, dust with glow-in-the-dark sugar or luster dust. These details bring the sky to your fingertips!
Step 7: Set and Break
Allow your candy to set at room temperature or refrigerate for 20 to 30 minutes until firmly hardened. Once ready, break into irregular, dazzling shards perfect for sharing or gifting.
How to Serve Northern Lights Candy Glow Recipe
Garnishes
Presentation is everything with this recipe. Consider adding a light dusting of edible glitter just before serving to catch any stray light. A few extra edible stars on your serving plate will extend that celestial vibe beautifully.
Side Dishes
Pair this candy glow with light, complementary treats like vanilla bean ice cream or a simple lemon sorbet. The acidic sharpness of lemon sorbet balances the sweet richness of white chocolate perfectly, making your dessert spread unforgettable.
Creative Ways to Present
For a spectacular display, serve your Northern Lights Candy Glow Recipe under a blacklight to make the glow-in-the-dark elements truly pop. You can also package colorful shards in translucent gift bags tied with twinkle-inspired ribbons for stunning party favors or gifts that wow everyone.
Make Ahead and Storage
Storing Leftovers
Store your candy shards in an airtight container at room temperature to preserve their texture and shine. Keeping it away from heat keeps the candy from melting or dulling, making the Northern Lights Candy Glow Recipe just as delightful days later.
Freezing
While freezing isn’t usually needed, you can freeze the candy wrapped tightly in plastic wrap and stored in a freezer bag for up to one month. Thaw at room temperature before serving to maintain the best texture and colors.
Reheating
Because this is a no-bake candy bark, reheating isn’t necessary or recommended. Instead, simply enjoy it straight from storage or at room temperature to preserve its glossy finish and crispy textures.
FAQs
Can I use regular chocolate instead of white chocolate?
You can, but white chocolate provides the perfect blank canvas for the vibrant candy melts to really shine. Dark or milk chocolate may dull the colors and change the flavor profile.
What if I don’t have glow-in-the-dark sugar or luster dust?
The recipe still shines without the glow effects! The edible glitter and rock candy will keep your bark dazzling, but the blacklight effect is a special bonus if you can find those ingredients.
How long does the candy bark last?
Stored properly in an airtight container at room temperature, the Northern Lights Candy Glow Recipe stays fresh and tasty for up to one week.
Can I customize the colors?
Absolutely! You can melt white candy melts with gel food coloring to create any shade you want, personalizing your candy glow to match your theme or favorite hues.
Is this recipe suitable for special diets?
This treat is vegetarian and gluten-free, making it a great option to share with friends who have those dietary preferences.
Final Thoughts
The Northern Lights Candy Glow Recipe is much more than just a dessert—it’s an edible celebration of one of nature’s most breathtaking phenomena. Its combination of vivid colors, sparkling toppings, and that subtle glowing magic makes it a delightful project and a memorable treat. I wholeheartedly encourage you to try this recipe and light up your next gathering with a touch of candy-crafted aurora wonder!
Print
Northern Lights Candy Glow Recipe
- Prep Time: 20 minutes
- Cook Time: 5 minutes
- Total Time: 25 minutes
- Yield: 12 servings
- Category: Dessert, Candy
- Method: No-Cook
- Cuisine: American
- Diet: Vegetarian, Gluten Free
Description
Northern Lights Candy Glow is a mesmerizing, galaxy-inspired treat that features vibrant swirls of color and shimmering edible glitter to mimic the beauty of the aurora borealis. This candy bark is made with white chocolate and colorful candy melts, then sprinkled with rock candy, edible stars, and glow-in-the-dark accents for a stunning edible display—perfect for parties, gifts, or themed events.
Ingredients
Base Ingredients
- 12 oz white chocolate or white candy melts
- 1 tablespoon coconut oil (optional, for smoother melting)
Colored Candy Melts
- ½ cup purple candy melts
- ½ cup blue candy melts
- ½ cup green candy melts
- ½ cup pink candy melts
Toppings and Decoration
- Edible glitter or shimmer dust
- Rock candy pieces or crushed hard candy
- Edible stars or sprinkles
- Glow-in-the-dark sugar or luster dust (optional)
Instructions
- Prepare your workspace. Line a baking sheet with parchment paper to ensure easy removal of the candy bark once set.
- Melt the white chocolate. Place white chocolate or white candy melts in a heatproof bowl and melt them gently over a double boiler or in the microwave in 30-second intervals, stirring after each until fully smooth. Optionally, stir in coconut oil to achieve smoother melting and glossier texture.
- Melt colored candy melts. In separate small bowls, melt each color of candy melts (purple, blue, green, pink) using the same method, stirring until smooth and ready to pour.
- Spread the white chocolate base. Pour the melted white chocolate onto the prepared baking sheet and spread it evenly into a rectangle about ¼ inch thick to form the base of your candy bark.
- Apply colored swirls. Immediately drizzle the melted colored candy melts over the white chocolate base in swirls or stripes to mimic the northern lights.
- Create the swirl effect. Use a toothpick or skewer to gently swirl the colors together on the surface, creating a beautiful aurora-inspired pattern.
- Add decorative toppings. While the chocolate is still soft, sprinkle edible glitter, rock candy pieces, edible stars or sprinkles evenly over the surface. For an extra magical touch, add glow-in-the-dark sugar or luster dust that will shine under blacklight.
- Allow the candy to set. Let the candy bark harden at room temperature or place it in the refrigerator for 20–30 minutes until firm.
- Break and serve. Once set, break the candy bark into shards for serving or package them as beautiful gifts.
Notes
- To make the candy extra magical, serve it under a blacklight to highlight the glow-in-the-dark elements.
- You can customize the colors of candy melts using gel food coloring if desired.
- Store the candy bark in an airtight container at room temperature for up to 1 week to maintain freshness.


