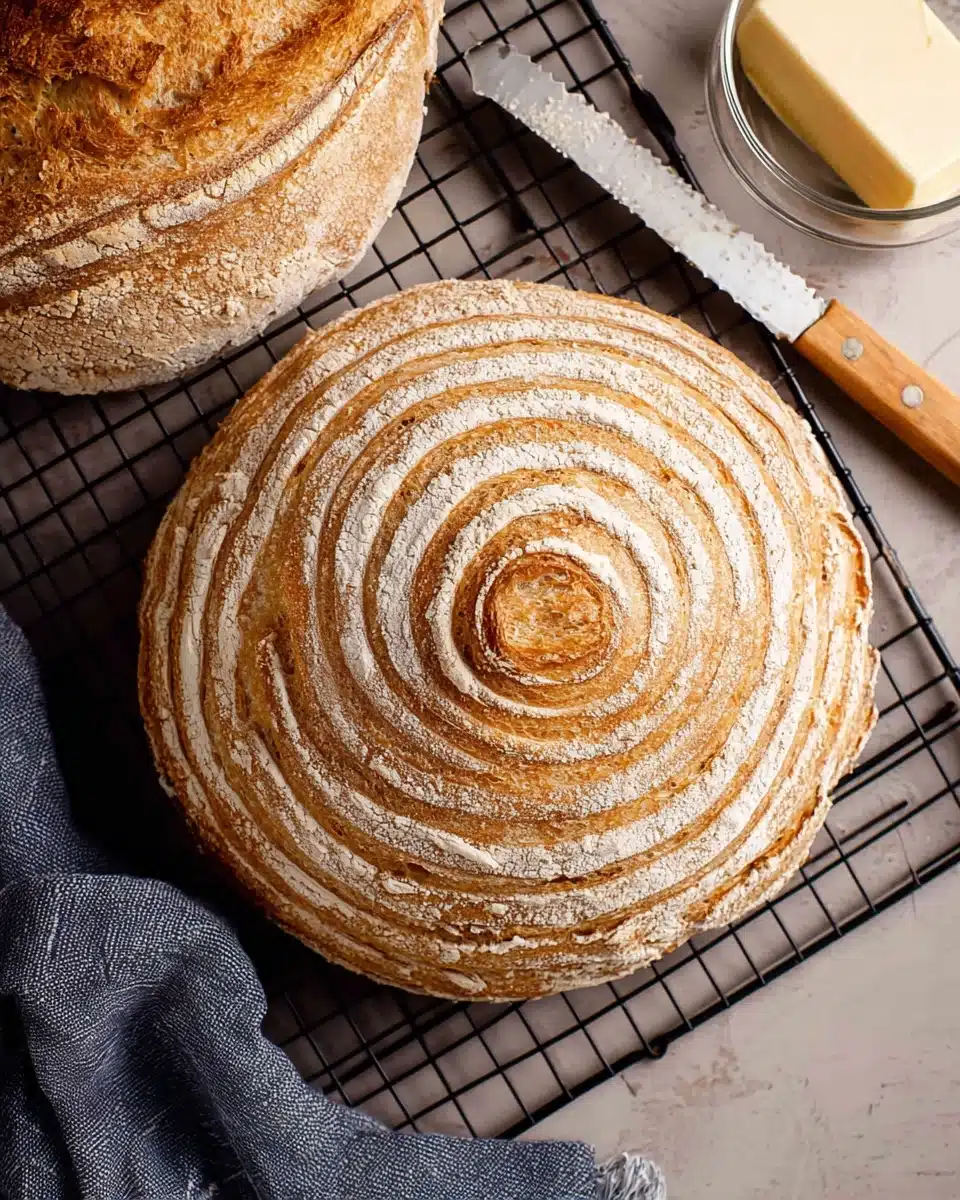
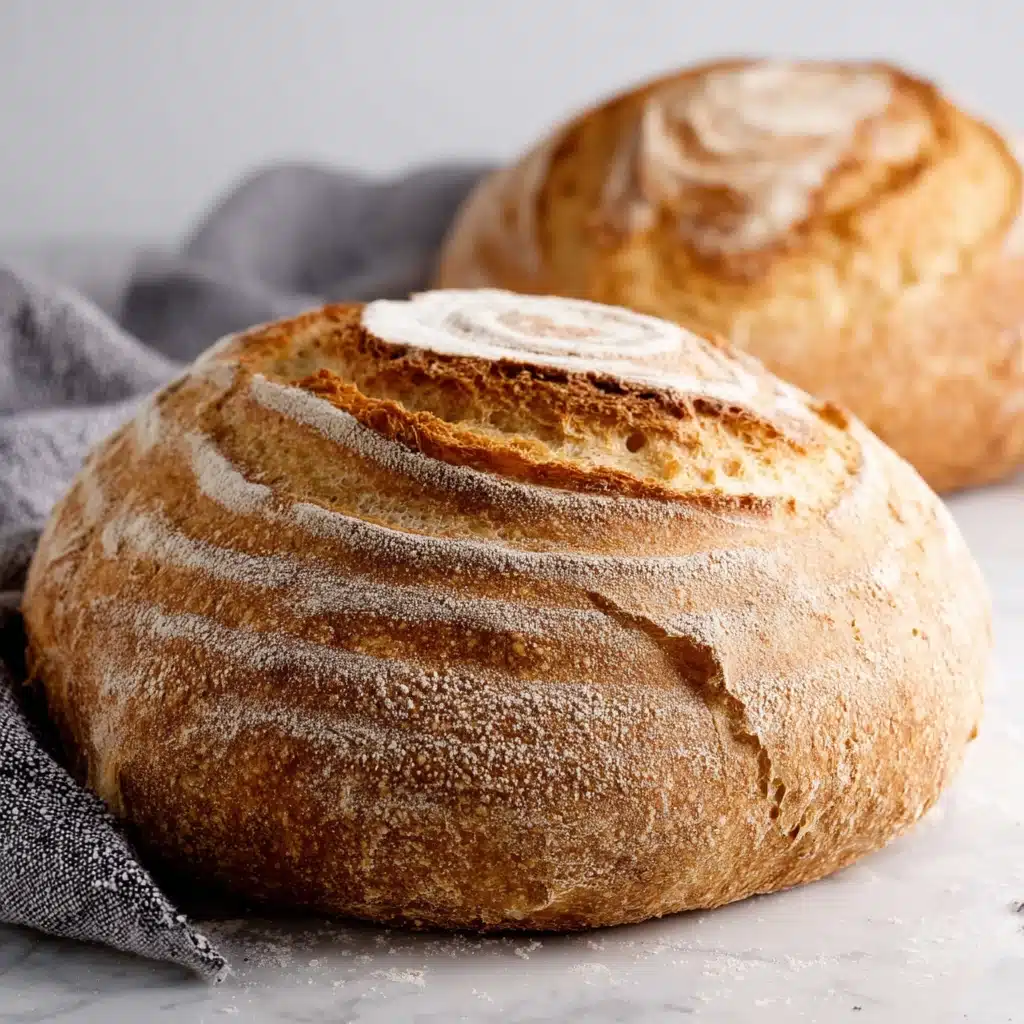
Looking for a homemade bread that’s hearty, wholesome, and easy enough for a beginner? This No Knead Whole Wheat Bread is my absolute go-to loaf whenever I crave something rustic and fuss-free. With just a handful of pantry staples and a little patience, you’ll get a chewy, golden crust and a nutty, tender crumb—all the things we love about bakery bread, yet with none of the stress or elbow grease. Whether you’re a long-time bread-baker or an absolute newbie, this recipe invites you to sit back, let time work its magic, and enjoy the deeply comforting reward of warm slices straight from your own oven.
Ingredients You’ll Need
This No Knead Whole Wheat Bread comes together with only a few simple ingredients, each playing a starring role in flavor or structure. Don’t be fooled by the modest list—every item here helps create a loaf that’s flavorful, sturdy, and beautifully textured.
- Whole wheat flour: The heart and soul of this bread, lending it a toasty, nutty flavor and delightful chew.
- All-purpose flour: Helps lighten the crumb, making the loaf less dense and easier to rise.
- Instant yeast: The power behind your rise; use fresh yeast for the best texture.
- Salt: Brings out the natural wheat flavor and keeps the yeast in check.
- Water: Hydrates the flour and creates steam for a gorgeous, crackly crust—use lukewarm for best results.
- Honey or maple syrup (optional): A touch of sweetness to balance the earthiness of the wheat.
How to Make No Knead Whole Wheat Bread
Step 1: Mix Your Dough
In a large bowl, combine the whole wheat flour, all-purpose flour, instant yeast, and salt. Stir to evenly distribute everything, then pour in the water and honey or maple syrup if you’re using it. Mix with a wooden spoon or sturdy spatula until it all comes together into a shaggy, sticky dough. No kneading—just a quick stir! Scrape down the sides, cover the bowl tightly, and let it rest at room temperature for 12 to 18 hours.
Step 2: First Rise (Let Time Do the Work!)
This is where the magic happens. Leave the covered bowl on your counter overnight or for at least 12 hours. You’re looking for a dough that has doubled in size and looks bubbly on the surface. The long, slow fermentation unlocks deep flavor and a perfectly chewy texture that makes this No Knead Whole Wheat Bread truly special.
Step 3: Shape the Dough
Once your dough has risen, dust a clean surface with flour and turn out the sticky dough. Sprinkle your hands with flour, then gently fold the dough in on itself a few times. Shape it into a round loaf; don’t worry about perfection here. Place the dough onto a piece of parchment paper, lightly dusted with flour, and cover with a kitchen towel. Let it rest again for 1 to 2 hours—this second rise gives your loaf its final volume.
Step 4: Preheat Your Oven and Pot
About 30 minutes before baking, place a Dutch oven (or heavy covered pot) in your oven and preheat to 450°F (230°C). This blazing-hot environment gives your No Knead Whole Wheat Bread its signature bakery crust. The covered pot traps steam, ensuring your loaf expands upward instead of outward, with a crackling golden crust as its grand finale.
Step 5: Bake Your Bread
Once your Dutch oven is hot, carefully lift your shaped dough with the parchment paper and lower it into the pot. Score the top of the loaf with a sharp knife (if you like), then cover and bake for 30 minutes. Remove the lid and bake for an additional 10–15 minutes, until the crust is deeply golden and fragrant. When you tap the bottom of the loaf, it should sound hollow.
Step 6: Cool and Slice
Resist the urge to slice into your beautiful bread right away! Transfer the loaf to a rack and let it cool completely so the crumb finishes setting. Once cooled, slice and marvel at the rustic interior—your No Knead Whole Wheat Bread is ready to share and savor.
How to Serve No Knead Whole Wheat Bread
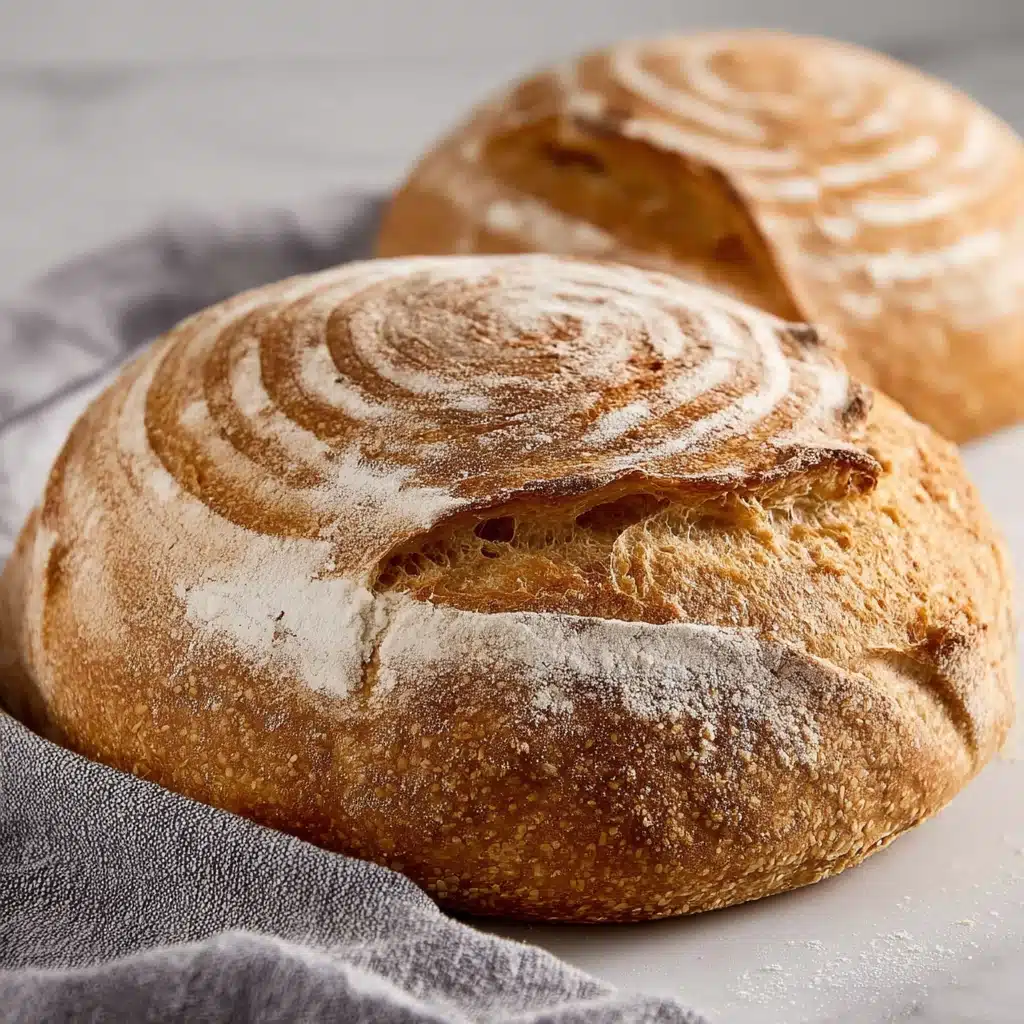
Garnishes
Dress up your slices with a thick pat of salted butter, a drizzle of honey, or even smashed avocado with flaky sea salt. Fresh rosemary or cracked black pepper on top just before baking can add a fragrant pop, giving your No Knead Whole Wheat Bread extra personality.
Side Dishes
This bread is a natural companion to hearty soups and stews—think tomato basil, creamy lentil, or chicken noodle. It’s also wonderful alongside cheese platters, salumi boards, or as the base for an epic open-faced sandwich for lunch.
Creative Ways to Present
Try serving thick slices toasted as breakfast “soldiers” for soft-boiled eggs, or cubed and baked as croutons for salads. For a crowd, tear the loaf into chunks and arrange them in a bread basket with dipping oils, making your No Knead Whole Wheat Bread the centerpiece of your meal.
Make Ahead and Storage
Storing Leftovers
Wrap leftover bread tightly in a clean kitchen towel or store in a large paper bag to keep the crust crisp. If you prefer a softer crust, use a resealable plastic bag or bread box. Enjoy within three days for peak freshness.
Freezing
For longer storage, slice the cooled No Knead Whole Wheat Bread and freeze the pieces in a freezer bag. That way, you can grab just what you need, straight from the freezer—perfect for busy mornings or last-minute dinner guests!
Reheating
To restore the bread’s just-baked magic, pop slices into a toaster or a 350°F (175°C) oven for 10 minutes. Even a quick stint on a hot pan brings the interior back to pillowy softness and the crust to a satisfying crunch.
FAQs
Can I make this No Knead Whole Wheat Bread gluten-free?
While this recipe is designed around wheat flour’s unique structure, you can try using a gluten-free all-purpose flour blend, but the texture will be quite different. For a true gluten-free loaf, look for recipes formulated specifically with alternative flours and binders.
What if I don’t have a Dutch oven?
No problem! You can bake the bread on a regular baking sheet, but the crust might be less crisp. Try covering the loaf with an overturned metal bowl for the first half of baking to trap steam and mimic the Dutch oven effect.
Why does my bread come out dense?
No Knead Whole Wheat Bread naturally has a hearty texture, but if it’s too dense, make sure your yeast is fresh, measure your flour carefully, and allow a full rise. Even a slightly longer proofing time can make a noticeable difference.
Can I add seeds or nuts?
Absolutely! Fold in pumpkin seeds, sunflower seeds, chopped walnuts, or even dried fruit after the first rise. This is a wonderful way to personalize your loaf and add more crunch and flavor.
How can I tell when the bread is finished baking?
The best indicator is a deep golden color and a hollow sound when you tap the bottom of the loaf. If you have an instant-read thermometer, the internal temperature should register around 200°F (93°C).
Final Thoughts
There’s something joyfully satisfying about pulling a warm, crackly loaf of No Knead Whole Wheat Bread from your own oven. I hope this recipe brings a little more comfort and pride to your kitchen. Grab your favorite spreads or a bowl of stew and share the love—your new favorite loaf awaits!

