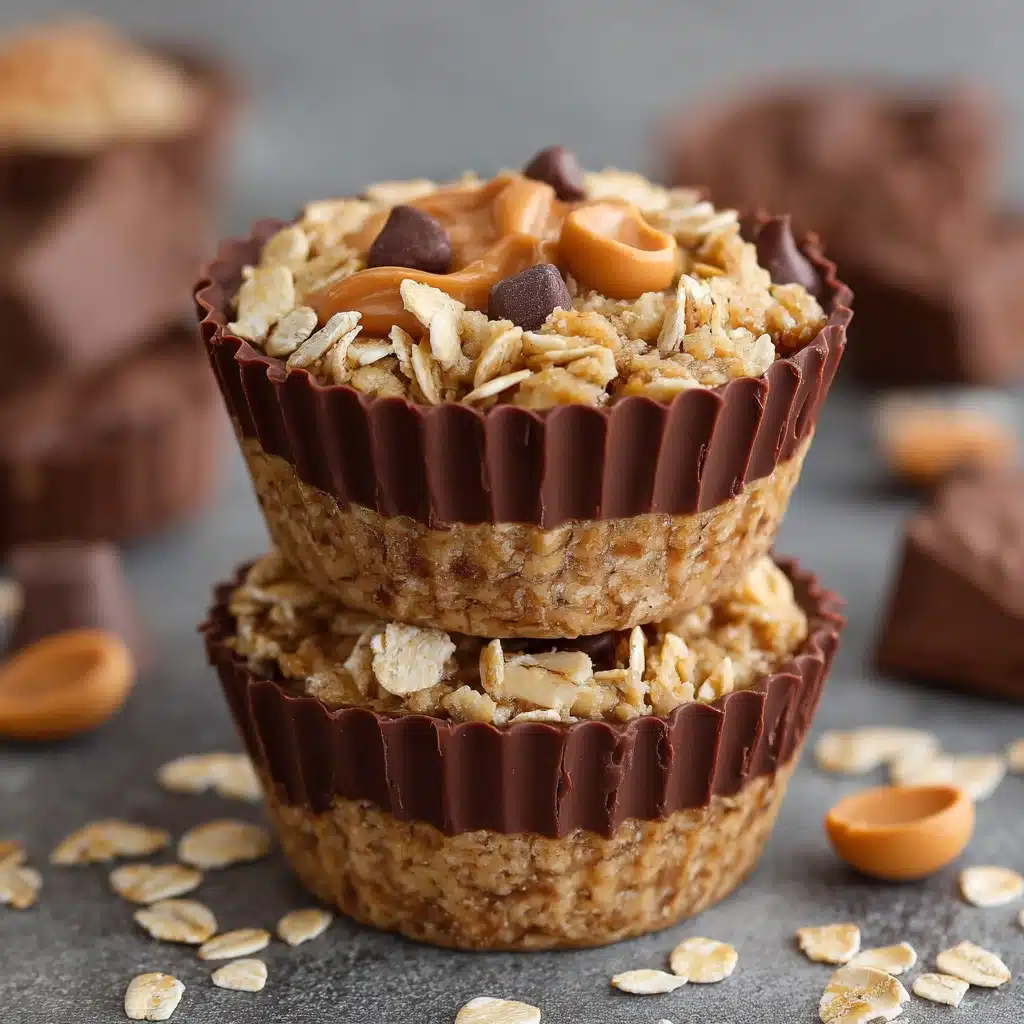
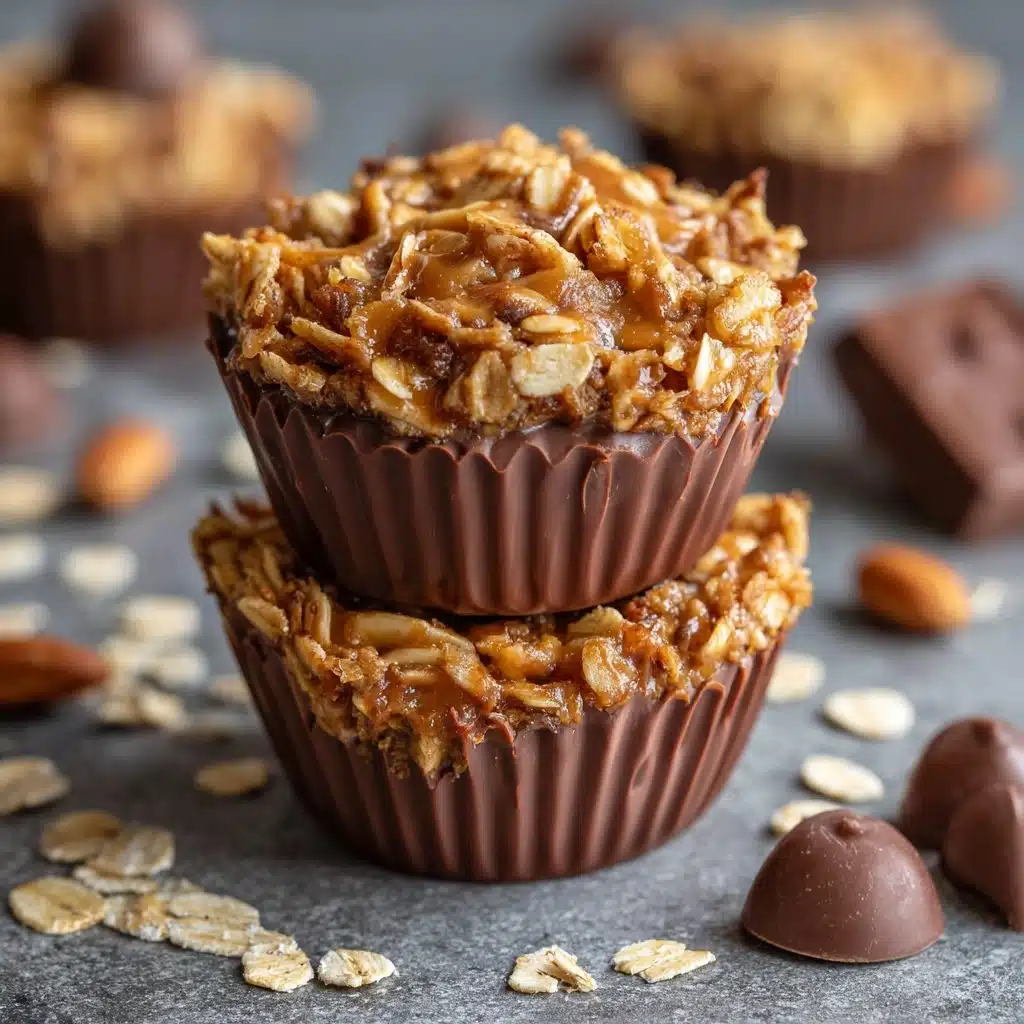
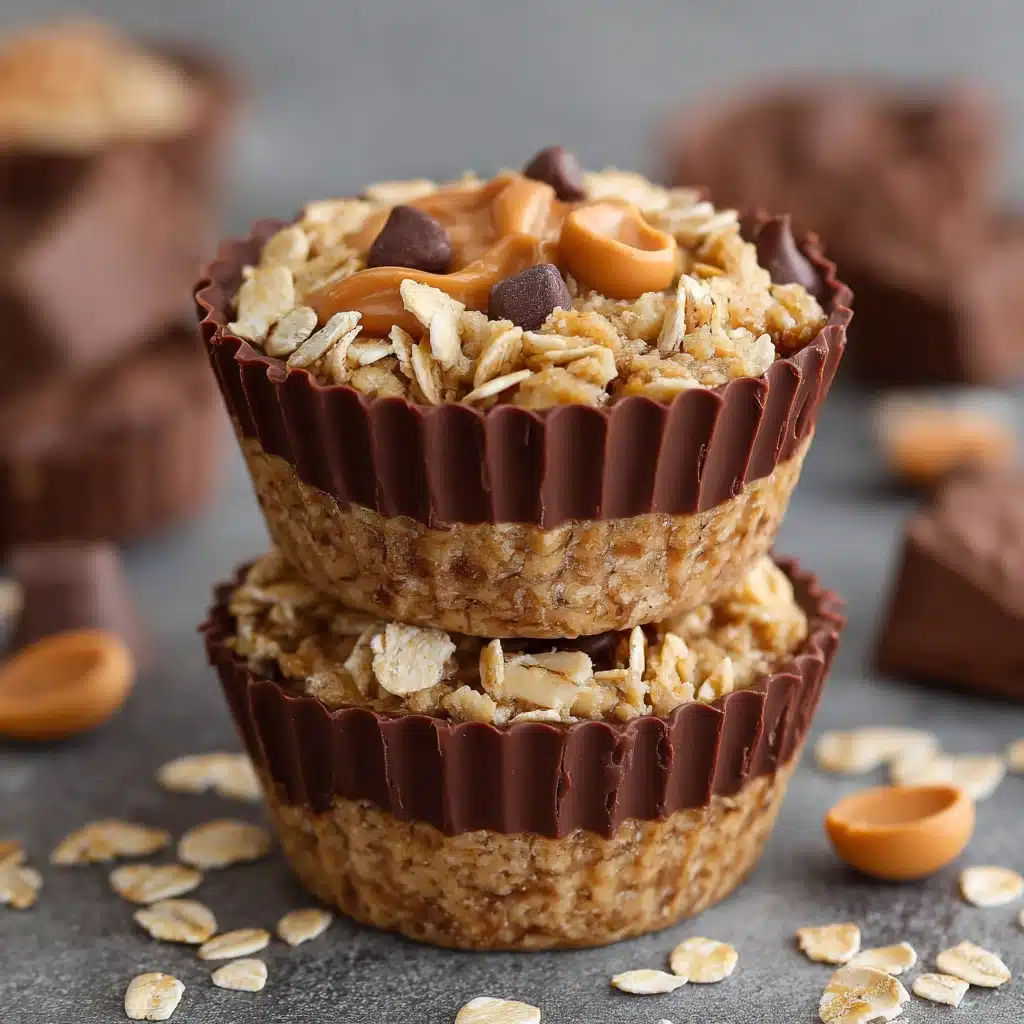
If you’re looking for the ultimate sweet-and-salty snack that comes together in a flash, these No-Bake Peanut Butter Granola Cups will capture your heart. Think chewy oats, creamy peanut butter, and chocolate all mingling in tidy, grab-and-go cups. They’re the easiest way to treat yourself to something delicious and homemade, even when you’re short on time or energy. You’re going to fall for their irresistible texture and delightful flavor—plus, they’re a healthier twist on your favorite snack bar!
Ingredients You’ll Need
With just a handful of pantry staples, you’re well on your way to making these incredible No-Bake Peanut Butter Granola Cups. Every ingredient has a purpose, lending texture, flavor, and that all-important dose of decadence. Let’s break down the essentials you’ll need:
- Old-fashioned rolled oats: These give each cup a hearty, chewy base and classic granola flavor.
- Natural peanut butter: Stick to the creamy kind for maximum binding power and pure nutty richness.
- Honey or maple syrup: For subtle sweetness and to help bind everything together—choose whichever suits your taste or dietary needs.
- Coconut oil: This keeps the cups moist, helps them hold together, and adds a whisper of tropical essence.
- Vanilla extract: Don’t skip it! Vanilla adds a hint of warmth that rounds out the flavor beautifully.
- Salt: Just a pinch makes all the other flavors pop and balances the sweetness.
- Mini chocolate chips: Little chocolate bits melt just enough for pockets of gooey goodness in every bite.
- Chopped peanuts (optional): For an extra crunch and a little visual flair—totally up to your personal preference!
How to Make No-Bake Peanut Butter Granola Cups
Step 1: Melt the Wet Ingredients
Begin by grabbing a medium saucepan and placing it over low heat. Add your peanut butter, honey or maple syrup, coconut oil, vanilla extract, and a pinch of salt. Gently warm and stir until the mixture is smooth, creamy, and fully blended. The entire kitchen will smell like nutty heaven, setting the tone for the treats ahead.
Step 2: Mix in the Oats
Once your wet ingredients are perfectly melted, remove the saucepan from the heat. Pour in the rolled oats and mix until every flake is evenly coated. The texture should look like sticky, luscious granola—this base lays the foundation for your No-Bake Peanut Butter Granola Cups.
Step 3: Fold in the Fun Stuff
Let the mixture cool for a few minutes so the chocolate chips won’t melt into oblivion. Then, stir in the mini chocolate chips and chopped peanuts (if you love an extra bite). You’re aiming for generous distribution, so every cup is packed with chocolatey, nutty joy.
Step 4: Portion the Cups
Line a muffin tin with paper liners (or use a silicone tray, which makes popping these out a breeze). Scoop the oat mixture into the cups, dividing it as evenly as possible—about 12 in total. Press each portion down firmly to compact and shape the base so the cups hold together beautifully once chilled.
Step 5: Chill and Set
Slide the muffin tin into the refrigerator for at least one hour. This step is crucial—the chilling allows the coconut oil and peanut butter to firm up, turning your mixture into tidy, sturdy granola cups. After they’re fully set, remove each cup from the liner and marvel at your handiwork!
How to Serve No-Bake Peanut Butter Granola Cups
Garnishes
Dress up your No-Bake Peanut Butter Granola Cups with a drizzle of melted chocolate, a sprinkle of flaky sea salt, or a few extra chopped peanuts for those finishing touches. These simple garnishes not only make each cup look enticing, but add extra bursts of flavor and crunch.
Side Dishes
Pair your cups with a cold glass of milk, a hot latte, or fresh fruit for a delicious snack plate. They’re lovely with yogurt for breakfast or served alongside a smoothie for an easy lunchbox treat. Feel free to mix and match to keep snack time fresh and exciting.
Creative Ways to Present
Turn these into a showstopping treat platter by stacking them on a rustic wooden board or placing each cup in a mini cupcake liner. For special occasions, arrange them in decorative tins or mason jars—a fun homemade gift straight from the heart.
Make Ahead and Storage
Storing Leftovers
Store your No-Bake Peanut Butter Granola Cups in an airtight container in the refrigerator. They’ll keep brilliantly for up to a week, making them a top contender for weekly meal prep, grab-and-go breakfasts, or snack emergencies.
Freezing
Need to save some for later? Freeze the cups by arranging them in a single layer on a baking sheet until solid, then transfer to a freezer bag or container. They hold up perfectly for several months—just defrost in the fridge overnight or at room temperature for a few minutes before enjoying.
Reheating
These cups are best enjoyed cold or at room temperature, but if you want to soften them just a bit, leave them on the counter for 10–15 minutes before serving. Avoid microwaving, as this can cause the chocolate to melt and the cups to lose shape.
FAQs
Can I use quick oats instead of old-fashioned rolled oats?
You can swap quick oats in a pinch, but the texture will be softer and a bit less chewy. For that classic granola feel, stick with rolled oats if possible.
Are these No-Bake Peanut Butter Granola Cups allergy-friendly?
Absolutely—just substitute sunflower seed butter or almond butter if peanut allergies are a concern. Be sure to use allergy-safe chocolate chips and peanuts, or omit the nuts entirely.
Is it possible to make these cups vegan?
Definitely! Simply use maple syrup instead of honey and double-check that your chocolate chips are dairy-free. These swaps keep the recipe entirely vegan and just as delicious.
Can I add other mix-ins to customize the flavor?
Yes! Try adding dried cranberries, toasted coconut flakes, chia seeds, or even a handful of rice crisp cereal for extra texture. The recipe is incredibly flexible—make it your own.
Do I have to chill the granola cups, or can I eat them right away?
The chilling step is essential for the cups to firm up. If you skip it, they’ll be soft and may not hold their shape. A quick hour in the fridge is worth the wait for perfectly set cups!
Final Thoughts
There’s just something satisfying about making a sweet treat from scratch, especially when it’s as simple as these No-Bake Peanut Butter Granola Cups. They’re crunchy, chewy, and full of personality—just waiting for you to give them a try. Whip up a batch, share them with friends, and let your love for easy homemade snacks shine!
Print
No-Bake Peanut Butter Granola Cups Recipe
- Prep Time: 10 minutes
- Cook Time: 5 minutes
- Total Time: 1 hour 15 minutes (including chilling)
- Yield: 12 cups
- Category: Snack
- Method: No-Bake
- Cuisine: American
- Diet: Vegetarian, Gluten-Free
Description
These No-Bake Peanut Butter Granola Cups are a delicious and easy-to-make snack that is perfect for any time of day. Filled with wholesome ingredients and packed with flavor, these cups are sure to be a hit with both kids and adults alike.
Ingredients
Granola Cups:
- 2 cups old-fashioned rolled oats
- ½ cup natural peanut butter
- ⅓ cup honey or maple syrup
- ¼ cup coconut oil
- ½ tsp vanilla extract
- ¼ tsp salt
- ½ cup mini chocolate chips
- ¼ cup chopped peanuts (optional)
Instructions
- In a medium saucepan over low heat, combine the peanut butter, honey (or maple syrup), coconut oil, vanilla extract, and salt. Stir until smooth and fully melted.
- Remove from heat and stir in the oats until fully coated. Let the mixture cool slightly, then fold in mini chocolate chips and chopped peanuts if using.
- Line a muffin tin with paper liners or use a silicone muffin tray. Divide the mixture evenly among 12 cups, pressing each one down firmly to compact.
- Place in the refrigerator for at least 1 hour to set. Once firm, remove from the liners and store in an airtight container in the fridge.
Notes
- You can swap peanut butter for almond or sunflower seed butter.
- For extra crunch, add rice crisps or chopped nuts.
- These make great on-the-go snacks or lunchbox treats.

