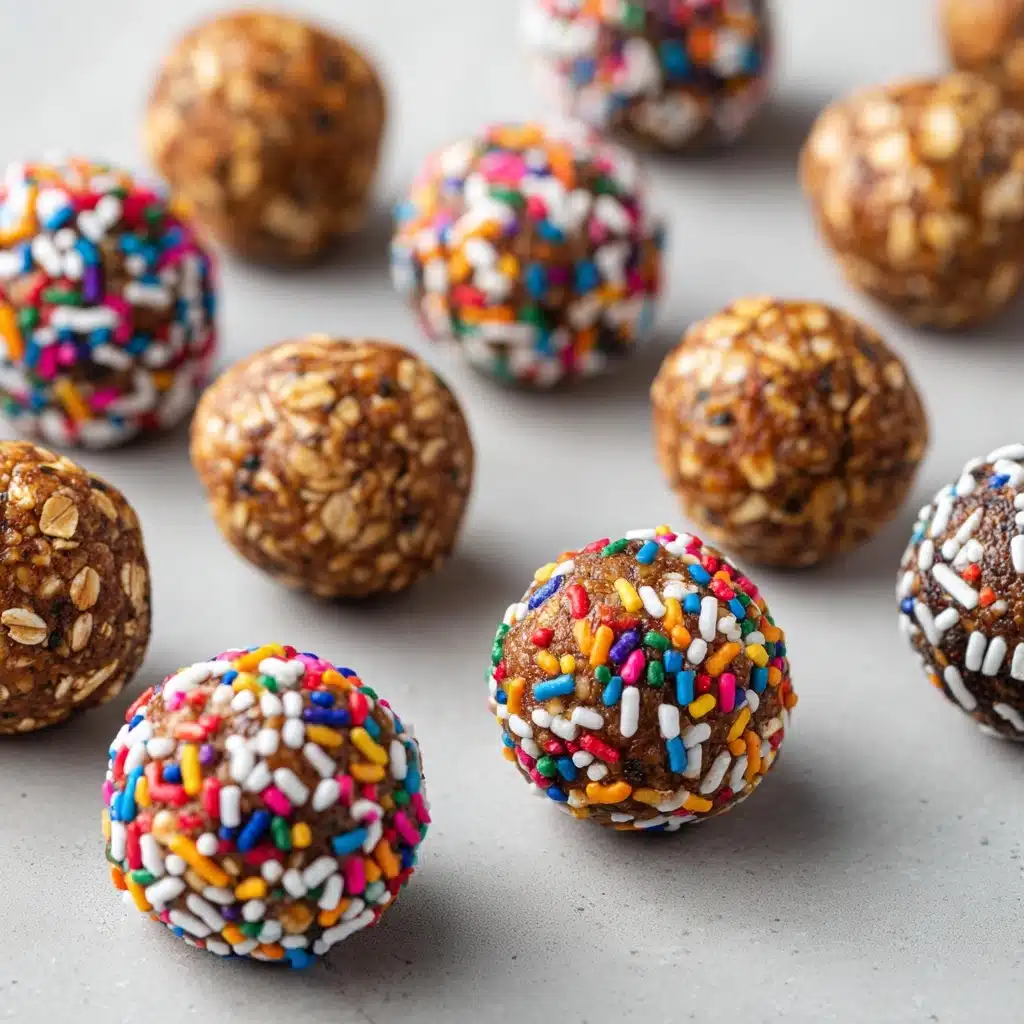
If you’re hunting for a delicious, satisfying snack that’s as convenient as it is wholesome, look no further than No-Bake Energy Bites. These protein-packed gems are the ideal grab-and-go treat for busy mornings, afternoon pick-me-ups, or even those late-night cravings. Bursting with flavor from oats, peanut butter, honey, and just the right touch of chocolate, they come together in minutes with zero baking required. Whether you need a snack for your workout bag, a lunchbox add-in, or something sweet but healthy to keep on hand, these bites are about to become your new best friend in the kitchen!
Ingredients You’ll Need
The beauty of No-Bake Energy Bites lies in their simple ingredient list: pantry staples that each bring something special to the table. From creamy nut butter for richness to oats for heartiness, every ingredient plays a part in creating that perfect balance of chewy, nutty, and just a tad sweet.
- Old-fashioned rolled oats: These provide the chewy base and classic texture you expect from hearty energy bites.
- Natural peanut butter (or almond butter): The creamy binder that adds healthy fats, flavor, and helps everything stick together.
- Honey or maple syrup: A natural sweetener that also binds the bites perfectly and adds a touch of caramel sweetness.
- Ground flaxseed or chia seeds: Packed with fiber and omega-3s, these mix-ins give a nutritional boost and subtle crunch.
- Mini chocolate chips: A fun, sweet addition that offers bits of chocolate in every bite – feel free to use dark, milk, or dairy-free chips.
- Vanilla extract: Just a splash adds warmth and rounds out all the flavors beautifully.
- Salt (optional): A pinch really makes the sweet flavors pop and balances the richness.
- Shredded coconut or chopped nuts (optional): For a touch of extra texture and flavor – totally optional, but totally delicious!
How to Make No-Bake Energy Bites
Step 1: Combine the Dry Ingredients
Start by grabbing a large mixing bowl and adding your oats, ground flaxseed (or chia seeds), and optional mix-ins like coconut or chopped nuts. Mixing the dry ingredients first helps ensure that you get an even distribution in every single bite, giving you consistency from the very first roll to the last.
Step 2: Add Nut Butter, Sweetener, and Flavorings
Next, spoon in your natural peanut butter (or almond butter), honey or maple syrup, and the vanilla extract. Don’t forget the optional pinch of salt! Using a sturdy spatula, stir everything together, pressing the mix and scraping down the sides until you see the ingredients blend into a thick, sticky dough.
Step 3: Stir in the Chocolate Chips
It’s time for chocolate! Gently fold in the mini chocolate chips so they’re evenly scattered throughout the mixture. If you’re using other customizations like dried cranberries or chopped dates, now’s the perfect time to add them in and give everything one final quick mix.
Step 4: Chill the Mixture
Pop the bowl in the fridge for 20–30 minutes. Chilling isn’t just about cooling things down – it firms up the dough, making it much easier to roll into tidy, bite-sized balls. Plus, the flavors get a chance to meld together beautifully.
Step 5: Roll Into Bites
Once chilled, use your hands or a small cookie scoop to grab portions of the mixture and roll them into compact 1-inch balls. Set each finished bite on a parchment-lined tray for easy cleanup and to prevent sticking. Before you know it, your tray will be lined with irresistible No-Bake Energy Bites just waiting to be enjoyed!
How to Serve No-Bake Energy Bites

Garnishes
Dress up your energy bites by rolling them in a bit of extra shredded coconut, a dusting of cocoa powder, or even a sprinkle of chopped nuts for added crunch and visual flair. If you like things on the sweeter side, a light drizzle of melted dark chocolate over the top will make your bites totally extra.
Side Dishes
While these bites are fantastic on their own, try pairing them with a creamy Greek yogurt parfait, a tall glass of cold milk, or fresh fruit for a well-balanced snack plate. They’re also great tucked alongside trail mix or even next to your morning cup of coffee.
Creative Ways to Present
Arrange your No-Bake Energy Bites on a vibrant platter or stack them in cupcake liners for parties and lunchboxes. For on-the-go moments, pop them into small jars or reusable snack bags. They’re perfect for gifting too – just layer them in a mason jar tied with colorful ribbon for a thoughtful homemade treat!
Make Ahead and Storage
Storing Leftovers
Keep your prepared energy bites fresh by transferring them to an airtight container and storing them in the refrigerator. They’ll stay chewy, tasty, and ready for snacking for up to one full week – just reach in whenever you need an energy boost, no prep required!
Freezing
If you want to make a bigger batch or plan ahead, No-Bake Energy Bites freeze incredibly well. Arrange the bites on a baking sheet to freeze individually for an hour, then transfer them to a freezer-safe bag or container. They’ll stay fresh for up to three months, always at the ready for your busiest days.
Reheating
Since these bites are meant to be eaten cold or at room temperature, reheating isn’t necessary. If enjoying directly from the freezer, simply let them sit at room temperature for a few minutes to soften slightly before digging in – no oven needed, ever!
FAQs
Can I substitute sunflower butter for peanut butter?
Absolutely! Sunflower butter works just as well and is a great nut-free alternative if allergies are a concern. The flavor will change slightly, but the texture and binding qualities remain just as reliable.
Are No-Bake Energy Bites gluten-free?
Yes! Just be sure to use certified gluten-free oats and double-check your other ingredients if making these bites for someone with gluten sensitivity. They’re naturally vegetarian and can be made dairy-free, too.
How can I add more protein?
Boost the protein content by stirring in a scoop or two of your favorite protein powder, or add chopped nuts for extra crunch and staying power. Just keep in mind you may need to add a bit more nut butter or honey to maintain the right consistency.
What if my mixture is too dry or too sticky?
If things are looking a bit dry, simply mix in a splash more honey, maple syrup, or nut butter until the dough comes together. If the opposite happens and it’s too sticky, toss in a tablespoon of oats at a time until you can roll them easily.
Can kids help with this recipe?
Definitely! No-Bake Energy Bites are perfect for tiny hands – let kids measure, stir, and roll the dough into balls. It’s a great way to get the whole family involved in snack prep, and kids love eating what they help create.
Final Thoughts
No-Bake Energy Bites are so easy, customizable, and downright delicious that you’ll be making them over and over again. Give them a try, share them with friends, and don’t forget to play around with your own favorite add-ins. Here’s to never having a boring snack again!
Print
No-Bake Energy Bites Recipe
- Prep Time: 10 minutes
- Cook Time: 0 minutes
- Total Time: 30 minutes (including chilling)
- Yield: 18–20 bites
- Category: Snack
- Method: No-Bake
- Cuisine: American
- Diet: Vegetarian, Gluten-Free
Description
These No-Bake Energy Bites are a quick and easy snack option packed with wholesome ingredients like oats, peanut butter, and flaxseed. They’re perfect for a boost of energy during the day or as a post-workout treat.
Ingredients
Main Ingredients:
- 1 cup old-fashioned rolled oats
- ½ cup natural peanut butter (or almond butter)
- ⅓ cup honey or maple syrup
- ½ cup ground flaxseed or chia seeds
- ½ cup mini chocolate chips
- 1 teaspoon vanilla extract
- ¼ teaspoon salt (optional)
Optional Add-Ins:
- 2–3 tablespoons shredded coconut or chopped nuts
Instructions
- Combine Ingredients: In a large mixing bowl, mix together oats, peanut butter, honey, flaxseed, chocolate chips, vanilla extract, and salt until well combined.
- Adjust Consistency: If the mixture is too sticky, add more oats; if too dry, add more honey or peanut butter.
- Chill: Refrigerate the mixture for 20–30 minutes to firm up.
- Form Bites: Roll the chilled mixture into 1-inch balls using your hands or a small scoop.
- Store: Place the balls on a parchment-lined tray and store in an airtight container in the fridge for up to 1 week or freeze for longer storage.
Notes
- Customize with mix-ins like dried cranberries, chopped dates, protein powder, or cinnamon.
- Great for lunchboxes, workouts, or snacks.

