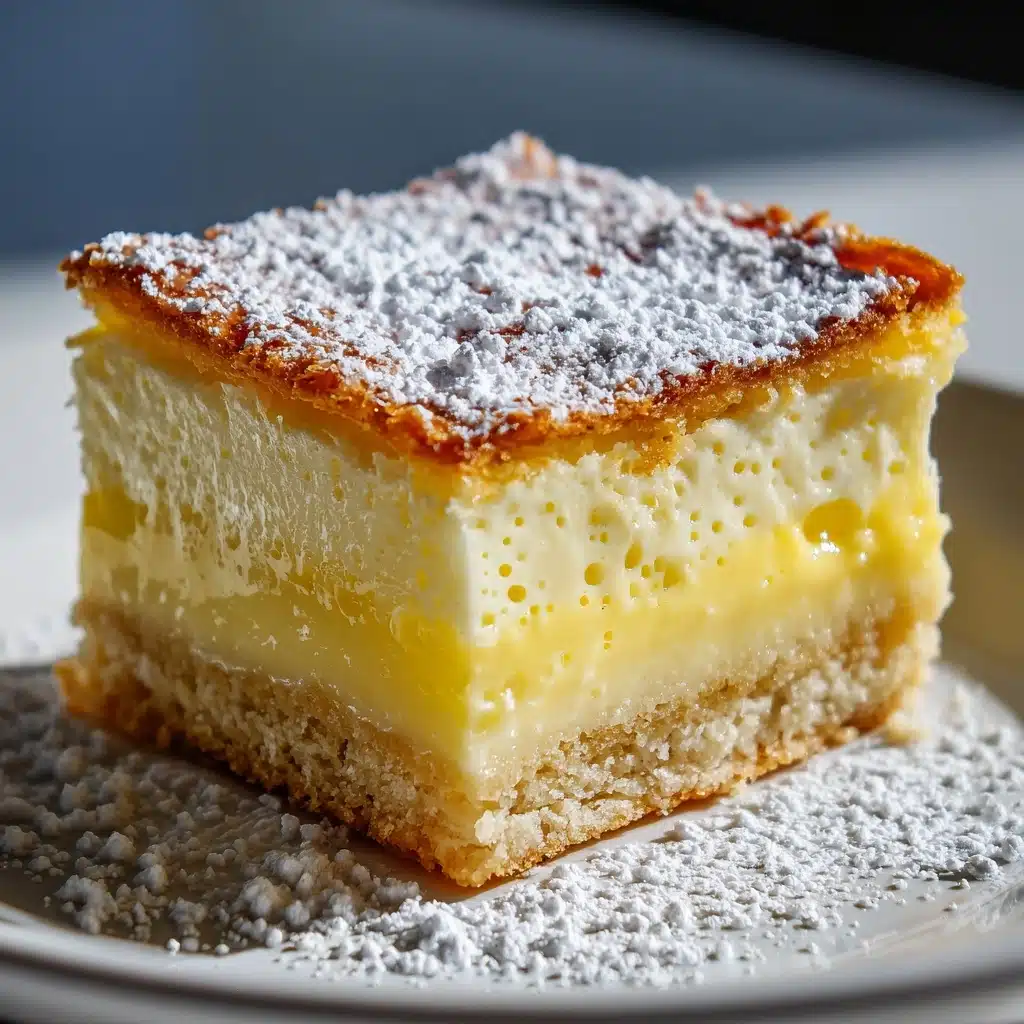
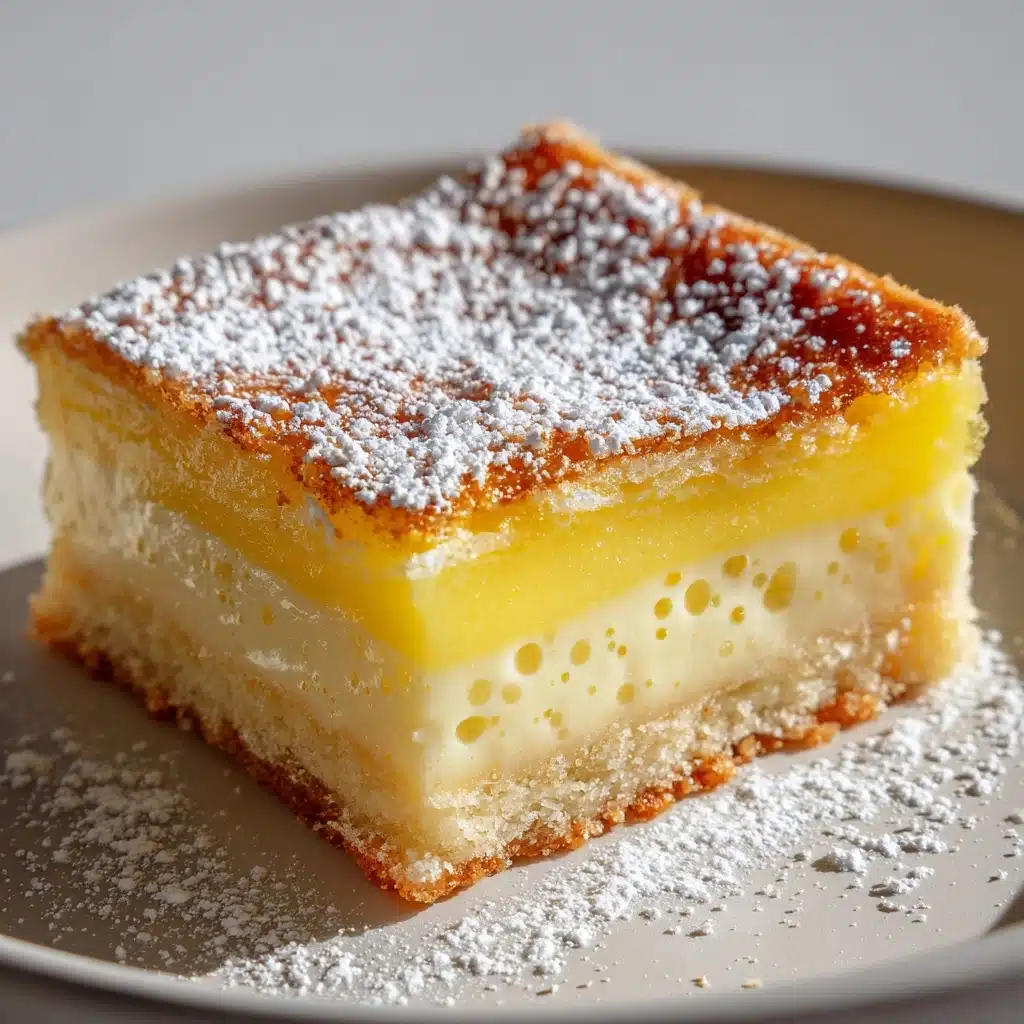
If you’re in the mood for a creamy treat but don’t want to turn on the oven, this No-Bake Custard Slice is your delicious answer! It’s layers of silky vanilla custard nestled between crisp, buttery biscuits—each bite a nostalgic taste of bakery favorites made right at home. Enjoy every mouthful of this easy, crowd-pleasing dessert, perfect for a casual weeknight or as the showstopper at your next get-together.
Ingredients You’ll Need
Making No-Bake Custard Slice proves that magic happens with just a handful of humble ingredients. Each one brings something unique—richness, structure, or a hint of sweetness—resulting in a dessert that’s far greater than the sum of its parts.
- Graham crackers or vanilla biscuits: These form the crisp, layered backbone of your slice—hold everything together and provide that lovely contrast to the creamy custard.
- Whole milk: Brings the custard’s classic richness and helps everything blend beautifully.
- Heavy cream: Adds a plush, velvety texture that makes every bite extra luscious.
- Granulated sugar: The main sweetener, just enough to highlight the vanilla and smooth out the flavors.
- Cornstarch: This is your thickening secret—your custard wouldn’t set up properly without it!
- Salt: Just a whisper, but it balances the sweetness and really lets the vanilla shine.
- Egg yolks: The heart of any good custard—gives the slice its signature color, richness, and body.
- Unsalted butter: Stirred in at the end for that glossy, smooth finish.
- Vanilla extract: Real, aromatic vanilla brings that bakery-shop flavor.
- Powdered sugar: A light dusting on top adds the perfect sweet finish and pretty presentation.
How to Make No-Bake Custard Slice
Step 1: Prepare Your Pan and Biscuit Layer
Start by lining an 8×8-inch square baking dish with parchment paper—leave a little extra hanging over the edges, so your finished slice can be lifted out easily. Lay down a single, even layer of graham crackers or vanilla biscuits on the bottom. These sturdy cookies form the crisp base, and you may need to break a few pieces to cover every inch.
Step 2: Mix the Custard Base
Grab a medium saucepan and whisk together the milk, heavy cream, granulated sugar, cornstarch, and salt over medium heat. You’re aiming for a smooth blend before the heat really starts working its magic—this ensures a silky custard. Keep an eye on it and stir frequently so nothing scorches.
Step 3: Temper the Egg Yolks
Crack the egg yolks into a bowl and whisk them up. Once your milk mixture is warm (not boiling, just a gentle heat), slowly whisk about half a cup of it into the yolks, whisking constantly. This step is called tempering and it gently brings the yolks up to temperature, so you’ll have a custard that’s creamy, not scrambled!
Step 4: Thicken the Custard
Pour the warmed yolk mixture back into the saucepan, whisking continuously. Keep cooking and whisking on medium heat—the custard will start thickening after about 5 to 7 minutes and eventually bubble gently. The transformation is magical—smooth, thick, and fragrant custard, ready for its starring role.
Step 5: Finish with Butter and Vanilla
Remove the custard from the heat and immediately whisk in the unsalted butter and vanilla extract. This last step makes your custard luxurious, glossy, and full of beautiful vanilla aroma.
Step 6: Layer and Chill
Pour half the custard over your biscuit base, smoothing it right to the edges. Add another layer of biscuits on top of the custard, then pour over the rest of the custard. Finish with a final layer of biscuits to create that unmistakable No-Bake Custard Slice look. Cover and refrigerate for at least 4 hours until firm and sliceable—it’s worth the wait!
Step 7: Finish and Serve
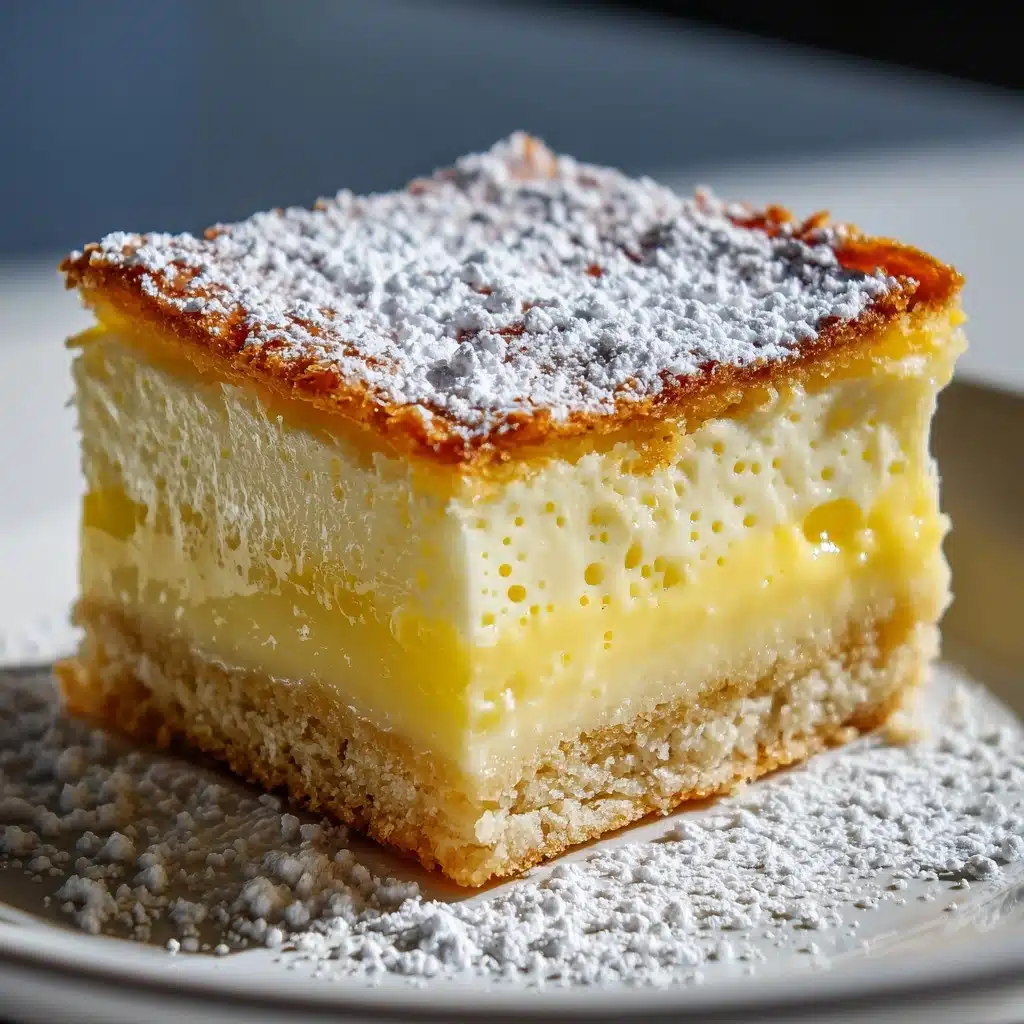
When you’re ready to serve, remove the slice from the pan using the parchment paper overhang. Dust generously with powdered sugar, slice into squares, and watch as everyone delights in your homemade classic.
How to Serve No-Bake Custard Slice
Garnishes
The final flourish makes all the difference! Dust your No-Bake Custard Slice with powdered sugar for a snowy finish, or top each piece with a dollop of softly whipped cream and a scattering of fresh berries for a beautiful, bakery-worthy touch.
Side Dishes
Pair your custard slice with a cup of good black tea, coffee, or even a scoop of fresh fruit—it all enhances that classic flavor and gives your dessert platter a lovely, inviting look.
Creative Ways to Present
Get playful! Serve each No-Bake Custard Slice topped with a drizzle of caramel or fruit coulis, or plate individual squares with a sprinkle of toasted nuts and edible flowers for an elegant finish at your next gathering.
Make Ahead and Storage
Storing Leftovers
Leftover No-Bake Custard Slice keeps beautifully in the fridge. Store in an airtight container for up to three days—just be sure to separate the slices with parchment so they don’t stick together. The flavor and texture actually get even better after a day as everything melds.
Freezing
If you need to freeze your slice, wrap individual pieces snugly in plastic wrap and then pop them in a freezer-safe bag. They’ll keep for up to a month. Thaw in the fridge overnight and dust with fresh powdered sugar before serving.
Reheating
This dessert is at its best straight from the fridge, tasting creamy and cool—no reheating required! If you’ve frozen your No-Bake Custard Slice, just let it thaw in the fridge until chilled and soft; avoid microwaving to preserve its texture.
FAQs
Can I use a different type Dessert
Absolutely! Graham crackers, digestive biscuits, or Marie biscuits all work beautifully—just choose what you love or what’s readily available, and you’ll still get that lovely layered effect and perfect custardy bite.
Can I make No-Bake Custard Slice in advance?
Yes, and in fact it’s even better if you do! Making it a day ahead lets the flavors meld and the layers set perfectly, making serving and slicing much easier the next day.
How do I prevent my custard from going lumpy?
Whisk constantly while thickening the custard and be sure to temper the egg yolks slowly—these steps ensure a silky texture. If you’re worried, you can strain the hot custard before layering to catch any tiny lumps.
Can I make this recipe dairy-free?
With some swaps, yes! Replace the milk and cream with your favorite non-dairy options (like oat or almond milk), and use plant-based butter. The flavor and setting will be a bit different, but still delicious.
How do I slice and serve No-Bake Custard Slice neatly?
For clean pieces, chill the slice thoroughly. Use a sharp, thin-bladed knife and wipe it clean between cuts. Lifting the whole dessert out of the pan with parchment is a great help for tidy portions.
Final Thoughts
Ready to treat yourself? This No-Bake Custard Slice is creamy, classic, and so easy to love. Gather your ingredients, invite someone special to share, and enjoy the magic of a homemade slice—no oven required!
Print
No-Bake Custard Slice Recipe
- Prep Time: 15 minutes
- Cook Time: 10 minutes
- Total Time: 25 minutes (plus 4 hours chilling)
- Yield: 9 slices
- Category: Dessert
- Method: No-Bake
- Cuisine: Australian, British-Inspired
- Diet: Non-Vegetarian
Description
Indulge in the creamy, no-bake goodness of this delicious custard slice. Layers of graham crackers or biscuits sandwich velvety custard, creating a heavenly dessert that’s perfect for any occasion.
Ingredients
Graham Cracker Layer:
- 1 package (7 oz) plain graham crackers or vanilla biscuits
Custard Filling:
- 2 cups whole milk
- 1/2 cup heavy cream
- 1/2 cup granulated sugar
- 1/4 cup cornstarch
- 1/4 teaspoon salt
- 4 large egg yolks
- 2 tablespoons unsalted butter
- 1 tablespoon vanilla extract
- Powdered sugar for dusting
Instructions
- Prepare Baking Dish: Line an 8×8-inch square baking dish with parchment paper, leaving some overhang for easy removal. Arrange a layer of graham crackers or biscuits in the bottom of the dish.
- Make Custard: In a saucepan, whisk together milk, cream, sugar, cornstarch, and salt. Temper egg yolks with a portion of the warm milk mixture, then combine back in the saucepan. Cook until thickened, then stir in butter and vanilla.
- Layer: Pour half of the custard over the biscuit layer, add another layer of biscuits, then top with the remaining custard. Finish with a final layer of biscuits.
- Chill and Serve: Refrigerate for at least 4 hours, dust with powdered sugar before serving. Slice and enjoy cold.
Notes
- You can add a layer of whipped cream on top before serving for an extra indulgent touch.
- Digestive biscuits or Marie biscuits also work well as alternatives.

