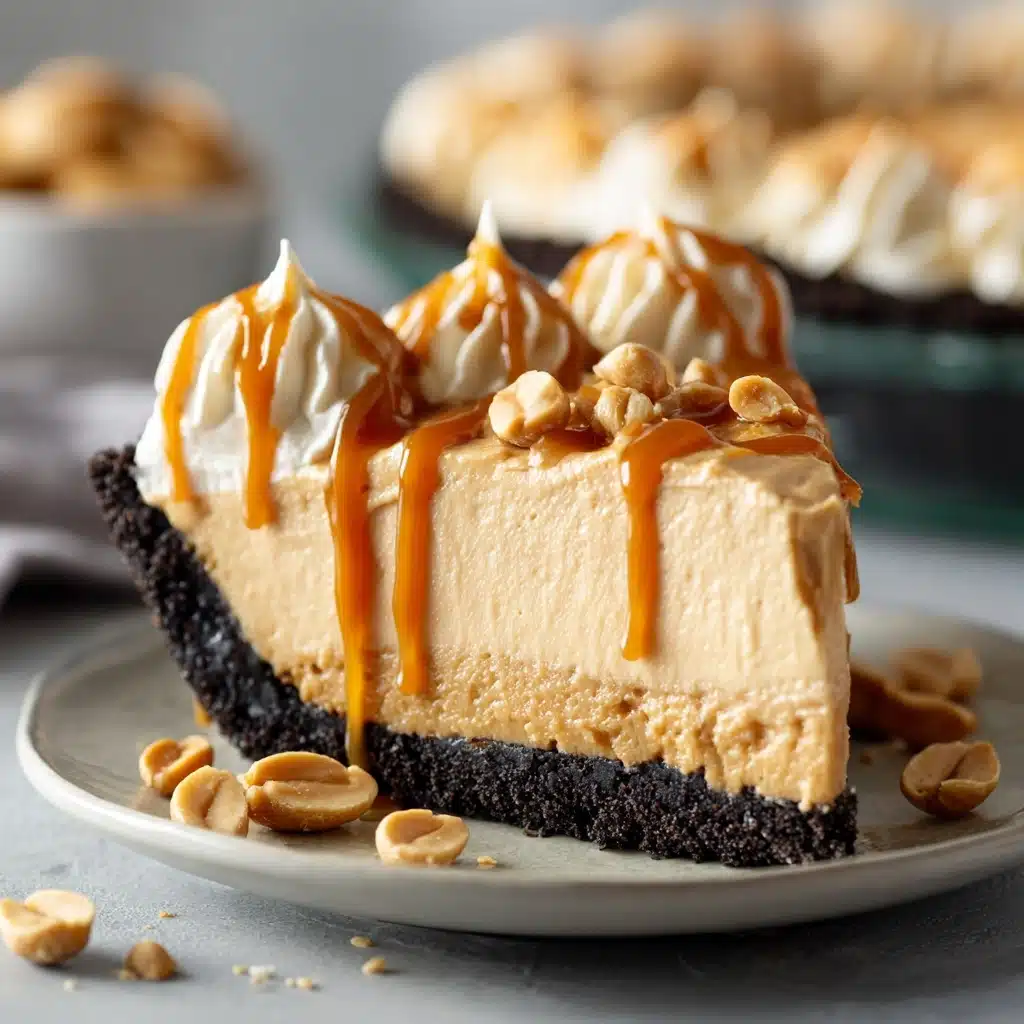
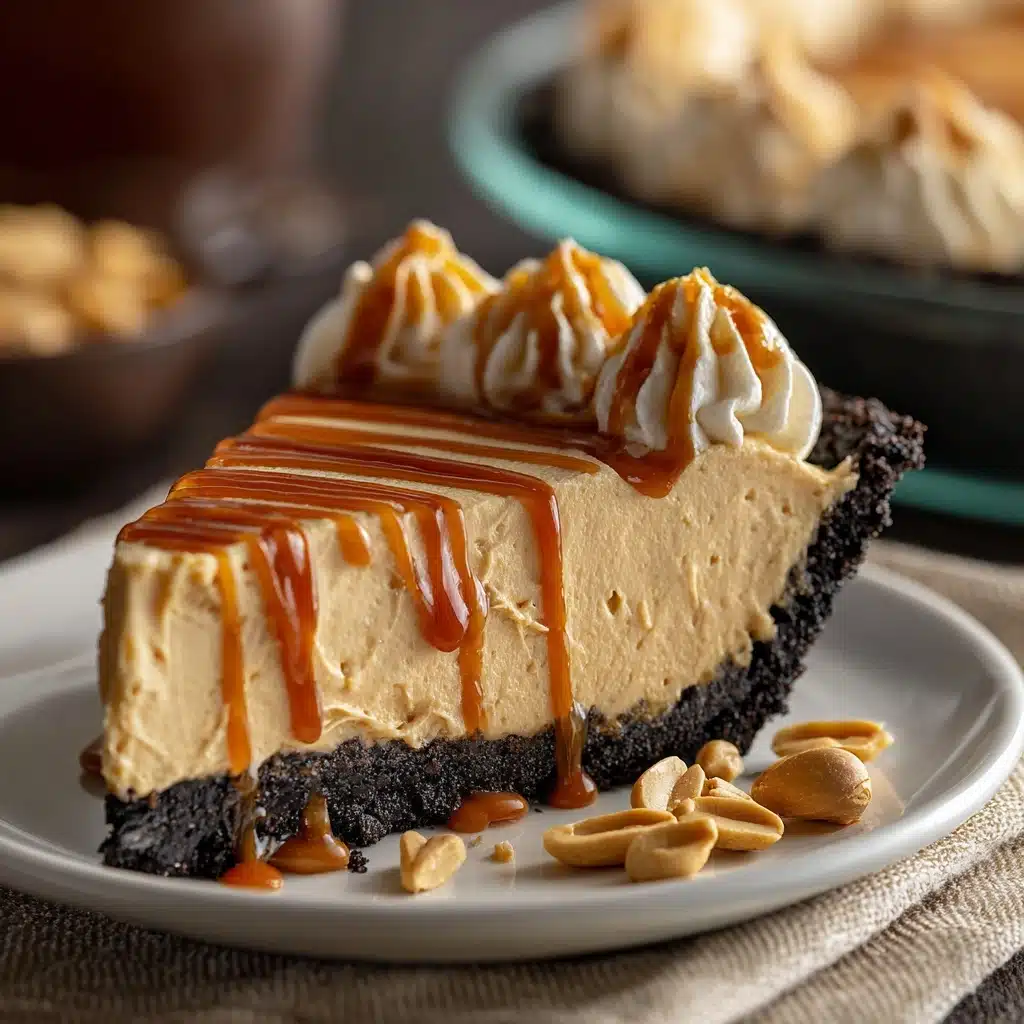
If you’re searching for the ultimate easy crowd-pleaser, look no further than this No Bake Cream Cheese Peanut Butter Pie. Every slice is irresistibly creamy, peanut buttery, and just the right amount of sweet, with a luscious cloud-like texture that feels like pure comfort. From its buttery graham cracker crust to simple yet magical filling, this dessert is a game-changer for those times when you want big flavor without turning on the oven. Whether you’re hosting friends, need a holiday showstopper, or just want to treat yourself, this pie is delightfully fuss-free and deeply satisfying.
Ingredients You’ll Need
This is one of those desserts where each simple ingredient shines. Every element has a purpose, from the tangy cream cheese to the nutty peanut butter, making the No Bake Cream Cheese Peanut Butter Pie both easy to whip up and impossible to forget. Here’s what you’ll need and why you’ll love each part:
- Cream Cheese (8 oz, softened): Gives the filling its signature silky, slightly tangy creaminess—let it come to room temperature for the smoothest blending.
- Creamy Peanut Butter (1 cup): The star of the show! For ultimate richness and true peanut flavor, you can use natural peanut butter if you like, just stir it thoroughly first.
- Powdered Sugar (1 cup): Dissolves seamlessly into the mixture, sweetening the pie without any grittiness or heaviness.
- Vanilla Extract (1 tsp): Adds a touch of warmth and rounds out the flavors perfectly—don’t skip this one!
- Whipped Topping (8 oz container): (Like Cool Whip) gives the No Bake Cream Cheese Peanut Butter Pie its light, mousse-like texture with every bite.
- Graham Cracker Crust (9-inch, pre-made): Effortless and buttery—ready for filling and the ideal companion to the peanut butter filling.
- Optional Toppings: Crushed peanuts, chocolate drizzle, or even more whipped cream add the perfect final flourish before serving.
How to Make No Bake Cream Cheese Peanut Butter Pie
Step 1: Beat Cheese and Peanut Butter Together
Start by grabbing a large mixing bowl and your hand mixer (or trusty stand mixer with the paddle attachment). Drop in the softened cream cheese and creamy peanut butter. Beat these two together until the mixture becomes super smooth and creamy with no visible lumps. This step is all about building a velvety, cohesive base—plan to scrape the bowl a couple of times to make sure everything’s evenly mixed.
Step 2: Add Powdered Sugar and Vanilla
Once your peanut butter and cream cheese are beautifully blended, sprinkle in the powdered sugar and pour in the vanilla extract. Beat again, letting those flavors mingle and the sugar melt into the mix. The filling will become just a tad thicker and smell like pure dessert happiness!
Step 3: Gently Fold In Whipped Topping
Now comes the secret to that dreamy, cloud-light filling. Add your thawed whipped topping and gently fold it in using a spatula. Take your time—gentle folding ensures everything stays airy and fluffy rather than deflating the deliciousness you’ve worked so hard to create. The mixture should look light and evenly blended.
Step 4: Fill the Crust and Smooth the Top
Spoon all that glorious filling into your graham cracker crust and spread it out with a spatula, coaxing it right up to the edges. Smooth out the top for a polished finish. If you want a pro move, use the back of a spoon to make some decorative swoops!
Step 5: Chill Until Set
Here’s where patience pays off: refrigerate your No Bake Cream Cheese Peanut Butter Pie for at least 4 hours. Chilling allows the flavors to meld and the texture to firm up, making it slice beautifully. If you’re short on time, a quick stint in the freezer will have it ready even faster (and makes for a firmer, ice cream-style pie).
How to Serve No Bake Cream Cheese Peanut Butter Pie
Garnishes
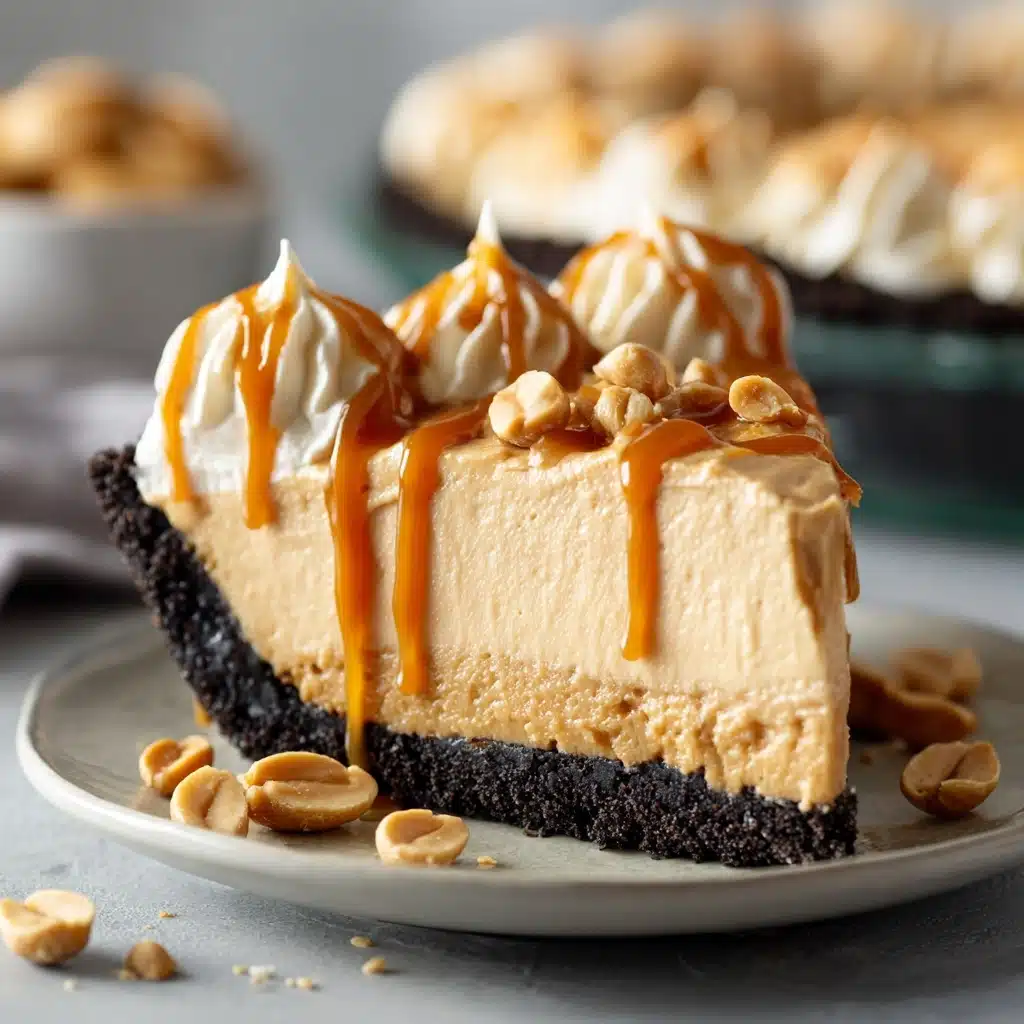
Always finish your No Bake Cream Cheese Peanut Butter Pie with something extra up top. A sprinkle of crushed peanuts adds crunch and interest, a glossy chocolate drizzle brings a hit of decadence, and a little dollop of whipped cream is just pure joy. Play with different toppings: a pinch of sea salt, chopped peanut butter cups, or a dusting of cocoa powder can all make each serving look bakery-beautiful and extra inviting.
Side Dishes
As rich and creamy as this pie is, something cool and slightly tart alongside works wonders—think fresh berries or a simple fruit salad. Even a scoop of vanilla or strawberry ice cream can create a show-stopping dessert platter for special occasions. Don’t forget a hot cup of coffee or tall glass of cold milk to complement every peanut-buttery bite!
Creative Ways to Present
To impress at potlucks or dinner parties, try serving individual mini pies in mason jars or wide-rimmed glasses. You can also use cookie cutters to create adorable hand-held pie bites from the chilled, sliced pie. Layer squares of leftover pie parfait-style in clear tumblers for an easy, elegant twist. No matter how you slice it, this no bake treat is endlessly customizable and sure to charm.
Make Ahead and Storage
Storing Leftovers
Leftover No Bake Cream Cheese Peanut Butter Pie keeps beautifully in the fridge. Simply cover the pie tightly with plastic wrap or transfer individual slices to an airtight container. Enjoy within 4 days for the freshest taste and creamiest texture—though, let’s be honest, it’s so good that rarely any is left after day one!
Freezing
Want to prep ahead or love your pie extra firm? No problem! Wrap the whole pie (or uncovered individual slices on a sheet tray, then transfer to a container) and freeze for up to one month. Just let it thaw briefly in the fridge or at room temperature before serving if you prefer a mousse-like consistency, or enjoy partially frozen for an icebox pie experience.
Reheating
No reheating necessary with this chilled delight—simply serve directly from the refrigerator! If your pie was frozen, let it sit on the counter for about 15 minutes to slightly soften for the smoothest texture. Just slice and enjoy—no oven or microwave required.
FAQs
Can I use chunky peanut butter instead of creamy?
Absolutely! Chunky peanut butter will add little bits of peanuts throughout the pie, enhancing both the flavor and texture. It’s a fun twist and especially amazing for peanut lovers who crave a bit of crunch.
Is it possible to make this pie gluten-free?
Yes, just swap out the standard graham cracker crust for a gluten-free version (widely available at most grocery stores). The rest of the ingredients in No Bake Cream Cheese Peanut Butter Pie are naturally gluten-free.
Can I make No Bake Cream Cheese Peanut Butter Pie in advance?
This dessert is actually better when made ahead of time! It needs at least 4 hours in the fridge to set up, but you can easily leave it overnight or make it a day in advance without any issues.
What can I use if I don’t have whipped topping?
If you prefer, you can substitute homemade stabilized whipped cream for the store-bought whipped topping. Whip 1 cup of cold heavy cream with a bit of powdered sugar until stiff peaks form, then fold it into the peanut butter mixture just as you would the whipped topping.
How do I make the pie look extra fancy for a special occasion?
Pipe decorative swirls of whipped cream around the edge, drizzle generously with melted chocolate or caramel, and sprinkle with chopped peanuts or even mini peanut butter cups. Presentation is half the fun!
Final Thoughts
Every time I make this No Bake Cream Cheese Peanut Butter Pie, it disappears faster than I can blink—friends and family just can’t resist! If you love that sweet-salty magic of peanut butter and crave a fuss-free dessert, promise me you’ll give this recipe a try. There’s just something special about sharing a slice, and you’ll quickly see why this humble pie becomes everyone’s new favorite!
Print
No Bake Cream Cheese Peanut Butter Pie Recipe
- Prep Time: 10 minutes
- Cook Time: 0 minutes
- Total Time: 4 hours 10 minutes (includes chilling time)
- Yield: 8 slices
- Category: Dessert
- Method: No Bake
- Cuisine: American
- Diet: Non-Vegetarian
Description
Indulge in the creamy, dreamy goodness of this No Bake Cream Cheese Peanut Butter Pie. A luscious blend of cream cheese, peanut butter, and whipped topping nestled in a graham cracker crust, this dessert is a delightful treat for any occasion. Customize with your favorite toppings for added flair!
Ingredients
Creamy Filling:
- 8 oz cream cheese (softened)
- 1 cup creamy peanut butter
- 1 cup powdered sugar
- 1 tsp vanilla extract
- 1 container (8 oz) whipped topping (like Cool Whip)
Crust and Toppings:
- 1 pre-made graham cracker crust (9-inch)
- Optional toppings: crushed peanuts, chocolate drizzle, whipped cream
Instructions
- Prepare Filling: In a large mixing bowl, beat the softened cream cheese and peanut butter until smooth. Add powdered sugar and vanilla extract, mix until fully incorporated.
- Combine with Topping: Gently fold in whipped topping until light and fluffy.
- Fill Crust: Spoon filling into graham cracker crust, smooth the top.
- Chill: Refrigerate for at least 4 hours until set.
- Garnish and Serve: Before serving, add optional toppings as desired.
Notes
- For a richer flavor, use natural peanut butter.
- For firmer texture, freeze pie and serve partially frozen.

