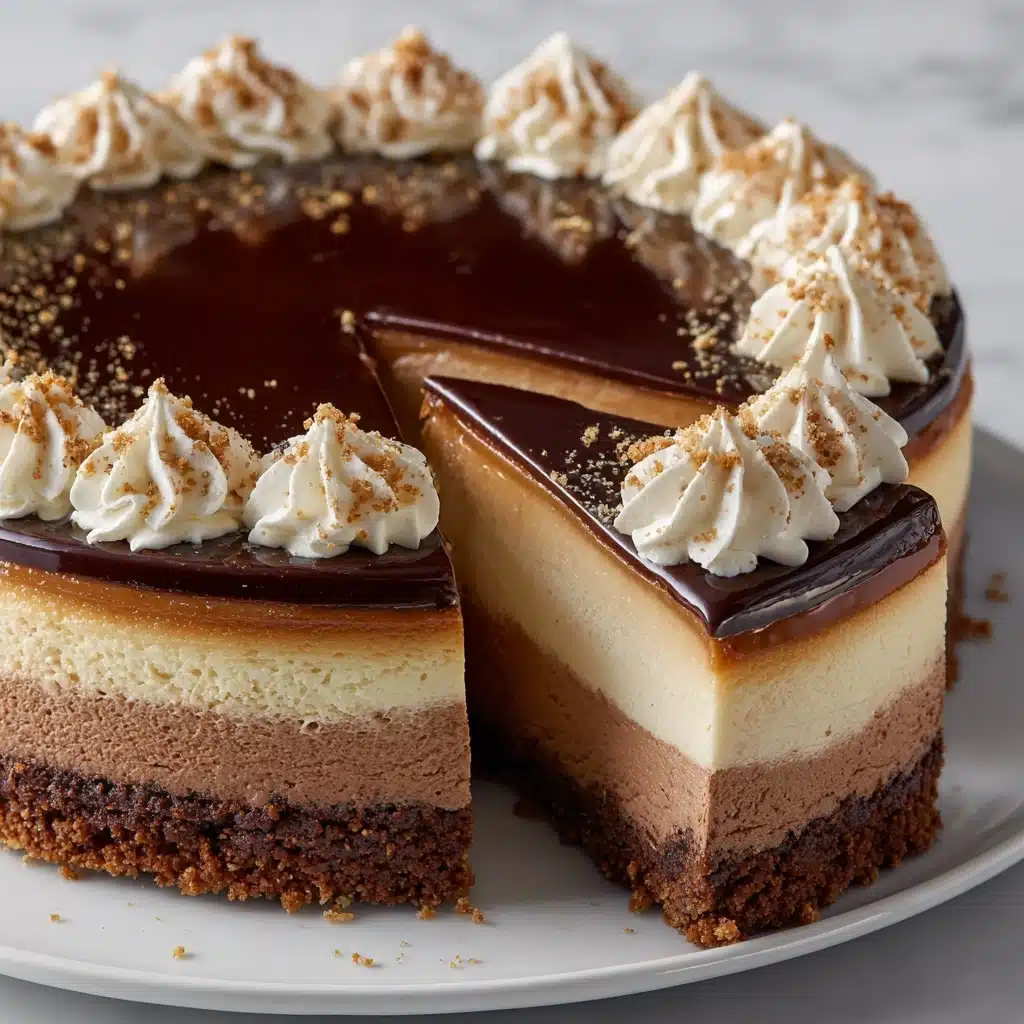
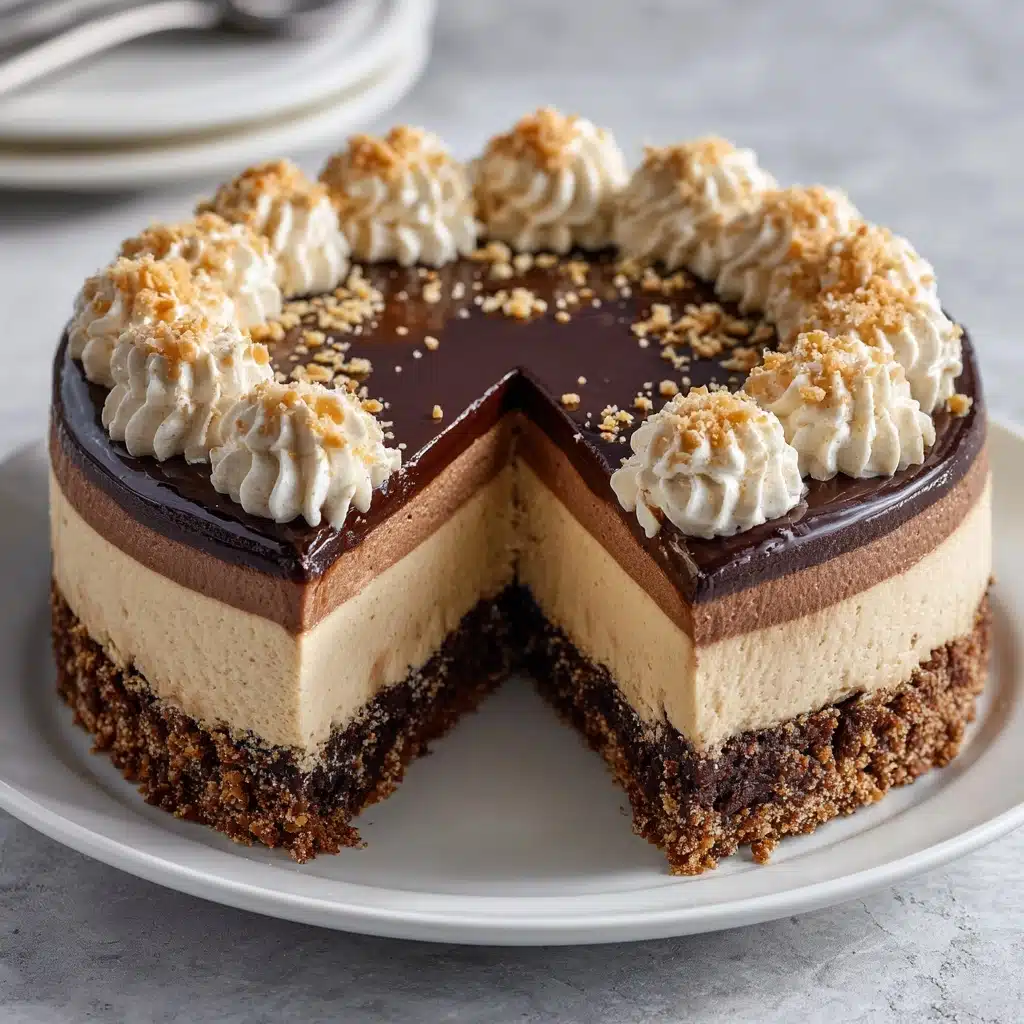
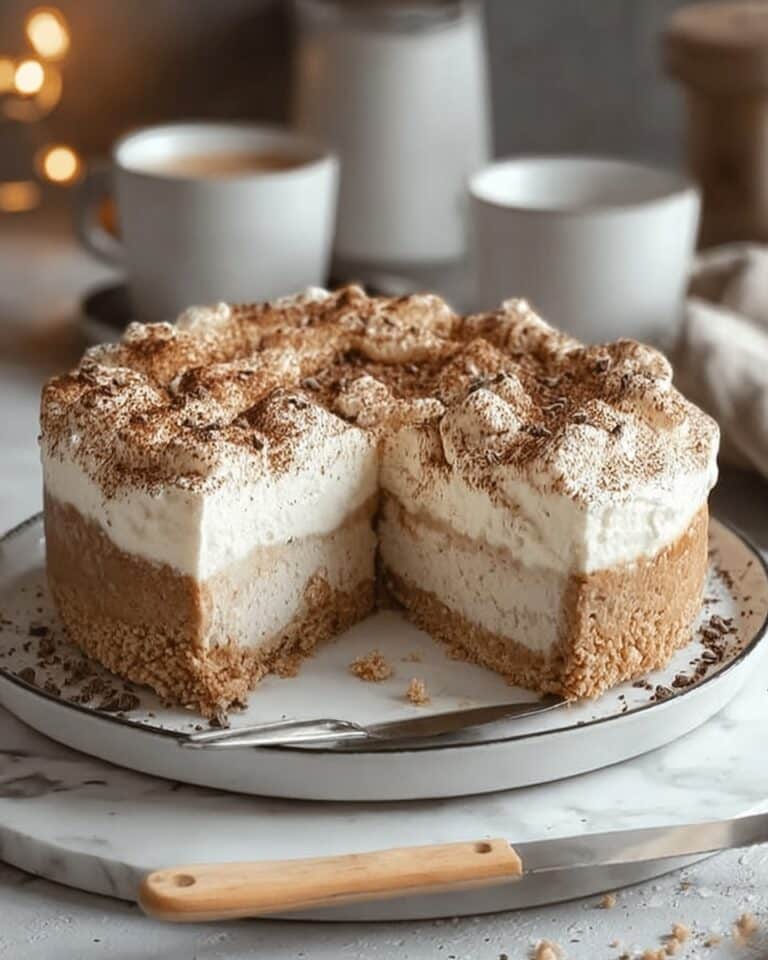
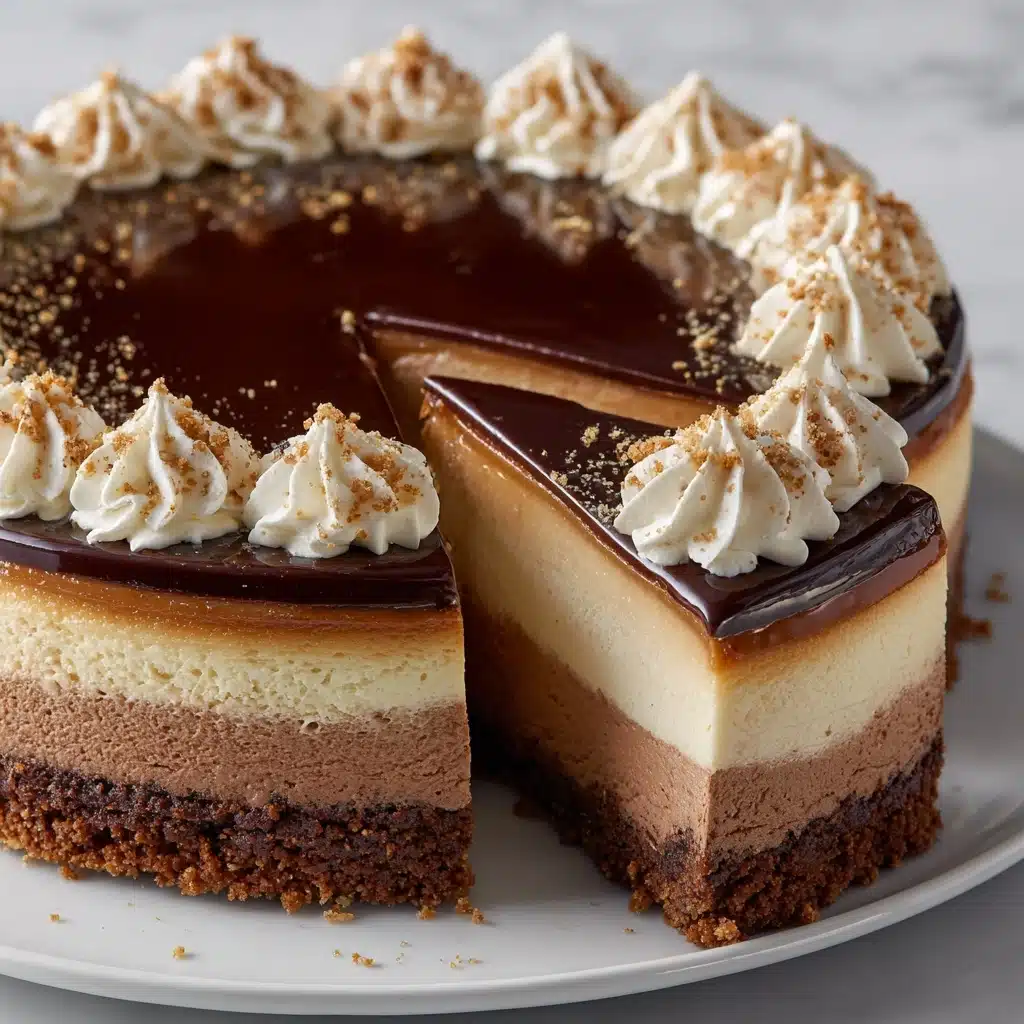
If you’re looking for the ultimate dessert that brings together the dreamy goodness of chocolate and peanut butter in one easy, show-stopping treat, this No-Bake Chocolate Peanut Butter Cheesecake will absolutely sweep you off your feet! It’s the kind of delightful recipe you’ll want to make for every special occasion—or just because. With a rich chocolate cookie crust, a super creamy peanut butter filling, and decadent chocolate swirls, each forkful is pure bliss. Best of all, you don’t even need to turn on your oven to make it!
Ingredients You’ll Need
The ingredient list for this No-Bake Chocolate Peanut Butter Cheesecake is refreshingly short, but don’t be fooled—each one plays a major role in creating the perfect layers of flavor, texture, and visual appeal. Here’s what you’ll need and why they matter:
- Chocolate cookie crumbs: These form the decadent, crunchy base and add that signature chocolatey taste right from the first bite.
- Unsalted butter (melted): It binds the cookie crumbs together and gives the crust that irresistible, buttery finish.
- Cream cheese (softened): This is essential for the classic, tangy, creamy cheesecake base.
- Creamy peanut butter: Bringing bold, nutty flavor and luxurious texture to every slice.
- Powdered sugar: It sweetens the filling without any grittiness, so your cheesecake is silky smooth.
- Vanilla extract: Adds a subtle warmth and enhances all the other flavors.
- Whipped topping (like Cool Whip): This makes the filling so light and airy, with just the right amount of fluff.
- Semi-sweet chocolate chips (melted and slightly cooled): Swirled in for bold chocolate notes and an eye-catching marble effect.
- Additional whipped topping and chopped peanuts for garnish (optional): A little extra dazzle on top for color, crunch, and a bakery-worthy finish.
How to Make No-Bake Chocolate Peanut Butter Cheesecake
Step 1: Prepare the Chocolate Cookie Crust
In a medium bowl, stir together the chocolate cookie crumbs with the melted unsalted butter until all the crumbs are evenly moistened. The mixture should look like rich, edible sand! Press it firmly into the bottom of a 9-inch springform pan using the flat bottom of a measuring cup. Getting the crust nice and packed will help it hold together beautifully when you slice into your cheesecake. Pop the pan in the freezer to chill while you whip up the dreamy filling.
Step 2: Make the Peanut Butter Cheesecake Filling
With your crust chilling, pull out a large mixing bowl and beat together the softened cream cheese and peanut butter until ultra-smooth and creamy—no lumps allowed! You want this base to be perfectly blended before going any further for the silkiest texture. Next, add in the powdered sugar and vanilla extract, mixing until it’s all sweetly combined. Finally, gently fold in the whipped topping. This gives the filling a lush, mousse-like texture that’s light but still so satisfying.
Step 3: Assemble and Marble the Cheesecake
Spoon half the peanut butter filling onto your chilled crust and smooth it out evenly. Take half the melted chocolate and drizzle it over the filling, letting it create luscious ribbons. Add the remaining filling, spread it smooth, and finish with another drizzle of the remaining chocolate. Grab a butter knife and swirl it lightly through the layers—this is what makes that gorgeous marbled effect on top!
Step 4: Chill Until Firm
Once your layers are perfectly swirled, cover the pan tightly with plastic wrap or foil and slide it into your fridge. Give it at least 6 hours—even better, overnight—so the No-Bake Chocolate Peanut Butter Cheesecake can fully set. For an extra-firm texture, try freezing it for an hour just before serving. That way, your slices come out clean and picture-perfect.
Step 5: Garnish and Serve
When it’s time to serve, unclasp the springform pan and transfer your masterpiece to a pretty platter. If you want to take it over the top, dollop on more whipped topping and scatter some chopped peanuts for crunch. Each slice will tempt you with silky, peanut buttery filling, chocolatey swirls, and that glorious cookie base—party ready with zero oven fuss!
How to Serve No-Bake Chocolate Peanut Butter Cheesecake
Garnishes
A No-Bake Chocolate Peanut Butter Cheesecake always looks irresistible, but a few thoughtful garnishes can elevate it to true showstopper status. Try a billowy ring of whipped topping, a drizzle of melted chocolate, or a sprinkle of roasted, salted peanuts for an inviting crunch. Mini chocolate chips or even shaved chocolate can add an extra layer of decadence, while a few whole peanuts or a dusting of cocoa powder provides the prettiest finishing touch.
Side Dishes
This cheesecake is rich and satisfying on its own, but if you’re serving it as part of a bigger dessert table, it plays beautifully with a fresh fruit salad, light sorbet, or crisp biscotti cookies for dipping. Coffee, espresso, or a tall glass of cold milk are also perfect sips to go alongside every luscious bite.
Creative Ways to Present
To wow your guests, try making individual cheesecakes in mini mason jars or cupcake liners for parties—or layer cubes of the finished No-Bake Chocolate Peanut Butter Cheesecake into parfaits with extra whipped topping and caramel drizzle for a decadent twist. For a more dramatic look, arrange slices on a cake stand and decorate with chocolate curls or edible gold flakes for a hint of luxury.
Make Ahead and Storage
Storing Leftovers
If you happen to have leftovers (which, honestly, is a rare occurrence!), simply cover your cheesecake tightly with plastic wrap or place slices in an airtight container. It will stay fresh and delicious in the refrigerator for up to 4 days, so you can treat yourself to an extra slice whenever the craving hits. The texture holds up beautifully, maintaining that perfect creamy consistency.
Freezing
The No-Bake Chocolate Peanut Butter Cheesecake freezes exceptionally well, making it the ultimate make-ahead dessert. To freeze, wrap the whole cheesecake or individual slices securely in plastic wrap, then a layer of foil, to prevent freezer burn. Label with the date and enjoy within 2 months for best results—just thaw overnight in the refrigerator before serving for the richest, creamiest bite.
Reheating
This cheesecake is best enjoyed chilled, so “reheating” isn’t needed! If you’ve frozen it, simply let it thaw in the fridge until you’re ready to serve. If you like the texture slightly firmer (almost ice cream-like), you can serve it partially frozen for a cool, refreshing treat in the warmer months.
FAQs
Can I use crunchy peanut butter instead of creamy?
Yes! Crunchy peanut butter brings a fun texture and extra peanutty crunch to the filling—just make sure to blend well for the smoothest possible base.
What if I don’t have a springform pan?
No worries at all. A regular 9-inch pie dish works too; just line it with parchment or plastic wrap for easier removal. You can also make mini cheesecakes in muffin tins for adorable individual servings.
Is it possible to make this cheesecake gluten-free?
Absolutely. Simply swap the chocolate cookie crumbs for a gluten-free variety (many stores carry them now!), and check your other ingredient labels to ensure everything is gluten-free. You won’t lose any flavor or magic!
How do I get beautiful marble swirls on top?
When adding the melted chocolate, pour it gently over the cheesecake layers, then use a butter knife to swirl it just enough for a marbled look. Work lightly so you don’t mix the layers together too much—less is more for those classic swirls.
Can I make this No-Bake Chocolate Peanut Butter Cheesecake ahead of time?
Yes, it’s the perfect recipe to make a day or even two ahead. Because it needs to chill thoroughly to set, preparing it in advance guarantees it’ll be exactly the right texture for serving, and you’ll have one less thing to fuss over on the big day.
Final Thoughts
This No-Bake Chocolate Peanut Butter Cheesecake has become a true favorite in my kitchen, and there’s nothing quite like sharing it with friends and family. If you love chocolate, peanut butter, or just easy, crowd-pleasing desserts, give this recipe a try. Every creamy, decadent slice is a celebration—no oven required!
Print
No-Bake Chocolate Peanut Butter Cheesecake Recipe
- Prep Time: 20 minutes
- Cook Time: 0 minutes
- Total Time: 6 hours 20 minutes
- Yield: 12 slices
- Category: Dessert
- Method: No-Bake
- Cuisine: American
- Diet: Vegetarian
Description
Indulge in the decadent combination of chocolate and peanut butter with this luscious No-Bake Chocolate Peanut Butter Cheesecake. Creamy, rich, and perfectly sweet, this dessert is a surefire crowd-pleaser.
Ingredients
For the Crust:
- 1 1/2 cups chocolate cookie crumbs
- 1/4 cup unsalted butter, melted
For the Filling:
- 2 (8 oz) packages cream cheese, softened
- 1 cup creamy peanut butter
- 3/4 cup powdered sugar
- 1 teaspoon vanilla extract
- 1 1/2 cups whipped topping (like Cool Whip)
- 1/2 cup semi-sweet chocolate chips, melted and slightly cooled
- Additional whipped topping and chopped peanuts for garnish (optional)
Instructions
- Prepare the Crust: In a medium bowl, combine chocolate cookie crumbs and melted butter. Press into the bottom of a 9-inch springform pan to form the crust. Freeze while preparing the filling.
- Make the Filling: Beat cream cheese and peanut butter until smooth. Add powdered sugar and vanilla, mix well. Fold in whipped topping.
- Assemble: Spoon half of the filling into the crust, smooth the top. Drizzle half of the melted chocolate, repeat with remaining filling and chocolate. Swirl gently with a knife for a marbled effect.
- Chill: Cover and refrigerate for at least 6 hours or overnight until set. Garnish with whipped topping and peanuts before serving.
Notes
- For a firmer texture, freeze the cheesecake for 1 hour before serving.
- Crunchy peanut butter can be used for added texture.
- Use high-quality chocolate for the best flavor in the swirl.

