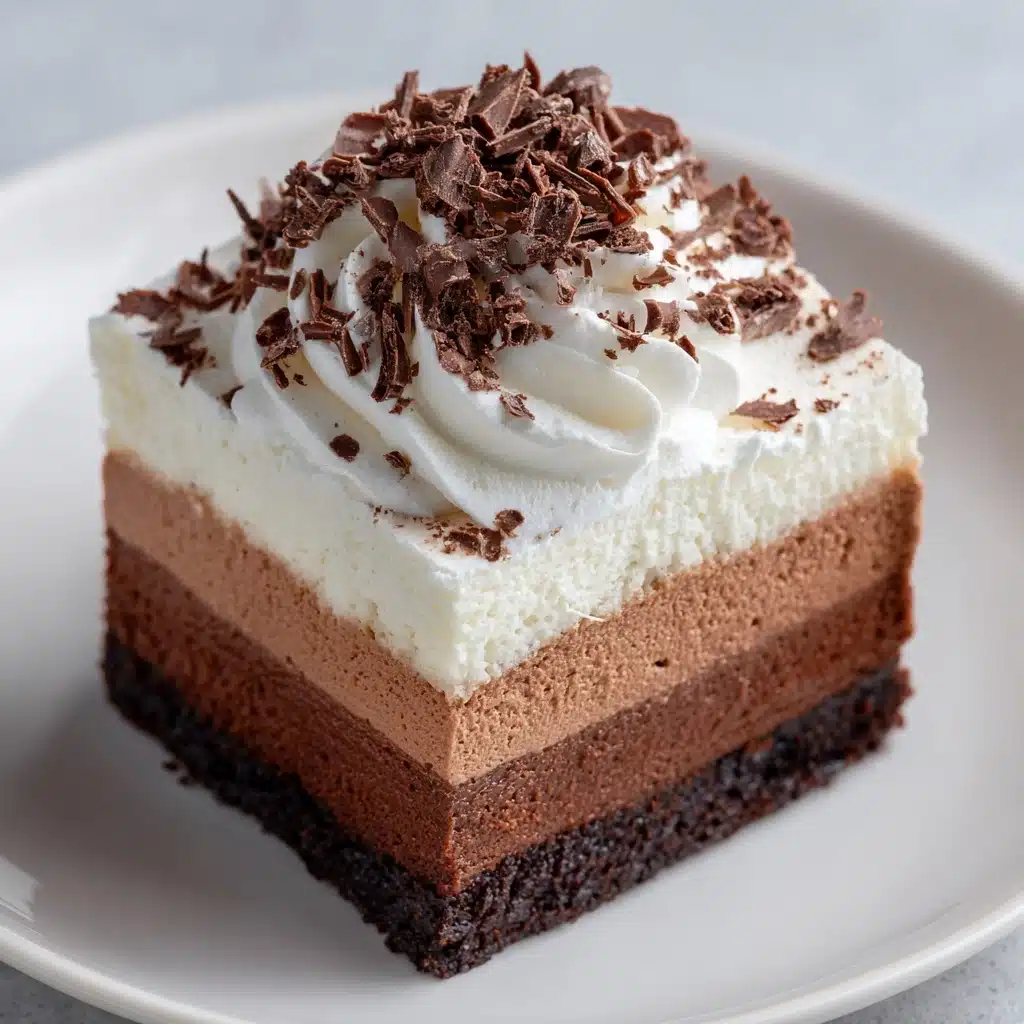
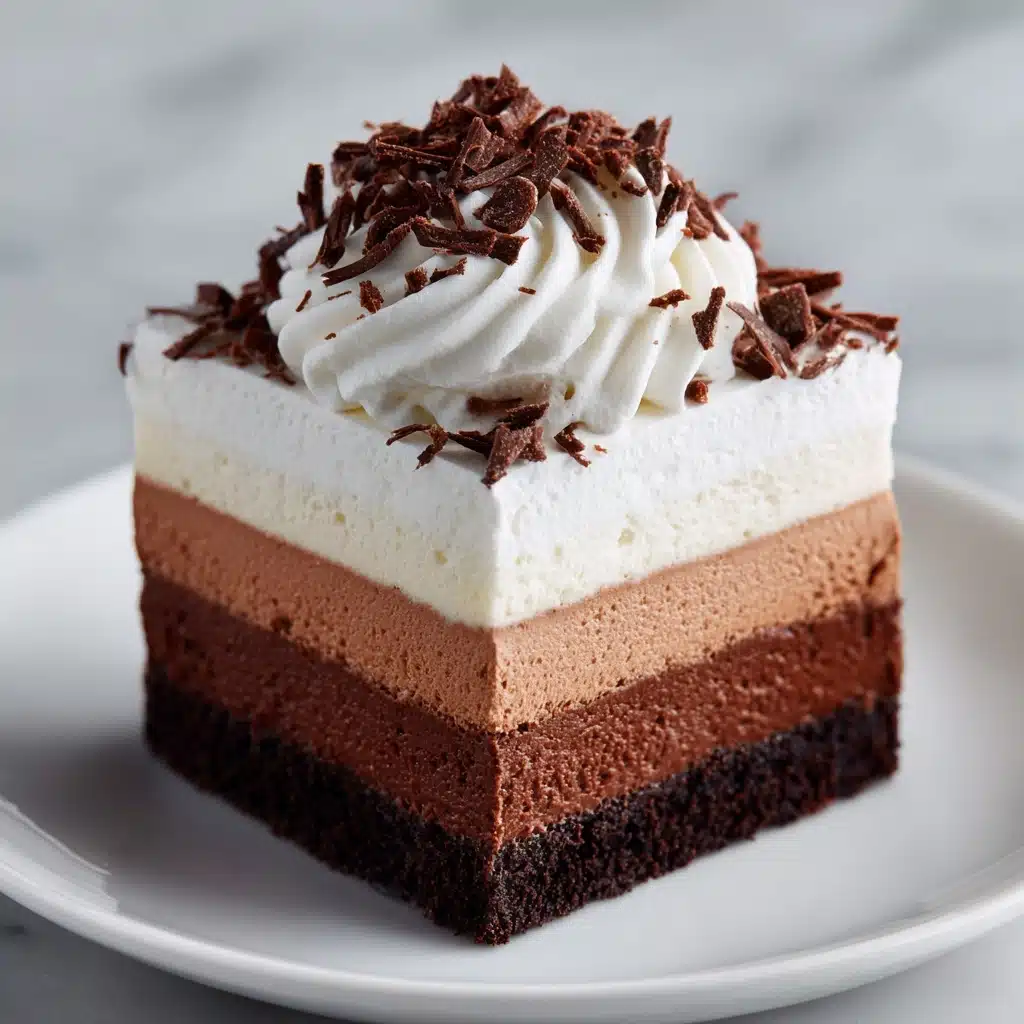
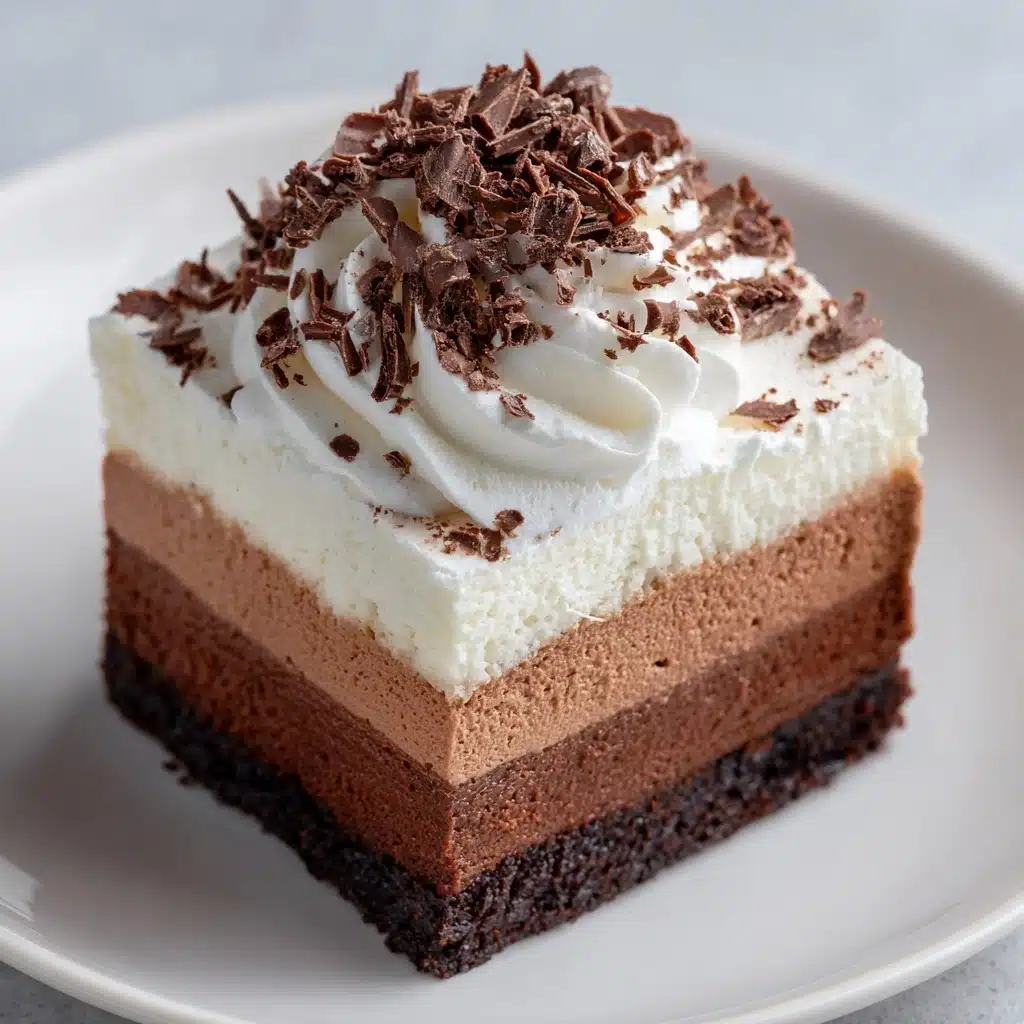
If you’re searching for a crowd-pleasing treat that is decadently chocolatey, impossibly creamy, and requires zero oven time, these No-Bake Chocolate Mousse Bars are about to become your new dessert hero. Each bite delivers a buttery chocolate cookie crust topped with a luscious, cloud-like chocolate mousse that melts away on the tongue. Whether you’re hosting a party, craving a late-night indulgence, or just need a foolproof dessert recipe everyone will love, this no-effort, maximum-reward creation is a winner. Plus, they look absolutely stunning on the plate—top with chocolate shavings for pure showstopper status!
Ingredients You’ll Need
One of the joys of No-Bake Chocolate Mousse Bars is how each ingredient plays a crucial role in the final magic. With just a handful of pantry staples (and a special touch or two), you’ll create a dessert that’s richly satisfying and surprisingly easy to whip up.
- Chocolate cookie crumbs: These form the base, adding crunch and deep cocoa flavor—Oreos work perfectly, but any chocolate cookie will shine.
- Unsalted butter: Melted butter binds the cookie crumbs together, creating a firm foundation and a hint of buttery richness in every bite.
- Semisweet chocolate chips: Choose a quality chocolate for a silky mousse layer that’s not too sweet, letting the chocolate truly sing.
- Heavy cream (for melting chocolate): Melting the chocolate with a splash of cream ensures a velvety smooth texture without any graininess.
- Heavy whipping cream (cold, for mousse): This is whipped to soft peaks for the signature airy mousse layer—be sure it’s very cold for the best fluff.
- Powdered sugar: Just enough to sweeten the mousse and keep it light and smooth; regular sugar won’t dissolve as finely, so stick with powdered.
- Vanilla extract: Rounds out the flavor with a cozy, bakery-warm undertone that pairs beautifully with chocolate.
- Chocolate shavings or curls (optional): For that irresistible finishing touch and an extra layer of chocolate delight—totally worth the step if you want to impress.
How to Make No-Bake Chocolate Mousse Bars
Step 1: Make the Cookie Crust
Start by mixing your chocolate cookie crumbs with the melted butter until every crumb is glistening and moistened. Press this mixture firmly into the bottom of an 8×8-inch pan lined with parchment paper, making sure it’s packed tight—this creates that sturdy, satisfying base. Pop it into the refrigerator to chill while you whip up the luxurious mousse topping.
Step 2: Melt the Chocolate
In a small saucepan, gently melt the semisweet chocolate chips with 1/2 cup of heavy cream over low heat. Stir constantly—patience here pays off—to be sure the mixture is smooth and glossy without any lumps or seizing. Allow it to cool to room temperature (but not so long that it solidifies), so it blends seamlessly with your whipped cream later.
Step 3: Whip the Cream
In a large mixing bowl, beat the remaining 1 1/2 cups of cold heavy cream together with powdered sugar and vanilla extract. Whip until stiff peaks form—this is what gives No-Bake Chocolate Mousse Bars their legendary lightness. Don’t rush: whip just enough for the cream to hold shape when you pull out the beaters.
Step 4: Combine Chocolate and Cream
Now, gently fold the cooled chocolate mixture into the whipped cream. It’s important to fold, not stir, so you keep all the fluffiness you just whipped into the cream. Go slow and be patient—the result should be a gorgeous, airy chocolate mousse that’s completely combined with no streaks.
Step 5: Assemble and Chill
Spread the chocolate mousse evenly over your chilled cookie crust, smoothing the top with a spatula for a polished finish. Cover the pan with plastic wrap and refrigerate for at least 4 hours (overnight is even better!) until the bars are set and sliceable. Just before serving, shower with chocolate shavings or curls for a dramatic, bakery-worthy touch.
How to Serve No-Bake Chocolate Mousse Bars
Garnishes
A flourish of chocolate shavings or curls is the classic finish, but you can also try a light dusting of cocoa powder or a few fresh berries. For a festive flair, sprinkle on crushed peppermint candies or a hint of sea salt—both bring out new layers in the chocolate.
Side Dishes
These bars are stars in their own right, but pairing them with something bright and refreshing can make a dessert plate truly sing. Think a small scoop of raspberry sorbet, fresh strawberries, or even a dollop of lightly sweetened whipped cream to add contrast and freshness.
Creative Ways to Present
Slice No-Bake Chocolate Mousse Bars into delicate squares for a more refined look, or cut into tiny bites for a party platter. You can also serve them in individual glass jars for a modern mini-dessert, layering crumbled cookies and mousse for parfait-inspired flair—perfect for dinner parties or picnics.
Make Ahead and Storage
Storing Leftovers
If you somehow have any bars left over (good luck!), store them covered in the fridge for up to five days. The mousse stays creamy and the crust holds up beautifully, making these treats a wonderful make-ahead option for busy weeks or unexpected company.
Freezing
No-Bake Chocolate Mousse Bars freeze surprisingly well. Simply wrap the bars tightly in plastic wrap and place in an airtight container. They’ll keep their flavor and texture for up to one month—just thaw overnight in the fridge when you’re ready to enjoy.
Reheating
Since these bars are served chilled and meant to be silky, they don’t need reheating—just slice and serve straight from the fridge. If frozen, allow them to thaw gently in the refrigerator before serving to preserve their dreamy mousse texture.
FAQs
Can I use milk chocolate instead of semisweet chocolate chips?
Absolutely! Milk chocolate will make the mousse a bit sweeter and milder, while semisweet keeps the flavors balanced and deeply chocolatey. Choose whichever suits your personal taste best, but make sure to use good-quality chocolate for the silkiest result.
How do I make these bars gluten-free?
It’s easy to make No-Bake Chocolate Mousse Bars gluten-free—simply substitute your favorite gluten-free chocolate cookies for the crust. All the other ingredients are naturally gluten-free, so you won’t miss out on any flavor or texture.
Can I add other flavors to the mousse?
Definitely! A pinch of instant espresso powder (dissolved into the melted chocolate) adds grown-up depth, while a splash of orange zest or a drizzle of caramel sauce brings an exciting twist. This basic mousse is a fantastic canvas for creative flavor experiments.
Why is my mousse not setting?
If your mousse is too soft, it may be from under-whipped cream or from mixing the chocolate into the cream while it’s still too warm. Make sure the melted chocolate has cooled to room temp and that you’ve whipped the cream to stiff peaks. Chilling overnight also ensures perfect sliceability.
How small should I cut the bars?
These bars are rich and satisfying, so smaller squares (about 2-inch by 2-inch) go a long way. Feel free to adjust sizing for bite-sized party servings or extra-generous slices for serious chocolate lovers!
Final Thoughts
If you’re looking for a guaranteed crowd-pleaser that’s both elegant and wonderfully easy, you simply must try these No-Bake Chocolate Mousse Bars. Their creamy, chocolate-forward goodness is impossible to resist, and they’re a breeze to customize and make ahead. Invite some friends over (or keep them all for yourself!) and enjoy every luscious bite—this is the kind of dessert that makes lifelong fans after just one taste.
Print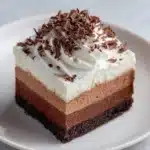
No-Bake Chocolate Mousse Bars Recipe
- Prep Time: 20 minutes
- Cook Time: 0 minutes
- Total Time: 4 hours 20 minutes
- Yield: 9–12 bars
- Category: Dessert
- Method: No-Bake
- Cuisine: American
- Diet: Vegetarian
Description
Indulge in these decadent No-Bake Chocolate Mousse Bars for a rich and creamy dessert experience. With a buttery cookie crust and a velvety chocolate mousse filling, these bars are perfect for any special occasion.
Ingredients
For the Crust:
- 2 cups chocolate cookie crumbs (such as Oreos, finely crushed)
- 1/2 cup unsalted butter, melted
For the Mousse:
- 1 1/2 cups semisweet chocolate chips
- 1/2 cup heavy cream (for melting chocolate)
- 1 1/2 cups heavy whipping cream, cold
- 1/4 cup powdered sugar
- 1 teaspoon vanilla extract
For Topping:
- Chocolate shavings or curls (optional)
Instructions
- Prepare the Crust: Mix cookie crumbs and melted butter, press into pan, and chill.
- Make the Mousse: Melt chocolate chips with heavy cream, cool. Whip cold cream with sugar and vanilla. Fold in chocolate mixture. Spread over crust.
- Chill: Refrigerate for at least 4 hours. Top with chocolate shavings before serving.
Notes
- For a gluten-free version, use gluten-free chocolate cookies.
- You can add a pinch of instant espresso powder to the chocolate for extra flavor.
- These bars are rich, so cut into small squares.

