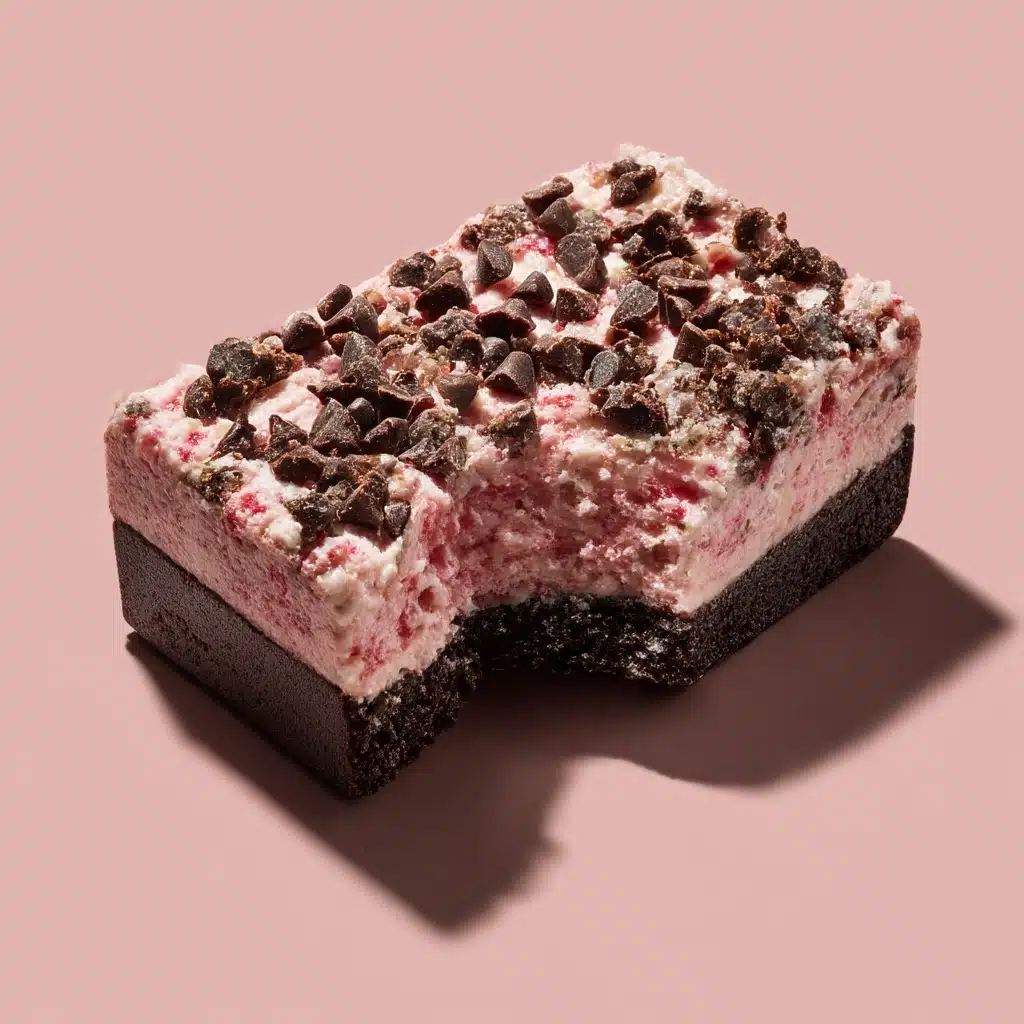
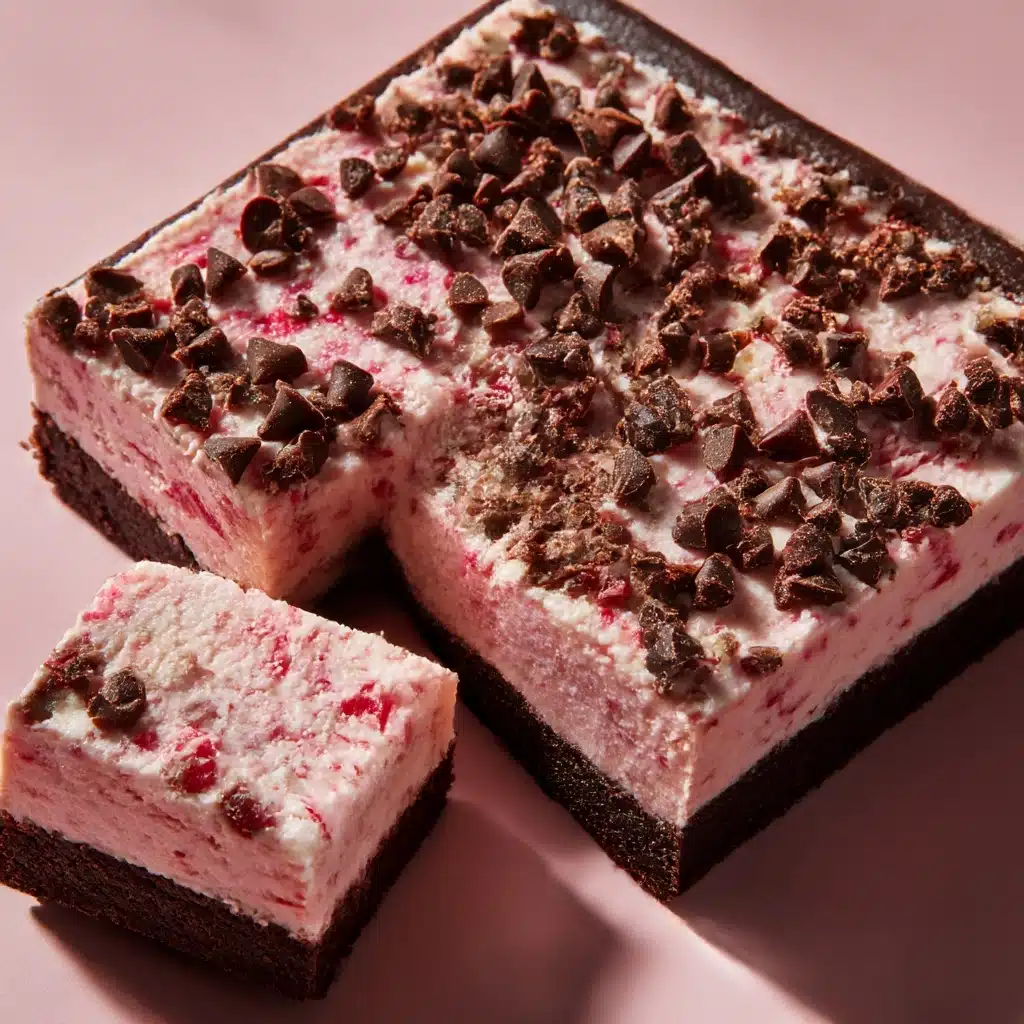
If you’re dreaming of a dessert that’s rich, blissfully chocolatey, bursting with sweet-tart cherries, and takes almost no effort, look no further than these No-Bake Chocolate Cherry Bars. Imagine layers of luscious chocolate, chewy coconut, and vibrant maraschino cherries all stacked on a buttery, crunchy cookie crust—no oven required! These bars are the ultimate treat for chocoholics, cherry lovers, and anyone who likes their desserts easy, colorful, and ready to impress at any gathering.
Ingredients You’ll Need
The beauty of these No-Bake Chocolate Cherry Bars is in how each ingredient plays a specific, delicious role. With just a handful of grocery staples, you’ll build layers of flavor and texture that come together in perfect harmony.
- Chocolate Cookie Crumbs: Serve as the irresistible, cocoa-rich base—use Oreos (without the filling) or chocolate graham crackers for deep flavor.
- Unsalted Butter: Binds the crumb crust and gives it that melt-in-your-mouth texture.
- Sweetened Condensed Milk: Adds creaminess and natural sweetness to the filling, binding everything together.
- Shredded Sweetened Coconut: Delivers chewy texture and a tropical sweetness that pairs beautifully with the cherries and chocolate.
- Maraschino Cherries: Bring bright color, juicy pops of tart cherry flavor—just make sure to drain and pat them dry well!
- Semi-Sweet Chocolate Chips: Form the shiny, snappy chocolate ganache layer at the top—don’t skimp here!
- Coconut Oil: Gives the chocolate topping that glossy finish and makes slicing a breeze.
How to Make No-Bake Chocolate Cherry Bars
Step 1: Prepare Your Pan
Start by lining an 8×8-inch baking dish with parchment paper, making sure to leave some overhang along the edges. This handy trick allows you to lift the whole block out effortlessly for easy slicing later on.
Step 2: Make the Crust
In a medium bowl, blend together the chocolate cookie crumbs and melted unsalted butter until the mixture resembles damp sand. Press the buttery mixture firmly into the bottom of your lined pan, making sure it’s even and tight—this will form a crisp, chocolatey foundation for your bars.
Step 3: Mix the Cherry Coconut Filling
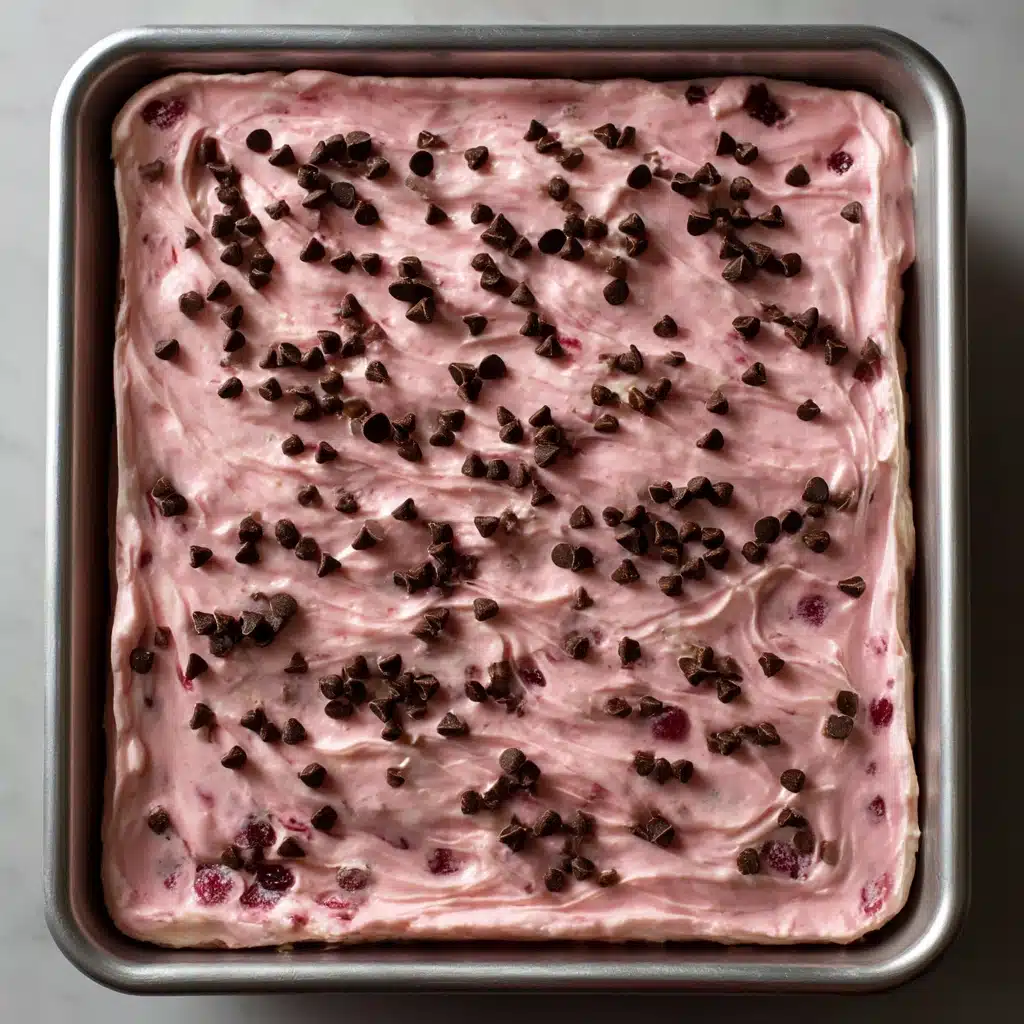
Grab a clean bowl and stir together the sweetened condensed milk, shredded coconut, and thoroughly dried, chopped maraschino cherries. The filling will be gloriously sticky and sweet. Spread it gently and evenly over the crust, smoothing it all the way to the corners.
Step 4: Melt the Chocolate Topping
Place the chocolate chips and coconut oil in a microwave-safe bowl, microwaving in 30-second bursts and stirring between each, until fully melted and glossy. Pour this silky pool of chocolate over the coconut-cherry layer, then use a spatula to gently smooth it out for an irresistibly shiny finish.
Step 5: Chill and Set
Pop your pan in the fridge for at least 3 hours (overnight is great, too!) so the No-Bake Chocolate Cherry Bars can firm up. Once the chocolate is set and the bars feel solid, simply lift out the block using the parchment and cut into squares. Now comes the best part—enjoying your creation!
How to Serve No-Bake Chocolate Cherry Bars
Garnishes
Give your bars a bakery-worthy look by sprinkling extra shredded coconut or a drizzle of melted white chocolate over the top. For a festive touch, place a whole maraschino cherry or a dusting of edible glitter on each square—there’s always room for a little extra flair!
Side Dishes
These bars are rich and decadent, so a light, fruity side like fresh berries or a scoop of tart raspberry sorbet perfectly balances the sweetness. If you’re turning this into an occasion, serve alongside strong coffee or a chilled glass of milk for a classic pairing.
Creative Ways to Present
No-Bake Chocolate Cherry Bars look dazzling on a bright platter, but you can also stack them in clear jars as a homemade gift or arrange petite squares on cupcake liners for a party-ready dessert tray. They’re perfect for bake sales, picnics, or any gathering that calls for something quick, pretty, and guaranteed to disappear fast!
Make Ahead and Storage
Storing Leftovers
Keep your No-Bake Chocolate Cherry Bars in an airtight container in the refrigerator. They’ll stay fresh and fudgy for up to a full week—if you can make them last that long! The cool environment keeps the layers distinct and the chocolate firm.
Freezing
These bars are freezer-friendly, making them a fantastic make-ahead treat. Slice them first for grab-and-go portions, then layer with parchment in a freezer-safe container. When you’re ready for a sweet fix, just thaw a square in the fridge or at room temperature for 30 minutes.
Reheating
No need to reheat! These bars are meant to be enjoyed chilled for that satisfying bite and neat layers. If you prefer a slightly gooier texture, you can let them sit at room temperature for 10-15 minutes before serving.
FAQs
Can I use fresh cherries instead of maraschino?
Absolutely! Just be sure to pit, chop, and pat them as dry as possible to avoid extra moisture, which can impact the texture of your No-Bake Chocolate Cherry Bars.
What’s the best way to cut these bars cleanly?
For sharp edges, use a large knife dipped in hot water, wiping clean between each slice. The firm chocolate layer will separate easily that way, giving you bakery-perfect squares every time.
Can I make these bars vegan?
Yes! Swap in vegan butter, use dairy-free chocolate chips, and look for a coconut-based or other plant-based sweetened condensed milk. Be sure to check that your cookies and cherries are vegan-friendly as well.
Why do the cherries need to be patted dry?
This step is crucial; excess moisture from the cherries can lead to soggy bars and may prevent the layers from setting properly. Take a minute to pat them gently with paper towels—you’ll be rewarded with perfect, chewy bars every time.
Can I double the recipe for a larger crowd?
Definitely! Simply double the amounts and use a 9×13-inch pan. The layers will be just as wonderful, and you’ll have plenty of No-Bake Chocolate Cherry Bars to share (or maybe to keep for yourself).
Final Thoughts
There’s just something magical about pulling together a show-stopping dessert with no oven time required. No-Bake Chocolate Cherry Bars are a celebration of bold flavors, beautiful colors, and easy, crowd-pleasing fun. Give them a try next time you want to wow friends, share at a potluck, or treat yourself to a sweet moment—you won’t regret it!
Print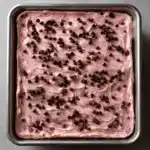
No-Bake Chocolate Cherry Bars Recipe
- Prep Time: 20 minutes
- Cook Time: 0 minutes
- Total Time: 3 hours 20 minutes (including chilling)
- Yield: 16 bars
- Category: Dessert
- Method: No-Bake
- Cuisine: American
- Diet: Non-Vegetarian
Description
These luscious No-Bake Chocolate Cherry Bars are a delightful treat with layers of chocolate, coconut, and cherries that come together in a simple and delicious dessert.
Ingredients
Chocolate Crust:
- 2 cups chocolate cookie crumbs (such as chocolate graham crackers or Oreos without filling)
- 1/2 cup unsalted butter, melted
Cherry Layer:
- 1 (14-ounce) can sweetened condensed milk
- 1 cup shredded sweetened coconut
- 3/4 cup chopped maraschino cherries, drained and patted dry
Chocolate Topping:
- 1 1/2 cups semi-sweet chocolate chips
- 1 tablespoon coconut oil
Instructions
- Prepare the Chocolate Crust: Line an 8×8-inch baking dish with parchment paper. Mix chocolate cookie crumbs and melted butter, then press firmly into the pan to form the crust.
- Make the Cherry Layer: Combine sweetened condensed milk, shredded coconut, and chopped cherries. Spread this mixture over the crust.
- Create the Chocolate Topping: Melt chocolate chips with coconut oil in the microwave, then pour over the cherry layer.
- Chill and Serve: Refrigerate for at least 3 hours until set. Cut into squares and enjoy!
Notes
- Pat cherries dry thoroughly to prevent excess moisture.
- Bars can be stored in the refrigerator for up to 1 week or frozen for longer storage.

