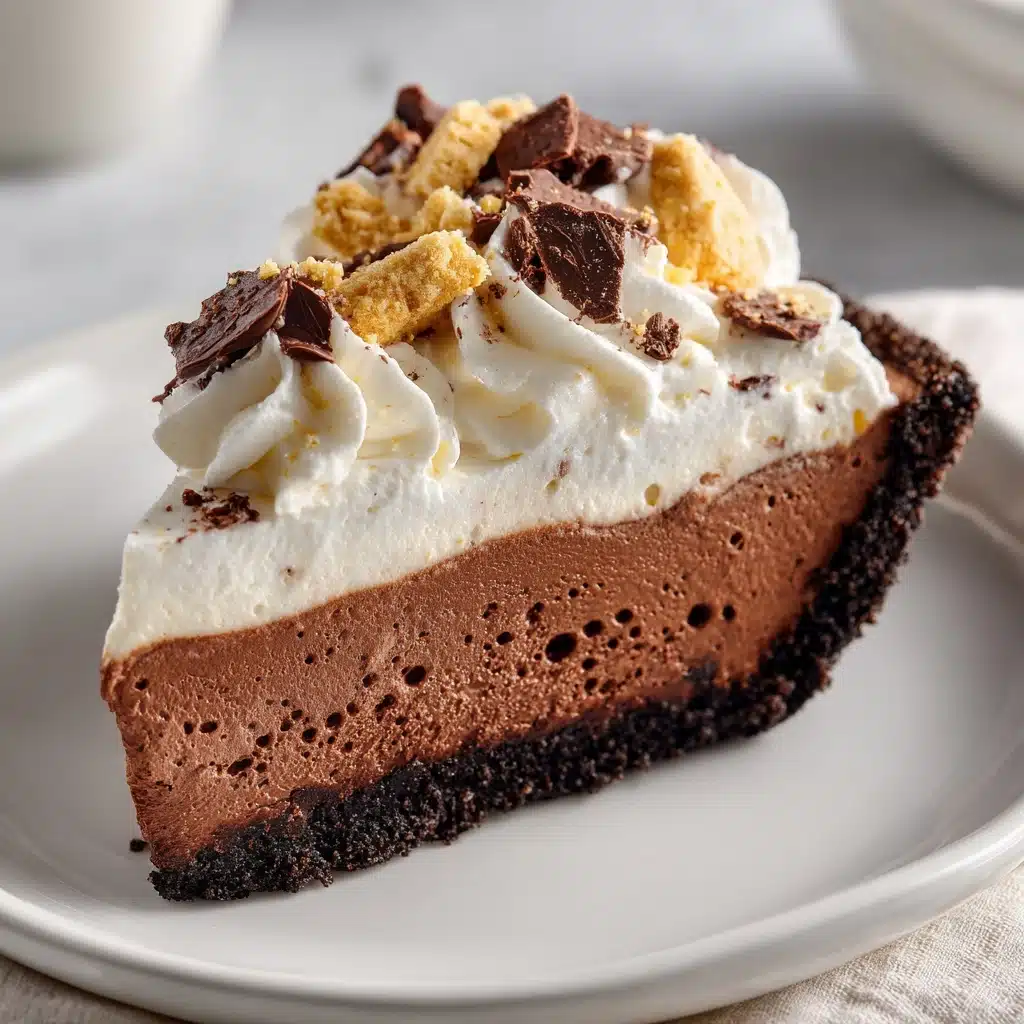
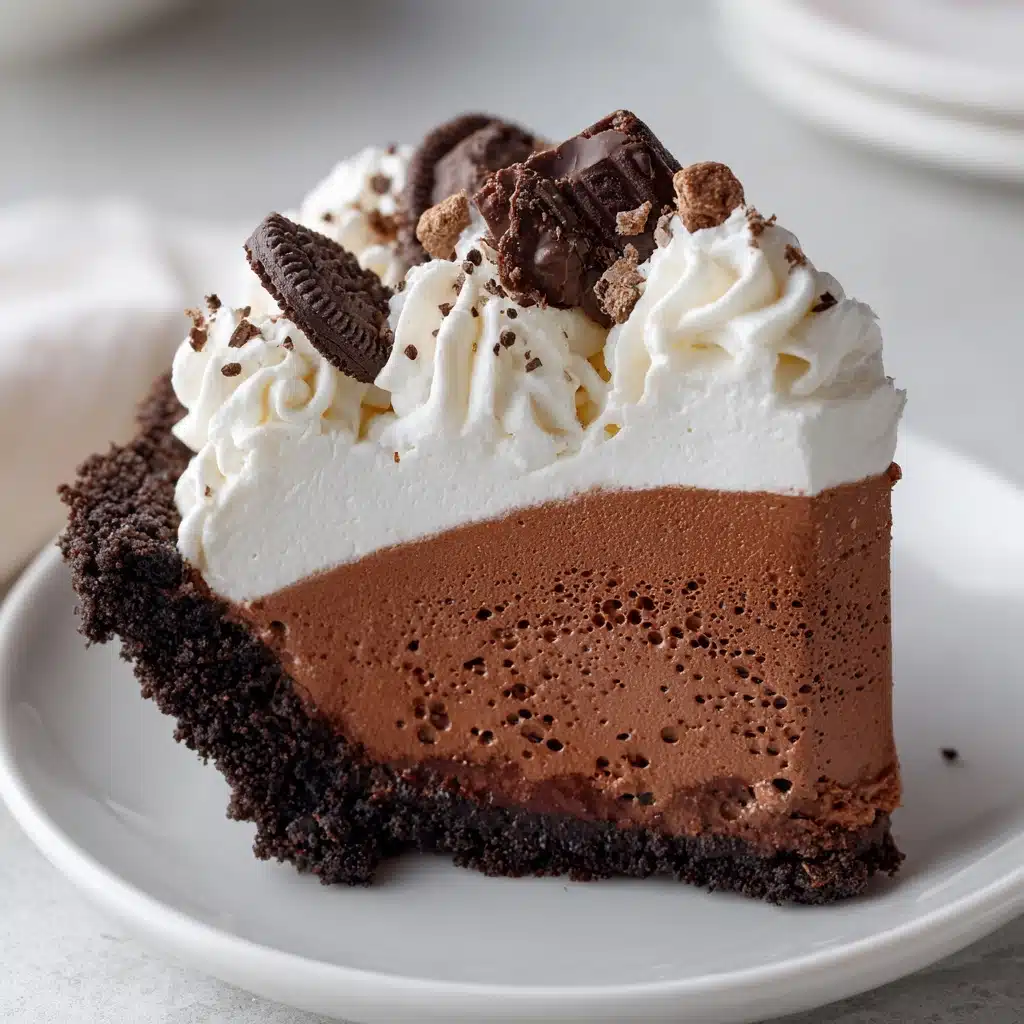
If you love effortless desserts that deliver both major chocolatey bliss and creamy elegance, this No Bake Chocolate Cheesecake is about to become your new go-to treat. Imagine a velvety chocolate filling and cool, silky texture all atop a classic Oreo cookie crust—with no oven required. This recipe is a lifesaver whether you’re prepping for a crowd or simply want to wow your family on a weeknight. Once you try it, you’ll wonder how you ever survived a special occasion without this icebox gem!
Ingredients You’ll Need
The magic of this No Bake Chocolate Cheesecake comes down to its handful of simple but essential ingredients. Every element brings its contribution—delicious flavor, irresistible texture, and that picture-perfect presentation.
- Oreo cookies: These create a classic, chocolatey crust with just the right amount of crunch and sweetness.
- Unsalted butter: Melted butter binds the crushed Oreos into a sturdy, sliceable base.
- Cream cheese: The backbone of any cheesecake, creating a luscious, creamy filling.
- Granulated sugar: For just the right touch of sweetness in the filling.
- Vanilla extract: Infuses the cheesecake with a subtle warmth and well-rounded flavor.
- Semi-sweet chocolate chips: Melted chocolate creates a decadent, silky core and deep cocoa flavor.
- Heavy whipping cream: This gets whipped up light and fluffy, giving your cheesecake its airy, dreamy texture.
- Powdered sugar: Sweetens and stabilizes the whipped cream for the ultimate cloud-like topping.
How to Make No Bake Chocolate Cheesecake
Step 1: Prepare the Oreo Crust
Begin by combining your finely crushed Oreo cookies with melted butter in a medium bowl. Stir them together until you’ve got a rich, chocolatey mixture that holds together when pressed. Then, press it firmly into the bottom of a 9-inch springform pan. The goal is to form an even base—work it up the sides just a bit if you love extra crust. Pop the crust in the fridge while you mix up the filling so it has time to set.
Step 2: Make the Creamy Chocolate Filling
In a large bowl, beat together the softened cream cheese, granulated sugar, and vanilla extract until everything is delightfully smooth and creamy. Pour in your melted (and slightly cooled) chocolate chips and mix thoroughly—this is when your kitchen starts to smell irresistibly chocolaty! The chocolate should be fully incorporated for that perfectly even, fudgy texture.
Step 3: Whip the Cream
In a separate bowl, pour in the cold heavy whipping cream and sprinkle in the powdered sugar. Whip with an electric mixer until stiff peaks form and the cream holds its shape. This step is key for that cloud-like lightness that makes this No Bake Chocolate Cheesecake so dreamy and decadent.
Step 4: Fold and Fill
Gently fold the whipped cream into the chocolate cream cheese mixture. Work slowly and carefully to keep the mixture fluffy. When everything is combined—no streaks left—spread the filling evenly over your chilled Oreo crust. Smooth the top with a spatula and then give it the patience it deserves: Let it chill in the fridge for at least 6 hours (overnight is even better) so it firms up and the flavors meld.
Step 5: Chill, Garnish, and Serve
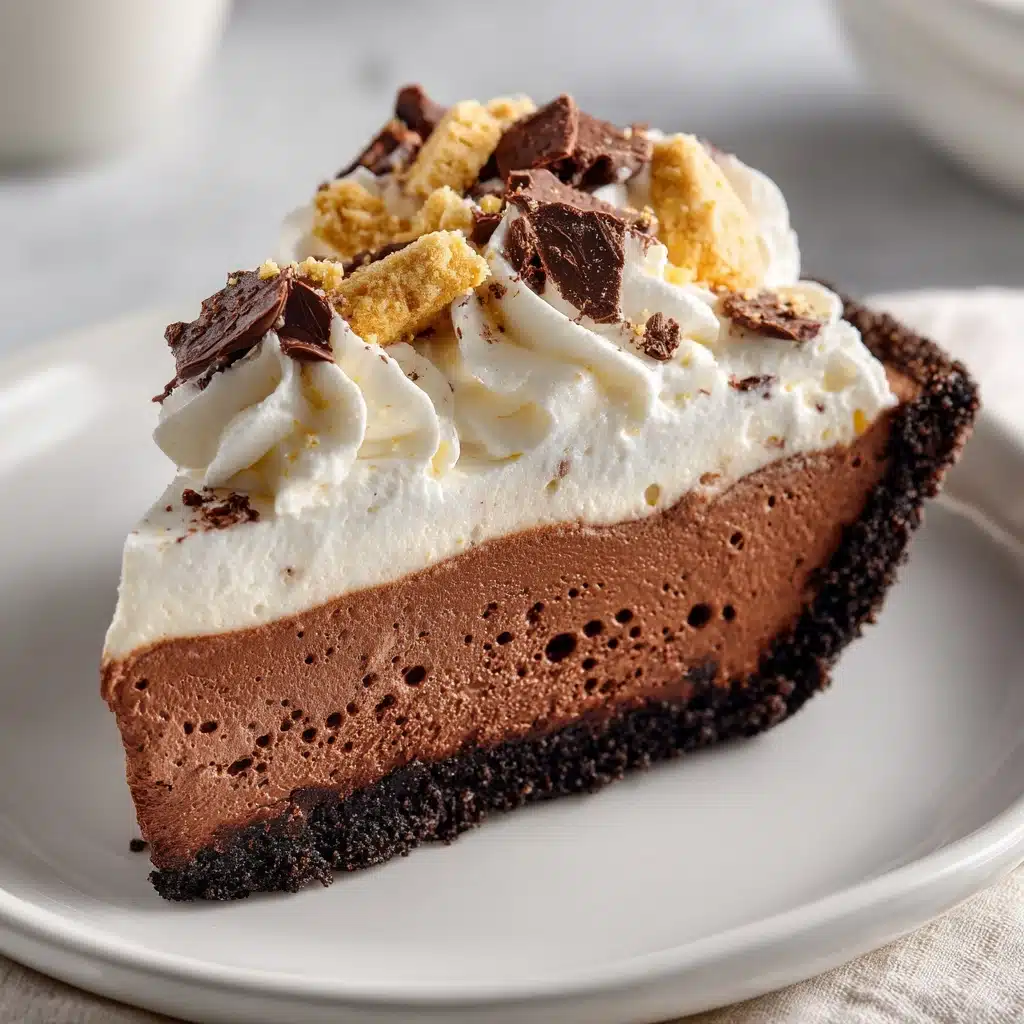
When your No Bake Chocolate Cheesecake is set, release it from the springform pan for that perfect showcase. Top with swirls of whipped cream, extra chocolate shavings, or even chocolate curls if you have them—the possibilities are endless and oh-so-pretty!
How to Serve No Bake Chocolate Cheesecake
Garnishes
This lush dessert loves some flair! Whipped cream piped along the edge or center makes a classic finishing touch. For extra chocolate drama, try a generous sprinkle of chocolate shavings, mini chips, or a few dollops of ganache. If you want a pop of color, add fresh berries or a light dusting of cocoa powder for a bakery-worthy finish.
Side Dishes
Balance the rich chocolate with something tangy or fresh like a mixed berry salad, or a spoonful of raspberry sauce drizzled alongside each slice. A cup of freshly brewed coffee or espresso also pairs beautifully, bringing out the chocolate notes in each bite of No Bake Chocolate Cheesecake.
Creative Ways to Present
If you’re feeling fancy, use individual ramekins or small Mason jars for personal cheesecakes perfect for parties or picnics. Layer the crust and filling parfait-style, then top each with a flourish of cream and chocolate curls for mini versions of this crowd-pleaser. You can even swirl in a bit of peanut butter or caramel into the filling just before chilling for a totally unique twist!
Make Ahead and Storage
Storing Leftovers
Store any leftover No Bake Chocolate Cheesecake covered in the fridge. Press a sheet of plastic wrap gently over the surface to prevent it from picking up fridge odors or drying out. It will stay fresh and fabulous for up to 4 days.
Freezing
If you need to prepare your cheesecake further in advance, freezing works like a charm. Just wrap the entire (un-garnished) cheesecake well in plastic wrap and then in aluminum foil. Let it thaw overnight in the fridge before serving. For best texture, add garnishes after thawing.
Reheating
The beauty of this cheesecake is that you never need to reheat it! If the filling gets too firm after chilling, let it sit at room temperature for 15-20 minutes before slicing to achieve that perfect creamy bite.
FAQs
Can I use milk chocolate instead of semi-sweet chocolate chips?
Absolutely! If you prefer things a bit sweeter and milder, substitute milk chocolate chips for a gentler chocolate flavor. Just keep in mind the filling may be a tad softer, so be sure to chill your No Bake Chocolate Cheesecake thoroughly.
What can I use instead of Oreo cookies for the crust?
If you’re looking to mix things up, graham crackers, chocolate wafer cookies, or even shortbread cookies will work beautifully. The most important part is crushing your cookies finely and mixing with enough butter to create a sturdy base.
How far in advance can I make this No Bake Chocolate Cheesecake?
This dessert is perfect for prepping ahead! You can make and assemble the cheesecake up to two days in advance and keep it refrigerated until you’re ready to serve. Hold off on garnishes until the big moment for freshest results.
Can I make this recipe gluten free?
Absolutely! Simply swap out the Oreos for gluten-free chocolate sandwich cookies to create a totally irresistible gluten-free No Bake Chocolate Cheesecake.
Do I really need a springform pan?
While a springform pan makes serving and slicing super easy, you can also use a regular 9-inch pie dish or even individual dessert cups. Just be sure to line with parchment or plastic wrap if you want help lifting the whole cake out easily.
Final Thoughts
Rich, cool, and so easy to love, this No Bake Chocolate Cheesecake is the kind of dessert everyone wants seconds of—whether it’s for a holiday, birthday, or just a well-deserved Tuesday treat. Give it a try, and get ready to wow your friends and family with this showstopper. Happy (no) baking!
Print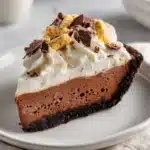
No Bake Chocolate Cheesecake Recipe
- Prep Time: 20 minutes
- Cook Time: 0 minutes
- Total Time: 6 hours 20 minutes (including chilling)
- Yield: 12 servings
- Category: Dessert
- Method: No-Bake
- Cuisine: American
- Diet: Vegetarian
Description
Indulge in the creamy richness of this No Bake Chocolate Cheesecake with an irresistible Oreo crust. This easy-to-make dessert is a perfect treat for any chocolate lover.
Ingredients
Oreo Crust:
- 24 Oreo cookies, finely crushed
- 5 tablespoons unsalted butter, melted
Cheesecake Filling:
- 2 (8 oz) packages cream cheese, softened
- ½ cup granulated sugar
- 1 teaspoon vanilla extract
- 1 cup semi-sweet chocolate chips, melted and slightly cooled
- 1 ½ cups heavy whipping cream, cold
- ¼ cup powdered sugar
Instructions
- Oreo Crust: In a medium bowl, mix the crushed Oreos and melted butter until well combined. Press firmly into the bottom of a 9-inch springform pan to form the crust. Place in the refrigerator to set while you prepare the filling.
- Cheesecake Filling: In a large bowl, beat the cream cheese, granulated sugar, and vanilla extract until smooth and creamy. Stir in the melted chocolate until fully incorporated.
- In a separate bowl, whip the heavy cream and powdered sugar until stiff peaks form. Gently fold the whipped cream into the chocolate cream cheese mixture until smooth and fluffy.
- Spread the filling evenly over the chilled crust. Smooth the top and refrigerate for at least 6 hours or overnight until firm. Before serving, top with additional whipped cream or chocolate shavings, if desired.
Notes
- For extra richness, use dark chocolate instead of semi-sweet.
- You can also add a pinch of espresso powder to enhance the chocolate flavor.

