If you’re hunting for the ultimate crowd-pleaser, look no further than this No-Bake Cheesecake. It’s rich, creamy, and impossibly silky, yet so easy you could practically make it with your eyes closed. This is the kind of dessert that wows every time: no oven, no stress, no compromise on flavor. With a classic graham cracker crust and a lusciously light filling, each cool, tangy slice is as good as it gets.
Ingredients You’ll Need
Gather these simple but perfectly paired ingredients. Each one shines in this No-Bake Cheesecake, whether it’s adding buttery crunch, creamy tang, or just the right amount of sweetness. You’ll be amazed at how straightforward they are, but together they create magic!
- Graham cracker crumbs: The foundation of every great cheesecake, these give a classic, slightly nutty base that brings all the flavors together.
- Granulated sugar: A touch of sweetness in the crust balances the tangy filling and amps up flavor.
- Unsalted butter, melted: Binding together your crust and adding irresistible richness—don’t skimp!
- Cream cheese, softened: The star of any cheesecake, guarantee that ultra-creamy texture by starting with room temperature cream cheese.
- Powdered sugar: Dissolves seamlessly into your filling for that velvet-smooth finish—no grittiness here.
- Vanilla extract: Enhances every other flavor and brings a lovely, fragrant warmth to each bite.
- Lemon juice: Just one splash brightens and lifts the filling, making the whole thing taste so fresh.
- Heavy whipping cream, chilled: Whipping this up adds lightness and irresistible mousse-like fluffiness to your No-Bake Cheesecake.
How to Make No-Bake Cheesecake
Step 1: Make the Graham Cracker Crust
Start by stirring the graham cracker crumbs, granulated sugar, and melted butter together in a medium bowl until everything feels like wet sand. Trust me, you want every crumb coated in butter. Firmly press this mixture into the bottom of a 9-inch springform pan to build a solid base. Pop it in the fridge while you whip up the rest—this ensures that signature crunch and structure.
Step 2: Whip the Cream Cheese Filling
Now for that fabulous creamy center! In a large mixing bowl, beat your softened cream cheese until every lump is gone and it’s silky smooth. Add powdered sugar, vanilla, and lemon juice, then beat again until the mixture is light, fluffy, and smells absolutely irresistible.
Step 3: Whip the Heavy Cream
Grab a clean bowl and whisk (or the whisk attachment on your mixer), and beat the chilled heavy cream until you reach stiff peaks. You’re looking for billowy clouds here—this step is the secret to that airy, almost mousse-like cheesecake texture that melts in your mouth.
Step 4: Combine and Fill
Gently fold the whipped cream into your cream cheese mixture, being careful not to deflate it. Take your time and use broad, sweeping motions so you keep things light. Once the filling is as smooth as silk, spread it evenly over your chilled crust and smooth the top with a spatula.
Step 5: Chill and Set
Cover your cheesecake and refrigerate for at least 6 hours—or, if you have the patience, overnight for a firmer, more sliceable result. This chill time is what really turns your filling from soft and billowy to that classic, dreamy cheesecake set.
Step 6: Slice and Serve
When you’re finally ready (the hardest part is waiting!), run a knife around the inside edge and release your springform pan. Slice up your No-Bake Cheesecake and serve it chilled, with your favorite toppings to finish it off with extra flair.
How to Serve No-Bake Cheesecake
Garnishes
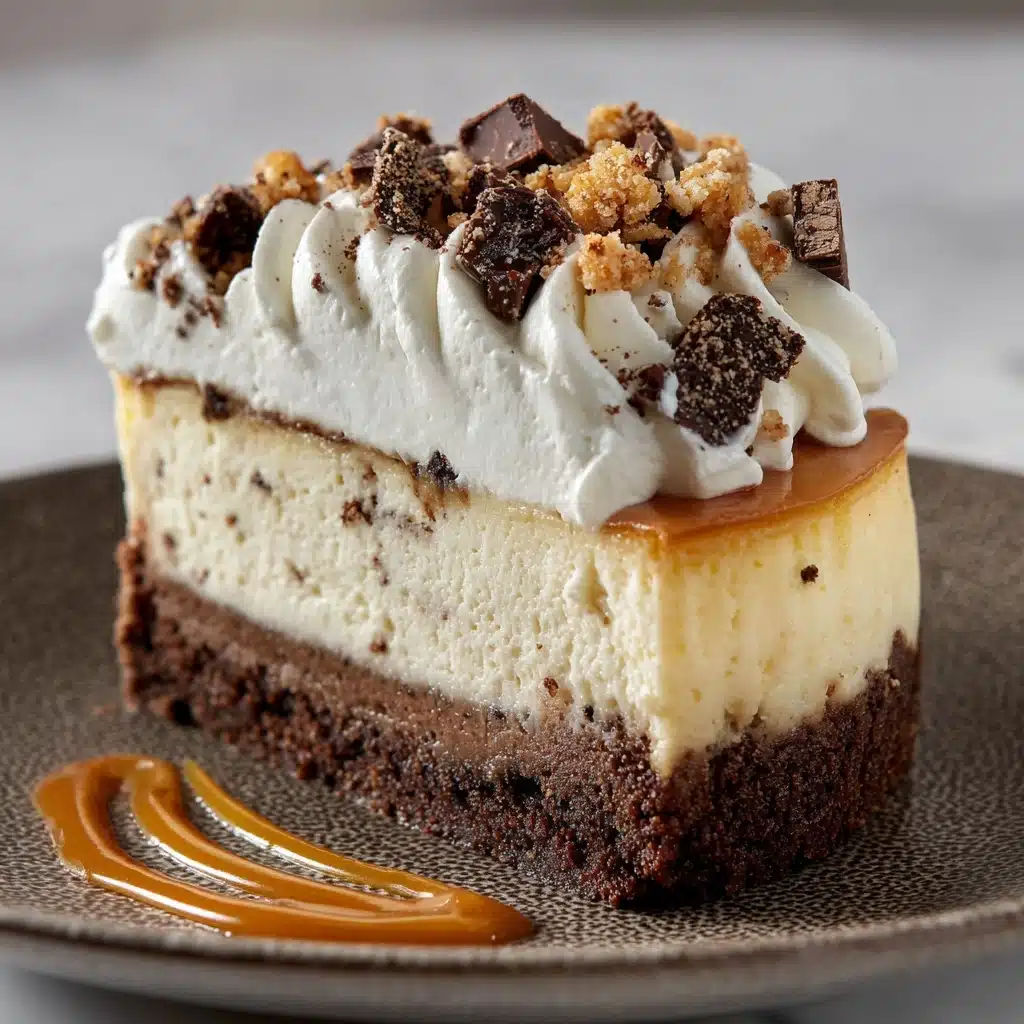
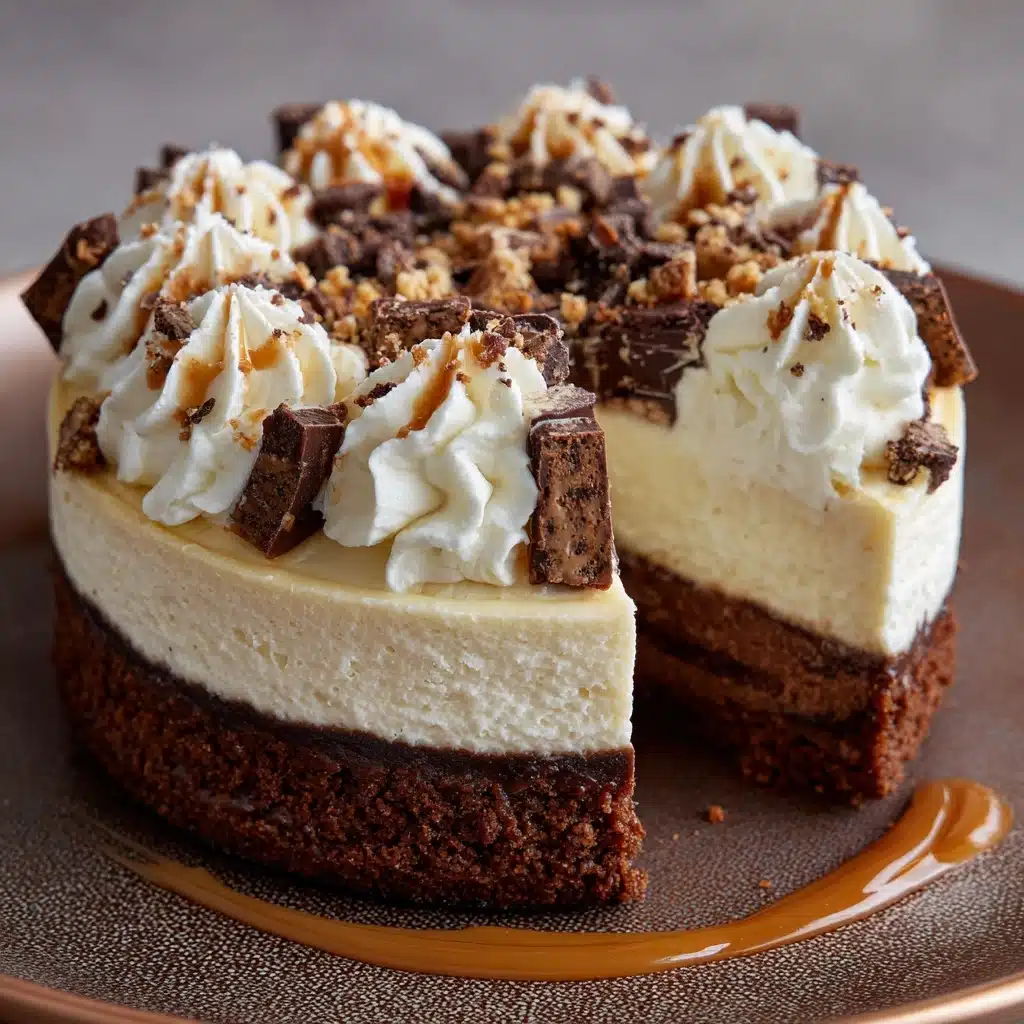
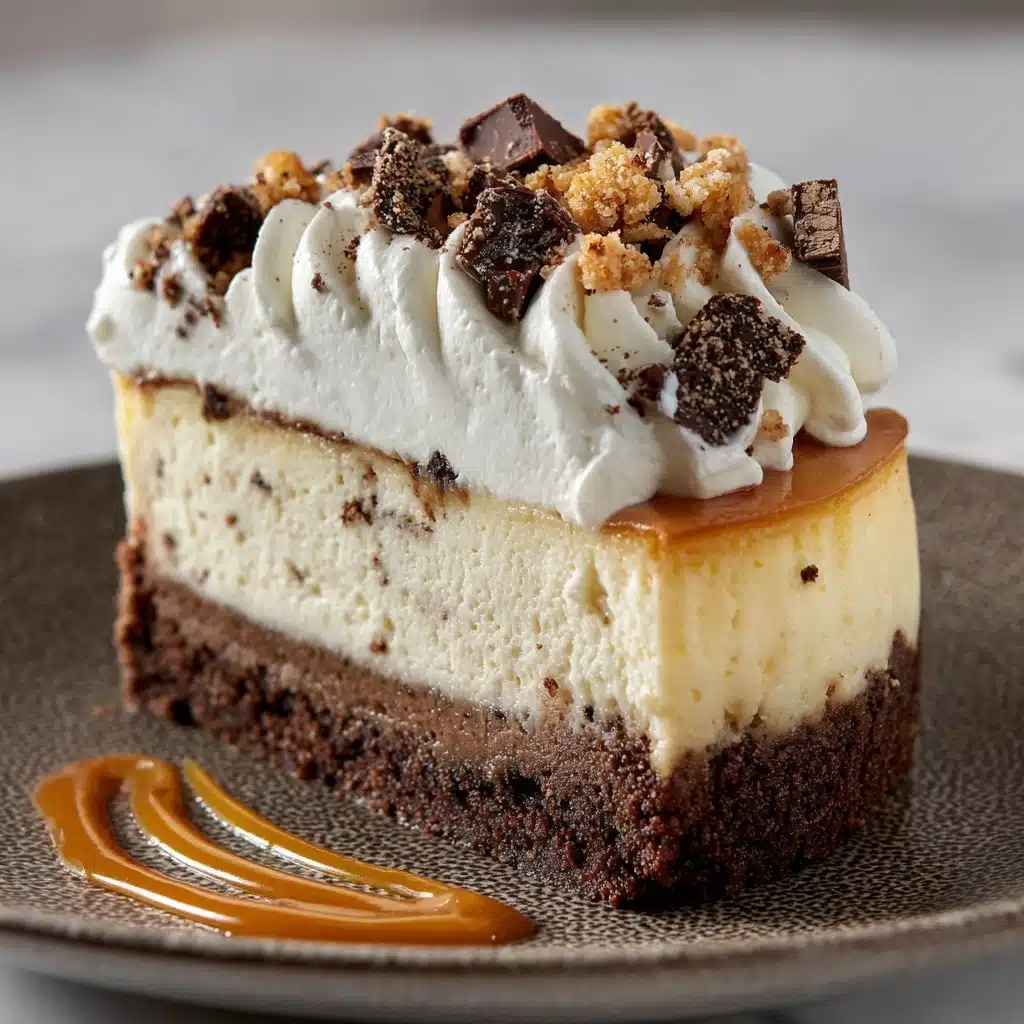
This is your time to get playful and personal. Fresh berries, a dollop of whipped cream, curls of dark chocolate, or even a drizzle of salted caramel all make perfect toppers for No-Bake Cheesecake. Pick whatever matches your mood or the season—each one adds a whole new layer of flavor and beauty.
Side Dishes
No-Bake Cheesecake shines bright as the centerpiece for dessert, but if you want a lighter finish to your meal, consider pairing it with a crisp fruit salad or classic espresso for contrast. Sometimes, a small biscotti or chocolate-dipped strawberry on each plate feels just right for special occasions.
Creative Ways to Present
Don’t be afraid to think outside the pan! Try mini cheesecakes in mason jars for picnics, or cut the chilled dessert into cubes and serve on a platter with cocktail picks for stunning finger food at parties. It’s a great way to let everyone grab a bite-sized taste of creamy bliss.
Make Ahead and Storage
Storing Leftovers
Cover any leftover No-Bake Cheesecake tightly with plastic wrap or in an airtight container. It keeps beautifully in the fridge for up to five days, which makes it perfect for prepping ahead or sneaking a secret midnight snack.
Freezing
You can absolutely freeze No-Bake Cheesecake! Chill it in the refrigerator first to set completely, then wrap the whole cheesecake or individual slices well with plastic wrap and a layer of foil. It’ll stay fresh in the freezer for up to one month. Thaw overnight in the fridge before serving.
Reheating
No reheating necessary—No-Bake Cheesecake is always served chilled or at cool room temperature. Simply slice and enjoy straight from the fridge. If frozen, let it gently thaw in the refrigerator for the best texture and flavor.
FAQs
Can I use a store-bought crust?
Definitely! A store-bought graham cracker crust is a fabulous shortcut if you’re tight on time. Just pour in your creamy filling and chill as usual—the result is still every bit as tasty.
What cream cheese works best?
For the dreamiest filling, always use full-fat, block-style cream cheese. Avoid the whipped or spreadable kind, as it won’t set up firm enough for clean slices of your No-Bake Cheesecake.
Why is my cheesecake not setting properly?
If your No-Bake Cheesecake is a little too soft, it probably needs more chill time. Overnight chilling works best for a perfectly firm texture. Also, be sure you’ve whipped that heavy cream to good, stiff peaks—that’s what gives the filling its structure.
Can I flavor the filling?
Absolutely! You can fold in crushed cookies, swirl in some melted chocolate, or mix in puréed fruit right into the cream cheese base. Just remember to keep the mixture thick, not runny, so the cheesecake still sets up beautifully.
How do I make clean slices?
For picture-perfect slices, run a knife under hot water before each cut and wipe it clean in between. This helps you glide through the creamy filling and get neat edges every time.
Final Thoughts
If you love easy, make-ahead crowd-pleasers, you’re going to adore this No-Bake Cheesecake. It’s one of those recipes I turn to again and again, and it’s always a hit. Give it a try, make it your own, and let it be the sweet highlight of your next gathering—or any day you crave a little creamy indulgence!
Print
No-Bake Cheesecake Recipe
- Prep Time: 20 minutes
- Cook Time: 0 minutes
- Total Time: 6 hours 20 minutes
- Yield: 12 slices
- Category: Dessert
- Method: No-Bake
- Cuisine: American
- Diet: Non-Vegetarian
Description
Indulge in this creamy and luscious No-Bake Cheesecake that’s easy to make and perfect for any occasion. The smooth cream cheese filling sits atop a buttery graham cracker crust, creating a delightful dessert that’s sure to impress your guests.
Ingredients
Graham Cracker Crust:
- 1½ cups graham cracker crumbs
- ⅓ cup granulated sugar
- ½ cup unsalted butter, melted
Cheesecake Filling:
- 16 oz cream cheese, softened
- ¾ cup powdered sugar
- 1 teaspoon vanilla extract
- 1 tablespoon lemon juice
- 1½ cups heavy whipping cream, chilled
Instructions
- Prepare the Crust: Mix graham cracker crumbs, granulated sugar, and melted butter. Press into a 9-inch springform pan and chill.
- Make the Filling: Beat cream cheese until smooth. Add powdered sugar, vanilla extract, and lemon juice; mix well.
- Whip the Cream: In a separate bowl, whip heavy cream until stiff peaks form. Fold into the cream cheese mixture.
- Assemble: Pour filling over the crust, smooth the top, and refrigerate for at least 6 hours or overnight.
- Serve: Slice and enjoy chilled, topped with your favorite fruits or sauces.
Notes
- For a firmer texture, refrigerate overnight.
- You can use a pre-made crust for convenience.
- Experiment with toppings like berries, chocolate, or caramel.

