

“`html
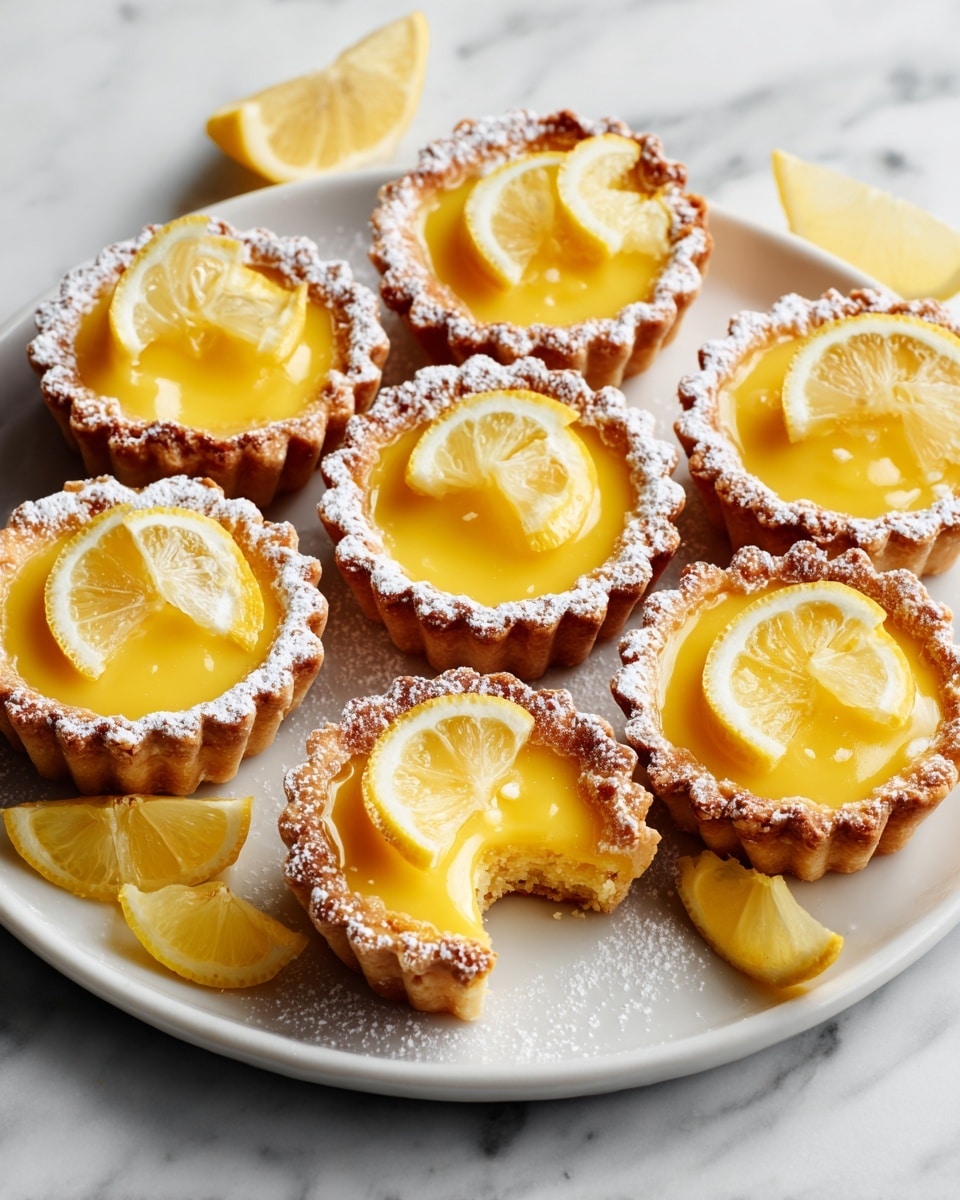
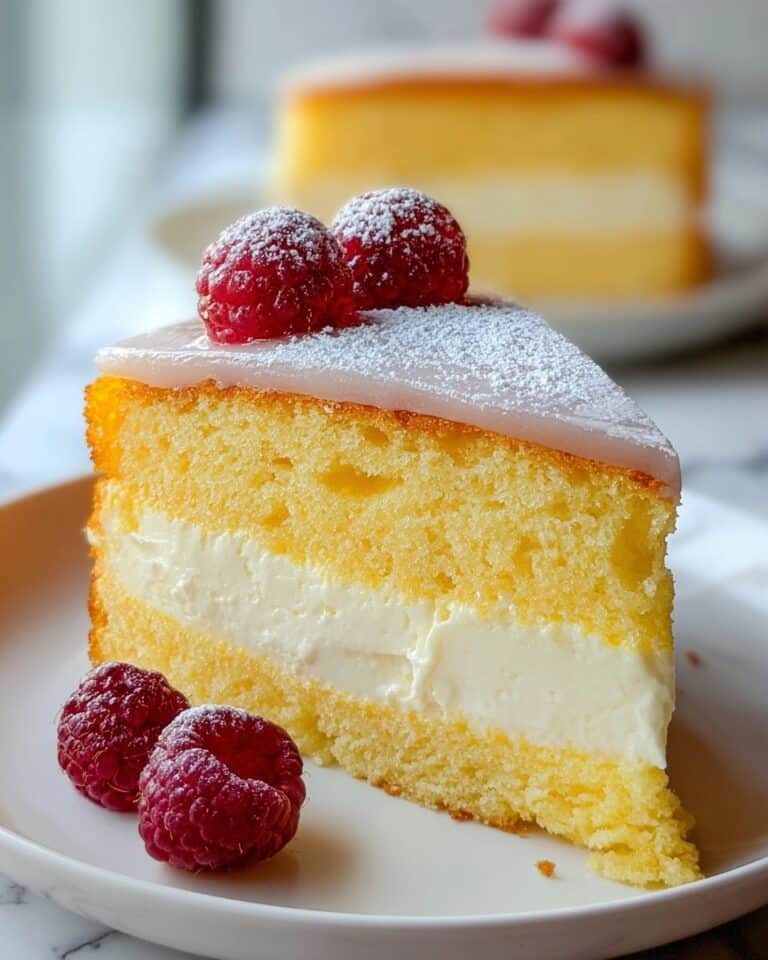
If you’re hunting for a bright, zesty treat that combines the buttery richness of a cookie with the tangy delight of lemon bars, then this Mouthwatering Lemon Bar Cookie Cups Recipe is exactly what you need in your dessert repertoire. Imagine a crisp, golden cookie base that’s perfectly crumbly, topped with a luscious, glossy lemon filling that’s just the right balance of sweet and tart. These little cups not only look adorable but deliver a burst of sunshine with every bite, making them perfect for gatherings, afternoon snacks, or simply indulging yourself when life calls for a citrusy pick-me-up.

Ingredients You’ll Need
Getting ready to whip up this Mouthwatering Lemon Bar Cookie Cups Recipe is a joy because it only calls for simple, pantry-friendly ingredients. Each component plays a vital role in crafting the perfect balance of texture and flavor—from the buttery cookie crust that offers a tender crispness to the fresh lemon juice that infuses the filling with that unmistakable zing.
- 1 cup all-purpose flour: Provides structure for the cookie crust and helps thicken the lemon filling for that ideal set.
- 1/2 cup unsalted butter, softened: Adds rich, creamy moisture to the crust and helps achieve that tender crumble.
- 1/4 cup granulated sugar (for cookie base): Sweetens the crust without overpowering the lemon topping.
- 1/4 teaspoon salt: Enhances the flavors and balances the sweetness beautifully.
- 2 large eggs: Bind the lemon filling together and create that silky smooth texture.
- 3/4 cup granulated sugar (for lemon filling): Sweetens the lemon layer while letting the citrus notes shine through.
- 2 tablespoons all-purpose flour (for lemon filling): Helps firm up the lemon mixture so it sets perfectly.
- 1/4 cup fresh lemon juice (about 2 lemons): The star ingredient that brings tang, brightness, and freshness.
- 1 teaspoon lemon zest: Adds an aromatic burst of citrus oil, enhancing flavor complexity.
How to Make Mouthwatering Lemon Bar Cookie Cups Recipe
Step 1: Preheat and Prepare Your Pan
Start by setting your oven to 350°F (175°C). While it warms up, grease a 12-cup muffin tin or line it with paper liners if you prefer easier cleanup and a cute presentation. This simple prep step ensures your cookie cups come out effortlessly.
Step 2: Cream the Butter and Sugar
In a mixing bowl, cream together the softened unsalted butter and 1/4 cup granulated sugar until light and fluffy. This process incorporates air that helps make your cookie crust tender and soft rather than dense.
Step 3: Add Dry Ingredients for Crust
Next, mix in 1 cup of all-purpose flour and 1/4 teaspoon salt into the butter mixture until a crumbly dough forms. Don’t overmix at this stage—just enough to bring everything together is perfect.
Step 4: Press Dough into Muffin Cups
Take about a tablespoon of this crumbly dough and press it evenly into the bottom of each muffin cup. This will form your buttery cookie base, so aim for an even layer that covers the tin for that perfect balance in every bite.
Step 5: Bake the Crust
Bake the crusts for 10 to 12 minutes or until they’re just starting to turn golden on the edges. This slight browning builds a flavorful foundation that will hold the luscious lemon filling without getting soggy.
Step 6: Whisk Together the Lemon Filling
While the crusts bake, whisk together 2 eggs, 3/4 cup granulated sugar, 2 tablespoons flour, freshly squeezed lemon juice, and one teaspoon lemon zest until smooth and glossy. This mixture is the magic that creates the mouth-puckering yet sweet lemon topping.
Step 7: Pour Lemon Filling Over Hot Crusts
Once the crusts are out of the oven, pour the lemon filling evenly over each warm cookie base, filling almost to the top. The warmth of the crust helps the filling start to set as it bakes again.
Step 8: Bake Until Filling Sets
Bake the filled cups for another 15 to 18 minutes. The filling should be set but still slightly jiggly in the center, just like the classic lemon bar texture we all adore.
Step 9: Cool and Chill
Allow your lemon bar cookie cups to cool completely in the muffin tin, then pop them into the fridge for at least an hour. This chilling step firms up the filling further and makes serving easier and more elegant.
How to Serve Mouthwatering Lemon Bar Cookie Cups Recipe
Garnishes
Enhance these delightful treats with a light dusting of powdered sugar or a thin curl of lemon zest for a fresh, pretty finish. If you want to get creative, a tiny mint leaf or edible flower can add a touch of sophistication and color contrast to your presentation.
Side Dishes
These lemon bar cookie cups pair beautifully with a scoop of vanilla ice cream or a dollop of freshly whipped cream for dessert. For a daytime treat, a cup of hot tea or a bright, citrusy cocktail complements the zesty flavors perfectly.
Creative Ways to Present
Try serving these in a pretty cupcake liner or arranging them on a rustic wooden board with fresh lemon wedges scattered around. For parties, place small decorative flags or toothpicks adorned with cheerful messages to personalize the experience.
Make Ahead and Storage
Storing Leftovers
Keep any leftover Mouthwatering Lemon Bar Cookie Cups Recipe in an airtight container in the refrigerator. They’ll stay fresh and delicious for up to four days, making them the perfect make-ahead treat for busy weeks or unexpected guests.
Freezing
If you want to save these for longer, freeze them in a single layer on a baking sheet before transferring to a freezer-safe container. When properly stored, they’ll maintain their texture and flavor for up to two months.
Reheating
When reheating, let your lemon bar cookie cups thaw in the fridge overnight, then bring them to room temperature or warm them gently in the oven for 5 to 7 minutes to revive their fresh-baked charm without melting the filling.
FAQs
Can I use bottled lemon juice instead of fresh lemon juice?
Fresh lemon juice is best because it offers brighter flavor and natural acidity, but if you’re in a pinch, high-quality bottled lemon juice will work. Just make sure it’s 100% lemon juice with no added sugars or preservatives.
What’s the best way to get the lemon filling to set properly?
The two tablespoons of flour help thicken the lemon filling, and baking until it’s just set but still slightly jiggly ensures the perfect custard-like texture that firms up as it chills.
Can I make this gluten-free?
Yes! Replace the all-purpose flour in both the crust and filling with a gluten-free flour blend that measures cup for cup for best results. Keep in mind texture may vary slightly depending on your flour choice.
How do I prevent the crust from becoming soggy?
Baking the crust before adding the lemon filling creates a sturdy layer that resists sogginess. Make sure to press the dough evenly and avoid overfilling with lemon mixture to keep things balanced.
Are these cookie cups suitable for parties?
Absolutely! Their charming size and bright flavor make them perfect bite-sized desserts that guests will love. They’re easy to serve, look attractive on a tray, and offer that refreshing tang everyone appreciates.
Final Thoughts
Now that you have this delightful Mouthwatering Lemon Bar Cookie Cups Recipe in your back pocket, I encourage you to dive into the kitchen and let those zesty, buttery vibes fill your space. Whether it’s for a casual get-together or a simple moment of self-care, these lemon bar cookie cups bring joy and sunshine with every forkful. Happy baking and even happier tasting!
“`
Print
Mouthwatering Lemon Bar Cookie Cups Recipe
- Prep Time: 20 minutes
- Cook Time: 30 minutes
- Total Time: 1 hour 45 minutes
- Yield: 12 servings
- Category: Dessert
- Method: Baking
- Cuisine: American
Description
These Mouthwatering Lemon Bar Cookie Cups combine a buttery, crumbly cookie crust with a tangy and sweet lemon filling. Perfectly portioned into muffin tins, these delightful treats offer a refreshing citrus flavor with a smooth, custard-like texture that sets beautifully after baking and chilling. Ideal for summer gatherings or a bright dessert anytime.
Ingredients
Cookie Base
- 1 cup all-purpose flour
- 1/2 cup unsalted butter, softened
- 1/4 cup granulated sugar
- 1/4 teaspoon salt
Lemon Filling
- 2 large eggs
- 3/4 cup granulated sugar
- 2 tablespoons all-purpose flour
- 1/4 cup fresh lemon juice (about 2 lemons)
- 1 teaspoon lemon zest
Instructions
- Preheat and Prepare Muffin Tin: Preheat your oven to 350°F (175°C). Grease a 12-cup muffin tin or line it with paper liners to prevent sticking.
- Make Cookie Base Dough: Cream together the softened butter and 1/4 cup granulated sugar until light and fluffy, about 2-3 minutes using a hand mixer or stand mixer on medium speed.
- Add Dry Ingredients to Dough: Gradually add 1 cup all-purpose flour and 1/4 teaspoon salt to the butter mixture and mix until a crumbly dough forms.
- Form the Crust in Muffin Cups: Press approximately 1 tablespoon of the dough evenly into the bottom of each muffin cup, creating a thin cookie crust layer.
- Bake Cookie Crusts: Bake the crusts for 10-12 minutes until they are lightly golden around the edges. Remove the tin from the oven.
- Prepare Lemon Filling: In a separate bowl, whisk together 2 large eggs, 3/4 cup granulated sugar, 2 tablespoons all-purpose flour, 1/4 cup fresh lemon juice, and 1 teaspoon lemon zest until the mixture is smooth and well combined.
- Fill Muffin Cups: Pour the lemon filling evenly over the hot cookie crusts in each muffin cup, filling almost to the top.
- Bake Lemon Bars: Return the muffin tin to the oven and bake for an additional 15-18 minutes, or until the lemon filling is set but still slightly jiggly in the center.
- Cool and Chill: Allow the lemon bar cookie cups to cool completely in the muffin tin before transferring to the refrigerator. Chill for at least 1 hour to ensure the filling fully sets and flavors meld.
Notes
- Use fresh lemon juice and zest for the most vibrant flavor.
- Make sure the butter is softened, not melted, for the best cookie texture.
- Chilling the bars before serving helps achieve the perfect texture.
- Store leftovers in an airtight container in the refrigerator for up to 3 days.
- You can line the muffin tin with paper liners to make removal easier.


