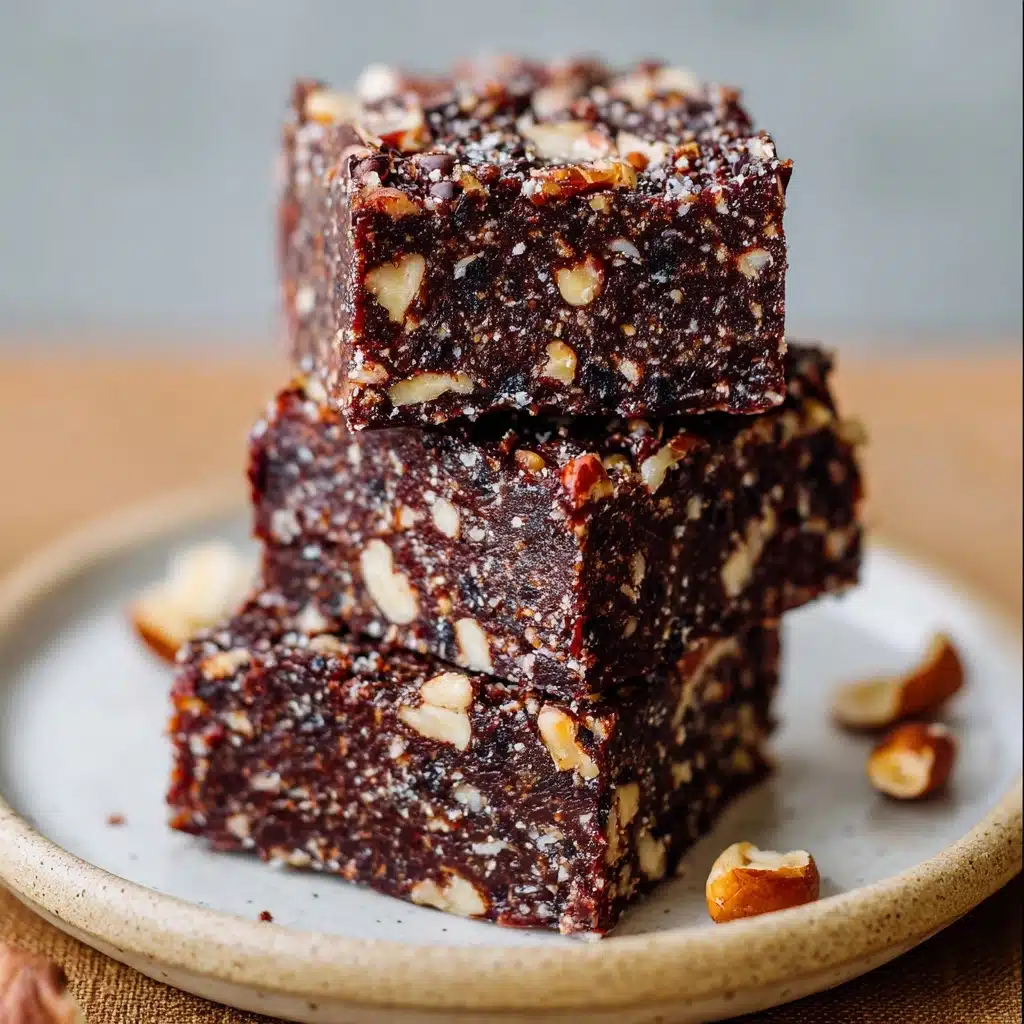
If you ever wished for a dessert that could be both an indulgent treat and a nourishing snack, then you’re going to fall in love with Mom’s Health Fudge. This delightfully rich fudge has been a cherished favorite in my home for years, combining just the right touch of sweetness, a creamy melt-in-your-mouth texture, and wholesome ingredients you can actually feel good about. Every square serves up memories of family gatherings and guilt-free moments of chocolate bliss, proving that comfort food and nutrition can absolutely belong together.
Ingredients You’ll Need
What makes Mom’s Health Fudge so special is its simplicity: every ingredient matters, bringing flavor, texture, or that signature fudgy finish to the table. Gather these pantry staples, and you’ll be ready to whip up a batch in no time.
- Natural peanut butter: Creamy, unsweetened peanut butter binds everything together and adds a luscious, nutty flavor.
- Cocoa powder: Rich, unsweetened cocoa creates that deep chocolate taste you crave in classic fudge, but with a healthy twist.
- Honey: Nature’s sweetener brings just enough sweetness while keeping things wholesome and unprocessed.
- Coconut oil: This smooth, plant-based fat keeps the fudge soft, creamy, and dairy-free.
- Vanilla extract: A splash of pure vanilla rounds out the flavors for true fudge bliss in every bite.
- Pinch of sea salt: Just a little lifts the chocolate flavor and keeps things balanced—not too sweet, not too salty, just right.
How to Make Mom’s Health Fudge
Step 1: Melt and Mix
Start by gently melting the coconut oil in a small saucepan over low heat. Once liquefied, stir in the peanut butter and honey, combining until the mixture is velvety-smooth and all the ingredients are fully integrated. The warmth will make everything blend together like a dream—don’t rush this part!
Step 2: Cocoa and Vanilla
Remove the saucepan from heat and sift in the cocoa powder. Sifting ensures your Mom’s Health Fudge comes out perfectly smooth, without any unsightly lumps. Add the vanilla extract and whisk until the entire mixture turns a glossy deep brown and looks irresistible (you’ll want to sneak a taste).
Step 3: Add a Pinch of Salt
Sprinkle in your sea salt and give everything one last stir. That little touch of salt truly makes the chocolate sing and balances the sweetness, elevating your fudge from “good” to “how did I ever live without this?”
Step 4: Pour and Chill
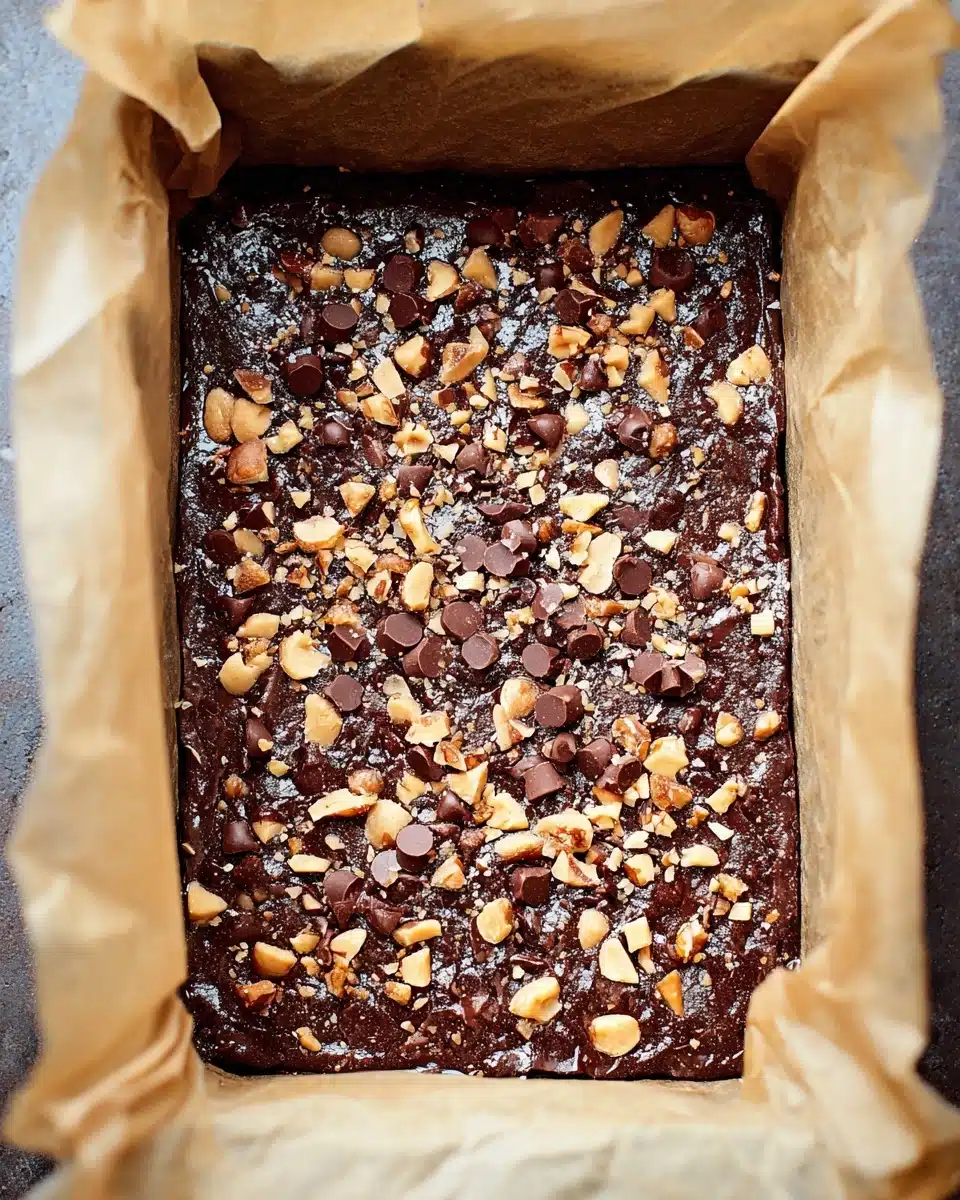
Pour the glossy mixture into a parchment-lined loaf pan or small baking dish, smoothing the top with a spatula. Pop it in the refrigerator and let it chill for at least two hours—patience pays off! This is when the magic happens: the fudge firms up and the flavors intensify.
Step 5: Slice and Serve
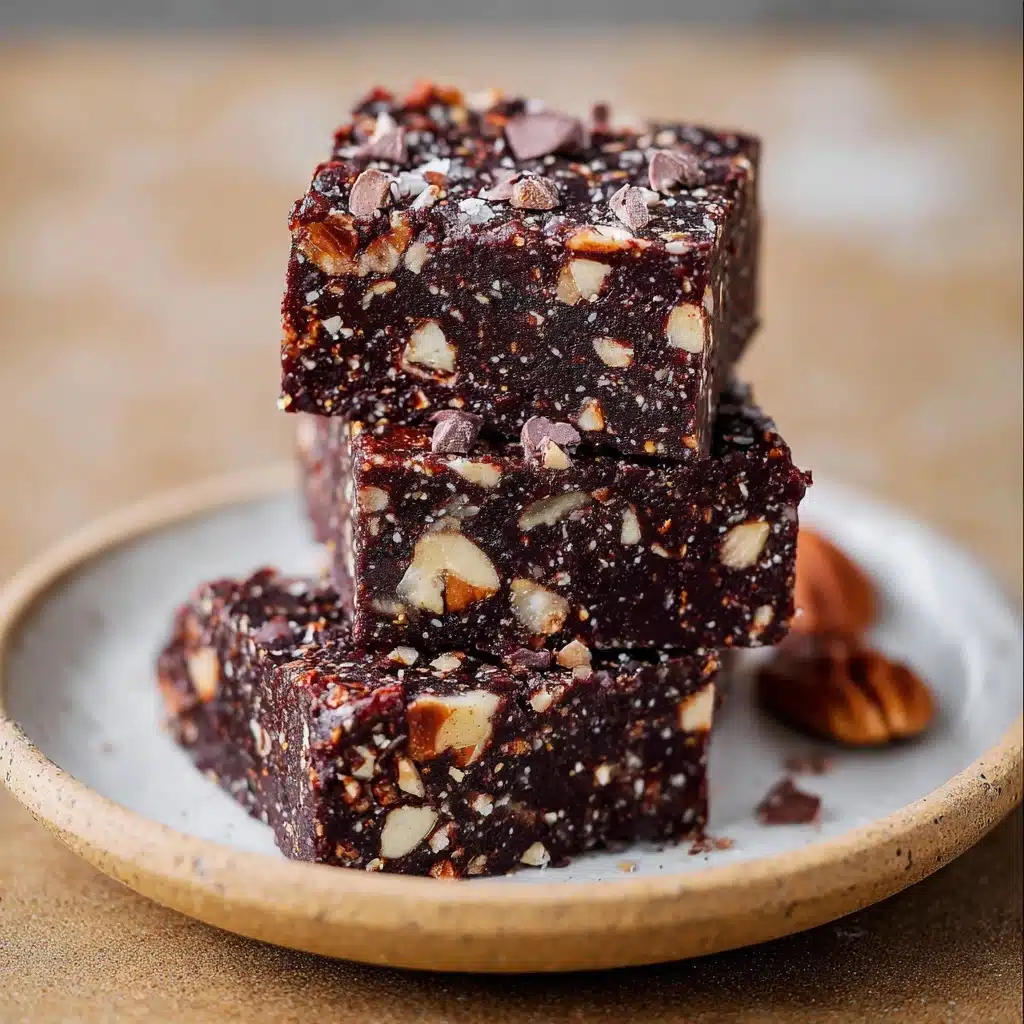
Once set, use the parchment to easily lift the fudge from the pan. Cut into small squares (trust me, a little goes a long way) and marvel at how perfect each piece looks. Your kitchen will smell incredible, and every bite of Mom’s Health Fudge will have the ideal combination of creamy, chocolatey, and perfectly nutty bliss.
How to Serve Mom’s Health Fudge
Garnishes
This fudge shines on its own, but if you want to add a little flair, try sprinkling toasted chopped nuts, shredded coconut, or cacao nibs over the top before chilling. A dusting of flaky sea salt just before serving is another crowd-pleasing finishing touch.
Side Dishes
Keep things simple and healthy with a side of fresh berries or sliced fruit for a naturally sweet pairing. For a more indulgent treat, serve Mom’s Health Fudge with a scoop of Greek yogurt or a drizzle of almond butter alongside a piping hot coffee or herbal tea.
Creative Ways to Present
Try layering the fudge between sheets of wax paper in a decorative box for easy gift giving—people will adore the homemade touch. You can also cut the fudge into hearts or other shapes using mini cookie cutters, perfect for celebrations or just making an ordinary day special.
Make Ahead and Storage
Storing Leftovers
Store any remaining Mom’s Health Fudge in an airtight container in the fridge. It’ll stay wonderfully fresh and firm for up to ten days, though it rarely lasts that long at my house!
Freezing
This fudge freezes beautifully. Wrap individual pieces in parchment paper and pop them in a freezer-safe bag or container. When cravings strike, just grab a square and let it thaw for a few minutes—still as creamy and delicious as ever.
Reheating
No reheating needed! Mom’s Health Fudge is best eaten cold or at cool room temperature for the ultimate fudgy texture. If you prefer a softer bite, let it sit at room temp for a few minutes before serving.
FAQs
Can I use almond butter instead of peanut butter?
Absolutely! Almond butter swaps in seamlessly for peanut butter, making the fudge just as creamy and rich. You can also experiment with cashew butter or sunflower seed butter for different flavor notes.
Is there a way to make this fudge vegan?
Yes, simply substitute the honey with maple syrup or agave nectar. The flavor will shift slightly, but Mom’s Health Fudge will still be luscious and entirely plant-based.
How do I keep the fudge from sticking to the pan?
Line your pan with parchment paper, making sure there’s an overhang on the sides for easy lifting. This makes removing and slicing the fudge a total breeze, with no frustrating cleanup.
Can I double the recipe for a crowd?
Definitely! Just use a larger baking dish, and keep the thickness of the fudge similar for even chilling. It’s a hit at potlucks and parties, so don’t be surprised when everyone asks for your secret.
What’s the best way to cut the fudge cleanly?
Chill the fudge until it’s nice and firm, then use a sharp knife dipped in hot water and wiped dry between slices. This gives you those picture-perfect squares that are almost too pretty to eat—almost!
Final Thoughts
I can’t recommend Mom’s Health Fudge enough: it’s lovingly simple, honestly delicious, and sneaks a little extra nourishment into your dessert life. If you haven’t tried it yet, now’s the perfect time to treat yourself and your loved ones to this sweet, satisfying classic. Happy fudging!
Print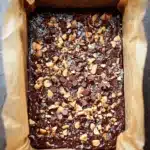
Mom’s Health Fudge Recipe
- Prep Time: 10 minutes
- Cook Time: 5 minutes
- Total Time: 15 minutes (plus chilling)
- Yield: 16 small squares
- Category: Dessert
- Method: No-Bake
- Cuisine: American
- Diet: Vegetarian
Description
A wholesome, rich, and creamy chocolate fudge made with nourishing ingredients like natural peanut butter, honey, cocoa, and coconut oil. A perfect treat that doubles as a guilt-free snack.
Ingredients
- 1/2 cup natural peanut butter (unsweetened)
- 1/4 cup coconut oil
- 1/4 cup honey
- 1/4 cup unsweetened cocoa powder
- 1 tsp vanilla extract
- Pinch of sea salt
Instructions
- In a small saucepan over low heat, melt coconut oil.
- Stir in peanut butter and honey until smooth and fully combined.
- Remove from heat and sift in cocoa powder. Add vanilla extract and whisk until mixture is glossy and smooth.
- Stir in a pinch of sea salt.
- Pour mixture into a parchment-lined loaf pan or small baking dish. Smooth the top with a spatula.
- Refrigerate for at least 2 hours until firm.
- Lift fudge from pan using parchment, cut into squares, and serve.
Notes
- Optional toppings: chopped nuts, shredded coconut, cacao nibs, or flaky sea salt before chilling.
- Pairs well with fresh berries, yogurt, or coffee/tea.
- Use almond, cashew, or sunflower seed butter as alternatives.
- Maple syrup or agave nectar can be used instead of honey for a vegan version.

