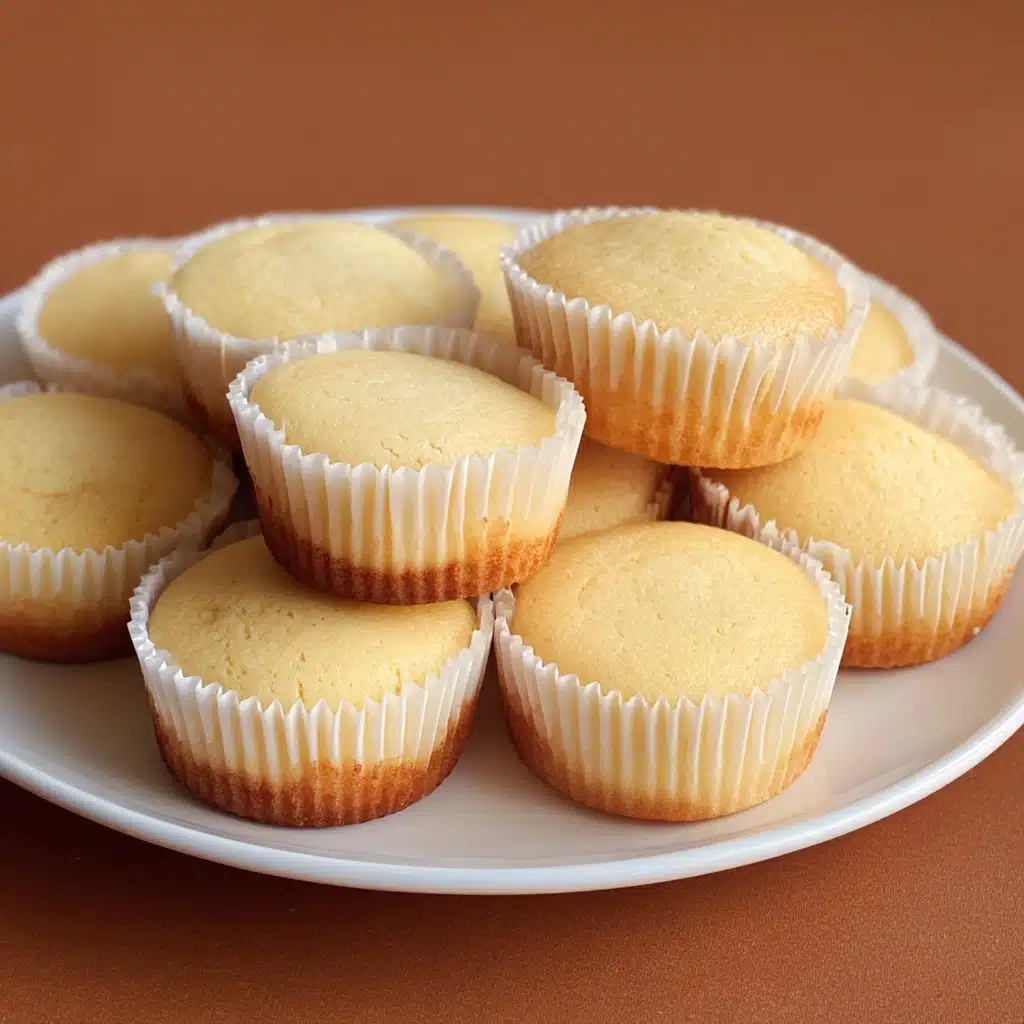
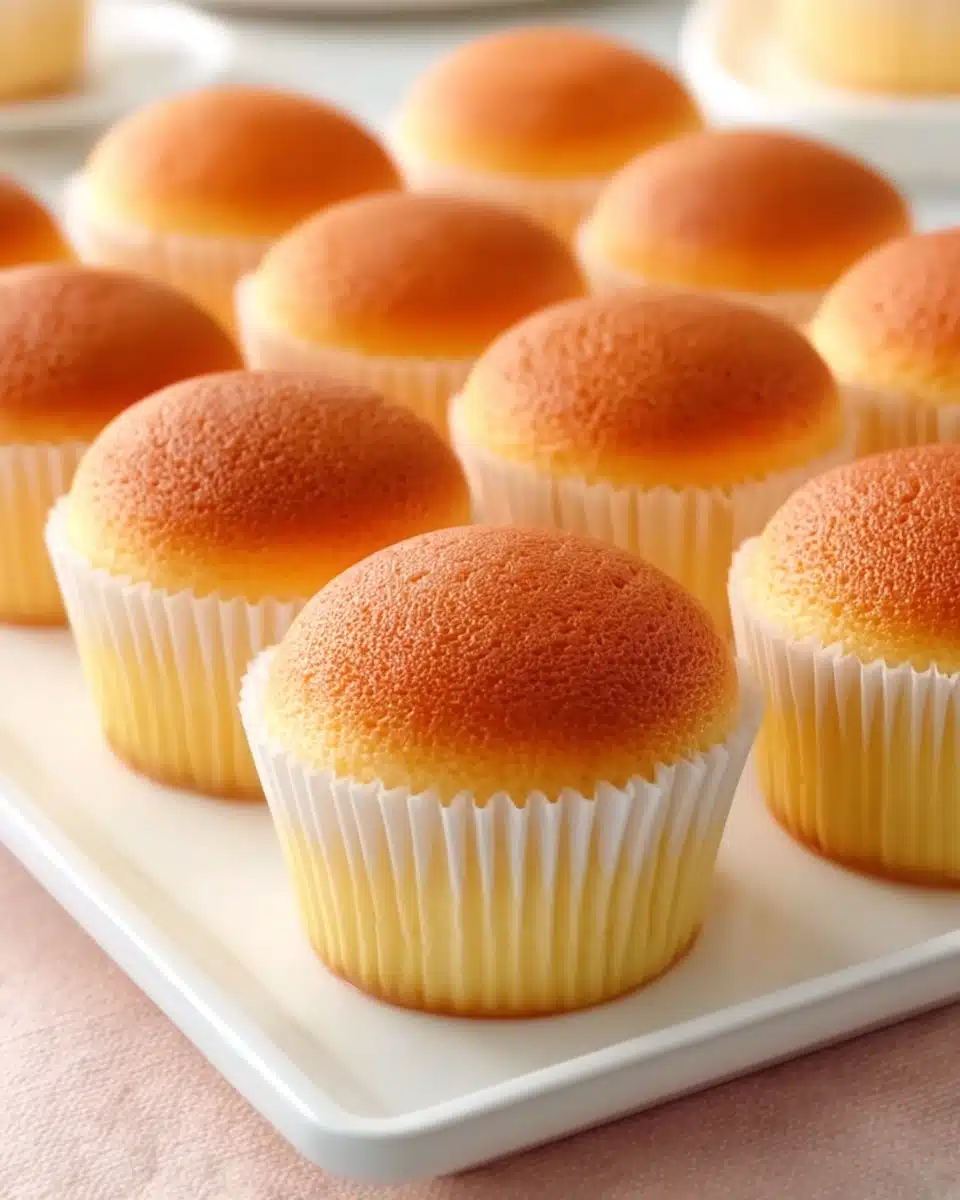
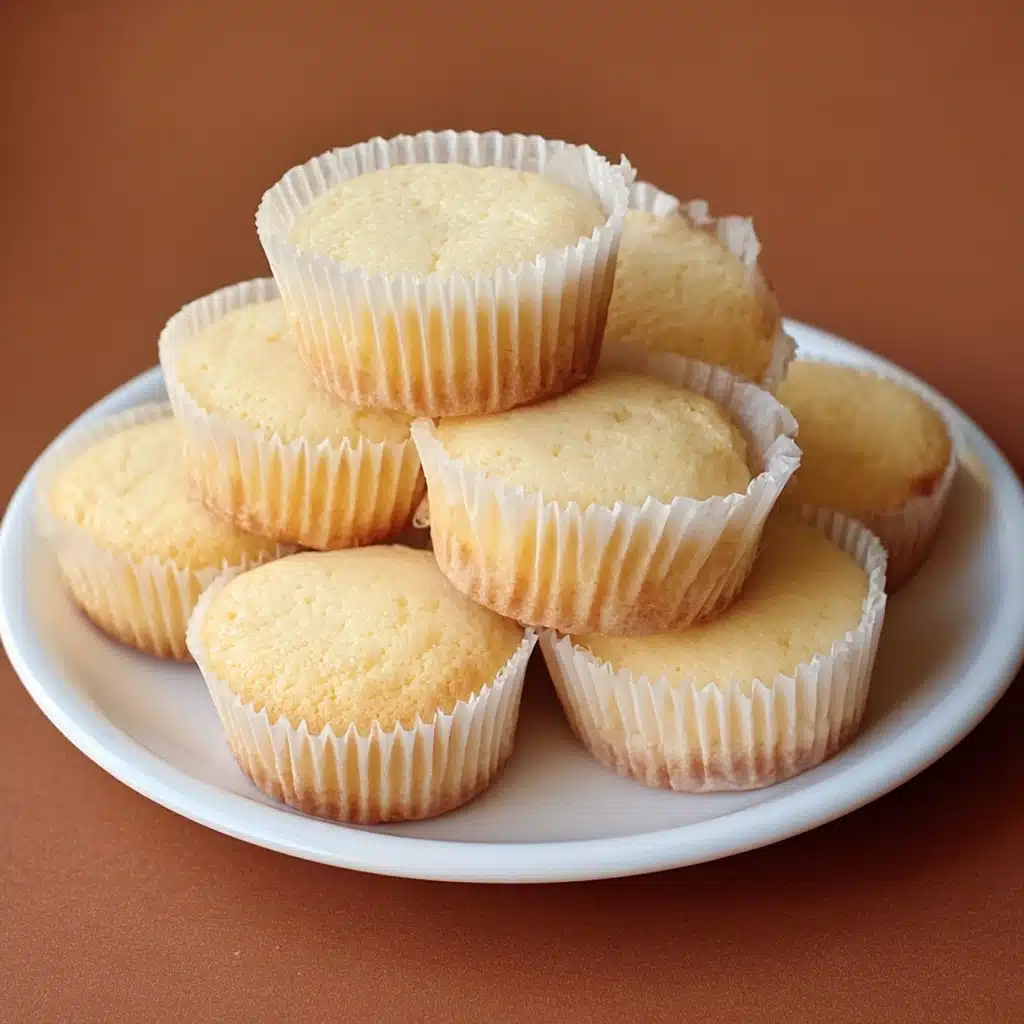
If you’re searching for a sweet treat that’s as adorable as it is delicious, look no further than this mini sponge cake recipe. Each bite is full of airy lightness and melt-in-your-mouth delicacy, making them perfect for enjoying with your afternoon tea, celebrating special moments, or simply toasting to the end of a long week. With just a handful of common pantry ingredients, you’ll be whisking together golden, fluffy mini sponge cakes that look irresistible and taste even better. Whether you dress them up with berries, cream, or a dusting of powdered sugar, these little cakes are a true crowd-pleaser.
Ingredients You’ll Need
What I love most about these mini sponge cakes is how a few simple staples can transform into something truly magical. Each ingredient plays a vital role, ensuring perfect taste, texture, and that signature sponge color that makes these cakes so inviting.
- Eggs: The secret to a classic mini sponge cake’s light, airy texture—make sure they’re at room temperature for maximum fluffiness.
- Granulated Sugar: Sweetness and structure in one—beat it with the eggs to build the cake’s signature rise.
- All-Purpose Flour: This gives the mini sponge cakes their body, but be sure to sift for the softest crumb.
- Cornstarch: A touch of cornstarch keeps each cake impossibly tender and gives it that delicate bite.
- Vanilla Extract: Just a splash infuses a lovely fragrance that lifts the whole cake.
- Salt: Enhances every flavor, making the sweetness and vanilla pop.
- Powdered Sugar (for dusting): Optional, but makes each mini sponge cake look like it belongs in a bakery window.
How to Make Mini Sponge Cake
Step 1: Prepare Your Equipment
Start by preheating your oven to 350°F (175°C). Depending on your preference, you can use a mini muffin tin or individual silicone molds for your mini sponge cakes—just be sure to grease and flour them well, so those delicate beauties pop out easily later. Lining the bottoms with circles of parchment paper is another great tip for a guaranteed easy release.
Step 2: Whip the Eggs and Sugar
Crack the eggs into a large mixing bowl and add the granulated sugar. Using an electric mixer, beat on medium-high until the mixture triples in volume, thickens, and turns a pale, buttery yellow. This should take about 6–8 minutes and is an important step—it’s the air whipped into the eggs that will make your mini sponge cakes so perfectly light.
Step 3: Sift and Fold in the Dry Ingredients
In a separate bowl, combine your flour, cornstarch, and a pinch of salt. Sift this mixture over the egg and sugar foam to avoid dense patches. Grab a spatula and gently fold the dry ingredients into the egg mixture, working carefully to keep as much air in the batter as possible—think delicate scoops, not stirring. It’s worth the patience!
Step 4: Add Vanilla and Fill the Molds
Drizzle in your vanilla extract, gently folding it into the batter. Spoon the batter into your prepared molds, filling each about two-thirds full—you want to leave room for them to rise into perfect little domes. Give the tin a gentle tap on the counter to remove air bubbles.
Step 5: Bake to Golden Perfection
Slide your tray into the oven and bake for around 12–15 minutes. You’ll know your mini sponge cakes are ready when they’re springy to the touch and a toothpick inserted into the center comes out clean. Try not to overbake, as you want them moist and soft. Let them cool a few minutes before gently turning them out onto a wire rack.
Step 6: Cool and Finish
Once cool, dust your mini sponge cakes with powdered sugar or get ready to take them up a notch with your favorite toppings. Their simple yet beautiful finish makes them incredibly versatile for any occasion.
How to Serve Mini Sponge Cake

Garnishes
A classic mini sponge cake needs only a pretty dusting of powdered sugar for timeless elegance, but don’t stop there! Try topping them with a dollop of whipped cream, a few juicy berries, or even a drizzle of chocolate sauce. Lemon zest, edible flowers, or a sliver of candied orange peel can also add delightful color and zing.
Side Dishes
These mini sponge cakes shine beside a scoop of vanilla ice cream, a spoonful of berry compote, or a silky custard sauce. Hosting afternoon tea? Arrange them alongside fresh fruit and sandwiches for a charming, dainty spread that’ll have your guests swooning.
Creative Ways to Present
Single-serve appeal is half the magic! Stack mini sponge cakes in tiers for special occasions, tuck them into paper cupcake wrappers for easy gifting, or create a “cake flight” with different fillings and toppings. They’re wonderful for children’s parties, showers, or whenever you need something as fun as it is delicious.
Make Ahead and Storage
Storing Leftovers
If you find yourself with extra mini sponge cakes, store them in an airtight container at room temperature for up to two days. Keep them away from direct sunlight or heat to maintain their soft, spongy texture.
Freezing
Mini sponge cakes freeze beautifully! Let them cool completely, then wrap individually in plastic wrap and place in a freezer bag. They’ll keep for up to one month. Thaw at room temperature for a tender cake just like fresh.
Reheating
For that warm, just-baked feel, microwave a mini sponge cake for 10–15 seconds, or pop it in a low oven (300°F/150°C) for a few minutes. This revives its delicious softness while preserving the flavor.
FAQs
Can I flavor the mini sponge cake with citrus or other extracts?
Absolutely! Lemon, orange, or almond extracts make wonderful additions. Simply replace or supplement part of the vanilla extract to create your own signature twist.
How do I prevent my mini sponge cake from deflating?
To keep them fluffy, be gentle when folding in the flour and avoid overmixing. Also, make sure your oven is fully preheated before baking, so the cakes can set quickly and hold their rise.
What’s the best way to fill mini sponge cakes?
Once cooled, slice them in half and spread with jam, lemon curd, or whipped cream. You can also pipe a filling right into the center for a fun surprise!
Can I make these mini sponge cakes gluten-free?
Yes, substitute a cup-for-cup gluten-free flour blend for the all-purpose flour. The texture may change slightly, but they’ll still taste lovely and light.
What can I do if I don’t have mini molds?
You can use a standard muffin tin and fill each well just a third of the way. Alternatively, bake the batter in a sheet pan, then cut out circles using a cookie cutter for a true mini sponge cake shape.
Final Thoughts
Once you taste your homemade mini sponge cake, you’ll understand why it’s my go-to treat for almost any occasion. They’re simple, uplifting, and impossible to resist—so grab your favorite ingredients and give these delightful cakes a try!
Print
Mini Sponge Cake Recipe
- Prep Time: 15 minutes
- Cook Time: 15 minutes
- Total Time: 30 minutes
- Yield: 12 mini cakes
- Category: Dessert
- Method: Baking
- Cuisine: European
- Diet: Vegetarian
Description
Airy, light, and delightfully soft, these mini sponge cakes are a classic treat perfect for tea time, celebrations, or anytime indulgence.
Ingredients
- 3 large eggs, room temperature
- 1/2 cup granulated sugar
- 1/2 cup all-purpose flour
- 1 tbsp cornstarch
- 1/2 tsp vanilla extract
- 1/8 tsp salt
- Powdered sugar, for dusting (optional)
Instructions
- Preheat oven to 350°F (175°C). Grease and flour mini muffin tins or silicone molds. Optionally line bottoms with parchment rounds.
- In a large mixing bowl, beat eggs and granulated sugar with an electric mixer on medium-high for 6-8 minutes until thick and pale.
- Sift together flour, cornstarch, and salt. Gently fold into the egg mixture in batches, keeping the batter airy.
- Stir in vanilla extract, folding gently to incorporate.
- Fill molds two-thirds full with batter. Tap tray gently to release bubbles.
- Bake for 12-15 minutes until cakes are springy and a toothpick comes out clean. Let cool slightly before turning out onto a wire rack.
- Once cool, dust with powdered sugar or top as desired.
Notes
- Top with whipped cream, berries, or citrus zest for extra flair.
- Use a muffin tin if mini molds are unavailable.
- Store in an airtight container for up to 2 days or freeze for a month.


