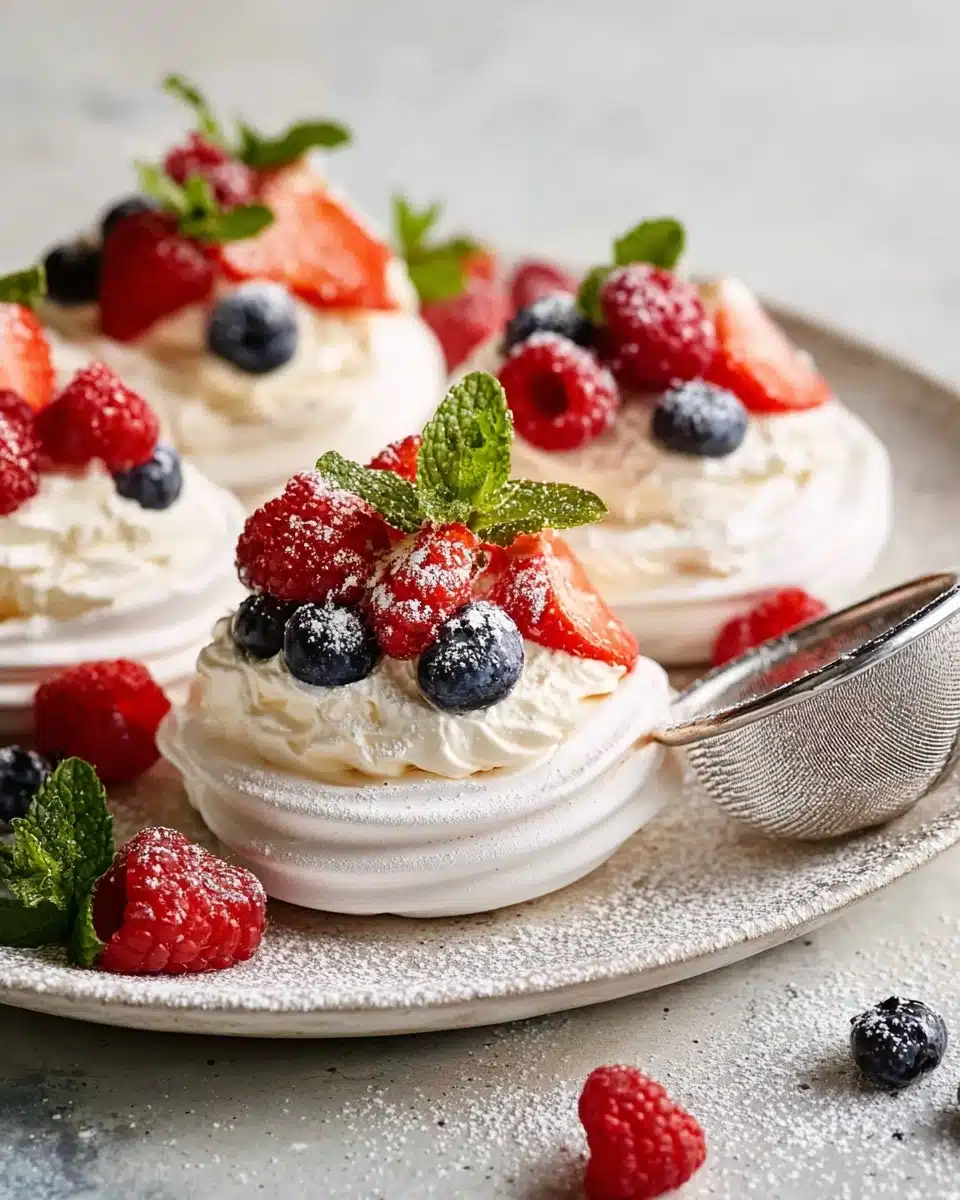
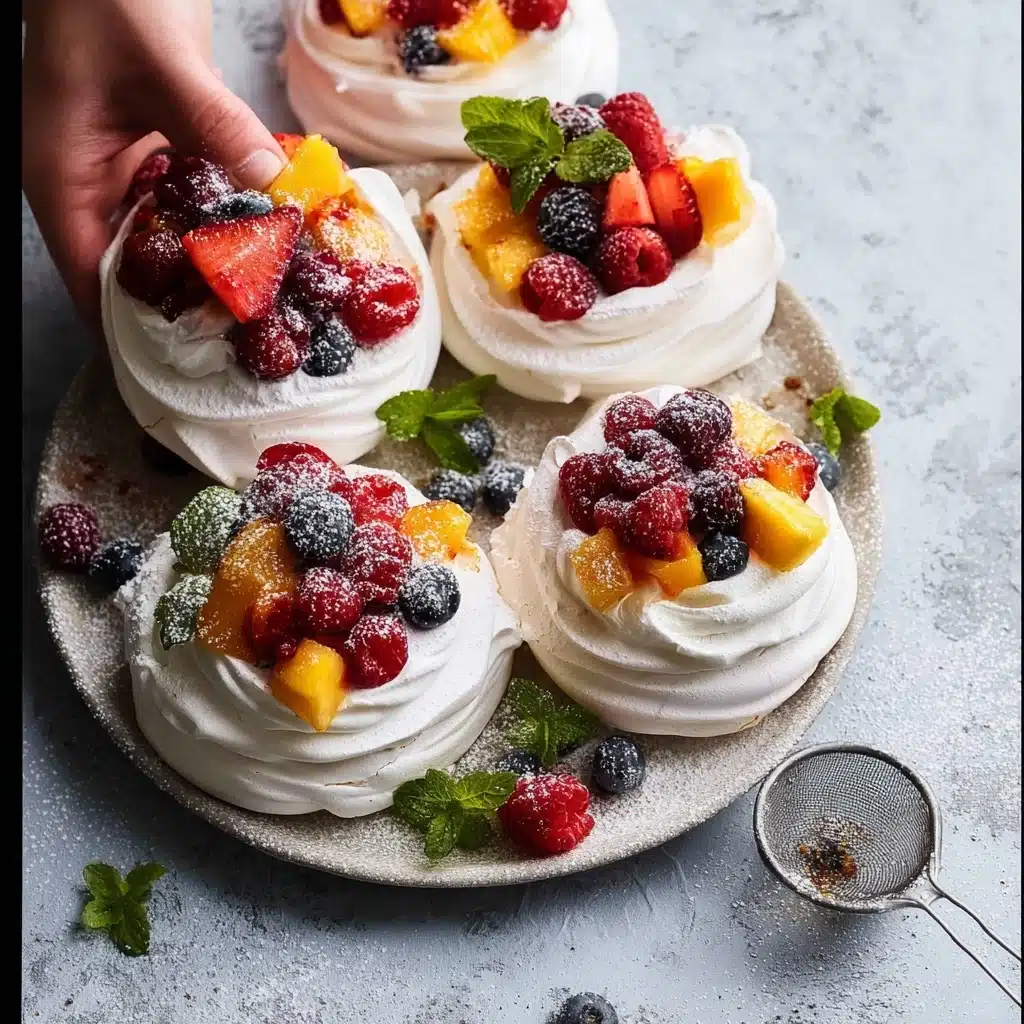
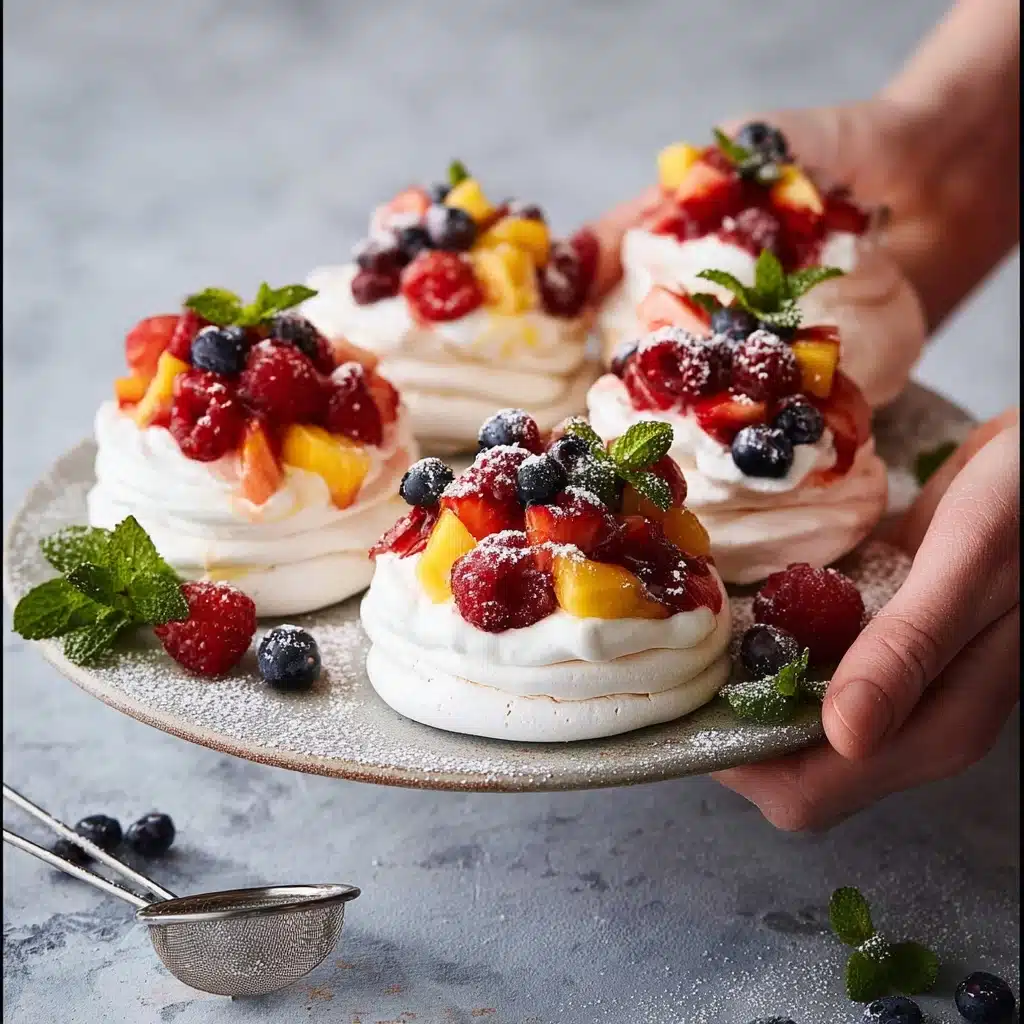
There’s just something utterly magical about whipping up a batch of Mini Pavlovas: each one is a crisp, fragile nest of meringue that shatters at the touch of a fork, revealing an airy, marshmallow-like center. These personal-sized treats brim with fresh whipped cream and glistening fruit, making every bite a perfect balance of sweet crunch, richness, and juicy brightness. If you’re looking for a dessert that feels decadent but is shockingly straightforward, these Mini Pavlovas are sure to enchant both bakers and guests alike.
Ingredients You’ll Need
Creating these whimsical Mini Pavlovas is all about a handful of simple ingredients treated with care. Each item brings something essential to the table, from the structure of egg whites to the sparkle of fresh fruit on top.
- Egg whites: The backbone of pavlovas! Make sure they’re at room temperature for maximum volume and stability.
- Granulated sugar: Essential for sweetening and turning your meringue glossy, smooth, and thick.
- Cornstarch: This helps stabilize the meringue and creates that signature marshmallowy center.
- White vinegar or lemon juice: A splash encourages a billowy texture and keeps your meringues from collapsing.
- Vanilla extract: Adds warmth and depth, turning a simple meringue into something special.
- Heavy cream: Whip this up for that soft, cloud-like topping that’s the perfect foil for the crisp shell.
- Powdered sugar: Just a spoonful sweetens the whipped cream and helps it hold its shape.
- Fresh fruit: The crowning glory—choose berries, kiwi, passion fruit, or whatever’s sweetest and prettiest.
How to Make Mini Pavlovas
Step 1: Whip the Egg Whites
Start with impeccably clean equipment (no trace of grease!) and cold eggs that you separate, then let the whites come to room temperature. Using a stand mixer or a hand mixer, beat the egg whites until soft peaks form, just foamy enough to hold their shape with a slight curl at the tip.
Step 2: Gradually Add Sugar
With the mixer running, slowly add the granulated sugar one heaping tablespoon at a time. Take your time—rushing can deflate the mixture. Beat until glossy, stiff peaks form; the meringue should be thick and able to hold its shape firmly. To tell if it’s ready, rub a bit between your fingers; it should feel smooth, not gritty.
Step 3: Fold in Cornstarch, Vinegar, and Vanilla
Turn off the mixer and gently fold in the cornstarch, vinegar, and vanilla extract with a spatula. These ingredients keep the meringues soft in the middle and full of subtle flavor. Take care not to over-mix—just fold until combined.
Step 4: Shape the Mini Pavlovas
On a parchment-lined baking sheet, drop generous spoonfuls of meringue, spacing them apart. Use the back of the spoon to swirl them into rustic round shapes, making a little dip in the center for the toppings. This is where each pavlova transforms into a charming mini bowl.
Step 5: Bake and Cool
Slide the tray into a low oven and bake until the outsides are dry but still snow-white. Turn off the oven, crack the door, and let the Mini Pavlovas cool gently inside. This slow cooling prevents sudden cracks and keeps the texture perfect.
Step 6: Assemble and Top
Whip the heavy cream with powdered sugar until soft peaks form. Just before serving, dollop the cream into the nest of each mini pavlova, then artfully pile on your chosen fruit. The contrast of smooth cream, crisp shell, and juicy topping is pure delight.
How to Serve Mini Pavlovas
Garnishes
Mini Pavlovas are an edible canvas—finish them with fresh mint leaves, a sprinkle of lemon zest, or even a drizzle of passion fruit pulp for extra flavor and a pop of color. The little final touches make a world of difference.
Side Dishes
Since Mini Pavlovas are sweet but light, they’re lovely alongside a shot of espresso, a pot of delicate tea, or even a sparkling glass of prosecco. Their airy texture also pairs well with a fruit salad or a few bite-sized cookies to round out the dessert table.
Creative Ways to Present
Try serving each mini pavlova on individual plates with a swipe of berry coulis underneath, or nestle them into cupcake wrappers for easy sharing at parties. For a playful twist, let guests assemble their own by setting up a “mini pavlova bar” with bowls of assorted fruit and toppings.
Make Ahead and Storage
Storing Leftovers
If you have a few extra Mini Pavlovas, store the unfilled meringues in an airtight container at room temperature for up to two days. Don’t refrigerate—moisture is their enemy! Store the whipped cream and fruit separately in the fridge and assemble just before eating for best texture.
Freezing
Believe it or not, you can freeze unfilled Mini Pavlovas! Place completely cooled meringues between layers of parchment in a sturdy, airtight container. When ready to serve, thaw at room temperature and add your toppings.
Reheating
Meringues don’t really need reheating, but if humidity has made them a bit chewy, you can perk them up by warming in a low oven (about 200°F) for 10 to 15 minutes. Let them cool before filling.
FAQs
Can I make Mini Pavlovas with brown sugar?
While traditional pavlovas use white sugar for their color and texture, you can experiment with superfine brown sugar for a caramelized flavor, though the meringue may have a slightly softer, creamier texture.
Why did my Mini Pavlovas crack?
Cracks happen when meringues cool too quickly or the oven temperature is too high. For best results, let them cool down slowly with the oven door ajar after baking.
What fruits work best for topping Mini Pavlovas?
Berries, passion fruit, sliced kiwi, mango, and even pomegranate seeds all bring color and juicy flavor. Avoid overly watery fruits like watermelon, which can make the meringue soggy.
Can I double the recipe for a larger crowd?
Absolutely! Just make sure to whip the egg whites in batches if your mixer is on the smaller side, as overcrowding the bowl can reduce volume and stability.
How far in advance can I assemble Mini Pavlovas?
Wait until just before serving to add whipped cream and fruit, as they’ll soften the meringue over time. Prep all the components ahead, then assemble for fresh, crisp results.
Final Thoughts
Few desserts combine elegance and ease as beautifully as Mini Pavlovas. Whether you’re looking to dazzle at your next dinner party or just crave a little everyday magic, these pillowy treats are always a joy to make and share. So gather your ingredients, unleash your creativity, and savor the sweet simplicity of your own homemade Mini Pavlovas!
Print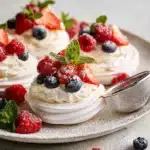
Mini Pavlovas Recipe
- Prep Time: 15 minutes
- Cook Time: 1 hour 15 minutes
- Total Time: 1 hour 30 minutes
- Yield: 8 servings
- Category: Dessert
- Method: Baking
- Cuisine: Australian/New Zealand
- Diet: Vegetarian
Description
Delicate, crispy meringue nests filled with creamy whipped topping and fresh fruit, creating the perfect balance of sweetness, texture, and flavor in every bite.
Ingredients
- 4 large egg whites (at room temperature)
- 1 cup granulated sugar
- 1 tsp cornstarch
- 1 tsp white vinegar or lemon juice
- 1 tsp vanilla extract
- 1 cup heavy cream
- 2 tbsp powdered sugar
- Fresh fruit (berries, kiwi, passion fruit, etc.) for topping
Instructions
- Preheat the oven to 250°F (120°C) and line a baking sheet with parchment paper.
- In a clean, dry bowl, beat egg whites until soft peaks form. Gradually add sugar one tablespoon at a time while beating, until stiff, glossy peaks form. Test the meringue by rubbing a little between your fingers—it should feel smooth, not gritty.
- Gently fold in cornstarch, vinegar, and vanilla extract.
- Drop generous spoonfuls of meringue onto the prepared baking sheet, forming rustic round shapes with a dip in the center to hold the filling. Use the back of the spoon to swirl the meringue into a nest shape.
- Bake for 1 hour to 1 hour 15 minutes until the pavlovas are dry to the touch and slightly golden on the outside. Turn off the oven, crack the door, and let the meringues cool completely inside to prevent cracking.
- While the meringues cool, whip the heavy cream with powdered sugar until soft peaks form.
- Once the meringues are cool, spoon whipped cream into the centers and top with fresh fruit. Serve immediately or store the meringues separately in an airtight container and assemble just before serving.
Notes
- If you prefer a caramelized flavor, you can experiment with brown sugar, though the meringue will be slightly softer.
- Ensure the egg whites are free from any yolk or grease, as this can affect their ability to whip properly.
- For best results, assemble the pavlovas just before serving to maintain the crisp texture of the meringue.

