

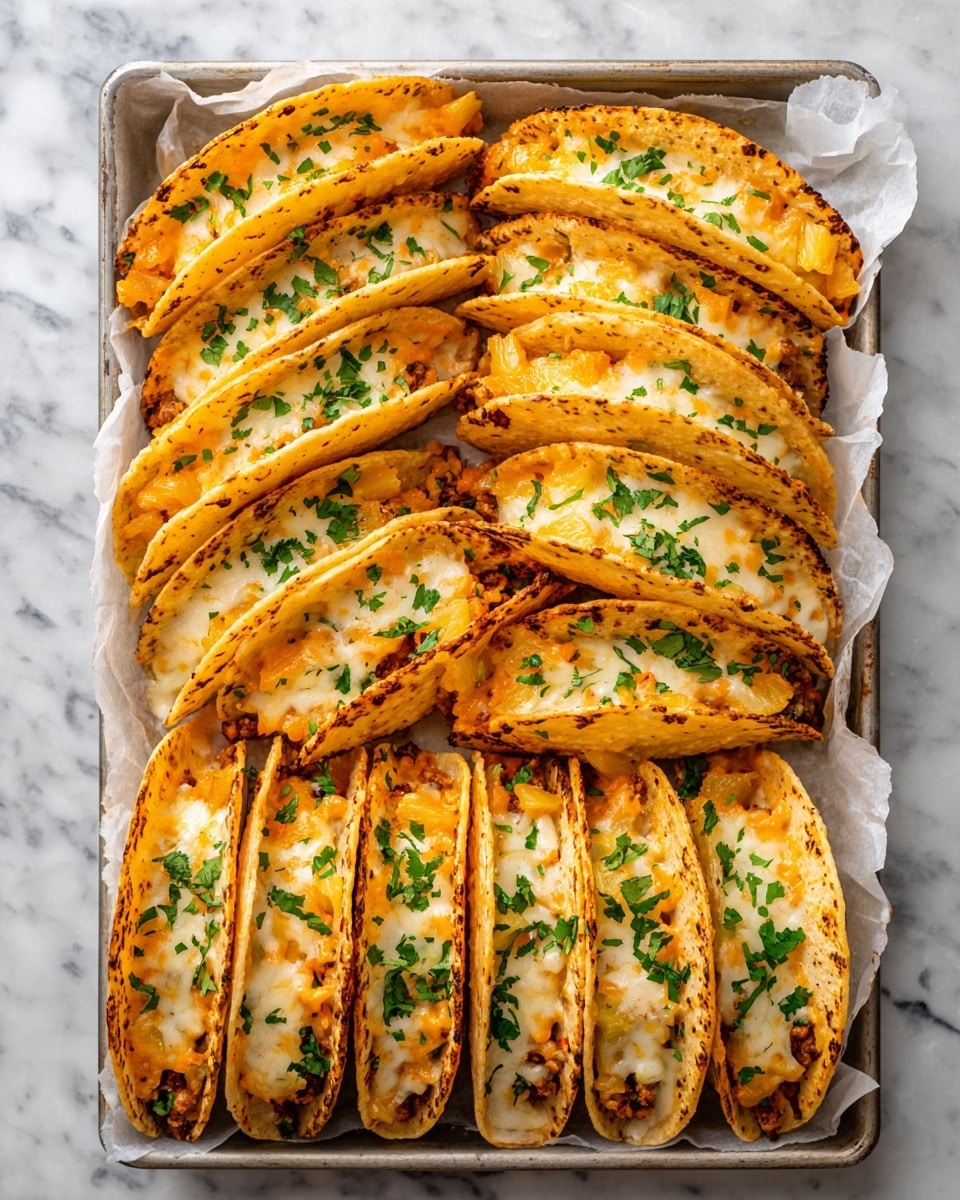
If you’ve been searching for a fun and flavorful twist on classic Mexican fare, this Mini Baked Chicken Tacos Recipe is exactly what you need in your kitchen rotation. These little taco cups pack all the vibrant zest of your favorite taco night into a perfectly crispy, handheld bite that’s as cute as it is delicious. Whether you’re hosting a party, craving a quick dinner, or want an impressive appetizer, these mini delights blend tender shredded chicken, aromatic spices, and gooey melted cheese all nestled inside crispy tortilla cups that everyone will rave about. Trust me, once you try this Mini Baked Chicken Tacos Recipe, it will become your go-to for any occasion.

Ingredients You’ll Need
Gathering the right ingredients is simpler than you think, and each one plays an important role in creating those irresistible flavors and textures. From the juicy, seasoned chicken to the crispy tortillas and melty cheese, every component adds a burst of deliciousness and color to your Mini Baked Chicken Tacos Recipe.
- 2 cups cooked shredded chicken: Rotisserie chicken works perfectly for a juicy, flavorful base without extra effort.
- 1 cup shredded cheddar or Mexican blend cheese: This melts beautifully to give you that gooey, savory goodness on top.
- ½ cup salsa or taco sauce: Adds moisture and a hint of tangy spice to keep the filling extra tasty.
- 1 teaspoon chili powder: A classic seasoning that brings warmth and depth to the chicken mix.
- ½ teaspoon cumin: Offers a subtle smoky undertone that elevates the overall flavor profile.
- ½ teaspoon garlic powder: Infuses mild garlicky notes without overpowering the other spices.
- 12 mini flour or street taco-size corn tortillas: These form the perfect crispy base to hold all those scrumptious fillings.
- Cooking spray or olive oil: Ensures the tortillas crisp up nicely and prevent sticking in your muffin tin.
- Chopped cilantro, diced tomato, sour cream, or avocado: These fresh garnishes brighten the dish and give it that authentic, fresh finish.
How to Make Mini Baked Chicken Tacos Recipe
Step 1: Prepare the Chicken Mixture
Begin by combining your shredded chicken with the salsa, chili powder, cumin, and garlic powder in a large bowl. Stir everything together until the chicken is evenly coated with the vibrant spice blend and sauce. This simple mixture packs a flavorful punch that brings the whole recipe to life.
Step 2: Warm the Tortillas
To make the tortillas pliable and easy to shape, give them a quick warm-up in the microwave for about 20 seconds or on a dry skillet over medium heat. This step is crucial because it allows you to gently press them into the muffin tin without tearing or cracking.
Step 3: Form the Taco Cups
Lightly grease each cup of a muffin tin with cooking spray or a little olive oil to prevent sticking. Then, carefully press each tortilla into the cups, folding as needed to fit snugly, forming cute little taco shells ready to cradle your flavorful filling.
Step 4: Fill and Top
Spoon a generous amount of the chicken mixture into each tortilla cup, ensuring every bite is full of that tasty seasoned chicken. Follow up by sprinkling shredded cheese evenly over the top of each cup—it will melt and turn golden in the oven for a perfect finish.
Step 5: Bake to Perfection
Pop your muffin tin into a preheated 400°F (200°C) oven and bake for 12 to 15 minutes. Watch for the cheese to melt and the tortilla edges to become crispy and golden—the hallmark of an amazing Mini Baked Chicken Tacos Recipe.
Step 6: Cool and Remove
Once baked, allow the tacos to cool for a few minutes before gently lifting them out of the tin. This little pause helps them hold their shape beautifully when served.
How to Serve Mini Baked Chicken Tacos Recipe
Garnishes
The joy of Mini Baked Chicken Tacos Recipe is partially in the fresh, vibrant toppings you choose. Sprinkle chopped cilantro and diced tomatoes over the tacos to add color and brightness. A dollop of sour cream or sliced avocado lends a creamy contrast to the crispy, spicy filling, rounding out every bite beautifully.
Side Dishes
To complement these mini tacos, consider sides like a zesty Mexican street corn salad, a fresh green salad with lime vinaigrette, or classic refried beans. Each side adds a different texture and flavor, making your meal feel complete and satisfying.
Creative Ways to Present
These tacos are irresistibly charming on their own, but for an extra wow factor, serve them on a colorful platter lined with shredded lettuce or edible flowers. You can even place them atop small lettuce leaves for a low-carb twist. For parties, individual serving spoons or mini plates elevate the presentation and make grabbing a bite effortless.
Make Ahead and Storage
Storing Leftovers
Mini Baked Chicken Tacos Recipe leftovers can be placed in an airtight container and refrigerated for up to 3 days. This way, you can enjoy their deliciousness even after a busy day, with minimal effort.
Freezing
If you want to prepare a batch ahead of time, freeze the baked taco cups in a single layer on a baking sheet. Once frozen solid, transfer them to a freezer-safe bag or container. They’ll keep well for up to one month and are a lifesaver for spontaneous cravings or unexpected guests.
Reheating
To reheat, pop the tacos in a 350°F (175°C) oven for 8 to 10 minutes until warmed through and crispy again. Avoid microwaving when possible to maintain that signature crunch and melty cheese deliciousness.
FAQs
Can I use ground chicken instead of shredded chicken?
Absolutely! Ground chicken works just as well and creates a different texture that many enjoy. Simply cook and season it before filling the tortillas.
What if I want a vegetarian option?
No problem—swap the chicken for black beans or a mix of sautéed veggies to keep things colorful and tasty while still following the Mini Baked Chicken Tacos Recipe concept.
Can I make the mini tacos without a muffin tin?
While a muffin tin helps shape the tortillas perfectly, you can also use small oven-safe ramekins or a mini tart pan as a creative alternative to achieve similar results.
What type of cheese is best for melting in these tacos?
Cheddar or a Mexican cheese blend that includes Monterey Jack and queso quesadilla works beautifully because they melt easily and have great flavor.
How can I make the tortillas extra crispy?
Brushing a light coat of olive oil on the tortillas before baking and baking them a little longer helps get that irresistible crunch perfect every time.
Final Thoughts
If you’re craving a dish that’s playful, packed with flavor, and perfect for sharing, the Mini Baked Chicken Tacos Recipe is your new best friend. Every step is straightforward, and the result is an explosion of textures and tastes that’s hard to resist. So go ahead, gather your ingredients, roll up your sleeves, and bring these wonderful mini taco cups into your home—everyone at your table will thank you!
Print
Mini Baked Chicken Tacos Recipe
- Prep Time: 15 minutes
- Cook Time: 15 minutes
- Total Time: 30 minutes
- Yield: 12 mini tacos
- Category: Appetizer, Main Course
- Method: Baking
- Cuisine: Mexican-Inspired
Description
These Mini Baked Chicken Tacos are a flavorful and fun twist on classic tacos, featuring a zesty shredded chicken filling baked in mini tortillas until crispy and topped with melted cheese. Perfect for parties, game days, or quick weeknight dinners, they are easy to prepare, customizable with your favorite garnishes, and loved by all ages.
Ingredients
Chicken Filling
- 2 cups cooked shredded chicken (rotisserie works well)
- ½ cup salsa or taco sauce
- 1 teaspoon chili powder
- ½ teaspoon cumin
- ½ teaspoon garlic powder
Taco Cups
- 12 mini flour or street taco-size corn tortillas
- Cooking spray or olive oil (for greasing muffin tin)
Cheese & Garnishes
- 1 cup shredded cheddar or Mexican blend cheese
- Chopped cilantro (for garnish)
- Diced tomato (for garnish)
- Sour cream or avocado (for garnish)
Instructions
- Preheat the oven: Set your oven temperature to 400°F (200°C) to prepare for baking the mini tacos.
- Prepare the chicken filling: In a large bowl, combine the cooked shredded chicken with salsa, chili powder, cumin, and garlic powder. Mix thoroughly until the chicken is evenly coated with the spices and salsa.
- Warm the tortillas: Slightly heat the mini tortillas either in the microwave for about 15-20 seconds or briefly on a hot skillet to make them pliable and easier to shape.
- Grease the muffin tin: Lightly spray the cups of a muffin tin with cooking spray or brush with olive oil to prevent sticking.
- Form the taco cups: Press each warm tortilla gently into a muffin cup, folding if necessary to fit and create a cup shape capable of holding filling.
- Fill and top the tacos: Spoon a portion of the chicken mixture into each tortilla cup, then sprinkle shredded cheese evenly over the top.
- Bake the tacos: Place the muffin tin in the preheated oven and bake for 12 to 15 minutes, or until the cheese is melted and the tortilla edges are crispy and golden brown.
- Cool and garnish: Remove the mini tacos from the oven and let them cool slightly before carefully lifting them out of the muffin tin. Garnish each taco with chopped cilantro, diced tomatoes, sour cream, or avocado as desired.
Notes
- You can substitute ground chicken, beef, or black beans for the filling to suit dietary preferences or availability.
- These mini tacos are perfect for parties, game days, or quick dinners, making them a crowd-pleaser.
- Serve alongside additional salsa, guacamole, or a squeeze of fresh lime to enhance flavor.
- For a crispier shell, consider brushing tortillas lightly with oil before baking.


