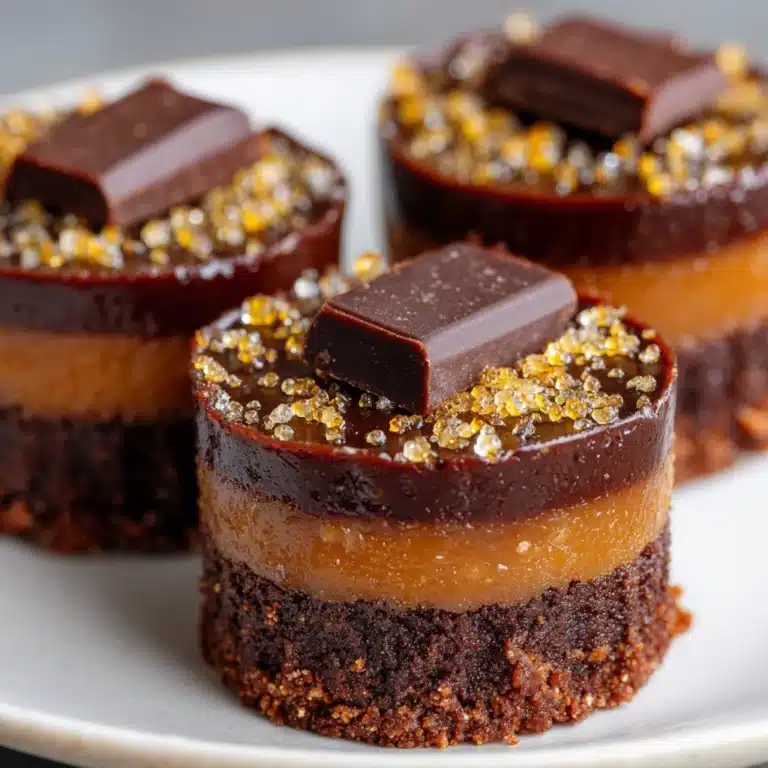
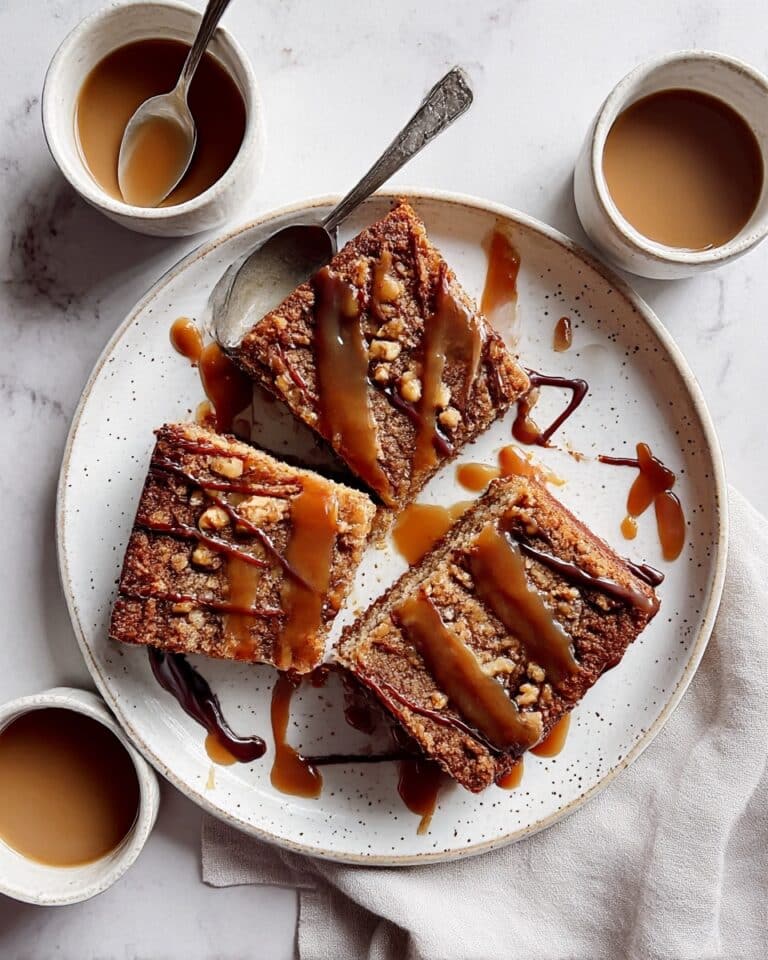
There’s something magical about the combination of milk chocolate and a satisfyingly crispy bite. Milk chocolate nails are a delightful treat that bring together that creamy sweetness and a crunchy texture you’ll find hard to resist. Whether you’re looking for a unique snack or a homemade gift, these chocolate nails offer a fun twist on classic chocolate treats.

In this recipe, you’ll learn how to make milk chocolate nails from scratch, giving you full control over the ingredients and the ability to customize the flavor. Plus, they come together quickly with straightforward steps, perfect for anyone who loves chocolate and a bit of crunch.
Why You’ll Love This Recipe
- Simple ingredients you probably already have in your pantry.
- Quick and easy baking method with minimal cleanup.
- Perfectly balanced crispy texture with creamy milk chocolate coating.
- Great for gifting or serving at parties and gatherings.
- Customizable with nuts, sea salt, or other toppings to suit your taste.
Ingredients
Gather these ingredients before you start to make your milk chocolate nails. This recipe yields about 24 crispy chocolate bites.
- 2 cups rice cereal (for the crunch)
- 1 cup all-purpose flour
- 1/2 cup granulated sugar
- 1/4 teaspoon salt
- 1/2 cup unsalted butter, melted
- 1 teaspoon vanilla extract
- 8 ounces milk chocolate chips or chopped milk chocolate
- 1 tablespoon coconut oil (optional, for smoother chocolate coating)
Recipe Details
- Prep Time: 15 minutes
- Cook Time: 12 minutes
- Total Time: 30 minutes
- Servings: 24 pieces
- Calories: Approximately 120 per piece
How to Make Milk chocolate nails 🍫🤎
- Preheat your oven to 350°F and line a baking sheet with parchment paper.
- In a large bowl, combine the rice cereal, all-purpose flour, sugar, and salt. Stir to mix evenly.
- Pour in the melted butter and vanilla extract, stirring until the mixture is evenly coated and crumbs begin to form a sticky dough.
- Press the mixture firmly into the prepared baking sheet, spreading it out evenly to about 1/2-inch thickness.
- Bake for 10 to 12 minutes until the edges are golden and the mixture feels firm to the touch. Remove and let cool completely.
- Once cooled, break the baked sheet into small, nail-shaped pieces roughly 1 to 2 inches long.
- Melt the milk chocolate with the coconut oil in a double boiler or microwave in 30-second increments, stirring until smooth.
- Dip each piece into the melted milk chocolate, coating it fully or partially, then place on parchment paper to set.
- Refrigerate for about 20 minutes until the chocolate hardens. Serve or store for later enjoyment.
Tips for the Best Results
- Use fresh rice cereal to ensure maximum crispiness in your nails.
- Don’t skip the butter – it binds the ingredients and adds richness.
- For a snappier chocolate coating, add a little coconut oil to the melting chocolate.
- Let the baked base cool completely before breaking to avoid crumbling too much.
- Store in an airtight container to keep the nails crisp and fresh.
Storage and Reheating
Store your milk chocolate nails in an airtight container at room temperature for up to 5 days. If your kitchen is warm, keeping them in the fridge helps maintain the chocolate coating without melting.
For longer storage, freeze the nails in an airtight container for up to 2 months. Thaw at room temperature before serving. Reheating is not necessary; just enjoy them as a cool, crispy treat.
Frequently Asked Questions
What are milk chocolate nails?
Milk chocolate nails are small, crispy chocolate bites made by combining a crunchy base with a smooth milk chocolate coating. They get their name from their shape, resembling small nail-like pieces.
Can I use dark or white chocolate instead?
Absolutely! You can substitute milk chocolate with dark or white chocolate depending on your taste preferences. Adjust sweetness accordingly, especially with dark chocolate.
How do I keep the nails crispy?
The key is to bake the cereal mixture until it’s firm and cool it completely before coating with chocolate. Storing them in airtight containers prevents moisture from softening the texture.
Can I add nuts or toppings?
Yes, adding chopped nuts, sea salt, or sprinkles on the chocolate before it sets adds extra flavor and texture. Just sprinkle them immediately after dipping while the chocolate is still wet.