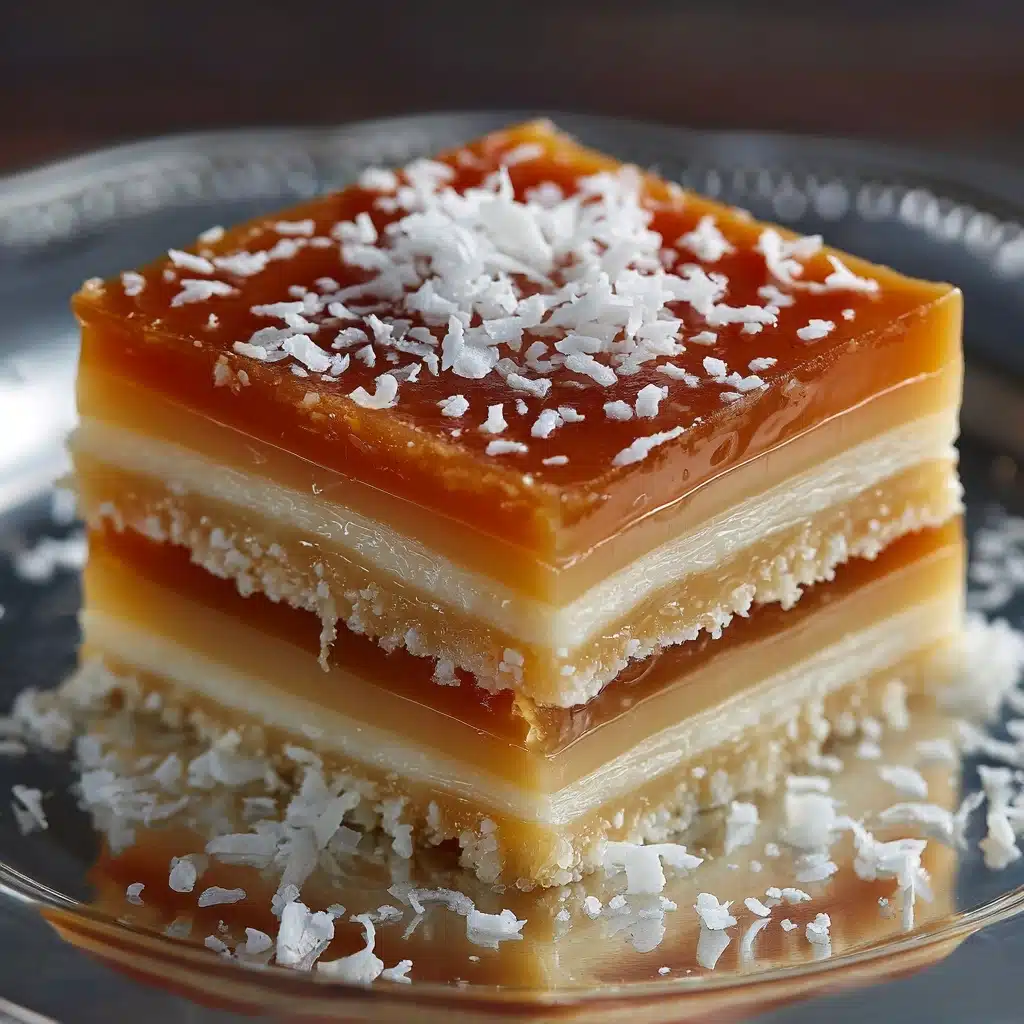
If you’ve ever wanted to make smooth, buttery caramels without a candy thermometer or endless stirring, Microwave Caramels are about to become your new obsession. With just a handful of pantry staples and your trusty microwave, you can whip up a batch of these melt-in-your-mouth treats in minutes. Creamy, soft, and bursting with classic caramel flavor, they’ll dazzle anyone lucky enough to score a piece. It’s the candy shortcut you’ll wish you’d discovered years ago!
Ingredients You’ll Need
The beauty of Microwave Caramels lies in their simplicity. Each ingredient plays a starring role, ensuring every bite is rich, chewy, and perfectly sweet. Here’s what you’ll need—and why they matter!
- Unsalted butter (1 cup, melted): Provides a decadent base and that addictive, creamy mouthfeel that makes these caramels irresistible.
- Packed light brown sugar (2 ¼ cups): Delivers a deep caramel flavor and helps create that classic chewy texture.
- Light corn syrup (1 cup): Prevents crystallization for silky smooth caramels every time.
- Sweetened condensed milk (1 (14 oz) can): Adds sweet creaminess and helps the caramels set up perfectly.
- Vanilla extract (1 teaspoon): Rounds out the flavor with warmth and complexity.
- Pinch of salt: Balances the sweetness and sharpens every flavor note. Sprinkle a little flaky salt on top if you love salted caramels!
How to Make Microwave Caramels
Step 1: Prepare Your Pan
Start by lightly buttering a 9×9-inch square baking dish or lining it with parchment paper, leaving a slight overhang on the sides if you want easy removal later. This little step ensures your Microwave Caramels will pop right out after cooling, with perfectly smooth edges all ready to cut.
Step 2: Combine the Base Ingredients
In a large microwave-safe bowl (trust me, size matters here, as the mixture will bubble up), combine your melted butter, packed light brown sugar, light corn syrup, and that luscious can of sweetened condensed milk. Stir thoroughly until everything is smooth—no streaks or lumps! The foundation for your gooey Microwave Caramels is now set.
Step 3: The First Microwave Blast
Place the bowl in the microwave and cook on high for 6 minutes, pausing every 2 minutes to carefully stir. These stir breaks are non-negotiable—they keep the heat even and prevent any sneaky sugar from burning. As the minutes tick by, you’ll notice the mixture thickening and deepening to a rich caramel color. The kitchen will smell amazing!
Step 4: Add Vanilla and Salt
When those first 6 minutes are up, stir in your vanilla extract and a generous pinch of salt. This is also your chance to add a twist, like a sprinkle of flaked sea salt, if you love that irresistible salted caramel flavor. The vanilla makes the caramels soft and aromatic, while the salt keeps the sweetness in check.
Step 5: Finish Cooking to Perfect Consistency
Return your bowl to the microwave and heat the mixture in 1-minute intervals, stirring well after each. Plan for 2 to 4 more minutes. You’re looking for the caramel to thicken considerably and start to pull away slightly from the sides of the bowl. Pulling the spatula through should leave a lasting trail. Keep a close eye—a minute can make all the difference between creamy perfection and overcooked candy.
Step 6: Pour and Set
Carefully (it’s hot!) pour the bubbling caramel into your prepared pan. Smooth it out quickly with a spatula, then let the caramel cool completely at room temperature. This little patience test is worth it: once set, you get those beautiful soft squares. For true candy-shop flair, cut your Microwave Caramels into small pieces and wrap each in wax paper. They’ll look just as pretty as they taste!
How to Serve Microwave Caramels
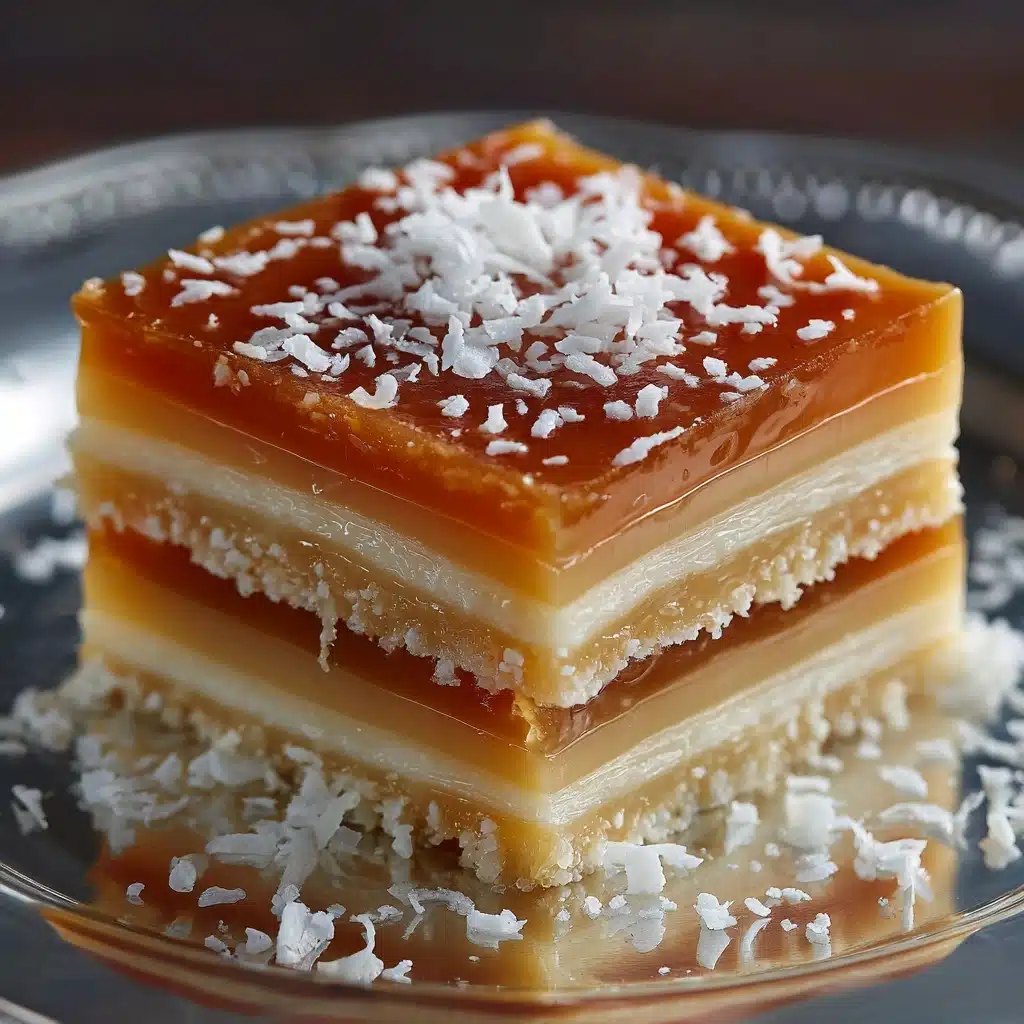
Garnishes
A classic finish is flaky sea salt sprinkled over the caramels right before they set—it amps up the flavor and provides a wonderful crunch. For a fancier touch, drizzle melted dark or white chocolate over cooled caramels. Or, for a hint of gourmet, press a toasted pecan half onto each square before the caramels cool completely.
Side Dishes
These Microwave Caramels steal the show on their own, but they love company, too. Try them alongside fresh fruit for a sweet pairing, or with a cup of rich espresso or hot chocolate to balance their buttery sweetness. A plate of caramels fits right onto any dessert board or holiday cookie tray.
Creative Ways to Present
Want to up the wow factor? Wrap each caramel in a twist of wax paper for that nostalgic, candy-shop vibe. Pile them into a pretty box tied with ribbon for a homemade holiday gift, or nestle squares into mini cupcake liners for an elegant party platter. For a festive touch, tuck a few into cellophane bags with a handwritten note—perfect for teacher gifts or neighborly surprises.
Make Ahead and Storage
Storing Leftovers
Microwave Caramels keep beautifully at room temperature. Simply store pieces in an airtight container, separating layers with parchment or wax paper so nothing sticks together. They’ll stay soft and chewy for up to two weeks—though good luck making them last that long!
Freezing
You absolutely can freeze these delicious caramels. Place cut pieces in a freezer-safe container, layered with parchment. Stored this way, the caramels will be fresh and ready for snacking for up to three months. Just let them thaw at room temperature before serving (they soften up in about 30 minutes).
Reheating
If your caramels ever get a bit firm from storage, a quick zap in the microwave—just 5 to 10 seconds—will soften them right up. Be careful not to overheat; you want them just pliable, never melted! Wrap them quickly and enjoy like they’re fresh-made all over again.
FAQs
How do I know when my Microwave Caramels are done cooking?
Your eyes and spatula are your best tools! The mixture should be thick and begin to pull away from the bowl’s sides, leaving a trail as you stir. If you want to be exact, a small scoop dropped into ice water should form a soft ball that holds its shape—classic caramel stage!
Why did my caramels turn out too soft or too hard?
This usually comes down to microwave timing and wattage. If your caramels are too soft, just cook the mixture for another minute or two next time. If they’re too hard, reduce cook time by a minute. Every microwave is a little different, so jot down your ideal cook time once you nail it!
Can I make these Microwave Caramels without corn syrup?
Corn syrup helps keep the texture smooth and prevents the sugar from crystallizing. If you must substitute, use golden syrup or honey for a slightly different flavor profile, but be aware the caramels may not be quite as soft and glossy.
How do I cut Microwave Caramels without sticking?
Use a sharp, buttered knife for super clean cuts. If things get sticky, pop the pan of cooled caramels in the fridge for 15–20 minutes to firm up—then cut and wrap quickly before they return to room temperature.
Can I add nuts or other mix-ins to Microwave Caramels?
Absolutely! Stir in toasted chopped nuts, a swirl of melted chocolate, or even a pinch of ground cinnamon right before pouring the hot caramel into the pan. Customizing is part of the fun—get creative and make these candies truly your own!
Final Thoughts
If you’re on the hunt for an easy, crowd-pleasing treat that looks as impressive as it tastes, Microwave Caramels are pure magic. There’s nothing quite like sharing a batch of homemade candy with friends and family—especially when you made them in less time than it takes to run to the store. So grab your favorite mixing bowl, and get ready to impress everyone with these buttery bites of joy!
Print
Microwave Caramels Recipe
- Prep Time: 5 minutes
- Cook Time: 10 minutes
- Total Time: 15 minutes
- Yield: 64 small pieces
- Category: Candy
- Method: Microwave
- Cuisine: American
- Diet: Vegetarian
Description
Indulge in the rich and creamy goodness of these homemade Microwave Caramels. With just a few simple ingredients and a microwave, you can whip up a batch of these soft and chewy caramels in no time.
Ingredients
Ingredients:
- 1 cup unsalted butter, melted
- 2 ¼ cups packed light brown sugar
- 1 cup light corn syrup
- 1 (14 oz) can sweetened condensed milk
- 1 teaspoon vanilla extract
- pinch of salt
Instructions
- Prepare the Dish: Lightly butter a 9×9-inch square baking dish or line it with parchment paper.
- Mix Ingredients: In a large microwave-safe bowl, combine melted butter, brown sugar, corn syrup, and sweetened condensed milk. Stir until smooth.
- Microwave: Microwave the mixture on high for 6 minutes, stirring every 2 minutes.
- Final Steps: Stir in vanilla extract and salt. Microwave in 1-minute intervals, stirring each time, for an additional 2–4 minutes until thick.
- Cool and Cut: Pour the caramel into the pan. Let it cool, then cut into squares.
Notes
- Microwave wattages vary—adjust time accordingly and always stir to prevent burning.
- For firmer caramels, increase cook time slightly.
- You can add flaky sea salt for a salted caramel version.

