

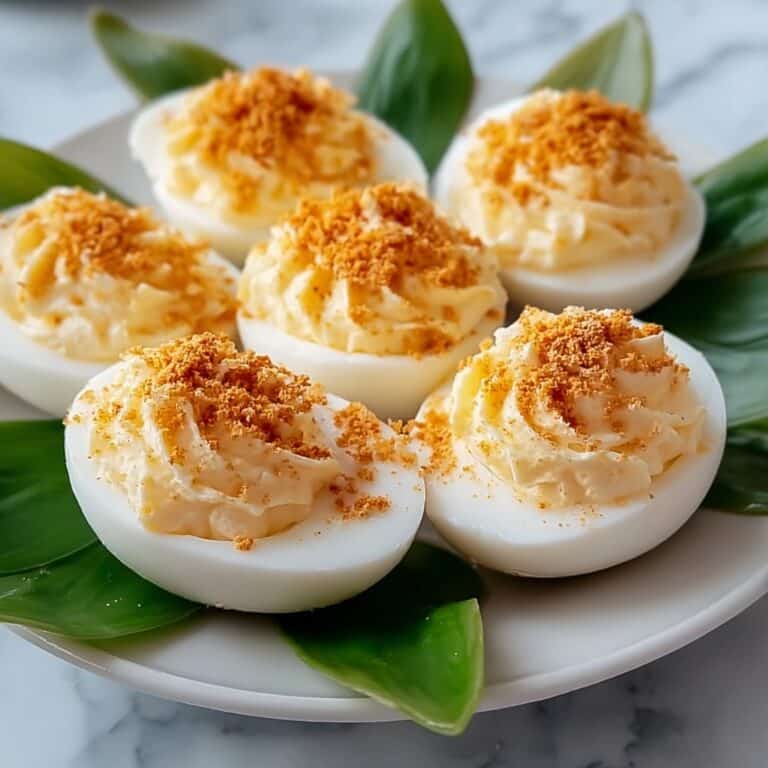
If you think you know banana pudding, wait until you try Magnolia Bakery’s Classic Banana Pudding Recipe. This dessert is an absolute legend, beloved for its luscious layers of velvety vanilla pudding, perfectly ripe bananas, and the iconic crunch of Nilla Wafers. Every spoonful is a delightful mix of creamy, fruity, and crispy textures that feels like a warm hug from the inside. Trust me, once you make this recipe, it will become your go-to comfort dessert that brings smiles every single time.
Ingredients You’ll Need

Ingredients You’ll Need
The beauty of Magnolia Bakery’s Classic Banana Pudding Recipe is in its simplicity and the quality of its ingredients. Each item plays a crucial role in building layers of flavor and texture, from the rich sweetness of condensed milk to the fresh creaminess of barely ripe bananas. Let’s take a look at what you’ll need to bring this classic to life.
- 1 (14 oz) can sweetened condensed milk: Adds the perfect amount of creamy sweetness that binds everything together.
- 1 ½ cups ice cold water: Essential for activating the instant vanilla pudding mix and creating a smooth texture.
- 1 (3.4 oz) box instant vanilla pudding mix: The heart of the dessert’s luscious vanilla flavor and silky consistency.
- 3 cups heavy cream: Whipped to perfection, it gives the pudding that dreamy, fluffy finish.
- 4 cups sliced barely ripe bananas: Provides just the right sweetness and firmness to balance the creamy layers.
- 1 (12 oz.) box Nilla Wafers: Adds signature crunch and a subtle vanilla flavor that contrasts beautifully with the soft pudding.
How to Make Magnolia Bakery’s Classic Banana Pudding Recipe
Step 1: Prepare the Pudding Base
Start by beating the sweetened condensed milk and ice cold water together in a large bowl until well combined and smooth, about 1 minute. Then, mix in the instant vanilla pudding mix, beating for another 2 minutes to ensure it thickens well. Here’s the key: cover this mixture and refrigerate it for 3 to 4 hours, or even overnight if you can wait. This chilling time is absolutely crucial because it allows the pudding to set firmly, avoiding any watery disappointments later.
Step 2: Whip the Cream
While your pudding base is chilling, grab a large bowl and whip the heavy cream until stiff peaks form. This step is where the magic happens to transform the pudding into something incredibly light and fluffy. Once whipped, gently fold the cream into the chilled pudding mixture. Take your time here so all streaks blend nicely, resulting in a creamy, airy filling that’s pure bliss.
Step 3: Get Ready to Assemble
Choose your favorite dish for the dessert. You can use a large glass bowl that holds about 4 to 5 quarts or a 9×13-inch baking dish if you want to serve a crowd. Alternatively, individual glasses work beautifully if you’re aiming for personal-sized servings. The layering process is what truly brings Magnolia Bakery’s Classic Banana Pudding Recipe to life.
Step 4: Assemble the Layers
Begin by arranging one-third of the Nilla Wafers on the bottom, overlapping them if needed to create a solid layer. Next, add one-third of the sliced bananas over the wafers, followed by one-third of the luscious pudding mixture. Repeat this process two more times, finishing with a layer of wafers or crumbled wafers sprinkled on top for extra texture. Cover your creation tightly with plastic wrap and chill in the refrigerator for at least 4 hours. This spell in the fridge lets the flavors mingle, and the wafers soften just right—though don’t wait longer than 8 hours to avoid banana browning.
How to Serve Magnolia Bakery’s Classic Banana Pudding Recipe
Garnishes
When serving, your presentation can be elevated with simple toppings that add contrast and a bit of flair. Fresh banana slices, a sprinkling of crushed Nilla Wafers, or even a small dollop of whipped cream can make each serving look irresistible. A light dusting of cinnamon or nutmeg can also add a warming note that complements the vanilla beautifully.
Side Dishes
Although this banana pudding is a dessert star on its own, pairing it with lightly sweetened iced tea or a bright fruit salad can round out your meal nicely. These lighter sides balance the richness of the pudding and refresh the palate between bites, making your dining experience even more delightful.
Creative Ways to Present
Take this classic comfort treat to the next level by serving it in glass parfait cups or mason jars for a charming, rustic look. You can also layer individual trifle bowls, alternating pudding, bananas, and wafers with creative spacing for a modern twist. For gatherings, prepare a banana pudding bar with assorted toppings so guests can customize their own bowls—what a fun way to enjoy Magnolia Bakery’s Classic Banana Pudding Recipe!
Make Ahead and Storage
Storing Leftovers
You can store any leftover banana pudding in the refrigerator tightly covered with plastic wrap for up to 2 days. Keep in mind that the bananas may start to brown after this time, but the pudding will still taste delicious if consumed promptly.
Freezing
Freezing this pudding is not recommended because the texture will change significantly upon thawing. The cream and bananas don’t hold up well in the freezer, so enjoy this dessert fresh for the best experience.
Reheating
This pudding is best served chilled and does not require reheating. If you prefer it warmer, allow it to sit at room temperature for about 15-20 minutes before serving to take the chill off without compromising the texture.
FAQs
Can I use ripe bananas instead of barely ripe ones?
While ripe bananas are sweeter, barely ripe bananas give the best texture and prevent the pudding from becoming mushy too quickly. If you must use riper bananas, try to slice them just before assembling and consume the pudding sooner.
Is it necessary to let the pudding mixture chill for several hours?
Yes! Chilling is crucial for the pudding to set properly. Skipping this step will result in a pudding that’s too runny and won’t hold the layers together.
Can I use homemade vanilla pudding instead of instant mix?
Although homemade pudding can work, the instant vanilla pudding mix is designed to give this recipe its signature smooth and firm texture. If you try homemade, be prepared for a slightly different consistency.
What can I do to prevent the bananas from browning?
Slicing bananas just before layering and covering the assembled pudding tightly will help slow browning. You can also toss banana slices lightly in lemon juice for extra protection, but don’t use too much or it may alter the flavor.
How far in advance can I make this pudding?
Making the pudding a day ahead works perfectly, but try not to assemble and chill for more than 8 hours. The bananas are freshest and tasting their best within this timeframe.
Final Thoughts
Magnolia Bakery’s Classic Banana Pudding Recipe is more than just a dessert—it’s a nostalgic experience that brings warmth and happiness with every bite. It’s easy to prepare, beautifully layered, and irresistibly delicious. I can’t wait for you to share it with your loved ones and see the smiles it brings to the table. Go ahead and give it a try—you’re about to create a new family favorite!
Print
Magnolia Bakery’s Classic Banana Pudding Recipe
- Prep Time: 15 minutes
- Cook Time: 0 minutes
- Total Time: 4 hours 15 minutes
- Yield: 15 servings
- Category: Dessert
- Method: No-Cook
- Cuisine: American
- Diet: Vegetarian
Description
Magnolia Bakery’s Famous Banana Pudding is a luscious, creamy dessert featuring layers of smooth vanilla pudding, fresh bananas, and crunchy Nilla Wafers. This no-bake recipe combines instant pudding mix with sweetened condensed milk and whipped cream for a rich texture, making it a beloved Southern classic perfect for gatherings or special occasions.
Ingredients
Base Ingredients
- 1 (14 oz) can sweetened condensed milk
- 1 ½ cups ice cold water
- 1 (3.4 oz) box instant vanilla pudding mix
- 3 cups heavy cream
Fruit and Layers
- 4 cups sliced barely ripe bananas
- 1 (12 oz.) box Nilla Wafers
Instructions
- Prepare Pudding Mixture: In a large bowl, beat together the sweetened condensed milk and ice cold water until well combined, about 1 minute. Add the instant vanilla pudding mix and continue to beat for about 2 minutes until fully mixed. Cover the bowl and refrigerate the pudding mixture for 3-4 hours or overnight to allow it to set properly. This step is crucial to achieve the right creamy consistency without being watery.
- Whip Cream: In a separate large bowl, whip the heavy cream until stiff peaks form. Then gently fold the whipped cream into the chilled pudding mixture until fully incorporated and smooth, with no streaks remaining.
- Prepare Serving Dish: Choose to assemble the pudding in individual serving dishes or a large glass bowl (4-5 quart capacity) or a 9×13 baking dish, depending on preference.
- Assemble Layers: Begin by arranging one-third of the Nilla Wafers to cover the bottom of the dish, overlapping as necessary. Then add one-third of the sliced bananas evenly over the wafers, followed by one-third of the pudding mixture layered on top. Repeat this layering process two more times to create three layers total, finishing with a top layer of wafers or wafer crumbs for garnish.
- Chill Dessert: Cover the assembled pudding tightly with plastic wrap and refrigerate for at least 4 hours and up to 8 hours. Chilling allows flavors to meld and pudding to firm up. Avoid leaving longer than 8 hours as bananas will begin to brown; refer to notes for tips to minimize browning.
Notes
- Use barely ripe bananas for best flavor and texture; overly ripe bananas can be too mushy and sweet.
- To prevent bananas from browning quickly, gently toss them in a small amount of lemon juice before layering.
- This dessert is best enjoyed within 8 hours of assembly to preserve freshness and appearance.
- You can make this pudding in individual parfait glasses for a pretty presentation and easy serving option.


