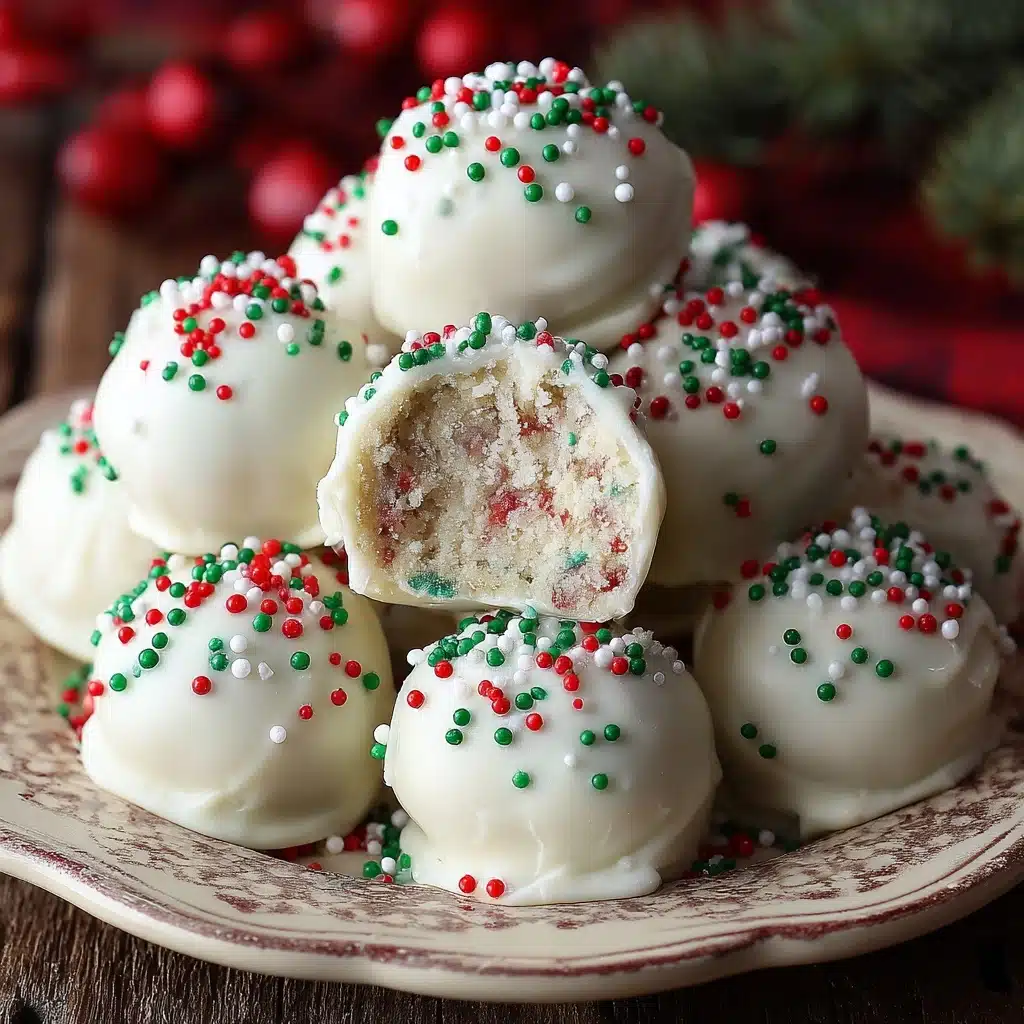
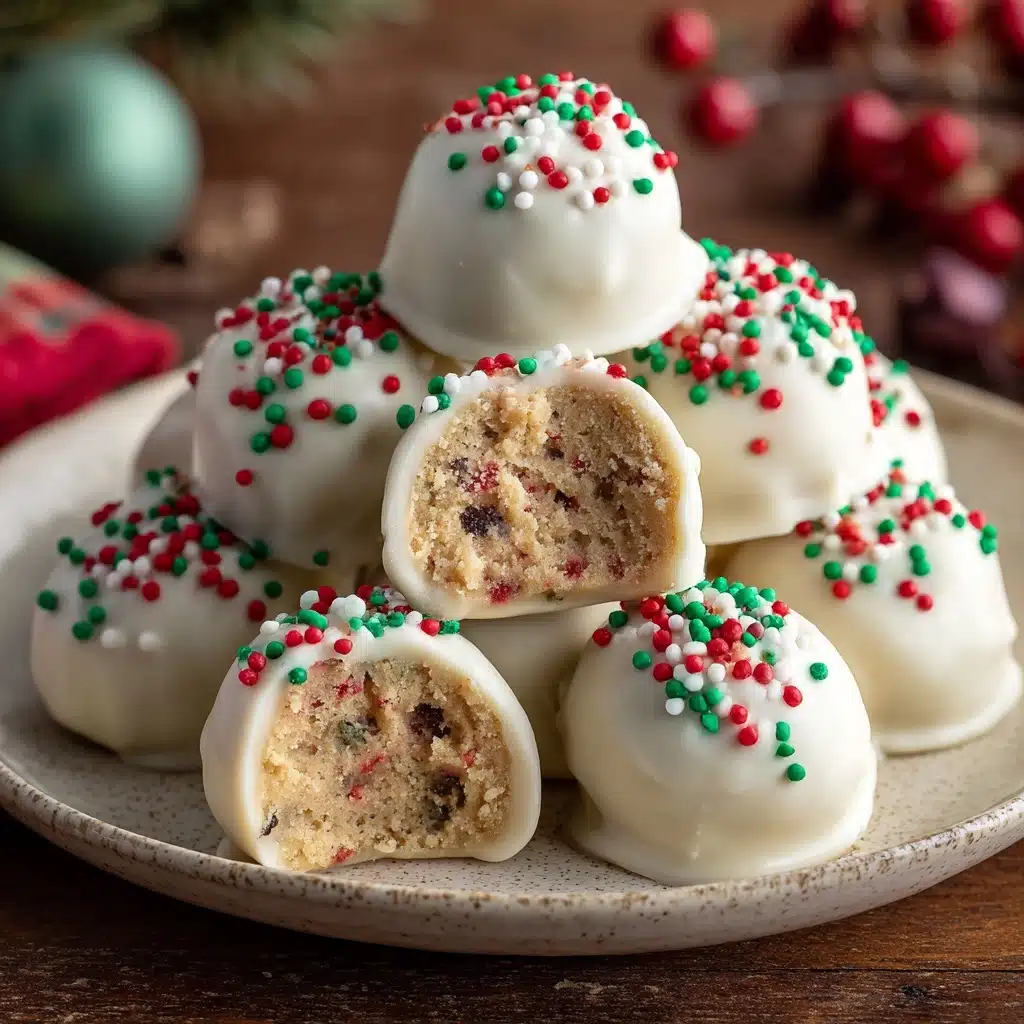
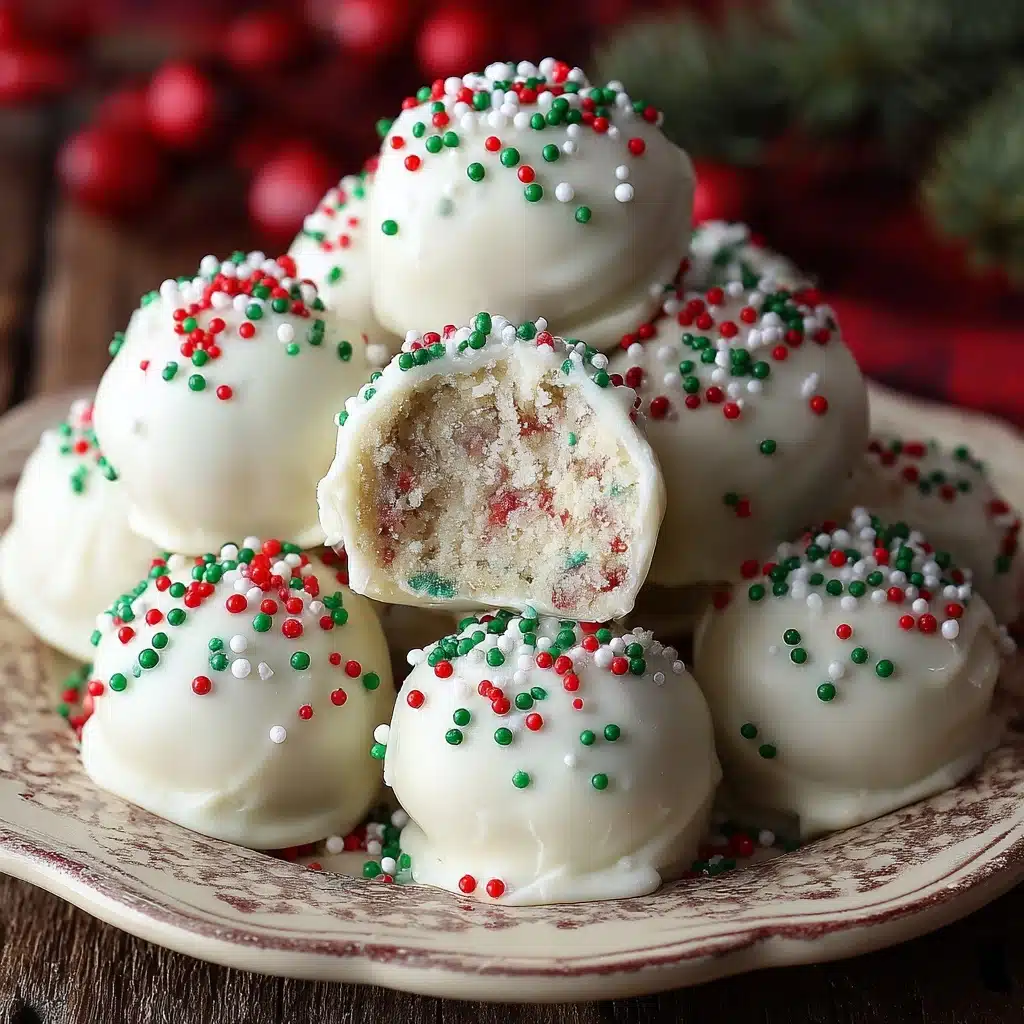
If you love holiday treats that are as nostalgic as they are delicious, you won’t want to miss these Little Debbie Christmas Cake Balls. This no-bake dessert transforms the iconic Christmas Tree Cakes into irresistible cake bites coated in white chocolate and decked out with festive sprinkles. Whether you’re making them as edible gifts, a cheerful addition to your dessert platter, or simply to treat yourself, this recipe delivers the magic of the season in every single bite!
Ingredients You’ll Need
All you need are a handful of simple, joyful ingredients to capture that unmistakable holiday flavor and texture. Every part of this recipe brings something fun and festive to the table, so pick your favorites and get ready to roll!
- Little Debbie Christmas Tree Cakes: These whimsical, pre-made cakes are the heart and soul of Little Debbie Christmas Cake Balls and come in vanilla or chocolate for customization!
- Cream cheese (softened): This binds the crumbled cakes together into a dough that’s rich, creamy, and oh-so-lush.
- White chocolate or almond bark: The dreamy chocolate coating provides a sweet shell and elegant finish—perfect for both flavor and eye appeal.
- Red and green sprinkles: The festive touch that takes these cake balls from tasty to absolutely adorable.
- Optional mini cupcake liners or lollipop sticks: Great for serving, gifting, or turning your cake balls into cake pops!
How to Make Little Debbie Christmas Cake Balls
Step 1: Crumble the Cakes
Start by unwrapping every one of those nostalgic Christmas Tree Cakes and placing them in a large mixing bowl. Use your hands or a fork to break them down into fine crumbs—this helps the final cake balls hold together and ensures each bite is delightfully even.
Step 2: Mix with Cream Cheese
Add the softened cream cheese to your crumbled cakes. Stir and mash everything together until you get a thick, dough-like mixture. It should be soft, moist, and easy to scoop. Don’t be afraid to use your hands for some gentle kneading—it’s the most satisfying part!
Step 3: Shape the Balls
Using your hands or a small cookie scoop, portion out 1-inch balls of the mixture. Roll them lightly between your palms so they’re nice and smooth. Arrange them in a single layer on a parchment-lined baking sheet to prevent any sticking.
Step 4: Chill Until Firm
Pop the entire baking sheet into the freezer and let the cake balls chill for 20 to 30 minutes. This makes them so much easier to dip in chocolate later, and helps hold their shape perfectly.
Step 5: Melt the Coating
While the cake balls are chilling, melt your white chocolate or almond bark in a microwave-safe bowl. Heat in 30-second bursts, stirring after each, until creamy and smooth. This silky chocolate coating gives the Little Debbie Christmas Cake Balls their dreamy exterior.
Step 6: Dip and Decorate
Now the fun begins! Use a fork or toothpick to dip each chilled cake ball into the melted coating. Let any excess drip off, then transfer back onto the baking sheet. Immediately shower each ball with red and green sprinkles for a festive finish before the chocolate sets.
Step 7: Let Set and Enjoy
Let the finished cake balls set at room temperature, or pop them in the fridge for about 10 minutes if you’re impatient. Once the coating is firm, they’re ready to enjoy, share, or even package as sweet gifts!
How to Serve Little Debbie Christmas Cake Balls
Garnishes
Dress up your Little Debbie Christmas Cake Balls with a flourish of fun! A final dusting of extra sprinkles always makes them extra merry, but you can also drizzle with a bit of melted chocolate or add a twirl of edible glitter to really make them sparkle on your holiday table.
Side Dishes
These cake balls go perfectly with a mug of hot cocoa or a creamy eggnog. For a full dessert spread, pair them with cut fruit, holiday cookies, or even a tray of cheese and crackers to balance out the sweetness.
Creative Ways to Present
For parties, arrange the cake balls in mini cupcake liners on a tiered platter for a bakery-style display. Want to wow the kiddos? Stick in lollipop sticks to make cheerful Christmas cake pops. For gifting, place them in a festive box nestled with tissue paper or cellophane and tie with a ribbon for a present that’s as pretty as it is delicious.
Make Ahead and Storage
Storing Leftovers
Got extra Little Debbie Christmas Cake Balls? Store them in an airtight container in the refrigerator. They’ll stay moist, fresh, and delicious for up to 5 days—if they last that long!
Freezing
For longer storage, freeze the cake balls in a single layer until solid, then transfer to a zip-top bag or freezer-safe container. They’ll keep their flavor and texture for up to 3 months, so you can whip out a festive treat at a moment’s notice.
Reheating
These cake balls are best enjoyed chilled or at room temperature, but if you like a softer filling, let frozen cake balls sit at room temp for about 30 minutes before serving. No need to heat, as doing so can melt the coating.
FAQs
Can I use chocolate Little Debbie cakes instead of vanilla?
Absolutely! Chocolate versions add a rich and decadent twist to Little Debbie Christmas Cake Balls. Choose your favorite, or make a batch of each for contrast.
How do I prevent my cake balls from falling apart when dipping?
Chilling them thoroughly in the freezer is key. If they’re still soft after 30 minutes, give them a few more minutes until they’re very firm before dipping in the coating.
Can I decorate with other toppings instead of sprinkles?
Definitely! Crushed candy canes, mini M&Ms, edible glitter, or even a drizzle of dark chocolate can turn your cake balls into a unique treat that’s truly your own.
Do I need any special equipment?
Not at all! All you need is a mixing bowl, fork (or your hands), and a microwave-safe bowl for melting chocolate. Optional perks include mini cupcake liners or lollipop sticks for fun serving ideas.
Can kids help with this recipe?
Yes! This is a fantastic holiday recipe for little hands. Let kids crumble the cakes, roll the balls, or decorate with sprinkles for a festive, family-friendly kitchen project.
Final Thoughts
There’s something magical about transforming nostalgic childhood treats into a brand-new holiday favorite. Whip up a batch of Little Debbie Christmas Cake Balls and watch the smiles appear—these no-bake confections are simple, fun, and irresistibly festive. The holidays just got a little sweeter, so gather your loved ones and share the joy!
Print
Little Debbie Christmas Cake Balls Recipe
- Prep Time: 15 minutes
- Cook Time: 0 minutes
- Total Time: 45 minutes
- Yield: 24 cake balls
- Category: Dessert
- Method: No-Bake
- Cuisine: American
- Diet: Vegetarian
Description
These Little Debbie Christmas Cake Balls are a festive and fun treat perfect for the holiday season. Made with crumbled Christmas Tree Cakes and coated in white chocolate, these bite-sized delights are sure to be a hit at any gathering.
Ingredients
Ingredients:
- 1 box (10-pack) Little Debbie Christmas Tree Cakes (vanilla or chocolate)
- 4 ounces cream cheese, softened
- 12 ounces white chocolate or almond bark, for coating
- Red and green sprinkles, for decorating
- Optional mini cupcake liners or lollipop sticks
Instructions
- Prepare the Cake Balls: Unwrap the Christmas Tree Cakes and crumble them into a large mixing bowl. Add softened cream cheese and mix until a dough forms.
- Shape and Chill: Scoop the mixture into 1-inch balls and place on a parchment-lined baking sheet. Freeze for 20–30 minutes until firm.
- Coat the Cake Balls: Melt the white chocolate or almond bark and dip each chilled cake ball. Decorate with sprinkles and let set.
Notes
- Try using chocolate-flavored cakes for a richer taste.
- These cake balls freeze well and are great for gifting or parties.
- For a fun twist, insert lollipop sticks before chilling to create cake pops.

