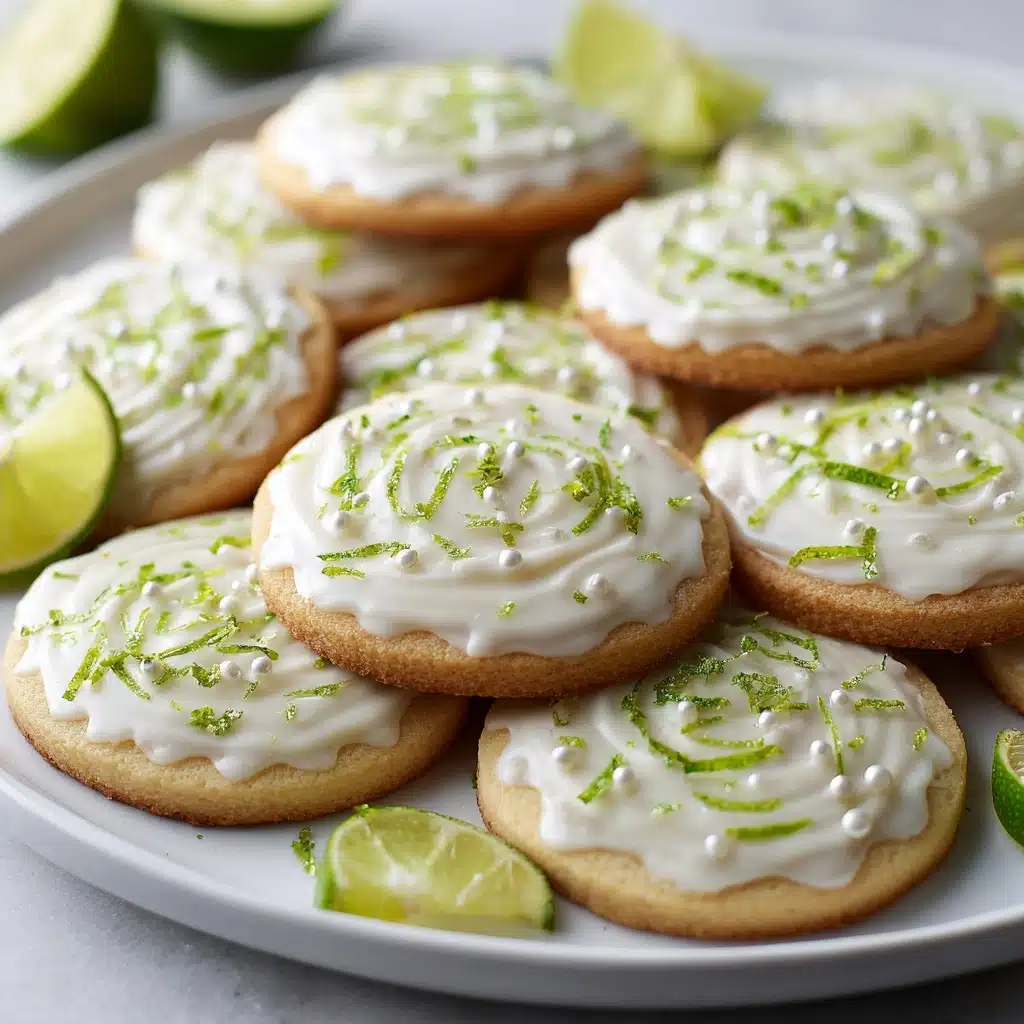
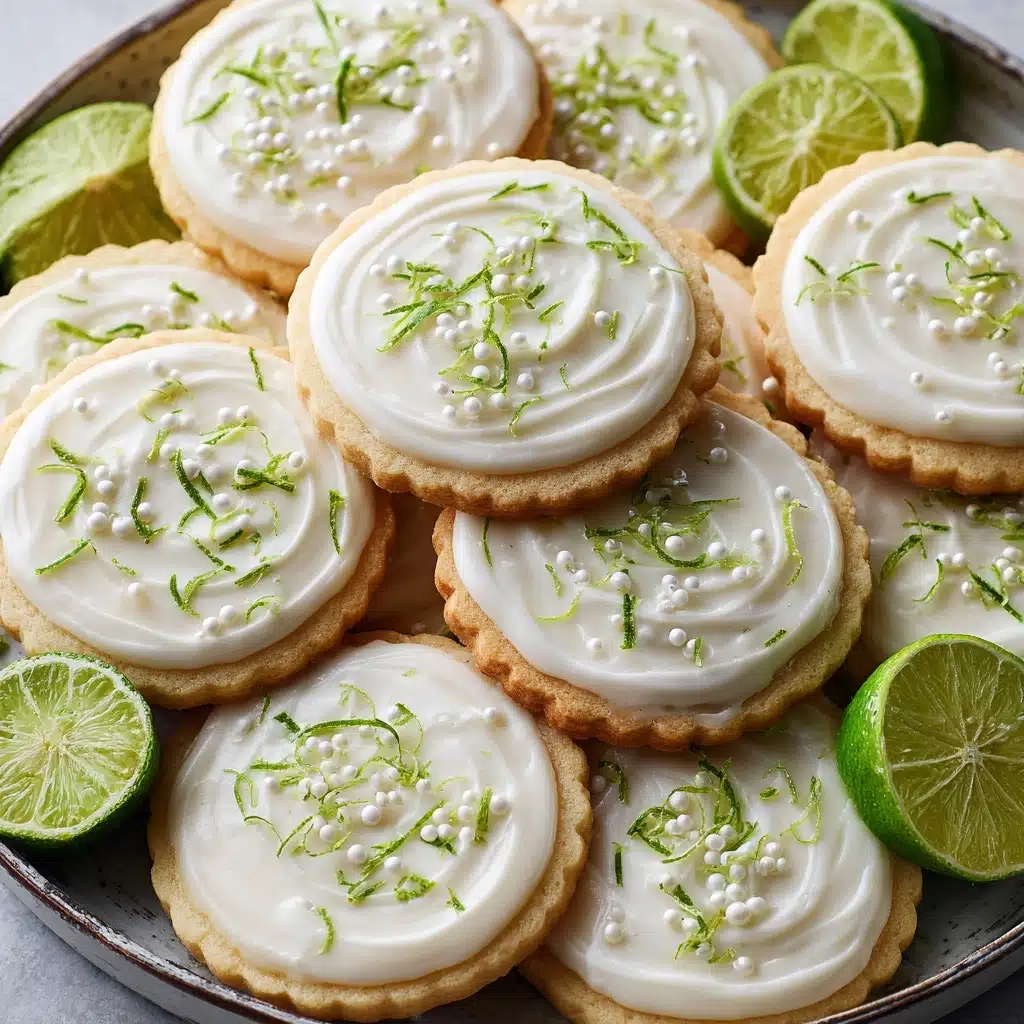
Looking for a burst of sunshine in cookie form? These Key Lime Cookies are a dream come true for anyone who lives for sweet-tart flavors and melt-in-your-mouth texture. With a buttery crumb and zippy citrus kick, they capture the essence of summer in every bite. Whether made for a gathering or a solo treat with your afternoon coffee, these little gems are sure to become a treasured favorite. If you love simple baking that delivers big smiles, you’re in the right place!
Ingredients You’ll Need
The ingredients for Key Lime Cookies are straightforward but work pure magic together. Each one plays an important role—building lift, tang, or that signature tender bite. Here’s exactly what you’ll need and why.
- Unsalted Butter, 1 cup (softened): Provides a rich, creamy base and tender crumb. Make sure it’s at room temperature for best results!
- Powdered Sugar, 1/2 cup: Dissolves easily for a silky, melt-away texture and helps coat the cookies for their snow-dusted look.
- Granulated Sugar, 1/4 cup: Adds structure and a hint of crispness, balancing the tang and helping the cookies brown just right.
- Key Lime Juice, 2 tablespoons: Delivers that unmistakable, bright citrus zing. Freshly squeezed key limes are worth the squeeze!
- Key Lime Zest, 1 tablespoon: Packs even more lime flavor with fragrant oils for a bolder punch in every bite.
- Vanilla Extract, 1 teaspoon: Adds sweetness and rounds out the citrus, making everything pop.
- All-Purpose Flour, 2 cups: The backbone of the cookie, giving shape while keeping them light and delicate.
- Salt, 1/4 teaspoon: Just a pinch intensifies all the other flavors and balances the sweetness.
- Extra Powdered Sugar, for rolling: Gives each cookie its classic, irresistible finish and a touch of extra sweetness.
How to Make Key Lime Cookies
Step 1: Prep Your Baking Tools
Start by preheating your oven to 350°F (175°C) and lining a baking sheet with parchment paper. This keeps your cookies from sticking and ensures they bake evenly with that perfect golden base.
Step 2: Cream Together Butter and Sugars
In a large bowl, cream the softened butter with both the powdered sugar and granulated sugar. Beat until the mixture looks light and fluffy—this process is crucial for that dreamy, airy texture in your Key Lime Cookies. Use a hand or stand mixer for best results, scraping down sides as needed.
Step 3: Add Citrus & Vanilla
Pour in the key lime juice, zest, and vanilla extract. Mixing these in now ensures the flavor is distributed evenly and infuses every part of the dough. Take a moment to breathe in that wonderful aroma!
Step 4: Combine Dry Ingredients
Gradually add flour and salt to the wet mixture, mixing gently until a soft, pliable dough forms. Don’t over-mix—just go until it all comes together. The dough should be soft but not sticky, easy to shape with your hands.
Step 5: Shape and Bake
Roll the dough into 1-inch balls and place them about 2 inches apart on your prepared baking sheet. Pop them in the oven for 12 to 14 minutes—watch for the bottoms to turn a gentle golden color, a sign they’re perfectly done. The tops will stay pale, which is exactly what you want for Key Lime Cookies.
Step 6: Sugar Dust and Cool
Let the cookies cool for just 5 minutes before rolling them in extra powdered sugar while still warm. This creates a luscious, sweet coating that clings beautifully. Then allow them to cool completely on a wire rack, giving one more generous roll in powdered sugar before serving.
How to Serve Key Lime Cookies
Garnishes
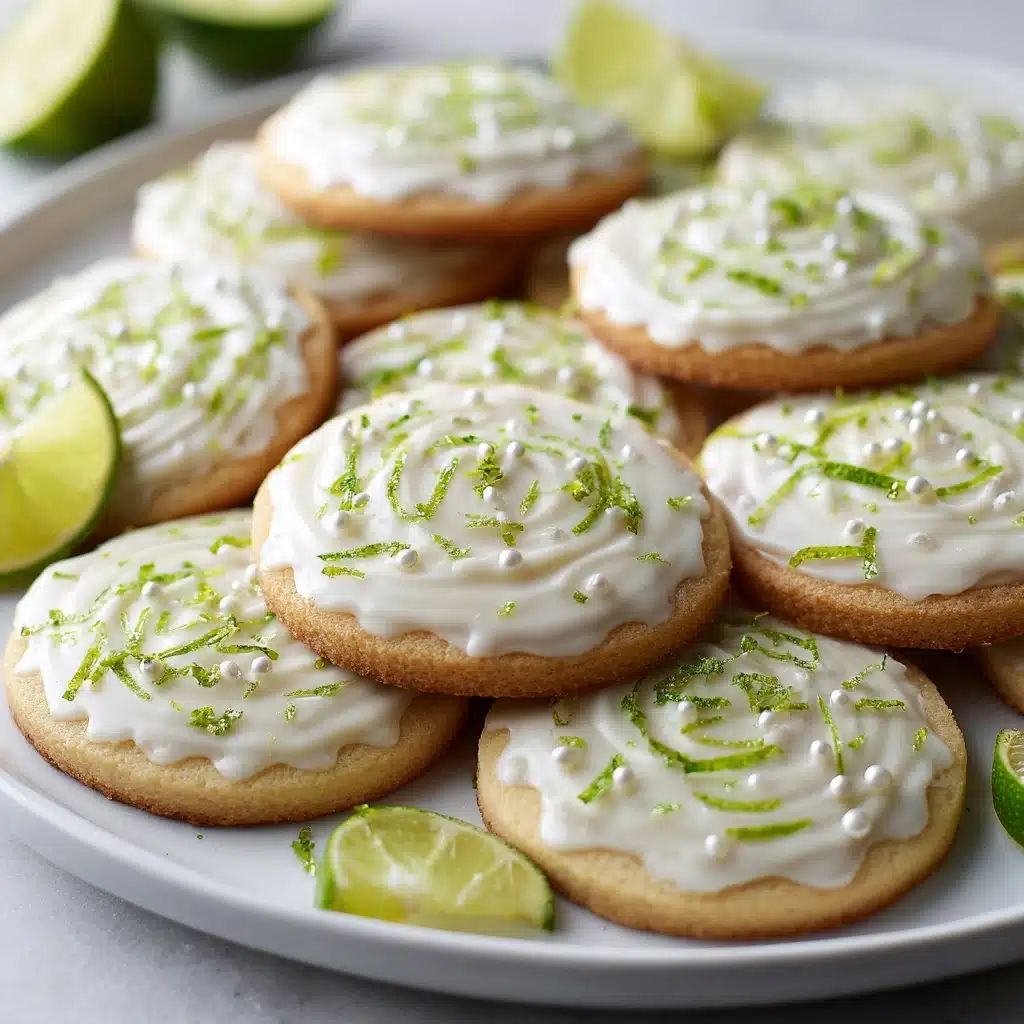
Try garnishing your Key Lime Cookies with a fine sprinkle of additional zest or a few dainty twists of lime peel for an extra vibrant touch. Fresh edible flowers or a handful of extra powdered sugar make for an especially pretty arrangement on a serving platter.
Side Dishes
Pair these cookies with a creamy vanilla mousse, a scoop of coconut ice cream, or a plate of mixed seasonal berries for a playful contrast. They also go hand-in-hand with a tall glass of iced tea or a smooth, sweet coffee, letting their citrus flavor shine.
Creative Ways to Present
For special occasions, stack Key Lime Cookies in clear cellophane bags tied with green ribbon for an adorable gift. Arrange them in a flower shape on a bright plate, or nestle them beside a bowl of citrus curd for dunking. They’re also beautiful when displayed on a tiered tray at picnics or garden parties.
Make Ahead and Storage
Storing Leftovers
To keep your Key Lime Cookies tasting fresh, store them in an airtight container at room temperature. They’ll keep their texture and flavor for up to a week, though they’re often gone much sooner!
Freezing
These cookies freeze beautifully. Once fully cooled, layer them with parchment paper between each layer in a freezer-safe container. They’ll store well for up to 2 months. Thaw at room temperature and re-dust with powdered sugar before serving for that just-baked magic.
Reheating
If you prefer your cookies a touch warm, pop a few on a baking sheet in a preheated 300°F oven for about 3 minutes. Allow to cool slightly and roll them in a bit more powdered sugar before enjoying.
FAQs
Can I use regular limes if I can’t find key limes?
Absolutely! While key limes have a distinctive floral tartness, regular limes work wonderfully and still deliver that bright citrus burst in your cookies. Just use the same amounts for juice and zest.
Why do you roll the cookies in powdered sugar twice?
The first roll while the cookies are warm helps the sugar stick and form a sweet outer layer; the second roll after cooling adds a classic, pretty coating and extra sweetness for the full Key Lime Cookies experience.
Can I make the dough ahead of time?
Yes, you can! Wrap the dough tightly and refrigerate for up to 48 hours. When ready, bring to room temperature for easier rolling and proceed with baking as directed.
What’s the best way to zest a key lime?
Use a microplane or fine grater for the zest. Grate only the green part, avoiding the white pith underneath, for the purest flavor. The zest is crucial for that bold lime fragrance in every bite!
Are Key Lime Cookies good for gifting?
Definitely! Their pretty appearance and unique taste make these cookies a standout addition to any cookie box or homemade gift assortment. Package them in a decorative tin or jar, and you’ll brighten anyone’s day.
Final Thoughts
There’s something positively uplifting about baking and sharing a batch of Key Lime Cookies. With their fresh citrus tang and melt-in-your-mouth sweetness, they’re our go-to for instant happy vibes. Don’t wait for summer—whip up a batch anytime you crave a bright, buttery treat. I hope you have as much fun making (and eating!) them as I always do.
Print
Key Lime Cookies Recipe
- Prep Time: 15 minutes
- Cook Time: 14 minutes
- Total Time: 29 minutes
- Yield: 30 cookies
- Category: Dessert
- Method: Baking
- Cuisine: American
- Diet: Vegetarian
Description
These Key Lime Cookies are a delightful citrus twist on classic sugar cookies. With a perfect balance of sweet and tart flavors, these cookies are sure to become a favorite for any occasion.
Ingredients
Cookies:
- 1 cup unsalted butter, softened
- 1/2 cup powdered sugar
- 1/4 cup granulated sugar
- 2 tablespoons key lime juice
- 1 tablespoon key lime zest
- 1 teaspoon vanilla extract
- 2 cups all-purpose flour
- 1/4 teaspoon salt
For Rolling:
- Extra powdered sugar
Instructions
- Preheat Oven: Preheat oven to 350°F (175°C) and line a baking sheet with parchment paper.
- Cream Ingredients: In a large bowl, cream together the butter, powdered sugar, and granulated sugar until light and fluffy. Mix in the key lime juice, zest, and vanilla extract.
- Add Dry Ingredients: Gradually add the flour and salt, mixing until a soft dough forms.
- Form Cookies: Roll dough into 1-inch balls and place 2 inches apart on the prepared baking sheet.
- Bake: Bake for 12–14 minutes, or until the bottoms are lightly golden.
- Cool and Roll: Let cookies cool for 5 minutes, then roll in powdered sugar while still warm. Cool completely on a wire rack and roll in powdered sugar again before serving.
Notes
- Use fresh key limes for best flavor.
- Cookies can be stored in an airtight container for up to 1 week.
- These also freeze well for longer storage.

