
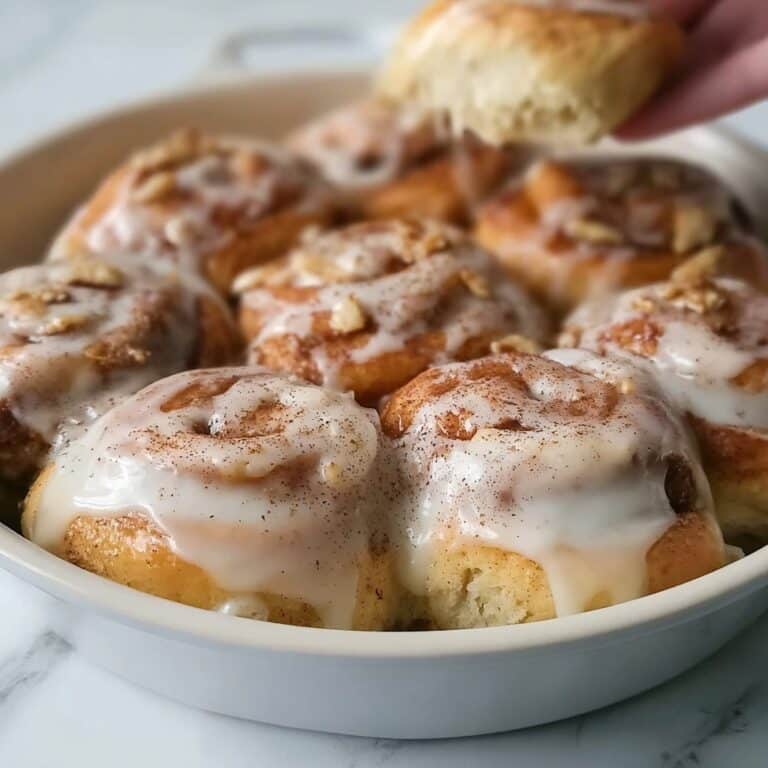
If you have ever wanted to bring a little sunshine and tradition into your kitchen, this Italian Easter Cookies Recipe is an absolute must-try. These knot-shaped delights combine a tender, buttery base with the bright, zesty punch of lemon, finished off with a sweet glaze that makes every bite feel like a celebration. Whether you’re honoring the holiday or simply craving something nostalgic and joyful, these cookies offer a perfect balance of flavor, texture, and charm that’s sure to become a beloved favorite in your baking rotation.

Ingredients You’ll Need
Gathering these simple yet essential ingredients is the first step on your journey to baking these classic Italian treats. Each one plays a crucial role—from the richness of the butter to the fresh zing of lemon zest—to create cookies that shine with flavor and perfect texture.
- 2 cups all-purpose flour: The foundation of your dough, providing structure and tenderness.
- 3 tablespoons cornstarch: Adds extra softness and a delicate crumb.
- 1 ½ teaspoons baking powder: Helps the cookies rise lightly for that perfect bite.
- ½ teaspoon salt: Balances flavors and enhances sweetness.
- ¼ teaspoon baking soda: Works alongside baking powder to create lift and texture.
- 1 stick (½ cup) unsalted butter, softened: Gives richness and moisture to the dough.
- ½ cup granulated sugar: Sweetens the dough without overpowering the lemon notes.
- 1 large egg, room temperature: Binds ingredients and adds structure.
- 1 tablespoon pure vanilla extract: Adds warm, comforting undertones.
- 1 teaspoon lemon extract: Intensifies the lemon flavor for that bright Italian touch.
- Zest of 1 lemon: Fresh citrus zest brightens and lifts every bite.
- 1 ¾ cups confectioners’ sugar (powdered sugar): The base for a silky, sweet glaze.
- Juice of 1 lemon: Adds tangy contrast to the glaze.
- Pinch of salt: Balances the sweetness in the glaze.
- Sprinkles, lemon zest, or turbinado sugar for decoration: These final touches add appeal and subtle crunch.
How to Make Italian Easter Cookies Recipe
Step 1: Prepare the Dough
Begin by whisking together the flour, cornstarch, baking powder, salt, and baking soda in a medium bowl—this is your dry mix that will give the cookies their tender structure. In a separate large bowl, cream together the softened butter and granulated sugar using an electric mixer until the mixture is light and fluffy—this is what will make your cookies melt-in-your-mouth delicious. Beat in the egg, then stir in the vanilla extract, lemon extract, and freshly grated lemon zest for a bright fragrance. Slowly add the dry ingredients, mixing just until combined to avoid overworking the dough. Cover and chill it in the fridge for at least two hours; this rest period is crucial for shaping and flavor development.
Step 2: Shape the Cookies
Time to have fun! Preheat your oven to 350°F (175°C) and line baking sheets with parchment paper. Lightly flour your surface to keep the dough from sticking, then roll it into 1-inch balls. Each ball becomes a 4 to 5-inch rope, and here’s the charming twist—shape it into a lowercase “b” and loop the longer end through to form a tight knot. This classic shape isn’t just pretty; it holds the glaze beautifully and gives these treats their signature look.
Step 3: Bake to Perfection
Lay your shaped cookies on the prepared sheets, giving them a little room to spread but not too much—they keep their lovely form well. Bake for about 15 minutes until just lightly golden on the edges. Overbaking can dry them out, so watch closely. As the smell of baking lemon cookies starts to fill your kitchen, get ready for the final steps that turn these from simple cookies into a festive masterpiece.
Step 4: Make and Apply the Glaze
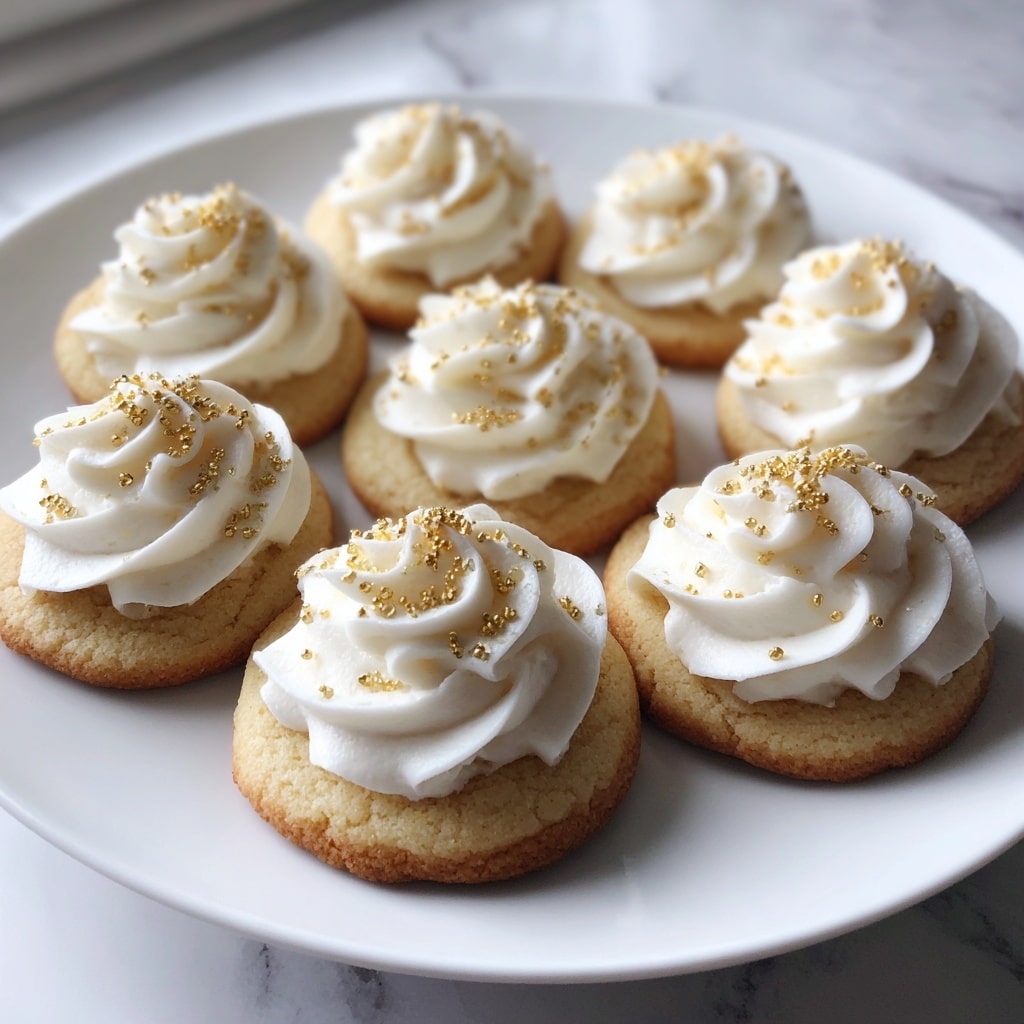
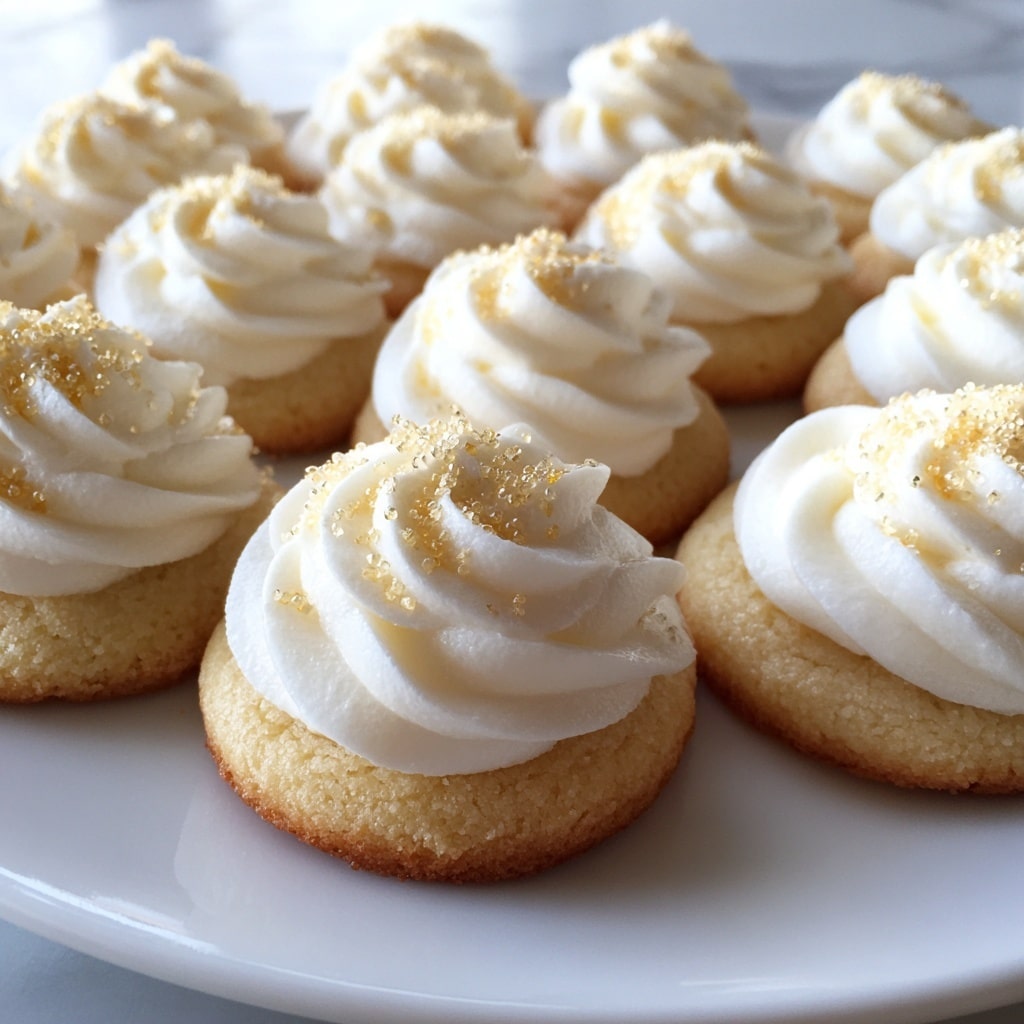
While your cookies are in the oven, whisk together the confectioners’ sugar, freshly squeezed lemon juice, and a pinch of salt until smooth and glossy. Once the warm cookies come out, transfer them to a wire rack and drizzle this lemony glaze generously over the top. Before it sets, add a sprinkle of your choice—bright lemon zest, sparkling turbinado sugar, or colorful sprinkles—to give the cookies a joyful, festive finish.
How to Serve Italian Easter Cookies Recipe
Garnishes
The simplest touches make the biggest impression. Fresh lemon zest adds vivid bursts of color and fragrance, while turbinado sugar adds a beautiful natural sparkle and a subtle crunch. Sprinkles bring a festive flair that’s especially fun during celebrations, making these cookies as delightful to look at as they are to eat.
Side Dishes
These cookies pair wonderfully with a warm cup of coffee or a refreshing glass of iced tea for an afternoon treat. They also complement a cheese platter or fresh fruit, offering a crisp, sweet counterbalance to richer or more savory options.
Creative Ways to Present
For a special occasion, arrange these cookies on a tiered serving tray with fresh flowers or lemon slices interspersed for a stunning centerpiece. Wrap individual cookies in clear cellophane tied with a pastel ribbon to give as charming gifts. Their knot shape and bright glaze make them a versatile option for any festive table.
Make Ahead and Storage
Storing Leftovers
Keep any leftover Italian Easter Cookies in an airtight container at room temperature for up to one week. This helps maintain their soft texture and keeps the glaze from becoming sticky.
Freezing
You can freeze these cookies either before or after baking. To freeze the dough, shape the knots, place them on a parchment-lined tray, and freeze until solid. Then transfer to a freezer bag, separating layers with parchment paper. Bake straight from the freezer, adding a couple of extra minutes to the baking time. Baked cookies freeze well too—just make sure they’re fully cooled and glazed before freezing in an airtight container up to three months.
Reheating
Warm frozen or stored cookies in a low oven (about 300°F/150°C) for 5 to 7 minutes to refresh their texture and aroma. Avoid microwaving, as this can make the glaze gummy and the cookie soft in an unpleasant way.
FAQs
Can I substitute lemon extract if I don’t have any?
Absolutely! If lemon extract is unavailable, you can increase the amount of fresh lemon zest or add a small amount of lemon juice to enhance the flavor, though the extract does provide a more concentrated and true lemon essence.
Why is the dough refrigerated before shaping?
Chilling the dough firms it up, making it easier to handle and shape into the distinctive knots. It also gives the flour time to hydrate fully, resulting in a tender, more flavorful cookie.
What frosting alternatives can I use if I want a different flavor?
While the classic lemon glaze is amazing, you can experiment with an almond glaze or a simple vanilla glaze by swapping lemon juice for milk and adding almond extract. Just adjust the powdered sugar quantity for the desired consistency.
Are these cookies gluten-free or suitable for dietary restrictions?
This recipe uses all-purpose flour, so it is not gluten-free as is. However, you can try substituting a gluten-free baking blend, but results may vary. For dietary needs, feel free to experiment carefully with ingredient swaps.
Can I make the cookies smaller or larger?
Yes, you can adjust the size, but keep in mind that baking times may need to be shortened or extended accordingly. Smaller cookies bake faster and become crispier, while larger ones stay softer in the center.
Final Thoughts
There is truly nothing like the joy of sharing a batch of homemade Italian Easter Cookies Recipe with loved ones. They capture the spirit of celebration with their bright lemon flavor and charming shape, inviting you to slow down and savor each bite. Whether it’s a holiday tradition or a new favorite, these cookies bring warmth and sweetness to any table. So go ahead, roll up your sleeves, and enjoy baking these delightful treats—you won’t regret it!
Print
Italian Easter Cookies Recipe
- Prep Time: 2 hours 15 minutes
- Cook Time: 15 minutes
- Total Time: 2 hours 30 minutes
- Yield: 30 servings
- Category: Dessert
- Method: Baking
- Cuisine: Italian
- Diet: Vegetarian
Description
Italian Easter Cookies are delightfully soft and tender treats with a hint of lemon zest and a sweet glaze. These traditional knot-shaped cookies are lightly flavored with vanilla and lemon extracts, baked to a golden perfection, and finished with a tangy lemon glaze and festive decorations, making them perfect for celebrating the Easter holiday.
Ingredients
Dry Ingredients
- 2 cups all-purpose flour, plus more for dusting
- 3 tablespoons cornstarch
- 1 ½ teaspoons baking powder
- ½ teaspoon salt
- ¼ teaspoon baking soda
Wet Ingredients
- 1 stick (½ cup) unsalted butter, softened
- ½ cup granulated sugar
- 1 large egg, room temperature
- 1 tablespoon pure vanilla extract
- 1 teaspoon lemon extract
- Zest of 1 lemon
Glaze and Decoration
- 1 ¾ cups confectioners’ sugar (powdered sugar)
- Juice of 1 lemon
- Pinch of salt
- Sprinkles, lemon zest, or turbinado sugar for decoration
Instructions
- Prepare Dough: In a medium bowl, whisk together the flour, cornstarch, baking powder, salt, and baking soda. In a large bowl, cream the softened butter and granulated sugar with an electric mixer for about 4 minutes until light and fluffy. Beat in the egg, then stir in vanilla extract, lemon extract, and lemon zest. Gradually add the dry ingredients to the wet, mixing until just combined. Cover and refrigerate the dough for at least 2 hours.
- Shape Cookies: Preheat the oven to 350°F (175°C) and line baking sheets with parchment paper. On a lightly floured surface, roll dough into 1-inch balls, then roll each ball into a 4-5 inch rope. Shape each rope into a lowercase “b” and bring the long end through the hole to form a knot. Gently pat to secure.
- Bake: Place shaped cookies on prepared baking sheets and bake for 15 minutes or until lightly golden.
- Make Glaze: While cookies bake, whisk confectioners’ sugar, lemon juice, and a pinch of salt together until smooth.
- Glaze and Decorate: Transfer warm cookies to a wire rack, drizzle glaze over them, and immediately decorate with sprinkles, lemon zest, or turbinado sugar. Allow glaze to set completely before serving.
Notes
- For best results, ensure the butter is softened but not melted before creaming.
- Refrigerate dough thoroughly to make shaping easier and improve texture.
- Be gentle when shaping the cookies to keep their delicate texture intact.
- Use fresh lemon juice for a bright glaze flavor.
- Cookies keep well in an airtight container for up to 5 days.

