Picture yourself sinking a spoon into a bowl of luxuriously creamy coconut ice cream, made at home with zero need for an ice cream maker. That’s the magic you’ll find in this guide on how to make no churn coconut ice cream: a rich, dairy-free treat that’s tropical, sweet, and impossibly smooth, all with minimal effort. In a world of complicated desserts and specialty gadgets, this recipe proves that deliciousness can be delightfully simple — and unbelievably satisfying!

Ingredients You’ll Need
All it takes are a handful of pantry staples to create this luscious ice cream, each playing a special role. The flavors and textures all come together to deliver coconut bliss with every bite. Here’s what you’ll want on hand:
- Full-fat coconut milk: Provides that signature creamy base and rich coconut flavor that defines this ice cream.
- Sweetened condensed milk: Lends perfect sweetness and contributes to the ultra-smooth, scoopable texture.
- Vanilla extract: A splash of vanilla brings warmth and rounds out the coconut’s natural flavor.
- Shredded coconut (optional): Stir in for added chew and a boost of authenticity in every scoop.
- Pinch of salt: Just a little bit sharpens all the flavors and balances the sweetness beautifully.
How to Make How to Make No Churn Coconut Ice Cream
Step 1: Gather and Chill Your Ingredients
Before anything else, pop your coconut milk and sweetened condensed milk in the fridge for at least a few hours. Chilled ingredients whip up fluffier and set faster, so this little trick is well worth the wait. Lay out everything you need, and if you’re using toppings like shredded coconut, toast it now for a golden, nutty flavor boost!
Step 2: Mix the Coconut Base
Crack open the chilled can of coconut milk and pour it into a large mixing bowl. Add your sweetened condensed milk, vanilla extract, and pinch of salt. Whisk thoroughly until everything is silky-smooth and completely combined; you want no streaks left at all. If you’re feeling creative, this is the time to stir in other extras like lime zest or even a handful of mini chocolate chips.
Step 3: Optional Texture Boost
For fans of texture, gently fold a generous handful of shredded coconut into the mixture. Toasted coconut is especially scrumptious for nutty flavor and bite, but regular works too. Don’t skip this step if you love a little chew in your frozen treats!
Step 4: Freeze and Set
Pour the blended coconut mixture into a loaf pan or freezer-safe container. Smooth the top with a spatula, cover tightly with plastic wrap or a lid, and place it in the freezer. Let your masterpiece freeze for at least six hours, or overnight if you can wait. The hardest part is resisting a sneak peek while that sweet aroma drifts through your kitchen!
Step 5: Scoop and Serve
When it’s time for dessert, let the ice cream sit on the counter for 5 to 10 minutes to soften slightly. Then, scoop into bowls or cones and get creative with your favorite toppings. Every bite tastes like a tropical getaway — and you’ll be amazed how simple it is to master how to make no churn coconut ice cream at home!
How to Serve How to Make No Churn Coconut Ice Cream

Garnishes
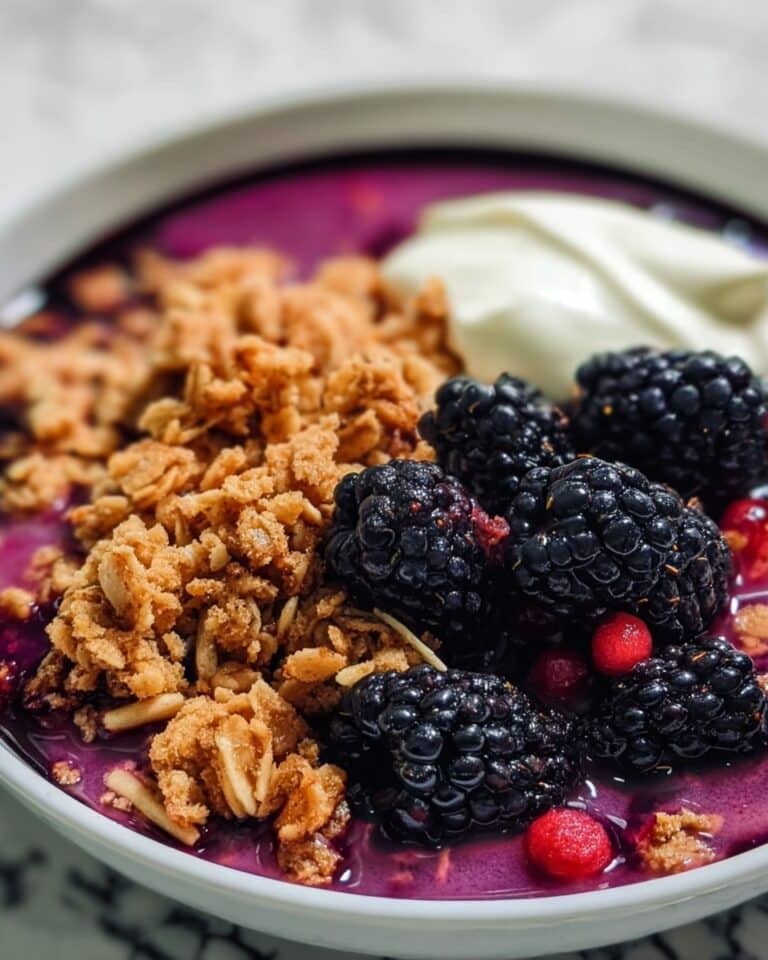
Think beyond the basics: toasted coconut flakes, fresh berries, a drizzle of chocolate syrup, or a few sprigs of mint elevate each scoop. Even a pinch of sea salt or a sprinkle of lime zest can turn your homemade treat into something restaurant-worthy.
Side Dishes
Pair this creamy delight with crisp coconut cookies, buttery shortbread, or grilled pineapple slices for a full-on flavor journey. It’s also fantastic spooned over warm brownies or sandwiched between chewy oatmeal cookies for instant ice cream sandwiches.
Creative Ways to Present
Try serving in festive coconut shells, tiny glass jars, or even atop mini waffles for brunch. You can also layer it in parfait glasses with tropical fruits and a scatter of granola for a fun sundae bar. However you present it, people will be wowed before they even take a bite!
Make Ahead and Storage
Storing Leftovers
Pop any extra ice cream into an airtight container and keep it in the freezer. To prevent icy crystals on top, press a piece of parchment or plastic wrap directly onto the surface before sealing the lid.
Freezing
This no churn coconut ice cream can be frozen for up to two weeks with no loss of quality or flavor. Just keep it tightly covered and stored away from the fluctuating temperature of the freezer door — this helps maintain perfect creaminess.
Reheating
No oven or microwave needed here! If your ice cream is too firm, simply leave it at room temperature for 10 minutes before scooping. Resist the urge to microwave, as it can cause uneven softening and mess with that dreamy texture.
FAQs
Can I use light coconut milk instead of full-fat?
Full-fat coconut milk produces the most luscious, creamy result. Light coconut milk tends to create a more icy texture, so stick to full-fat for best results in how to make no churn coconut ice cream.
Is this recipe vegan?
The base recipe includes sweetened condensed milk, which is not vegan. For a plant-based version, use sweetened condensed coconut milk — it’s widely available in many stores now.
What can I add for extra flavor?
Try folded-in crushed pineapple, a swirl of mango puree, candied ginger, or even a shot of espresso for coconut affogato. The recipe is endlessly versatile, so have fun with your favorite mix-ins while mastering how to make no churn coconut ice cream!
Why is my ice cream icy and not creamy?
Make sure you’re using full-fat coconut milk and that your mixture is well-blended. Covering the container tightly and adding a piece of plastic or parchment directly against the surface will also prevent iciness.
Can I double the recipe?
Absolutely! Just use a larger container for freezing, and be sure your freezer can accommodate the extra volume. Doubling is a great way to ensure you have plenty of how to make no churn coconut ice cream on hand for parties or late-night cravings.
Final Thoughts
Nothing beats the joy of whipping up a heavenly treat with just a handful of ingredients and no fancy equipment. Once you try making how to make no churn coconut ice cream yourself, you’ll find it’s nearly impossible to return to store-bought. Share scoops with friends or keep the batch all to yourself — the only tough decision is what to top it with!