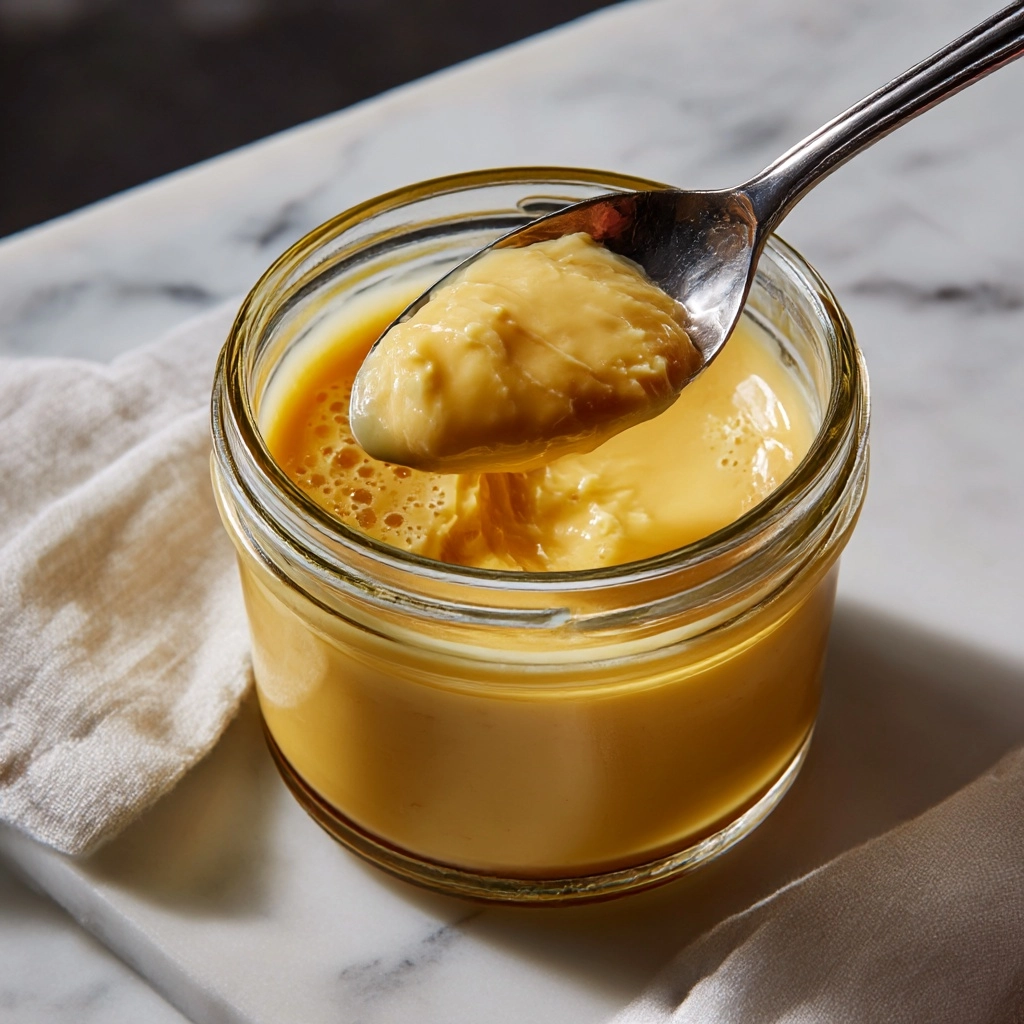
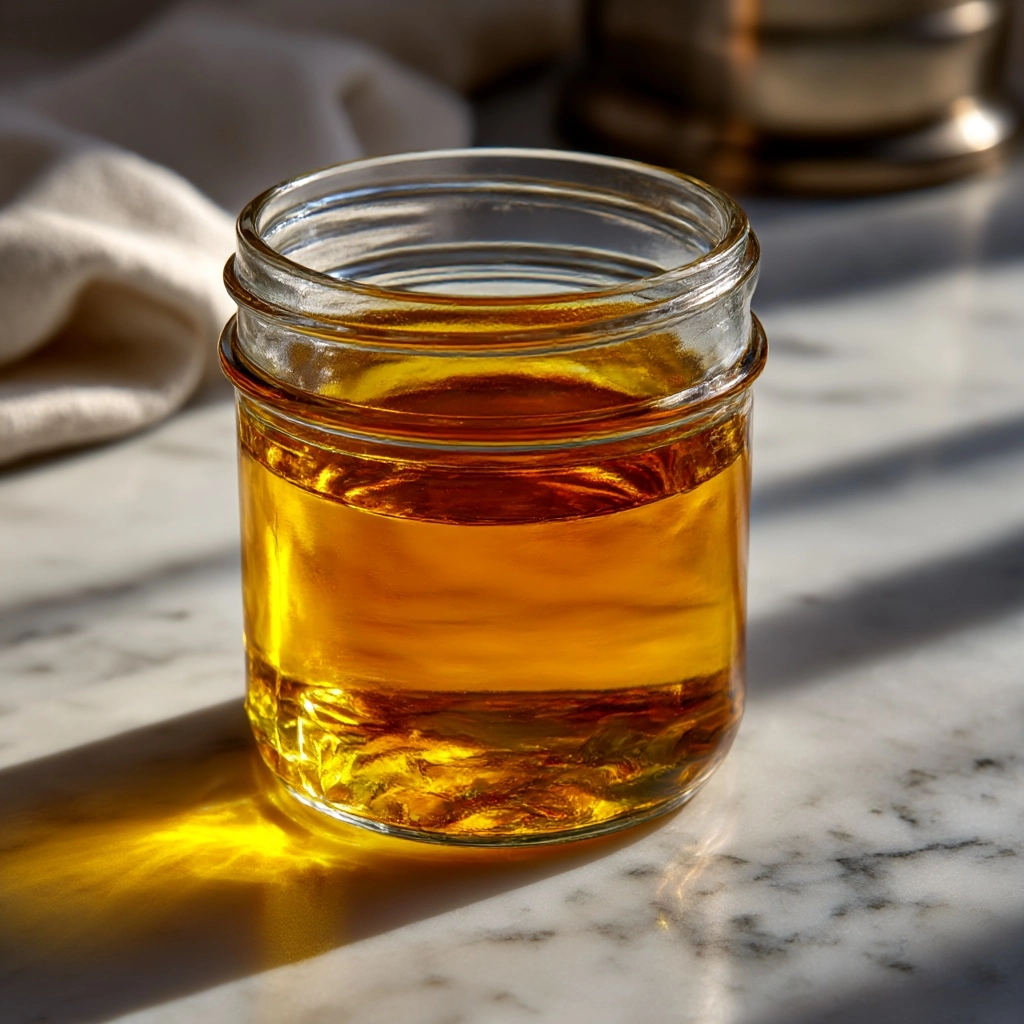
If you’ve ever wondered how to make ghee, you’re in for a treat. Ghee isn’t just clarified butter—it’s an ingredient that transforms humble dishes into something golden and unforgettable, cherished across Indian kitchens (and now by me, and soon, you!). This nutty, aromatic fat is famous for its rich flavor and incredible versatility, providing that little bit of magic to both sweet and savory recipes. With just a little patience and a single ingredient, you can master a technique that connects centuries of tradition with your own modern kitchen.
Ingredients You’ll Need
One of the best parts about learning how to make ghee is how straightforward the ingredient list is—just good-quality butter, but oh, what a difference the right kind makes! Trust me, every detail counts here, and your choice of butter truly shines in the final flavor and golden color.
- Unsalted Butter (1 cup, preferably grass-fed): Choose the creamiest, best-tasting unsalted butter you can find, as this is the foundation for your ghee’s depth, aroma, and color. Grass-fed varieties tend to have a vivid hue and naturally rich flavor.
How to Make How to Make Ghee
Step 1: Prepare Your Saucepan
To begin your how to make ghee adventure, grab a small, heavy-bottomed saucepan. This choice isn’t just fancy talk—a heavy pan ensures even heat, preventing your precious butter from scorching. Place your butter in the pan, and let the anticipation build.
Step 2: Melt and Simmer
Set the saucepan over medium-low heat and let the butter melt slowly. As it melts, resist the urge to stir or fuss too much—it’s doing all the hard work for you. Soon, you’ll notice the butter transforming, forming a foamy layer on top, a clear golden layer in the middle, and little bits sinking down beneath.
Step 3: Let the Magic Happen
Give the butter about 10–15 minutes to settle into this beautiful alchemy. Those milk solids at the bottom will quietly toast and turn golden brown, releasing a nutty, almost caramel aroma. The foam on the surface isn’t needed, so gently skim it off with a spoon, revealing that liquid gold beneath.
Step 4: Strain and Store
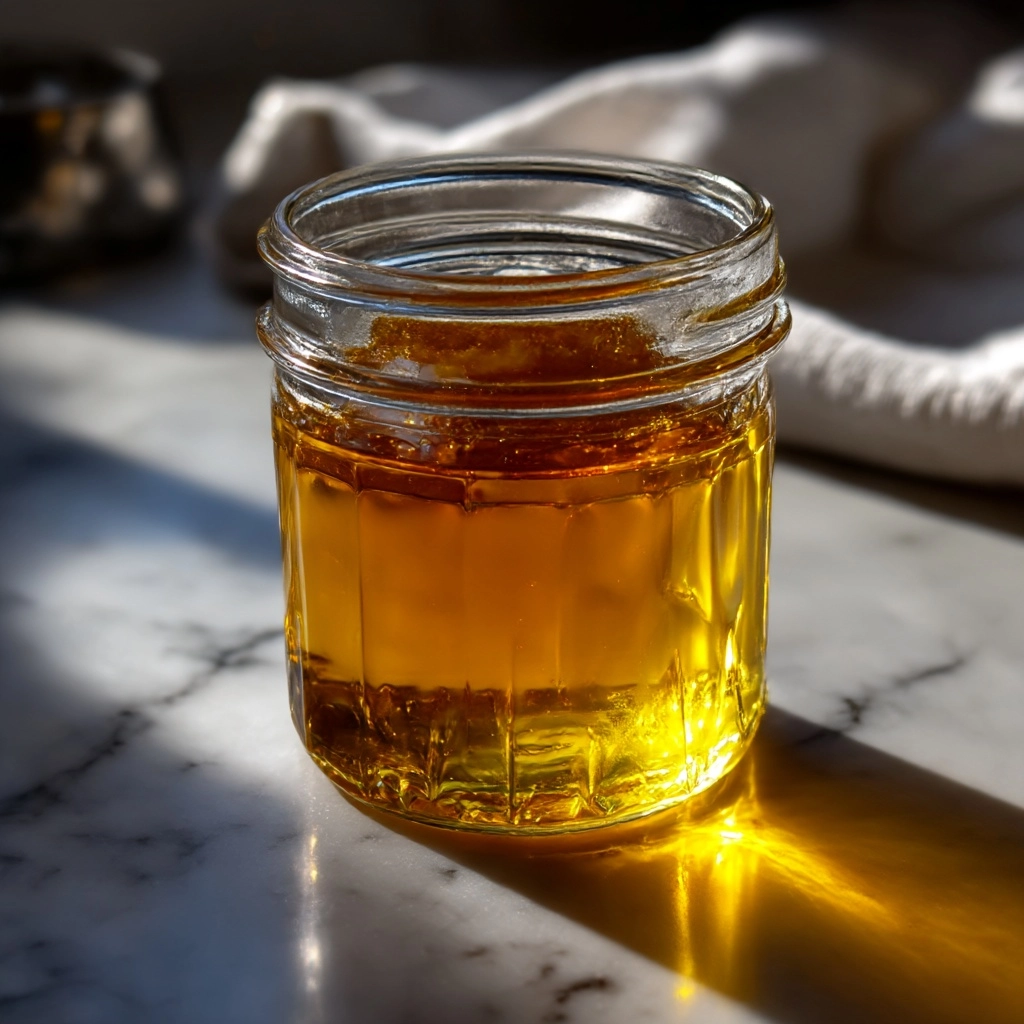
Take the pan off the heat and let the ghee rest for just a moment—one or two minutes is plenty. Now, using a fine mesh sieve or a layer of cheesecloth, carefully strain the clarified ghee into a clean glass jar. This keeps all the browned milk solids behind, so you’re left with pure, translucent ghee, ready to star in your next meal.
Step 5: Cool and Enjoy
Let your homemade ghee cool at room temperature, then cover it up and choose where to keep it: on the counter for daily inspiration, or in the fridge for long-term love. Every spoonful is now yours to enjoy!
How to Serve How to Make Ghee
Garnishes
Drizzle your fresh ghee over steamed basmati rice or roasted vegetables for a finishing gloss and a pop of rich flavor. Try sprinkling with a pinch of flaky sea salt, toasted cumin, or even fresh herbs to highlight ghee’s nutty profile. A little bit goes a long way!
Side Dishes
Ghee brings a touch of luxury to dals, curries, and stir-fries. Brush it on piping-hot naan, parathas, or toast. Let it melt over mashed potatoes or cooked grains, and watch the compliments roll in at the table.
Creative Ways to Present
Bring a jar of homemade ghee as a thoughtful edible gift—a label with the date and a note on how to make ghee adds a personal touch. Or, serve it in a pretty bowl with a tiny spoon at your next dinner, letting guests spoon it onto their plates for instant elegance.
Make Ahead and Storage
Storing Leftovers
Homemade ghee is delightfully shelf-stable. Store it in a tightly sealed glass jar in a cool cupboard for up to three months, or in the fridge where it will stay perfect, fresh, and spreadable even longer. No need to worry about spoilage—just keep it away from direct heat and sunlight.
Freezing
If you want to make a big batch, go right ahead: ghee freezes like a dream. Spoon portions into freezer-safe containers or even ice cube trays, then thaw small amounts as needed—how to make ghee just got even easier for future meals.
Reheating
Ghee softens beautifully at room temperature, but if you want it melted in a hurry, a few seconds in the microwave or a quick dip in a warm saucepan will do the trick. Stir gently before using to re-combine the fats for that silky texture every time.
FAQs
Can I use salted butter to make ghee?
You can, but I recommend unsalted butter for how to make ghee. Salted butter leaves a residue that can make the ghee taste slightly odd or salty, and you lose the flexibility to season your final dishes as you like.
Why is my ghee grainy?
Don’t worry! Grainy texture often happens if the ghee cools very slowly, or if it’s been moved between cold and warm environments. It’s totally safe and still tastes delicious—just warm it gently to smooth it out if you prefer.
What is the difference between clarified butter and ghee?
Clarified butter is butter with just the water and some milk solids removed, while ghee cooks a little longer so the milk solids toast, giving ghee its characteristic nutty aroma and deep color. That’s what makes how to make ghee so enjoyable!
How do I know when my ghee is ready?
You’ll notice the milk solids at the bottom turning golden brown, and the aroma will change to something rich and nutty. Once this happens and the foaming subsides, your ghee is perfectly done—just strain and store!
Is homemade ghee healthier than store-bought?
Homemade ghee lets you control the quality and source of your butter, so you know exactly what’s inside. Plus, when you learn how to make ghee yourself, you can savor it fresh and pure, with all its nutritional benefits intact.
Final Thoughts
I hope you’ll give how to make ghee a try—there’s something wonderfully rewarding about creating this golden staple in your own kitchen. Add it to your favorite dishes, share a jar with a friend, or simply dip fresh bread into your homemade treasure. You honestly won’t go back to the store-bought stuff once you taste your own!
Print
How to Make Ghee Recipe
- Prep Time: 2 minutes
- Cook Time: 15 minutes
- Total Time: 17 minutes
- Yield: 3/4 cup
- Category: Basics
- Method: Stovetop
- Cuisine: Indian
- Diet: Vegetarian
Description
Learn how to make ghee at home with this simple recipe. Ghee, a type of clarified butter, is a versatile cooking fat commonly used in Indian cuisine.
Ingredients
Ingredients:
- 1 cup (2 sticks) unsalted butter, preferably grass-fed
Instructions
- Step 1: Place the butter in a small, heavy-bottomed saucepan over medium-low heat. Allow it to melt completely.
- Step 2: Continue to cook undisturbed until the butter separates into foam on top, golden liquid in the middle, and milk solids at the bottom.
- Step 3: After 10–15 minutes, the milk solids will turn golden brown and the ghee will smell nutty.
- Step 4: Skim off the foam from the top with a spoon. Remove from heat and let it sit for 1–2 minutes.
- Step 5: Strain the ghee through a fine mesh sieve or cheesecloth into a clean glass jar, leaving the browned milk solids behind.
- Step 6: Let cool, then cover and store at room temperature or refrigerate.
Notes
- Ghee is shelf-stable for up to 3 months at room temperature and longer in the fridge.
- Use it for high-heat cooking or as a flavorful butter substitute.

