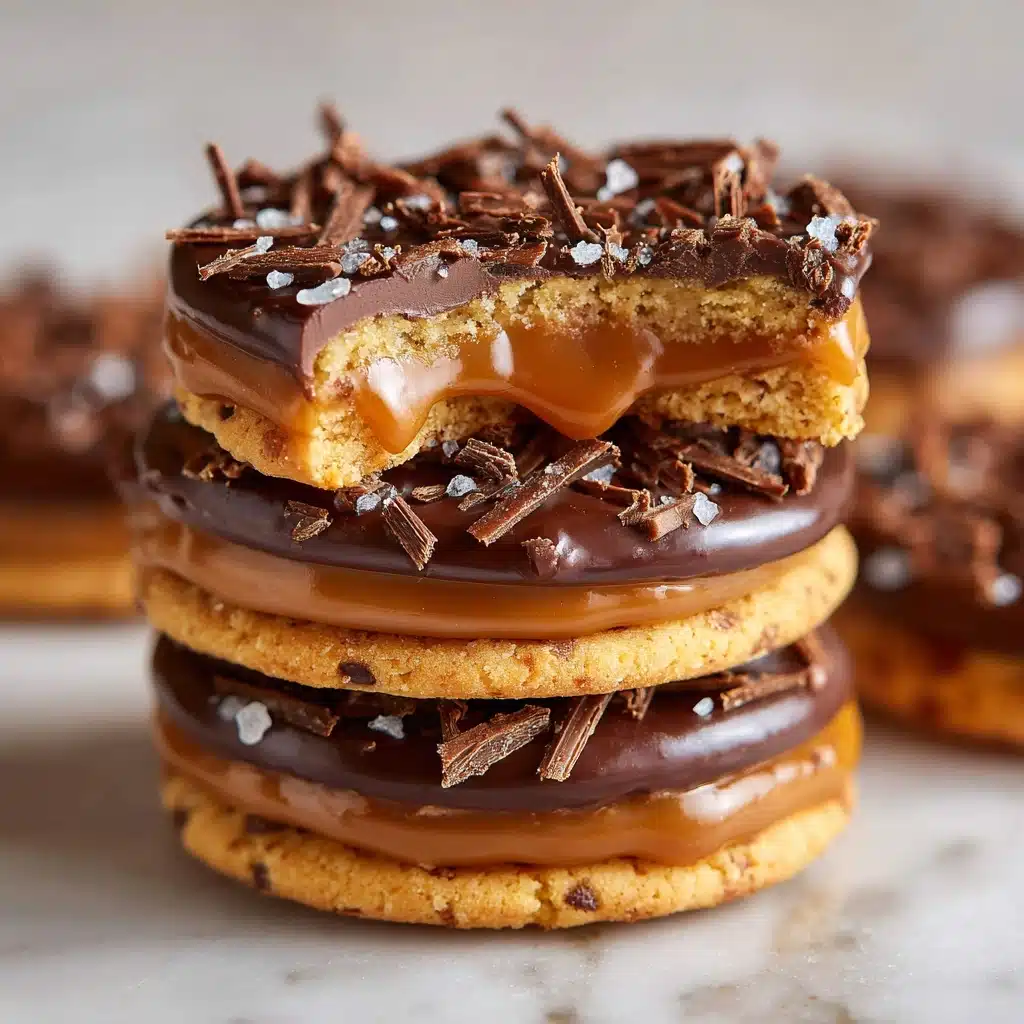
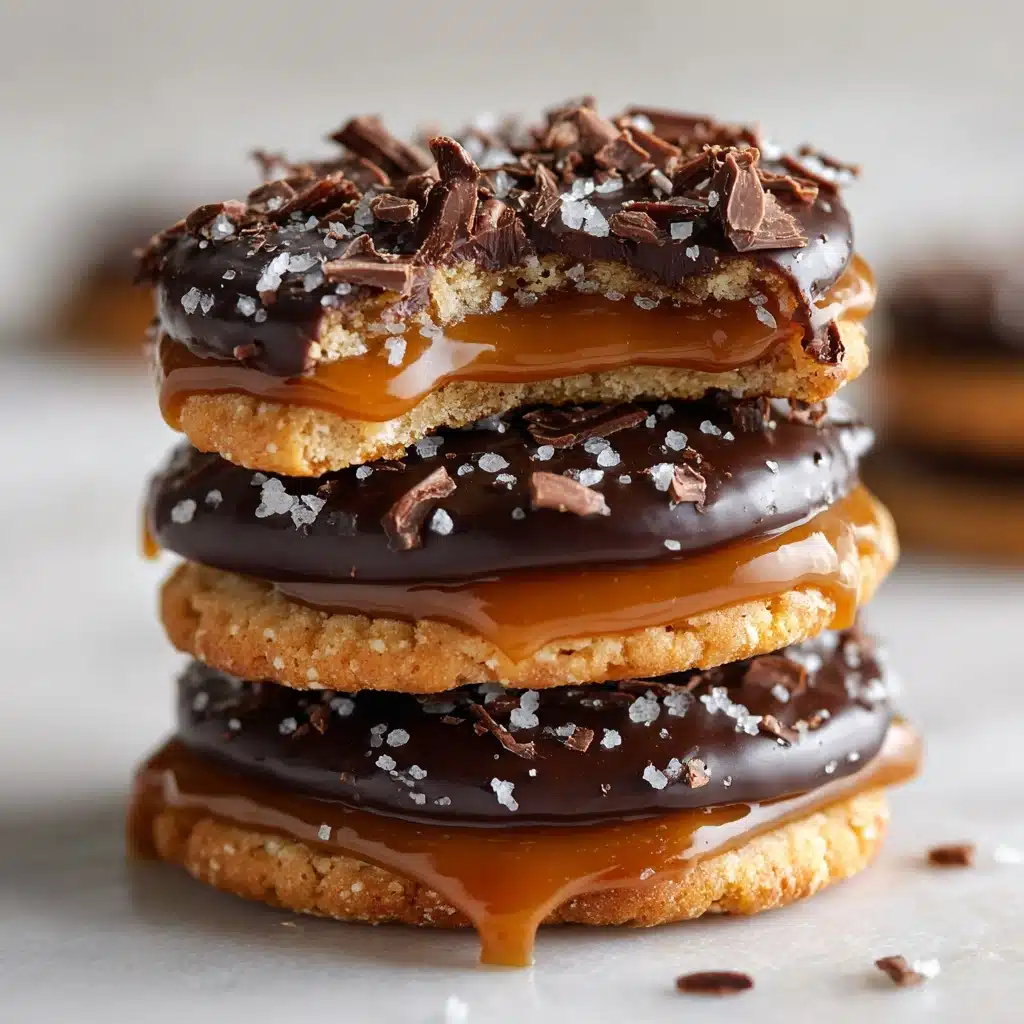
If you’ve ever counted down the days until Girl Scout Cookie season or wished you could enjoy your favorite flavors year-round, get ready: Homemade Samoas (Girl Scout Cookies) are here to make your kitchen smell absolutely irresistible! These iconic cookies boast a crisp, buttery shortbread base topped with rich caramel, toasty coconut, and an indulgent drizzle of chocolate. They’re a labor of love, but every bite proves they’re worth it—and best of all, you get to make (and share… if you’re feeling generous!) as many as your heart desires. Gather your ingredients and let’s bring this magical classic to life right at home!
Ingredients You’ll Need
Making Homemade Samoas (Girl Scout Cookies) relies on straightforward, pantry-friendly staples. Each ingredient brings its own magic—crisp texture, deep flavor, or that familiar coconutty aroma—so don’t skip a thing!
- Unsalted butter: The foundation for a rich, tender shortbread; softened butter makes the dough beautifully creamy.
- Granulated sugar: Sweetens the cookie and helps achieve the classic melt-in-your-mouth texture.
- All-purpose flour: Gives body and structure to our base, making sure the cookie holds up beneath all that glorious topping.
- Baking powder: Just a touch ensures a soft bite without puffing the cookies up too much.
- Salt: Enhances every flavor, keeping the sweetness and richness in perfect balance.
- Milk: Gently binds the dough and smooths out the caramel for the topping—so handy in both components!
- Vanilla extract: Adds irresistible warmth and aroma that rounds out the flavor of the base.
- Sweetened shredded coconut: The hero of the topping, toasted to nutty golden perfection for that classic Samoas character.
- Soft caramels: Melt these down for a lush, chewy layer that sticks the coconut right where it belongs.
- Dark or semisweet chocolate chips: Creates that signature bottom coating and chocolatey drizzle—choose your favorite for the perfect contrast.
How to Make Homemade Samoas (Girl Scout Cookies)
Step 1: Prepare the Cookie Base
Start your adventure by creaming together the softened butter and sugar until the mixture becomes pale and fluffy. This step sets the stage for that melt-in-your-mouth texture! In a separate bowl, whisk the flour, baking powder, and salt, then gently blend those dry ingredients into your butter mixture. Pour in the milk and vanilla, then mix until a beautiful, cohesive dough forms. Roll it out on a floured surface to about ¼-inch thick, cut out circles, and don’t forget to punch out those signature holes using a small cutter or even a bottle cap. Place your cookies on a parchment-lined baking sheet, then bake at 350°F for 10–12 minutes until the edges are just golden. Let them cool completely so they’re ready for topping!
Step 2: Toast the Coconut and Make the Caramel Topping
While the cookies cool, grab your shredded coconut and spread it evenly on a clean baking sheet. Toast it in the oven (just 5–7 minutes!) until golden brown and deliciously fragrant. Stir once during toasting for even color. Next, in a saucepan over low heat, melt together the unwrapped caramels, additional milk, and a pinch of salt, stirring until everything is smooth and dreamy. Immediately mix in the toasted coconut—this is the golden, chewy magic that sets Homemade Samoas (Girl Scout Cookies) apart!
Step 3: Assemble the Cookies
Working while the caramel-coconut mixture is still warm, spoon it generously onto each cookie base, spreading it right out to the edges and gently pressing to help it adhere. If things get sticky, dip your fingers in water for easier spreading! Let the topped cookies set for 10–15 minutes—patience pays off here!
Step 4: Add That Chocolate Coating
Melt your chocolate chips (either in a microwave in short bursts or using a double boiler), stirring until silky-smooth. Dip the bottom of each cookie into the chocolate, letting any extra drip off before placing them back on parchment paper. Then, grab a spoon or piping bag to artfully drizzle more chocolate over the cookie tops. Homemade Samoas (Girl Scout Cookies) just aren’t complete without these luscious stripes!
Step 5: Let Them Set and Enjoy
Allow the chocolate to set completely, either at room temperature or with a quick visit to the fridge if you’re in a hurry. Once the chocolate is firm, your cookies are ready to stack, share, and, of course, devour. Revel in the proud moment of making your own batch—just like the ones you remember, but baked fresh in your very own kitchen!
How to Serve Homemade Samoas (Girl Scout Cookies)
Garnishes
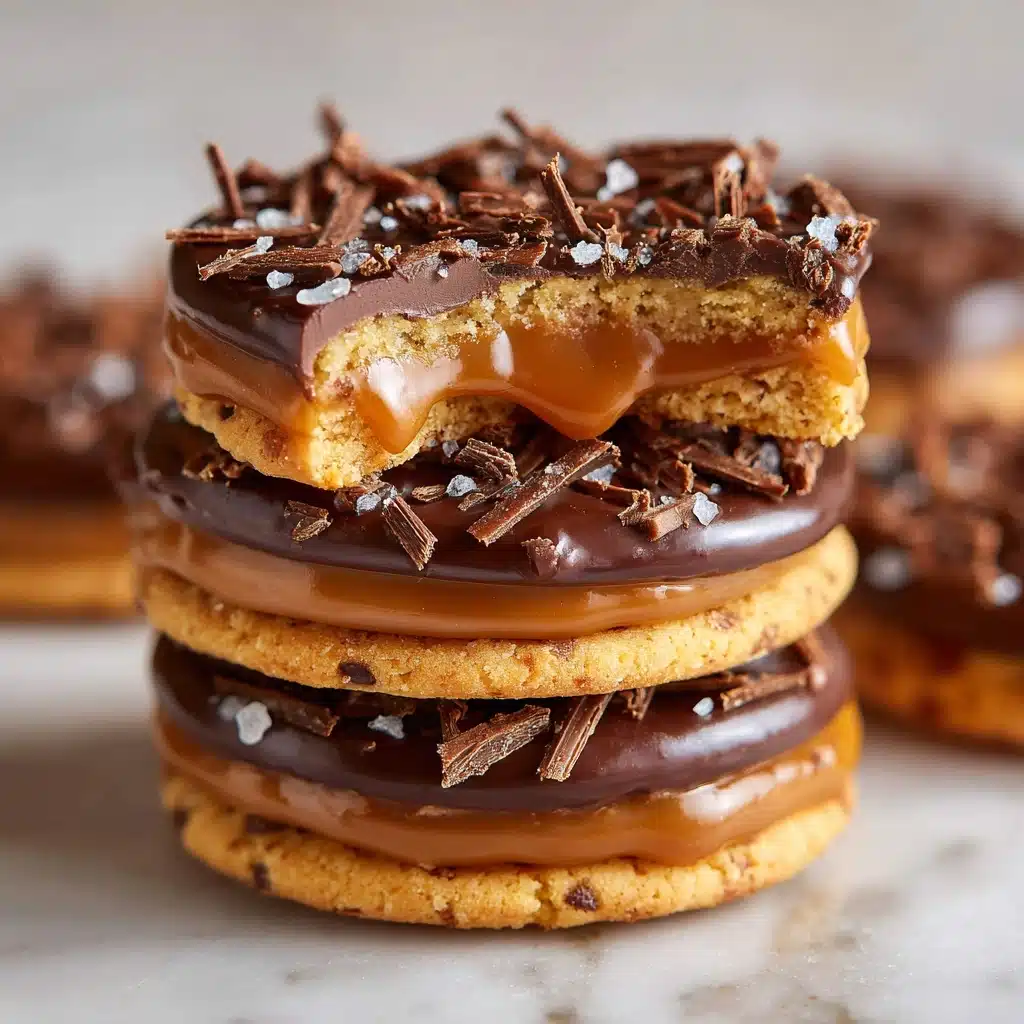
Homemade Samoas (Girl Scout Cookies) honestly shine all on their own, but a light dusting of extra toasted coconut or a sprinkle of flaky sea salt over the chocolate stripes can give them an artisanal flair—and accentuate all the flavors inside!
Side Dishes
For an indulgent dessert platter, try serving these cookies alongside fresh berries, vanilla ice cream, or even a scoop of coconut sorbet. The fruity freshness and creamy sides pair beautifully with the richness of the caramel and chocolate.
Creative Ways to Present
Pack them in clear gift boxes tied with a ribbon for a homemade edible present, or stack them on a vintage cake stand for a stunning centerpiece at any party or coffee date. You can even break them into smaller pieces and sprinkle over ice cream sundaes for a “cookie crumble” treat that’ll steal the show!
Make Ahead and Storage
Storing Leftovers
Keep your Homemade Samoas (Girl Scout Cookies) fresh by storing them in an airtight container at room temperature. They’ll stay perfect for up to five days, maintaining that ideal balance of soft caramel, crisp cookie, and rich chocolate.
Freezing
If you want to save some for later (or hide a secret stash for yourself!), layer cooled cookies between parchment in a freezer-safe container. Homemade Samoas (Girl Scout Cookies) freeze beautifully and can be kept for up to two months—just let them thaw at room temperature before serving.
Reheating
There’s no need to reheat these cookies, but if you love a gooey, just-melted chocolate experience, give them 5–10 seconds in the microwave. The caramel goes soft, the chocolate gets luscious, and suddenly the “freshly baked” vibe returns in seconds!
FAQs
Can I use store-bought caramel sauce instead of melting caramels?
You can try, but store-bought caramel sauce is often thinner than melted caramels, which may make the coconut topping runny. For the classic texture of Homemade Samoas (Girl Scout Cookies), I recommend sticking with soft caramels if possible—if using a sauce, opt for the thickest you can find and reduce the amount of milk.
Is it possible to make these cookies gluten-free?
Absolutely! You can swap the all-purpose flour for your favorite cup-for-cup gluten-free blend. Just watch the bake time—gluten-free cookies can brown a touch quicker, so keep an eye out for those golden edges.
Can I toast the coconut in advance?
Yes, toasted coconut can be made a day or two ahead and stored in an airtight container at room temperature. This is a great time-saving trick for busy bakers making Homemade Samoas (Girl Scout Cookies) on a schedule!
What if I don’t have a round cookie cutter?
No worries! A drinking glass or jar lid works perfectly for large circles, and you can use a small bottle cap or even a piping tip for the center holes. Homemade charm is part of what makes these so fun to make (and eat)!
How do I make these extra coconutty?
If you’re a coconut superfan, add a few drops of coconut extract to the caramel-coconut topping, or sprinkle a bit more toasted coconut before the chocolate drizzle. You’ll love how the extra punch elevates Homemade Samoas (Girl Scout Cookies) even more!
Final Thoughts
Don’t wait for cookie season—try making Homemade Samoas (Girl Scout Cookies) yourself and taste just how much fun (and flavor!) homemade cookies can bring. Whether you share them with loved ones or savor every bite solo, every batch is packed with joy, nostalgia, and that magical homemade touch. Happy baking!
Print
Homemade Samoas (Girl Scout Cookies) Recipe
- Prep Time: 40 minutes
- Cook Time: 12 minutes
- Total Time: 1 hour 30 minutes
- Yield: 24 cookies
- Category: Dessert
- Method: Baking
- Cuisine: American
- Diet: Vegetarian
Description
Learn how to make delicious Homemade Samoas, a copycat version of the beloved Girl Scout Cookies. These cookies feature a buttery base topped with caramel-coated coconut and dipped in rich chocolate.
Ingredients
For the cookie base:
1 cup unsalted butter (softened), ½ cup granulated sugar, 2 cups all-purpose flour, ¼ tsp baking powder, ¼ tsp salt, 2 tbsp milk, ½ tsp vanilla extract
For the topping:
3 cups sweetened shredded coconut, 12 oz soft caramels (unwrapped), 3 tbsp milk, ¼ tsp salt
For the chocolate coating:
10 oz dark or semisweet chocolate chips
Instructions
- Prepare the cookie base: Preheat oven to 350°F. Cream butter and sugar, add dry ingredients, then milk and vanilla. Roll out dough, cut into shapes, and bake.
- Make the topping: Toast coconut, melt caramels with milk and salt, mix in coconut. Spread topping on cookies.
- Add chocolate coating: Dip cookies in melted chocolate, drizzle with more chocolate, and let set.
Notes
- Use parchment or silicone mats to prevent sticking.
- Store in an airtight container for up to 5 days.
- For extra coconut flavor, add a drop of coconut extract to the topping.

